Teraflex Body Lift Kit Review & Install Guide
If you’re in the market for a high-quality Jeep body lift kit to accommodate larger tires or enhance flex and articulation, you might be interested in the Teraflex 1.25-inch body lift kit. We’ve installed this kit on our 2018 JKU and are ready to share the insights gained, along with before and after photos, to help you determine if this body lift kit is right for your needs.
As of 2024, it’s a pleasure to share that after 63,000 miles and numerous off-road adventures, this body lift has remained trouble-free. We’ve complemented it with a 3″ AEV lift kit for extra clearance, and the combined body and lift effect have significantly enhanced the vehicle’s appearance.
Teraflex 1.25 inch Body Lift Kit
Before we start off into all the installation details, I want to review the “what and why” of having a body lift kit.
What is a Body Lift Kit?
The Teraflex 1.25 inch body lift kit adds “pucks” between the body and your frame to increase the clearance of your fenders over your driveline. A body Lift kit allows you to run a slightly larger tire size such as 33″ tires to reduce potential rubbing on your fenders. Some body lift kits will also remove the Jeep’s factory rake and level out your vehicle, often referred to as leveling kits.
Why would I want a body lift kit?
I chose the body lift kit to accommodate my KO2 33″ tires with minimal alterations compared to a standard suspension lift kit, and to do so in a cost-effective manner. For example, a body lift kit can be installed for just a few hundred dollars, while a suspension lift kit can run into several thousand dollars for installation.
In the future, if I decide to upgrade to a larger lift kit to fit bigger tires, I can keep the body lift kit in place, thus preserving my initial investment.
What type of Lift kit should I choose?
First, my mission is mostly driving around Austin with some pleasure trips up to the San Juans and weekend trips to Hidden Falls Adventure Park. Second, my goal was something simple to install with limited modifications to my Jeep. Third, I want to preserve as much fuel efficiency as I can and keep the driving performance as close to the factory feel as possible. The Teraflex lift kit achieves all of this, and I think it looks great to boot.
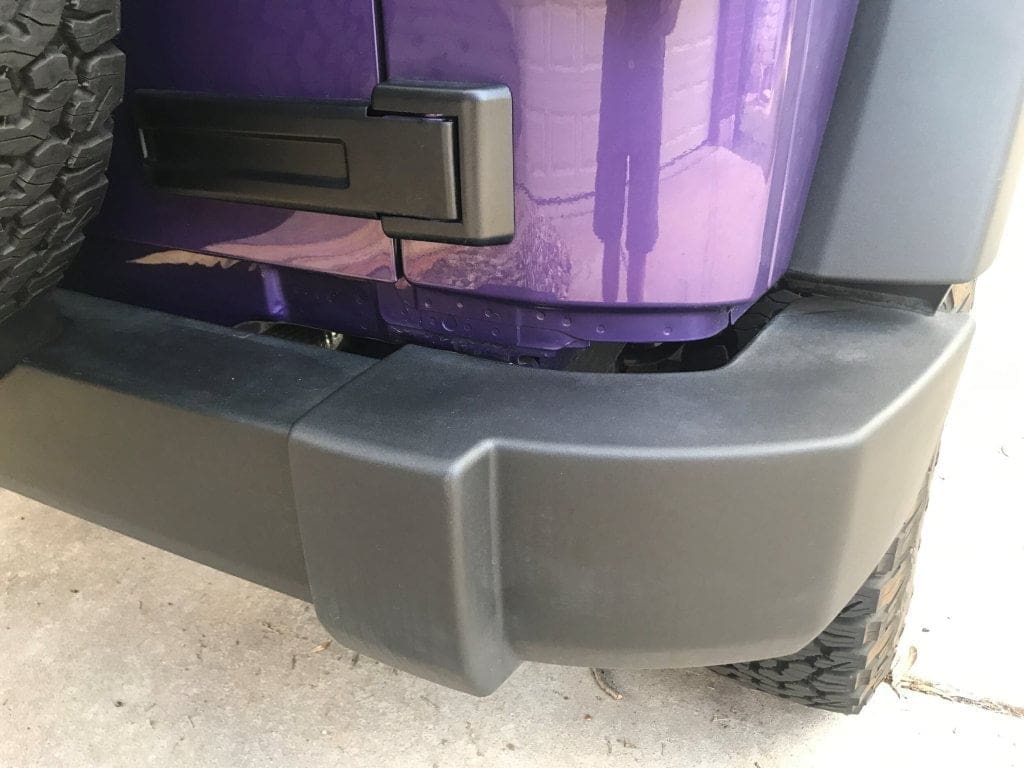
With that being said, some people despise body lifts because of a few minor changes to how your body rests on the frame. I’ve taken a lot of pictures to help show before and after and point out the changes to looks. For me, the front, and the rear bumper gap you will see below is not a problem at all.
Before Teraflex Body Lift Kit
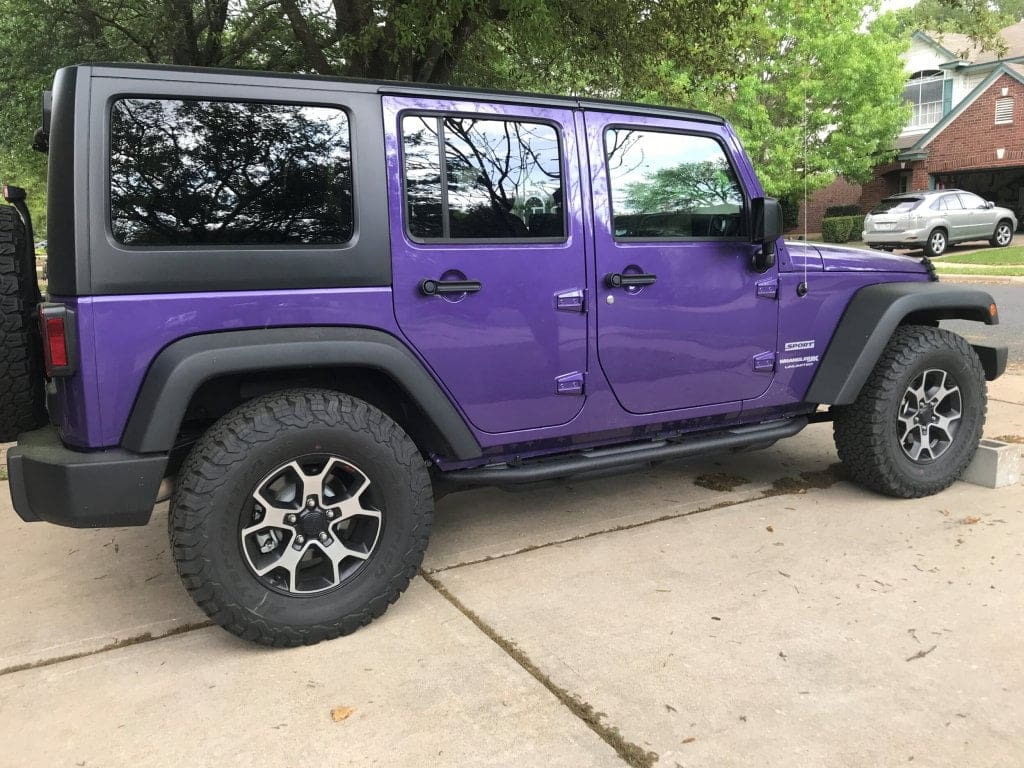
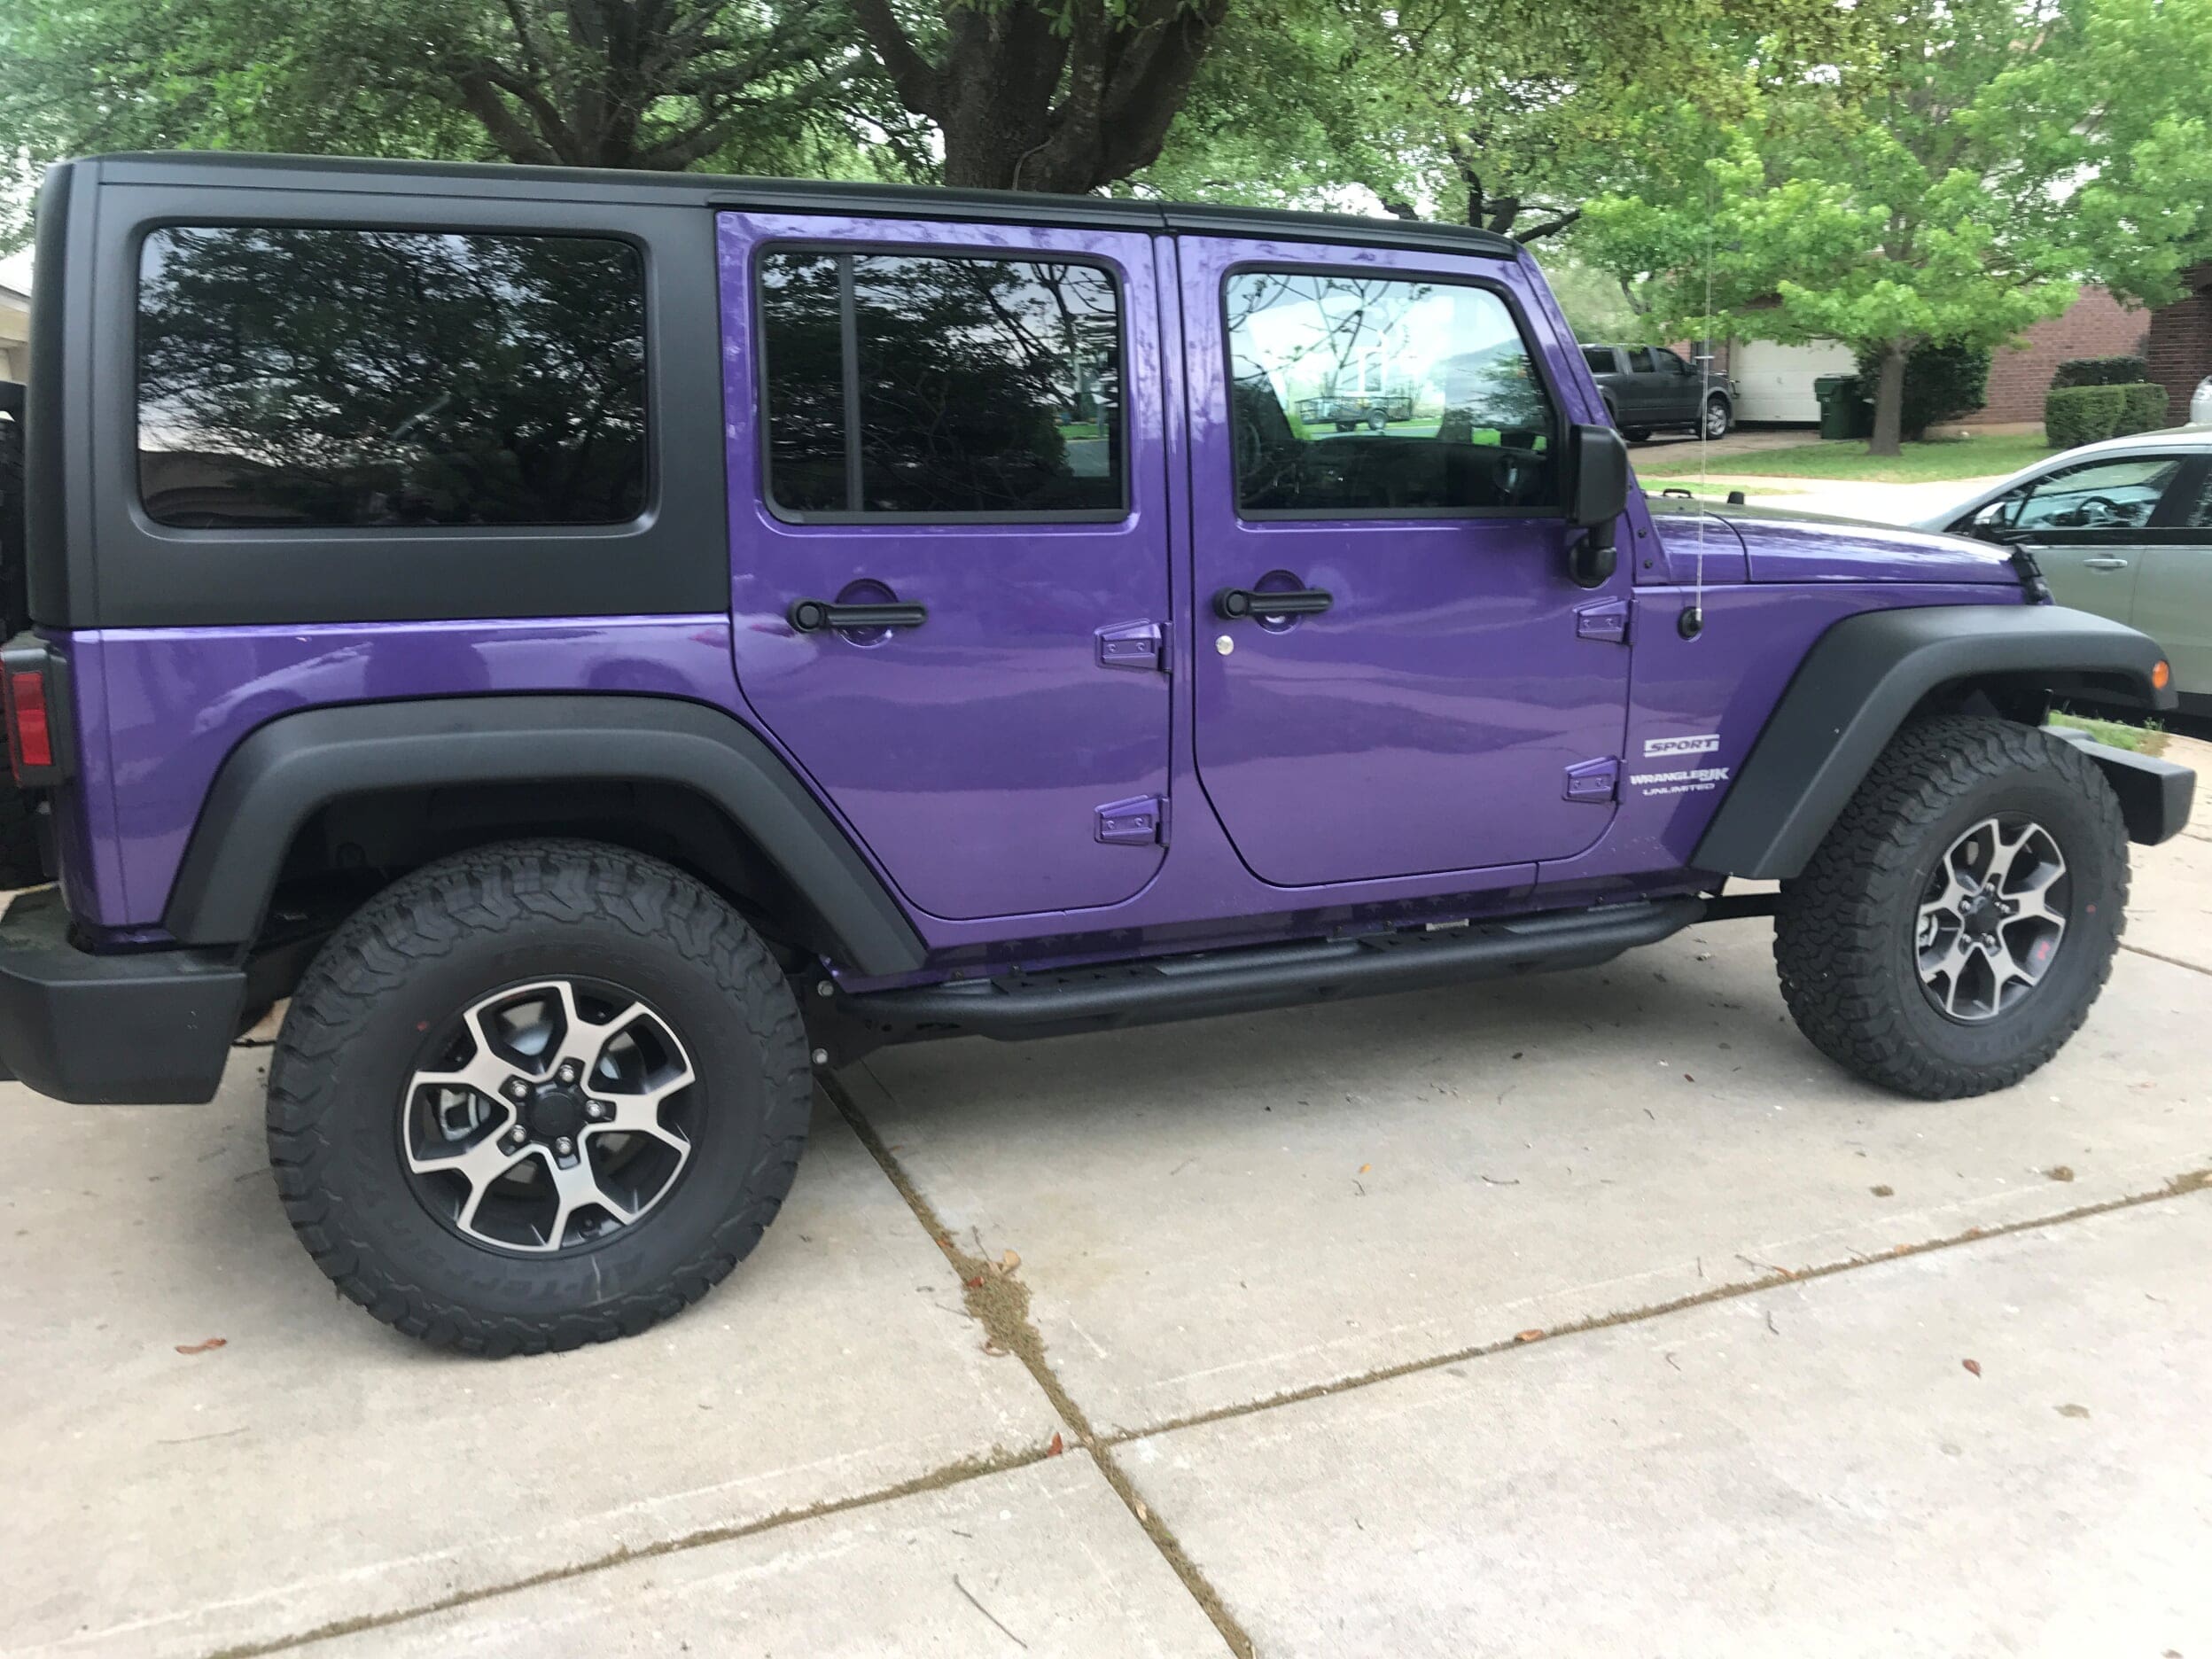
2018 JKU on 33″ Ko2 Tires with Rubicon Rims.
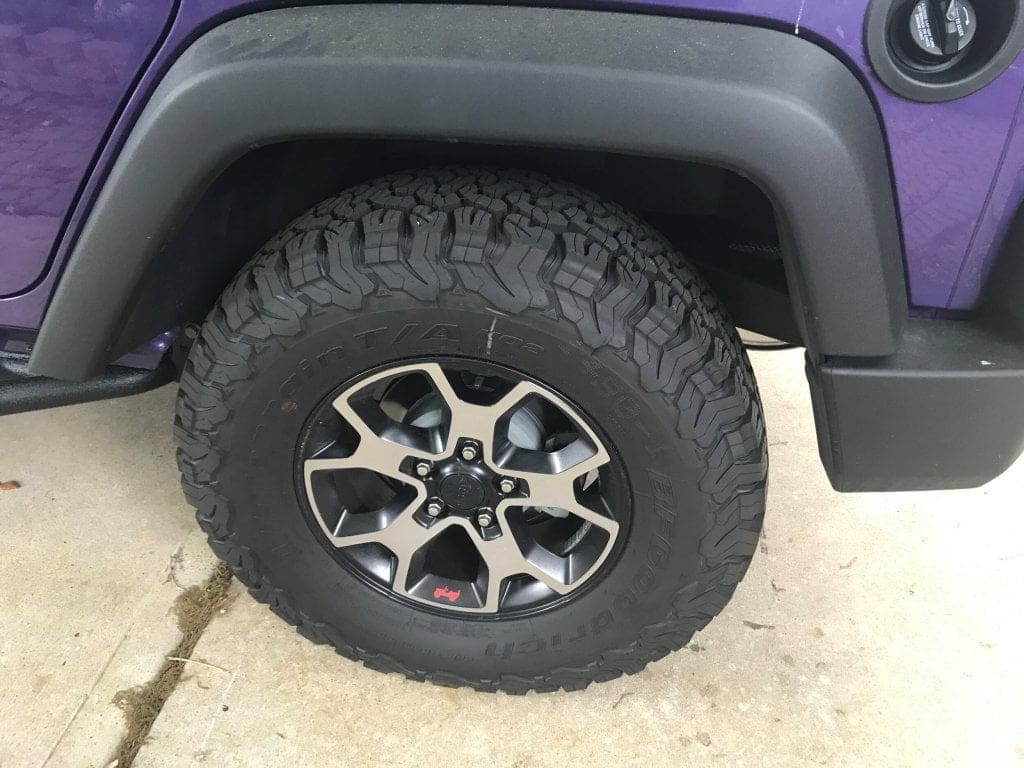
Body height at the top of the wheel well before lift kit.
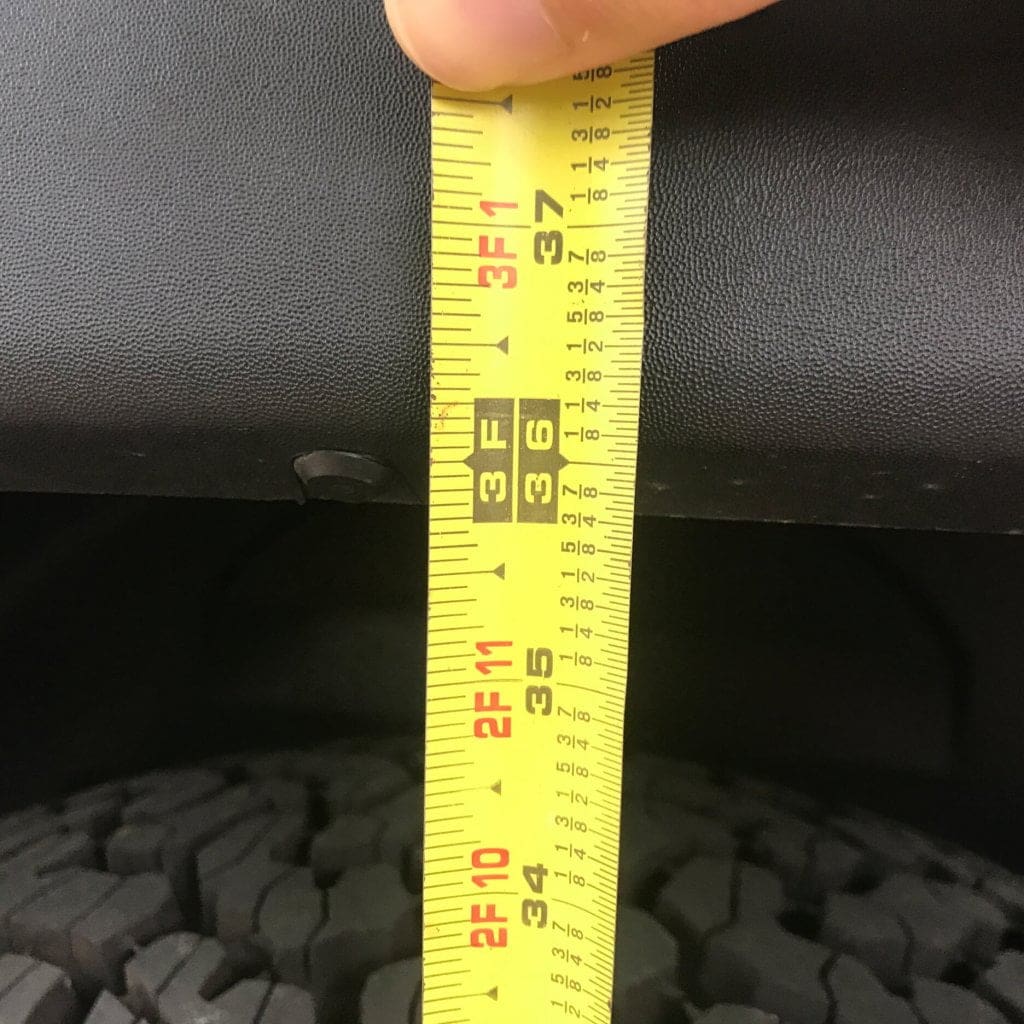
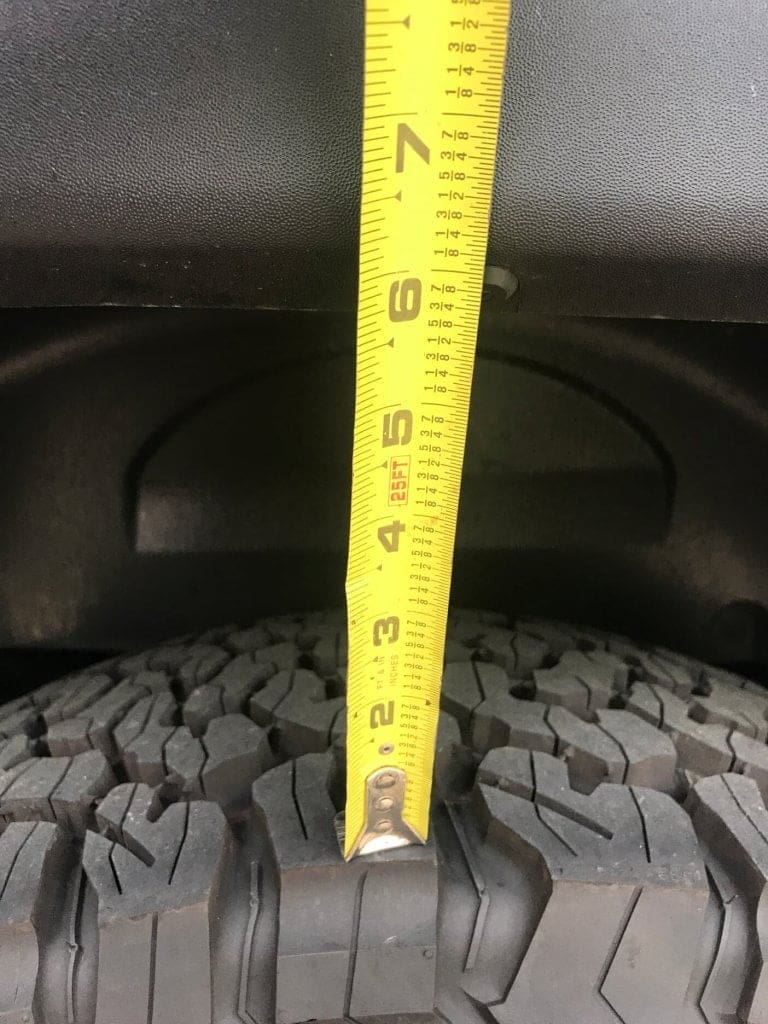
Sorry for the low-quality photo but the following image shows the clearance in the wheel well between tire and frame.
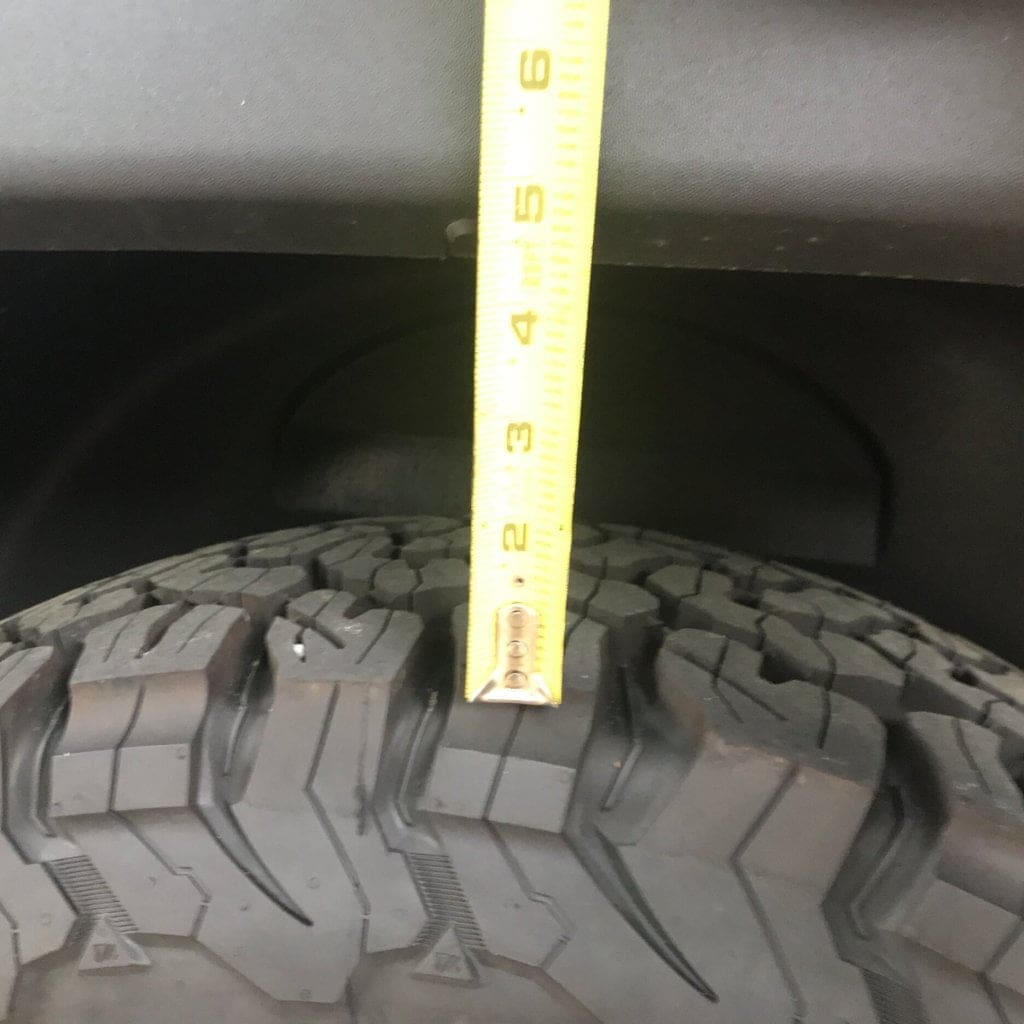
After Teraflex 1.25″ Body Lift Kit
You can see that there is a noticeable amount of clearance between wheels and wheel well now. I didn’t think 1.25 inches would change much, but it does give the Jeep some character.
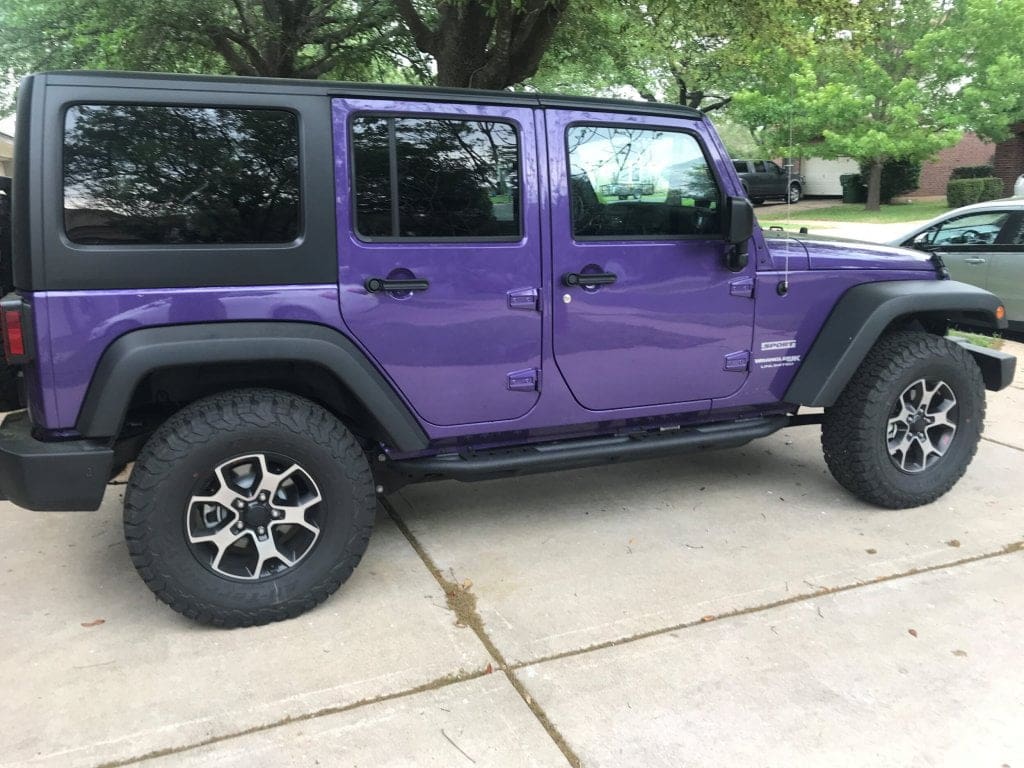
You can see the extra body height over the non-lifted photo from above.
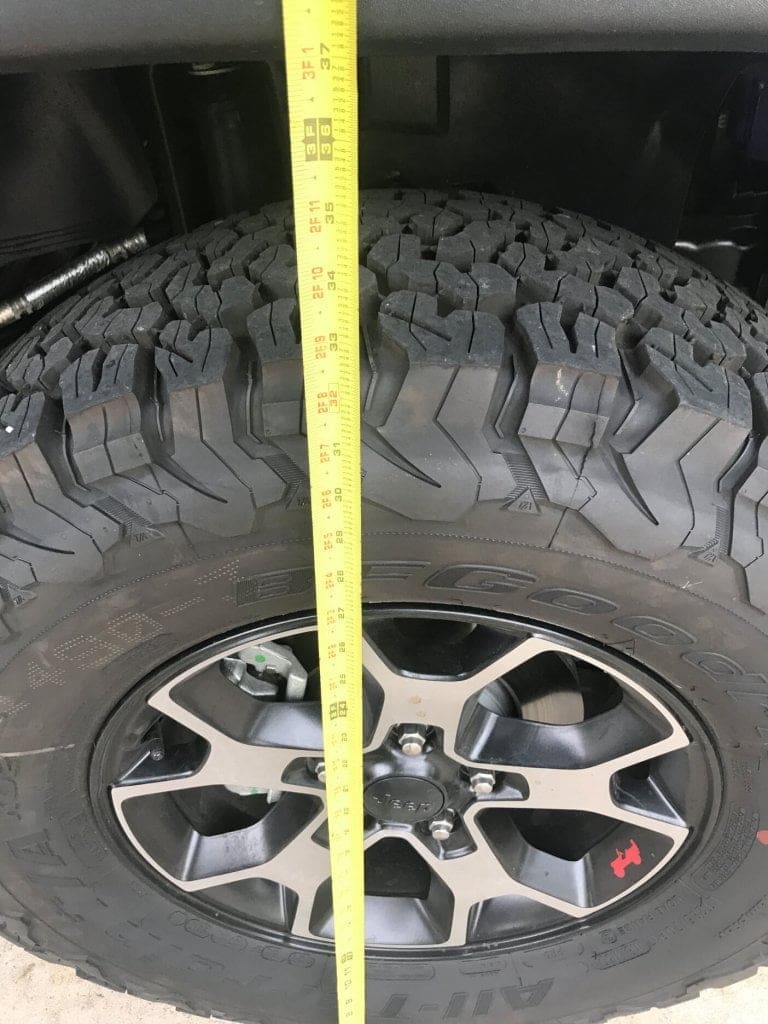
From the tire to the fender, we see an increase from ~4.5″ clearance to ~5.75-inch clearance. The Teraflex 1.25 inch body lift kit adds 1.25″ additional clearance as expected.
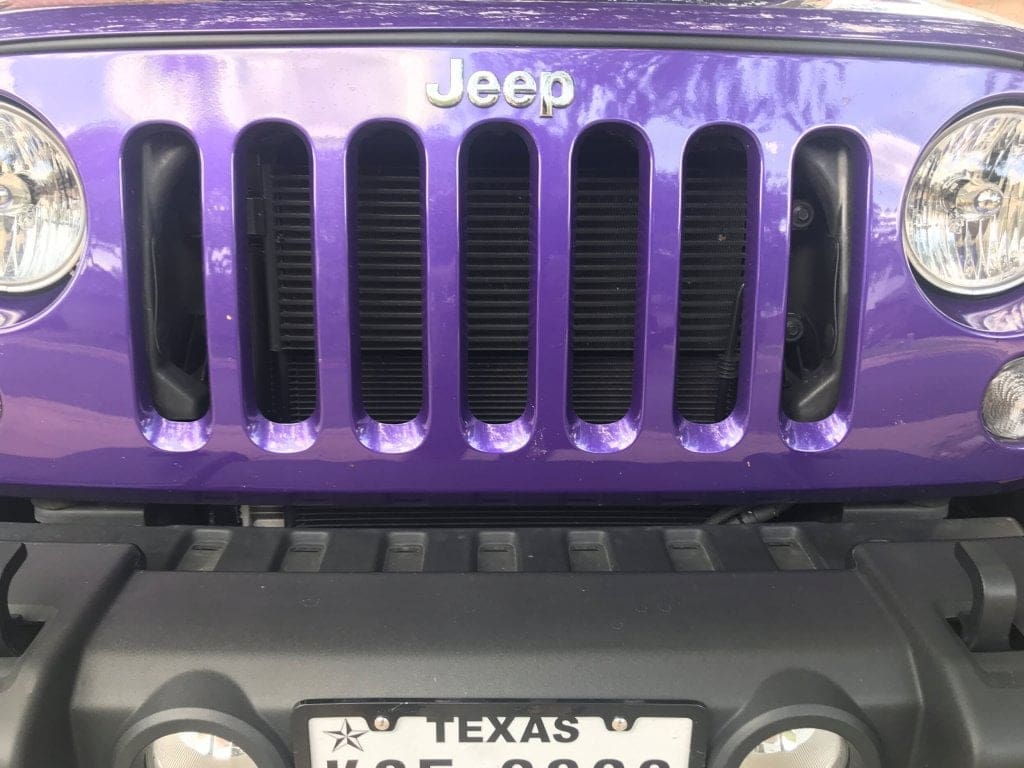
Body lift Gap
When you lift your body with the Teraflex body lift kit, you will notice a small gap/seem along your front/rear bumpers and the wheel fenders. Accordingly, my front bumper doesn’t show nearly as visible gap as the rear bumper does.
Install
Please be sure to follow the instructions provided within your kit or check for the latest instructions from Teraflex website. When installing it is essential that you work on your vehicle taking all safety precautions. Be sure your vehicle is parked, with the parking brake fully engaged and wheels chocked on a level and smooth surface. You don’t want your vehicle rolling away nor do you want your body sliding off the chassis because your driveway or workspace is not level.
With simple to follow instructions, we won’t walk you through the installation step-by-step, but I will update you with some photos of some of the major components and share some advice from lessons learned.
Components
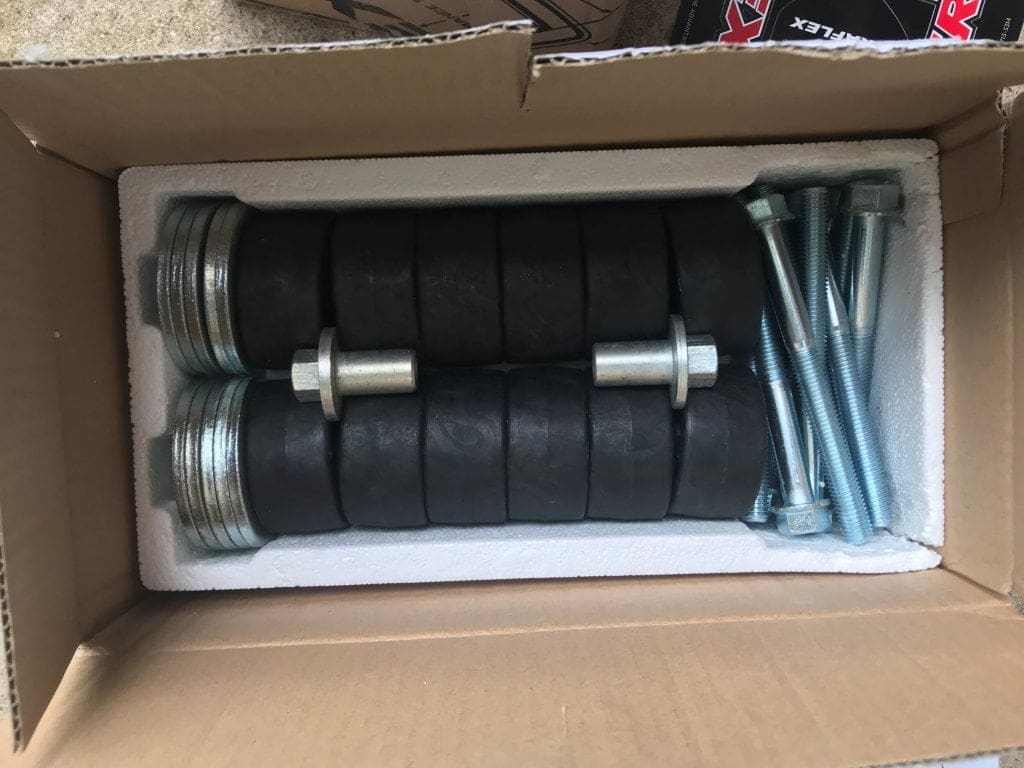
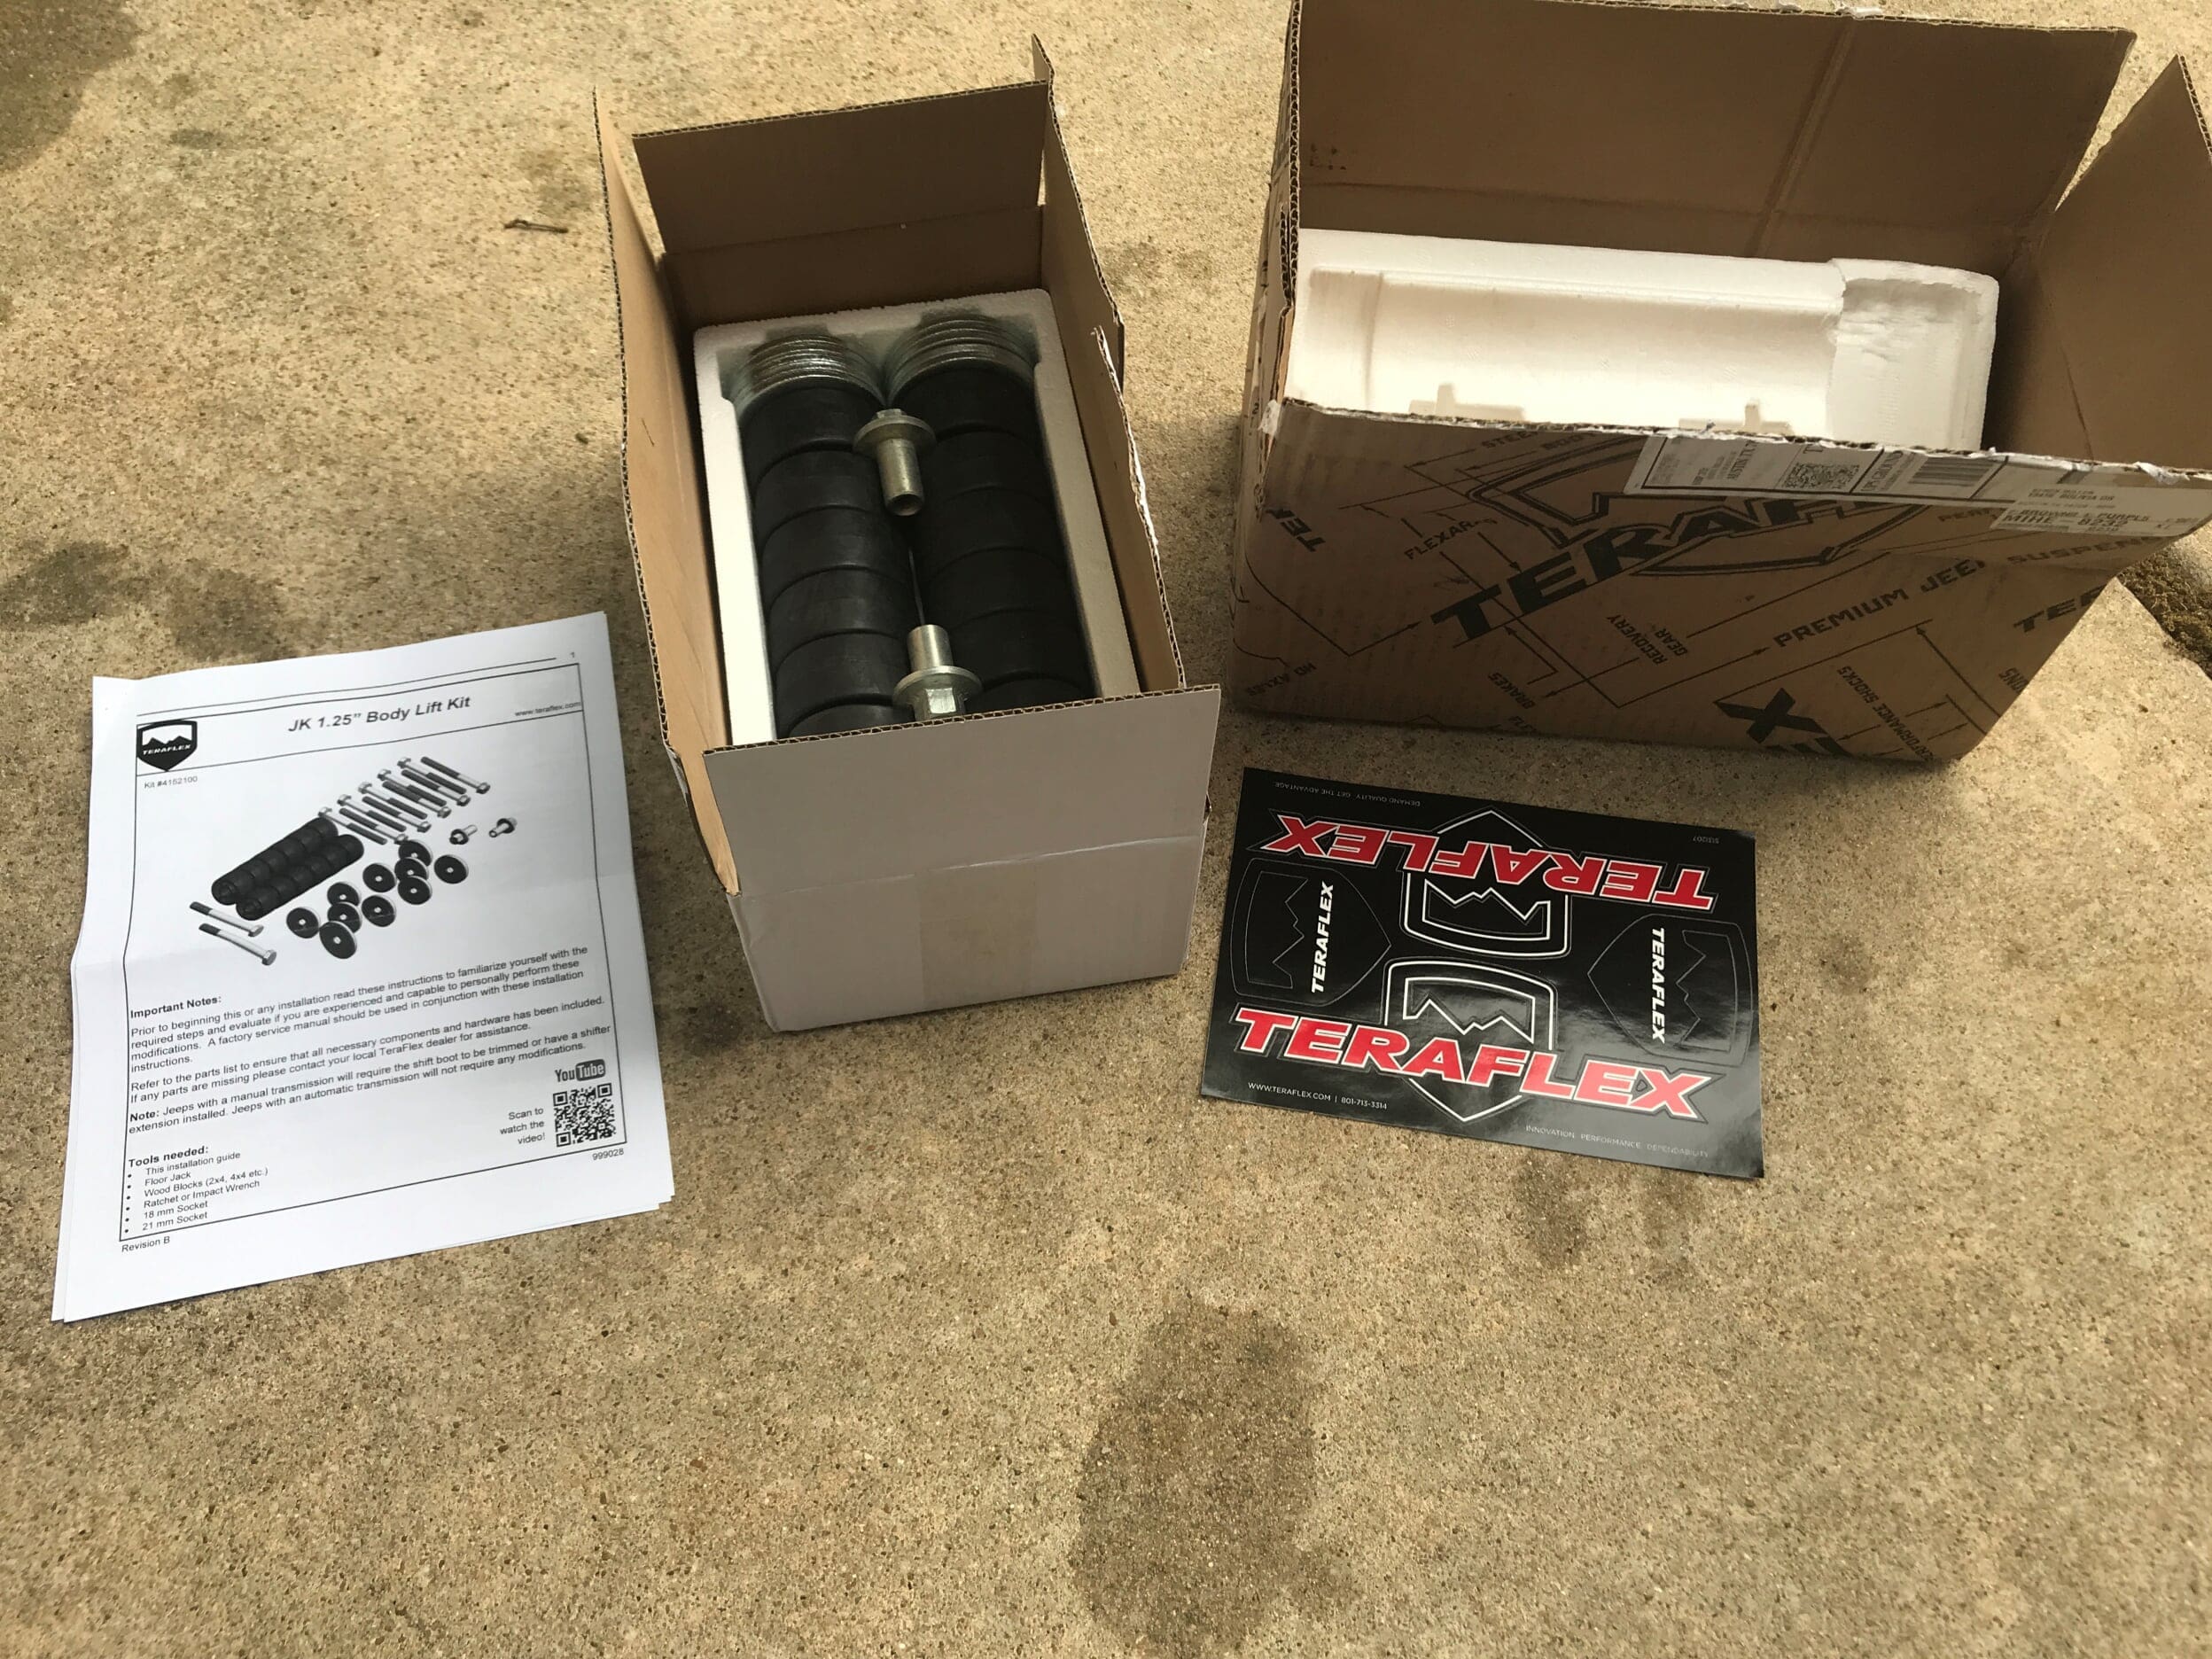
Required Tools:
- Jack with crossbar support
- 14mm Socket
- Torque Wrench
- Impact Wrench
A Jack stand with crossbar support like the one below worked well enough to “jack up” the body on one side of the vehicle to lift the body off the mounts to insert the “pucks.”
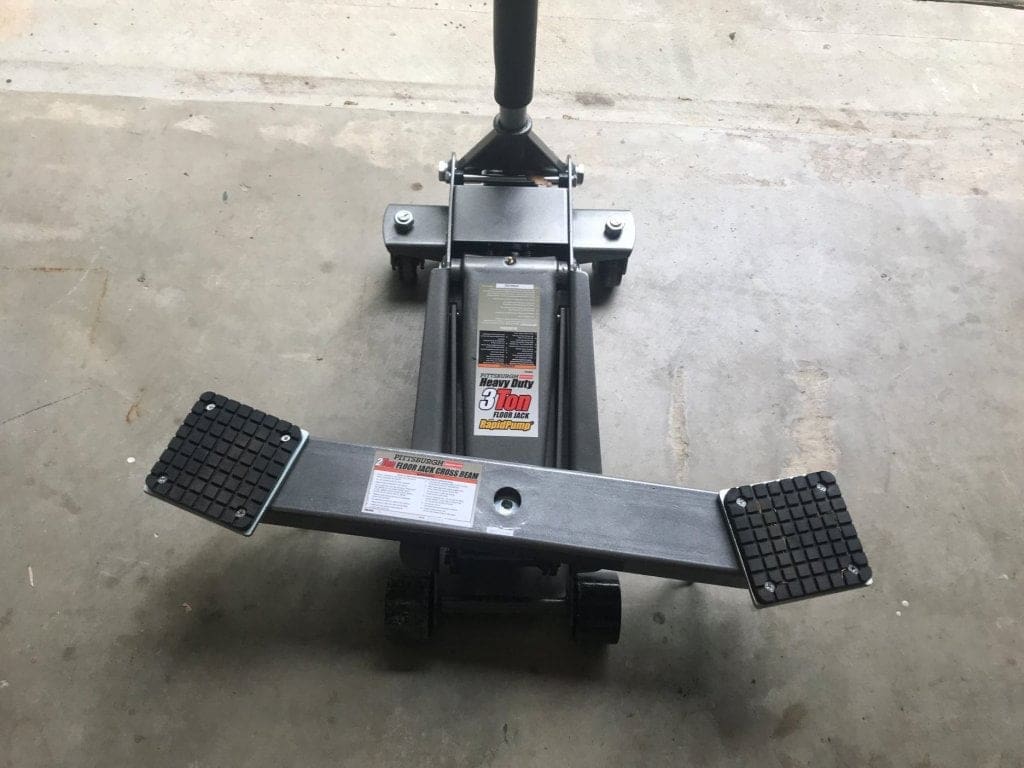
Please be aware, that to insert the pucks on all positions on the vehicle you will jack the body up higher than you expect. I won’t lie, it looks and feels awkward. The crossbeam support add-on that many of the floor jacks offer worked well and felt safer than boards being mashed up by the head of the floor jack.
- Maximum Capacity: 4,000 lbs.
- Extends from 28-inch minimum to 40-inch maximum.
- 4-3/4-inch adjustable (up and down) rubber pad mounts.
- Center shaft measures 1-1/4 in. x 3/4 in. with a bolt washer mount.
- Frame is made of 1/8-inch steel.
Affiliate links & Product Images are from Amazon Product Advertising API.
Difficult Body Bolts
Removing the body bolt mounts can be cumbersome. On my 2018 Jeep, the bolts had a locking washer holding them in so even though they would loosen up I needed to use an impact wrench to break them free. On a Jeep with a few miles and some time under its belt, I would imagine these bolts would be extremely difficult to dislodge. An impact wrench should be handy to save you the hassle of pulling the body bolts.
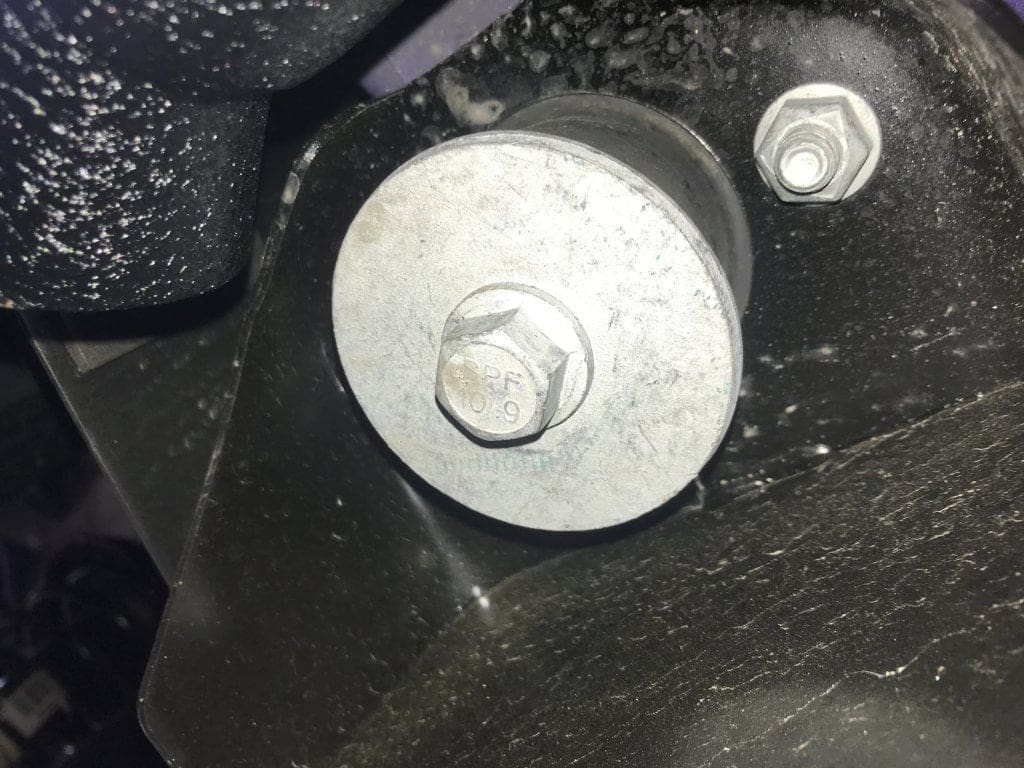
I’m a novice mechanic, and for the most part, the install was easy but a little nerve-racking. My Jeep was only a week old, and here I was pulling body mounts and jacking the body off the frame. I certainly didn’t want to screw up.
If you don’t like the thought of doing it yourself, most shops will charge $150 or so for the installation.
The hardest “puck” to get in are the ones on the front of the vehicle as they have the toughest clearance needed to slide them in. You must really lift the body up off the frame to slide this pick in. Nervously high.
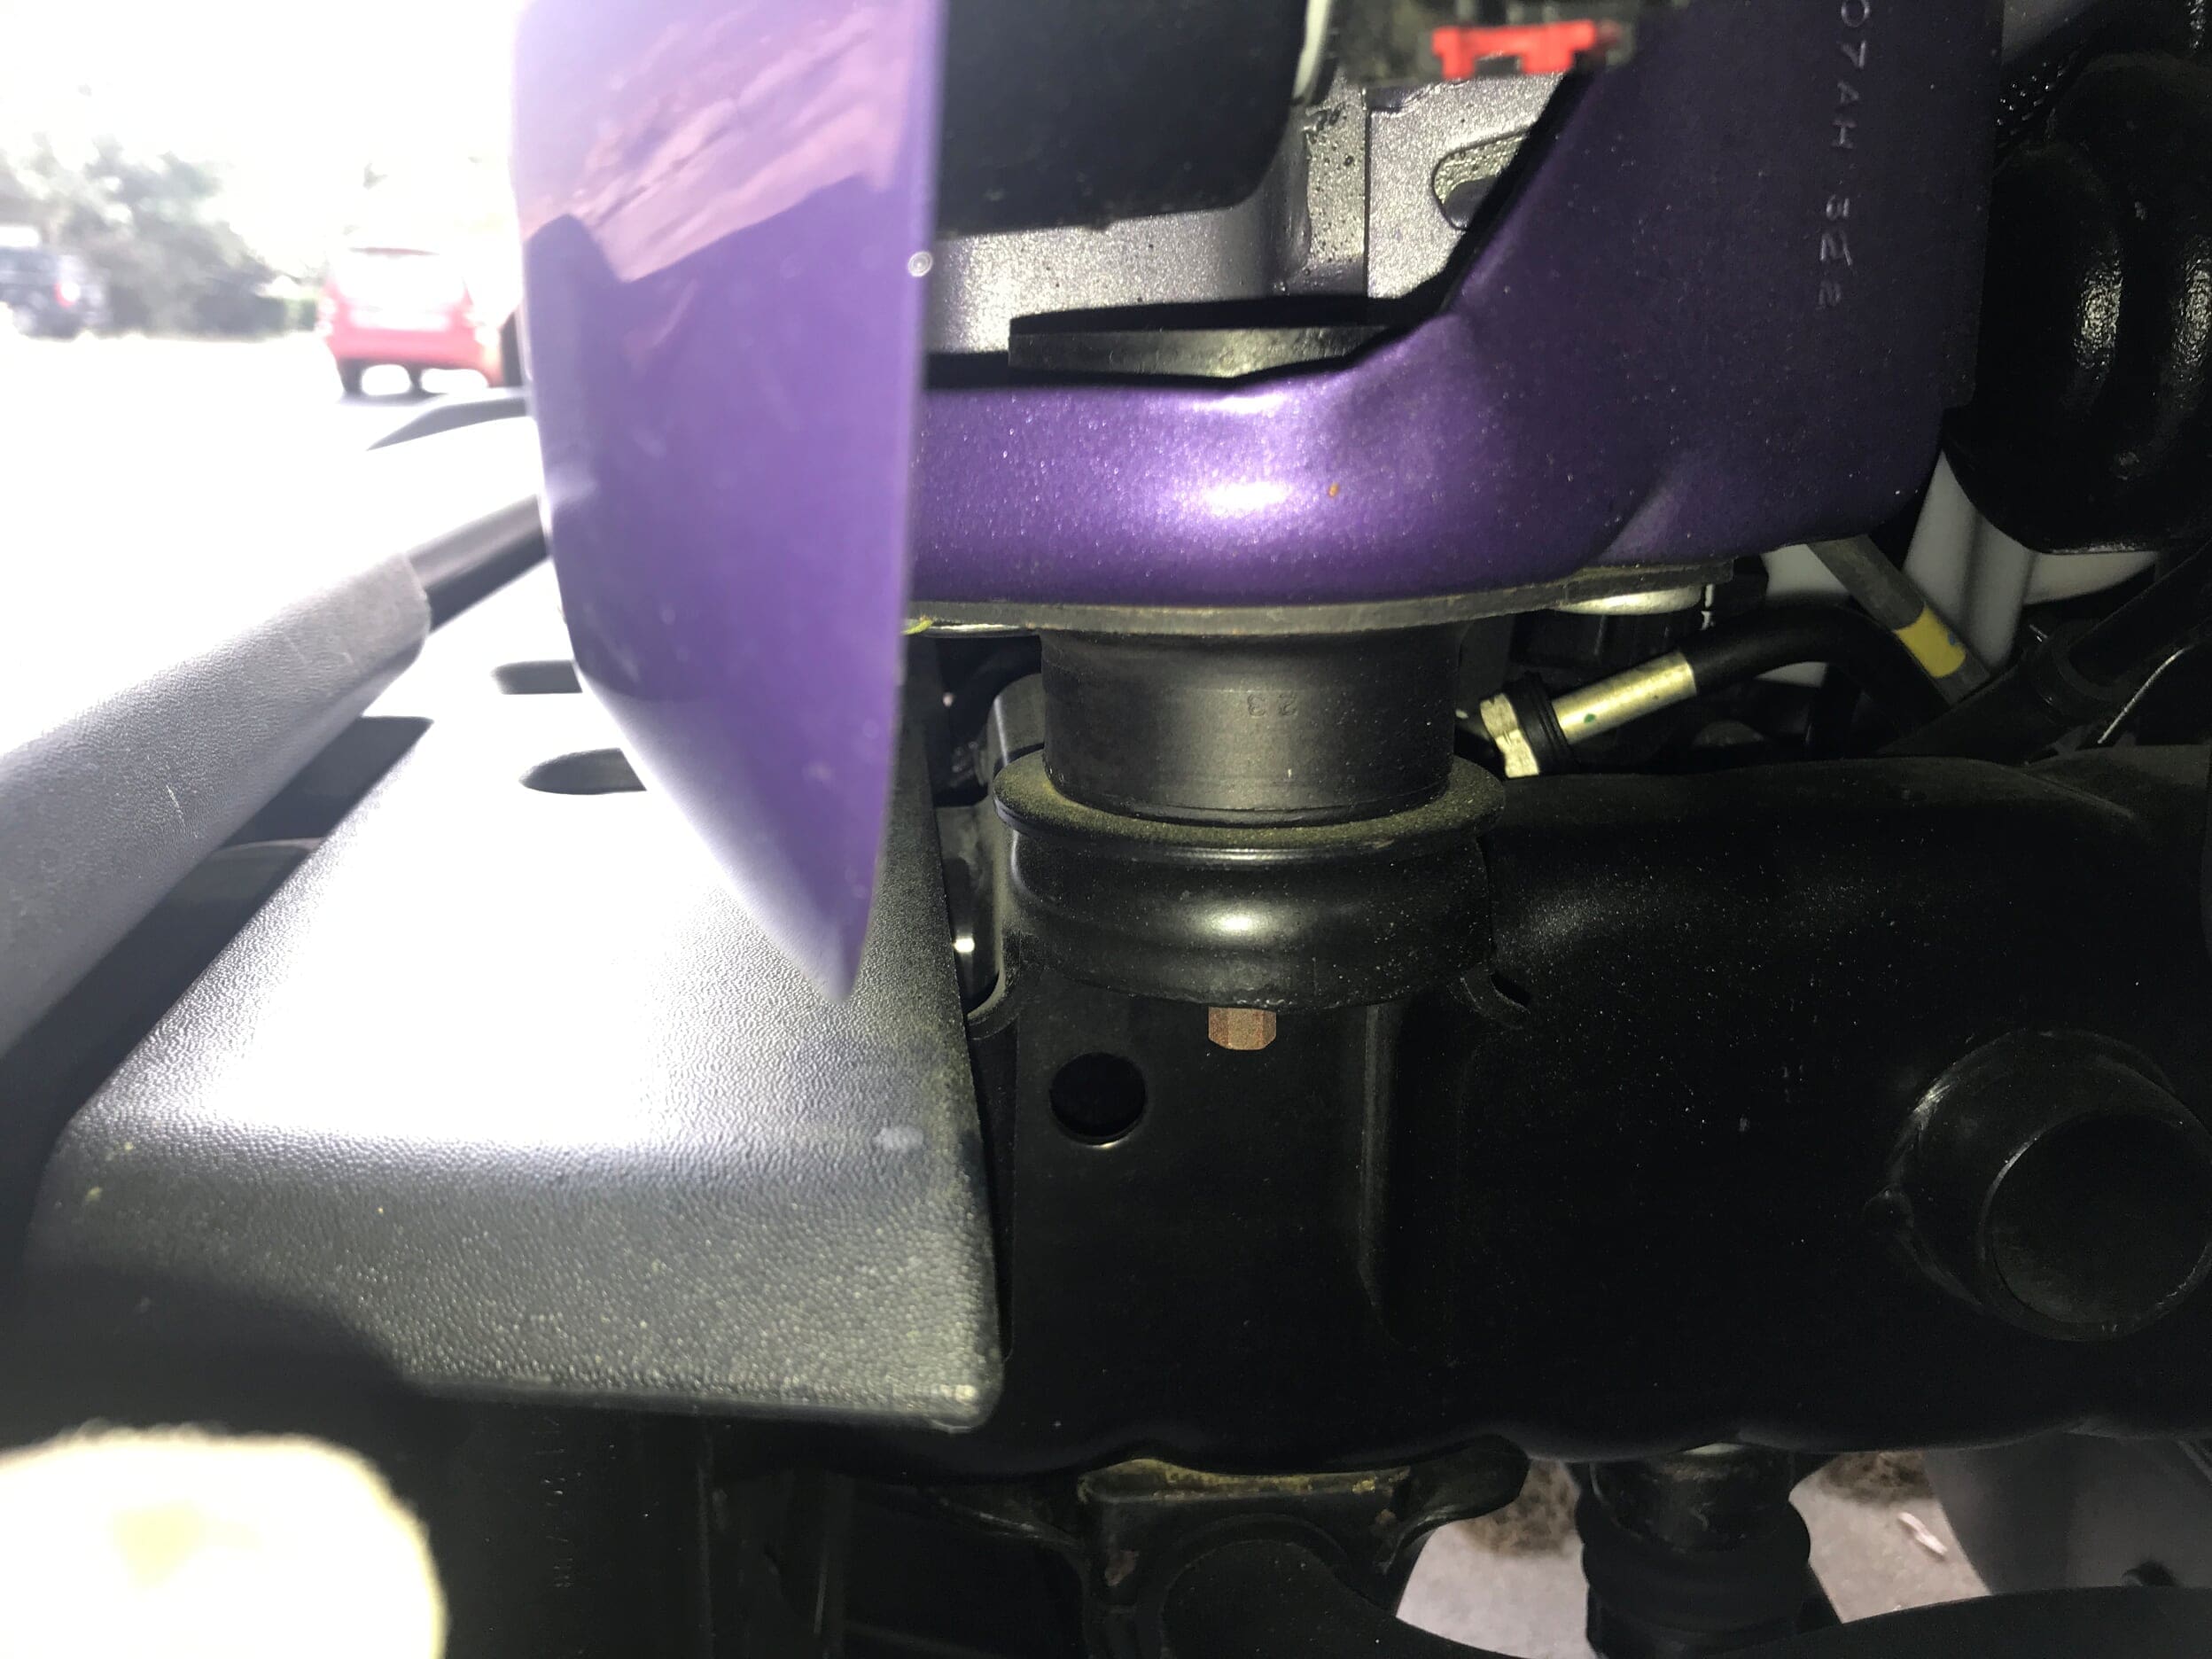
Lessons Learned
- Body bolts are clipped in – impact wrench released them nicely – otherwise, you will have to get creative to pull bolts.
- Floor Jack cross beam is highly recommended for a more stable lift. Allows you to use 4×4 lumber for spacers to jack your body off the frame.
- Remove your “nerf” bars to ease installation. With my nerf bars on I couldn’t separate the body from the mounts because the bars were grabbing the frame. If you have close in footsteps, rock rails or factory running boards, this may not be much of a problem. If you start lifting and your wheels start coming off the ground, it’s probably your nerf bars/aftermarket rails.
- Follow safety precautions to the T. Don’t mess around here folks!
Installation Video
Teraflex provides this informative video for installing the Teraflex body lift kit. I recommend watching this for reference along with the printed instructions.
Buy Online
Support our blog and purchase your Terraflex Body Lift Kit through our website. Thank you!
- 1.25″ Body Lift Kit
- Easy to Install
- Automatic Transmission Only
Affiliate links & Product Images are from Amazon Product Advertising API.
Website
Visit: Teraflex.com
Teraflex Body Lift Kit Review
In comparison to full suspension lift kits the body lift kit as super affordable and simple to install. You won’t need to relocate, move or replace any drivetrain components to complete this lift kit.
One “gotcha” that I had is that nerf bars/steps that connect to your body tub may bump into your body mount brackets causing a squeak. Normally you would have more room between the body mount bracket and your side steps. With a body tub attachment nerf bar and body lift kit you have reduced that space and may bump into the mount brackets causing an annoying noise.
2024 Update: Our Terraflex body lift kit has been installed for a few years and problem free!
We love hearing from our readers. Leave a comment if you have installed this lift kit or others and check out some of our other First Jeep Upgrades.

