It’s a beautiful experience and a fantastic achievement to climb your first mountain, and we hope with a little bit of preparation, some essential skills, and some friendly advice you will be able to report back with your own stories of fantastic summit ascents. Check out our advice for hiking a 14er and let us know how it works for you! We love hearing your feedback!
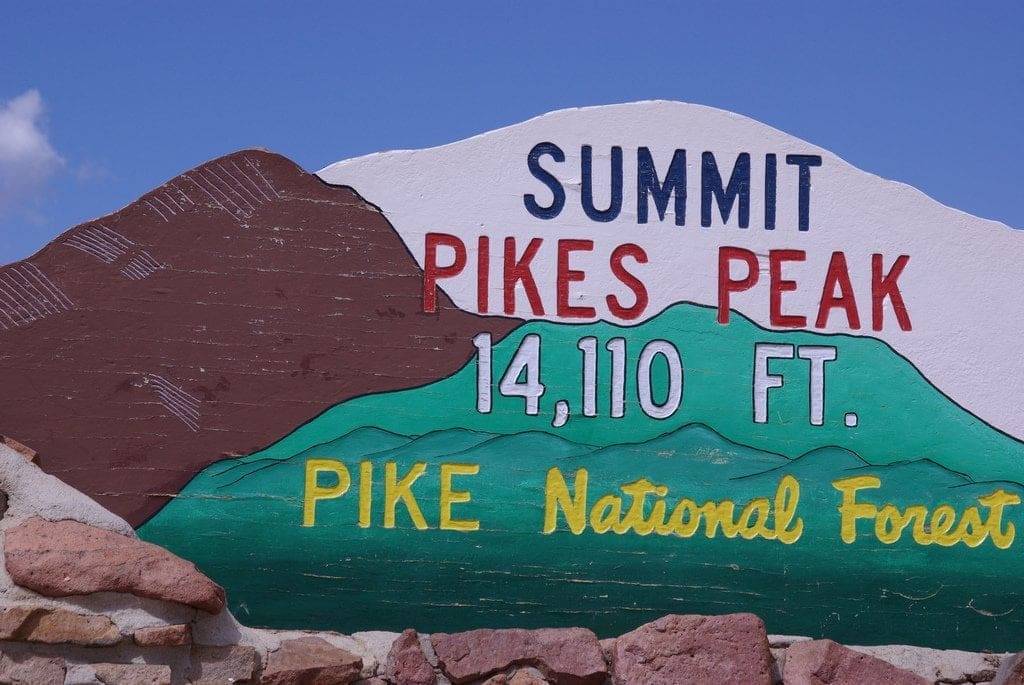
What is a 14er?
In simple terms, it is what is known as hiking up a mountain that is over 14,000 feet ASL (Above Sea Level). In the continental US, this means summiting some of the tallest mountains around – and seeing some of the most beautiful landscapes our planet has to offer.
Hiking a 14er
Climbing a 14er takes a bit of willpower, some basic knowledge, and some physical fitness ability. We’ve outlined a few topics to help you summit your first 14er – everything from simple training exercises to packing recommendations and proper acclimation.
With a good training plan, good gear and to be honest, some good willpower, you too will be summitting 14ers in no time!
Hiking a 14er Training Plan
No beginner guide would be helpful if it didn’t offer some essentials for training. Hiking a 14er is a stressful proposition for many people regardless of fitness levels. Altitude, Alpine Climate, and Terrain all put a toll on your body, and these are some simple suggestions to help you train. If you are out of shape and beginning from nothing, you should consider a physical exam – especially if you already have any medical issues or concerns.
The beauty of a training plan for ascending your first 14er is that it’s not unique or special – it’s stuff you can do in your backyard and at your local gym.
Aerobic & Cardio
- Jogging
- Swimming
- Stair Stepping
- Hiking
- Cycling
- Rowing
Strength Training
- weight training
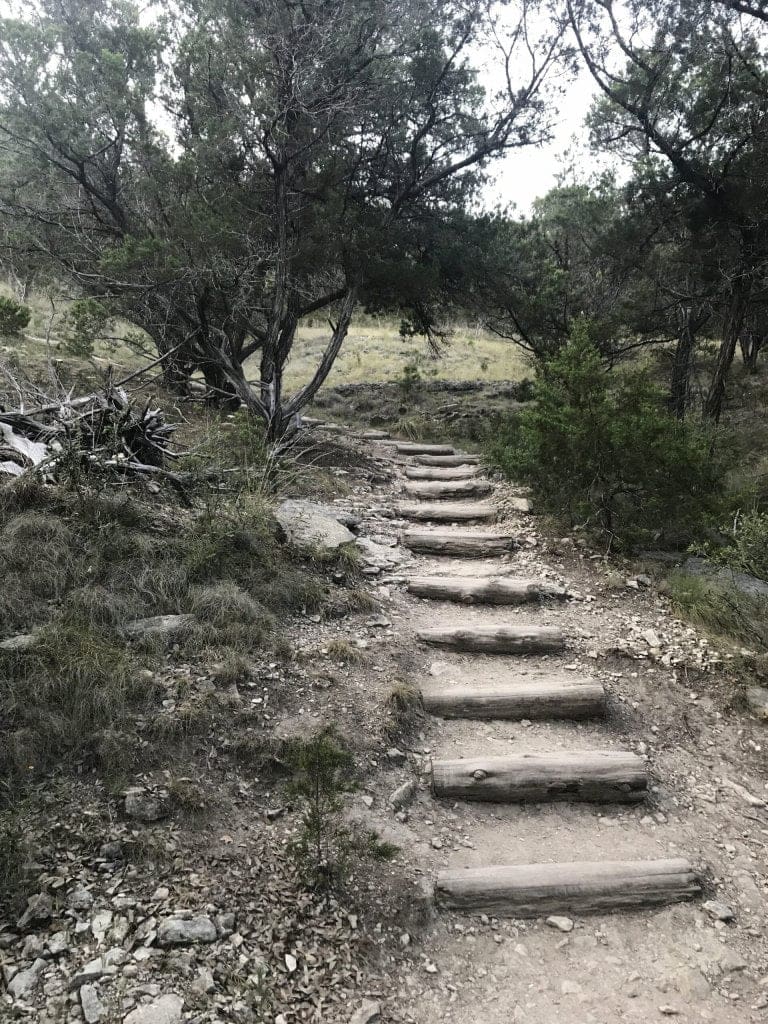
Trail Hiking
Get out and enjoy some hikes and altitude gain/drops in your local trails. Nothing helps more than consistent training on the trails. A lot of the dexterity and muscles you need for a successful ascent are ones you can develop anywhere that you have access to trails. Trails with rugged, rolling, and uneven terrain help best simulate what you will experience on a mountain. Paved trails may be great for a local stroll through the park but otherwise don’t reflect training one desires for building strength in your ankles, legs, calves, and strength to improve balance while walking along the varied terrain.
Train with what you will need
I suggest carrying a hydro pack with water, snacks/food, and some of the equipment you’d normally have on you. Nothing is worse than feeling great about conquering your training program and working on all your local trails only to realize that those extra few lbs. of gear you need to plan for end up making that much difference.
It’s better to have trained and learned what to expect than to start hiking up the mountain only to realize not only is it harder than you thought but carrying a pack with some essential item’s sucks. Inversely, you don’t want to leave your pack and end up on the mountain cold and wet or parched and exhausted from being ill-prepared. So, train with what you need, and you will appreciate having done so.
Best time to hike a 14er
From my personal experience, the weather plays a huge role in planning the best time to hike a 14er. You should make yourself aware of the weather, aware of the climate and plan accordingly. While it may be hot and humid summer in the heart of Texas by early June, it could still be snowing up in the mountains. Make sure you know the forecast and plan accordingly.
Hiking a 14er in Summer
Leave as early as you can! During the summer months, afternoon thunderstorms are the norm – these typically happen around the 1-2 pm time frame. It’s best to summit around 11 a.m. and be down from the mountain by 1 pm. This means in most cases leaving as early as possible – even before sunrise (with appropriate lamps/lights) to get a head start on the trail.
Hiking a 14er in Winter
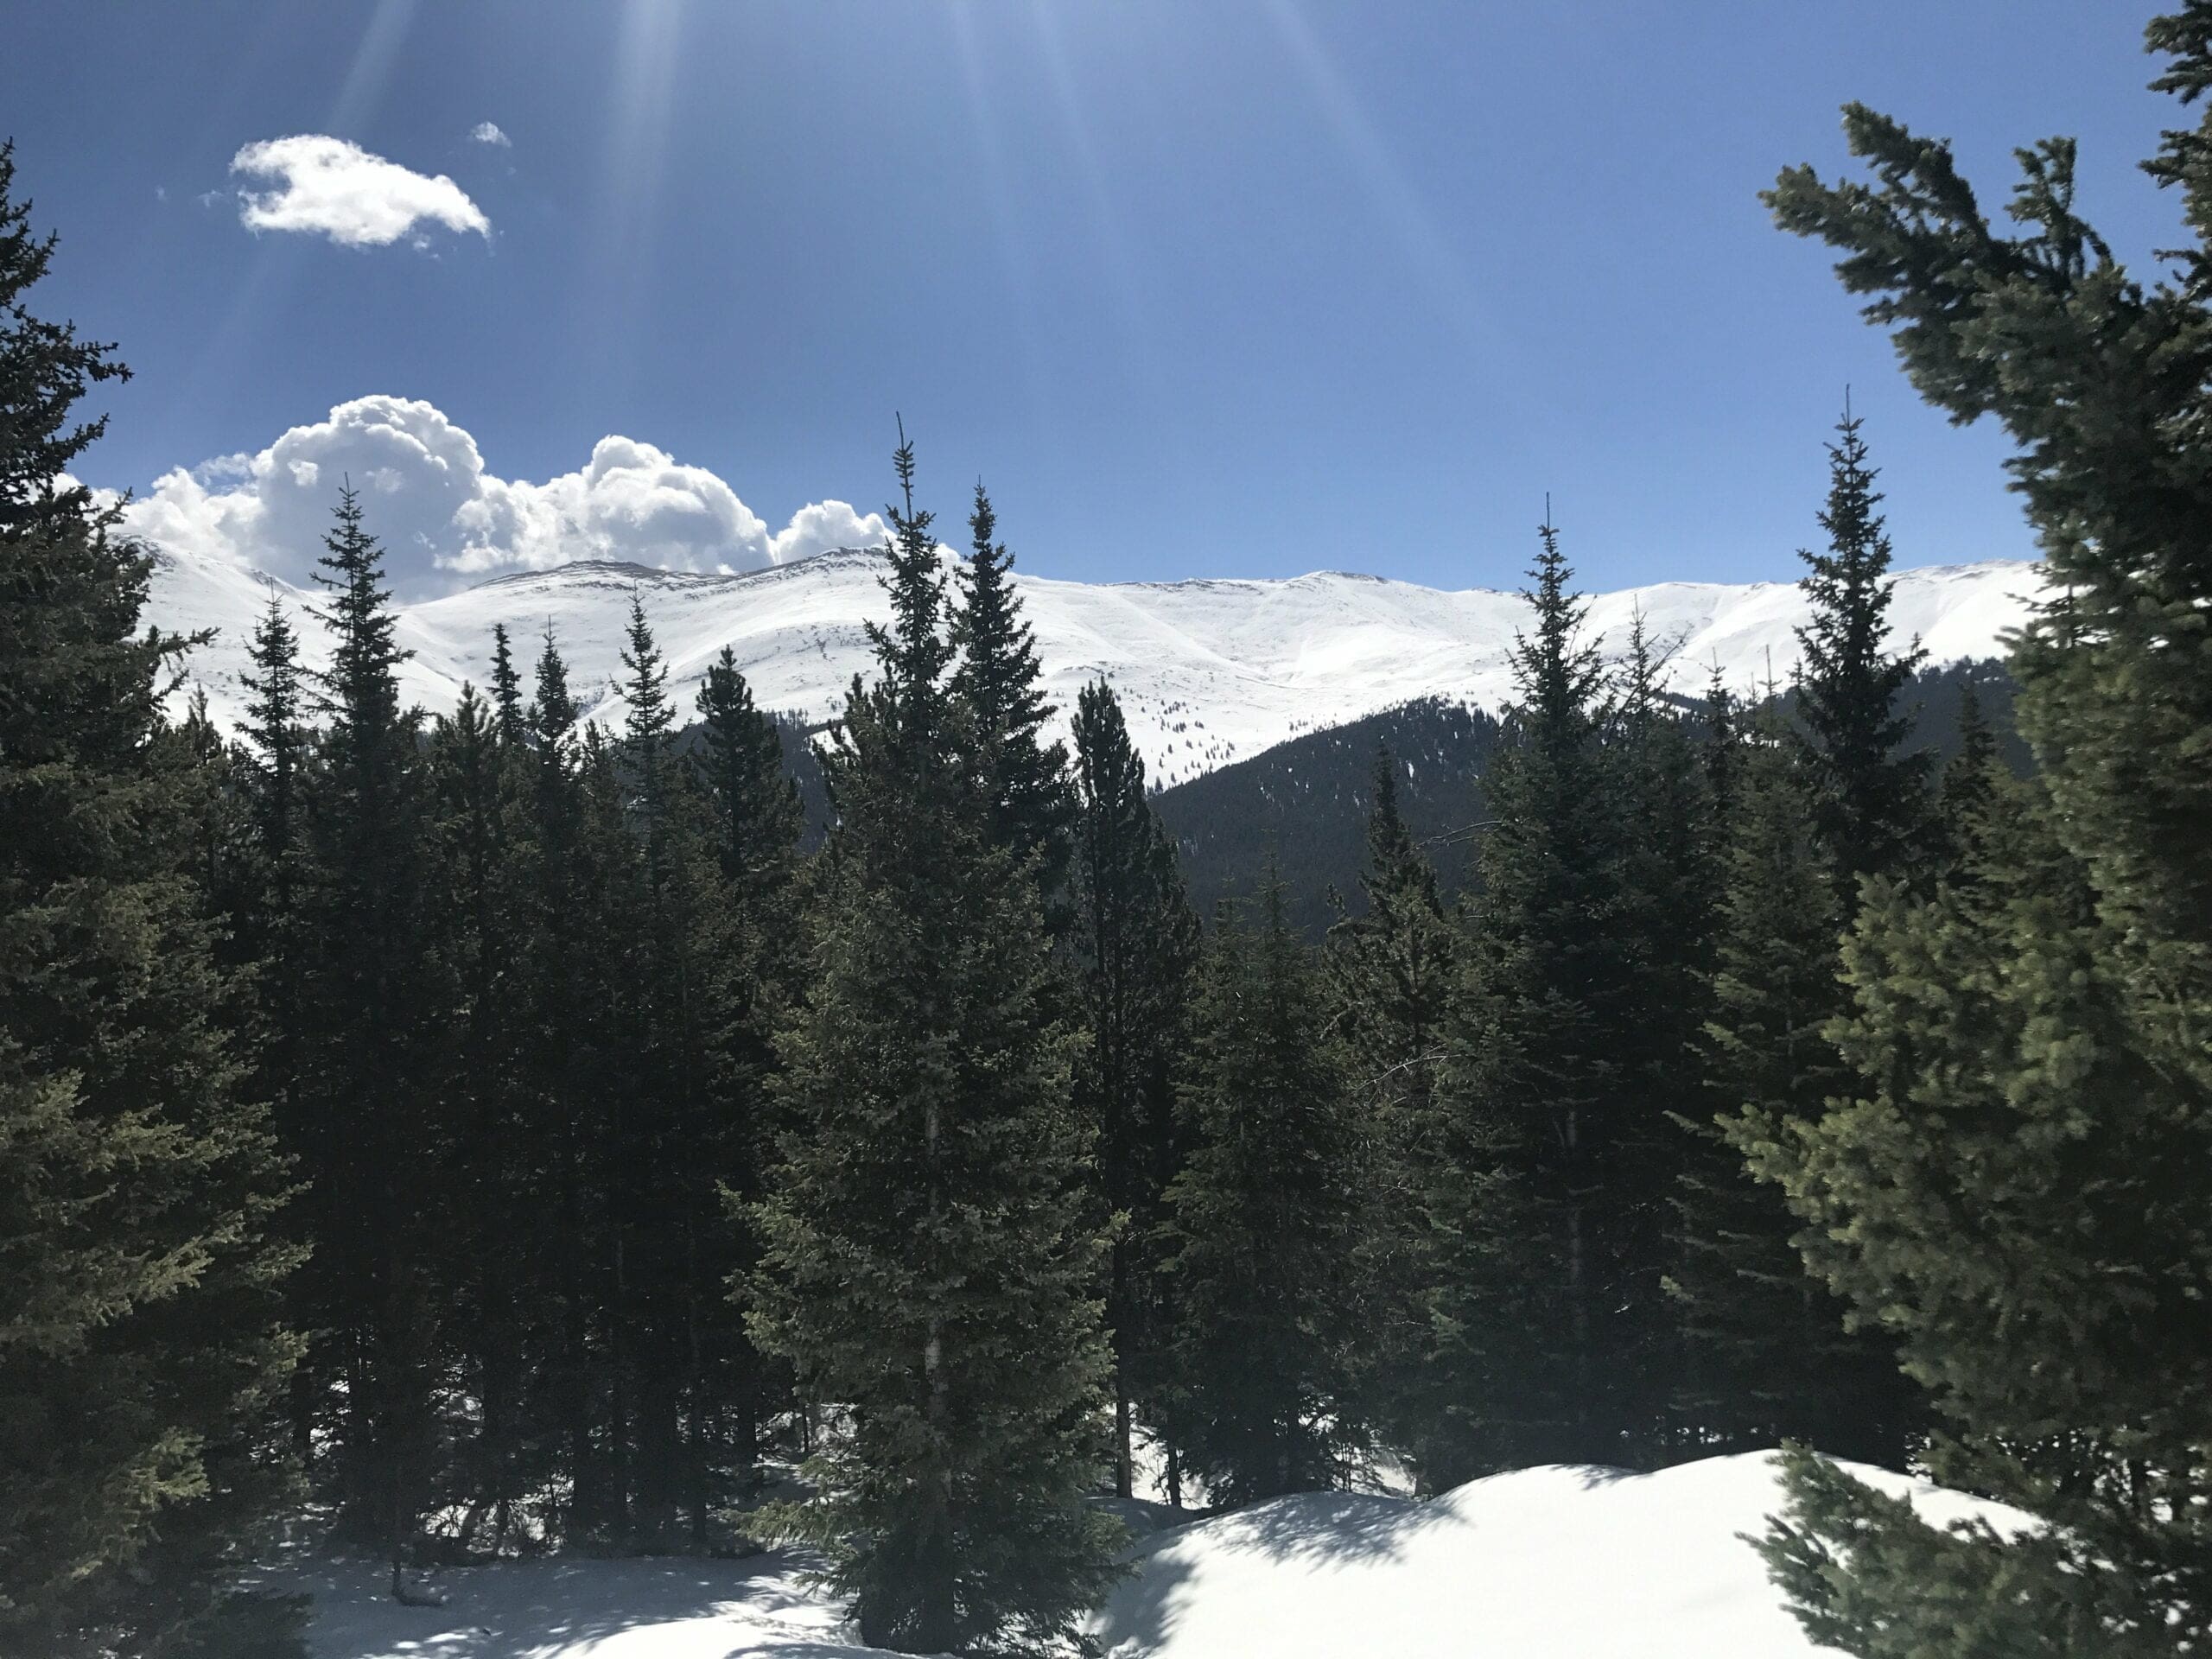
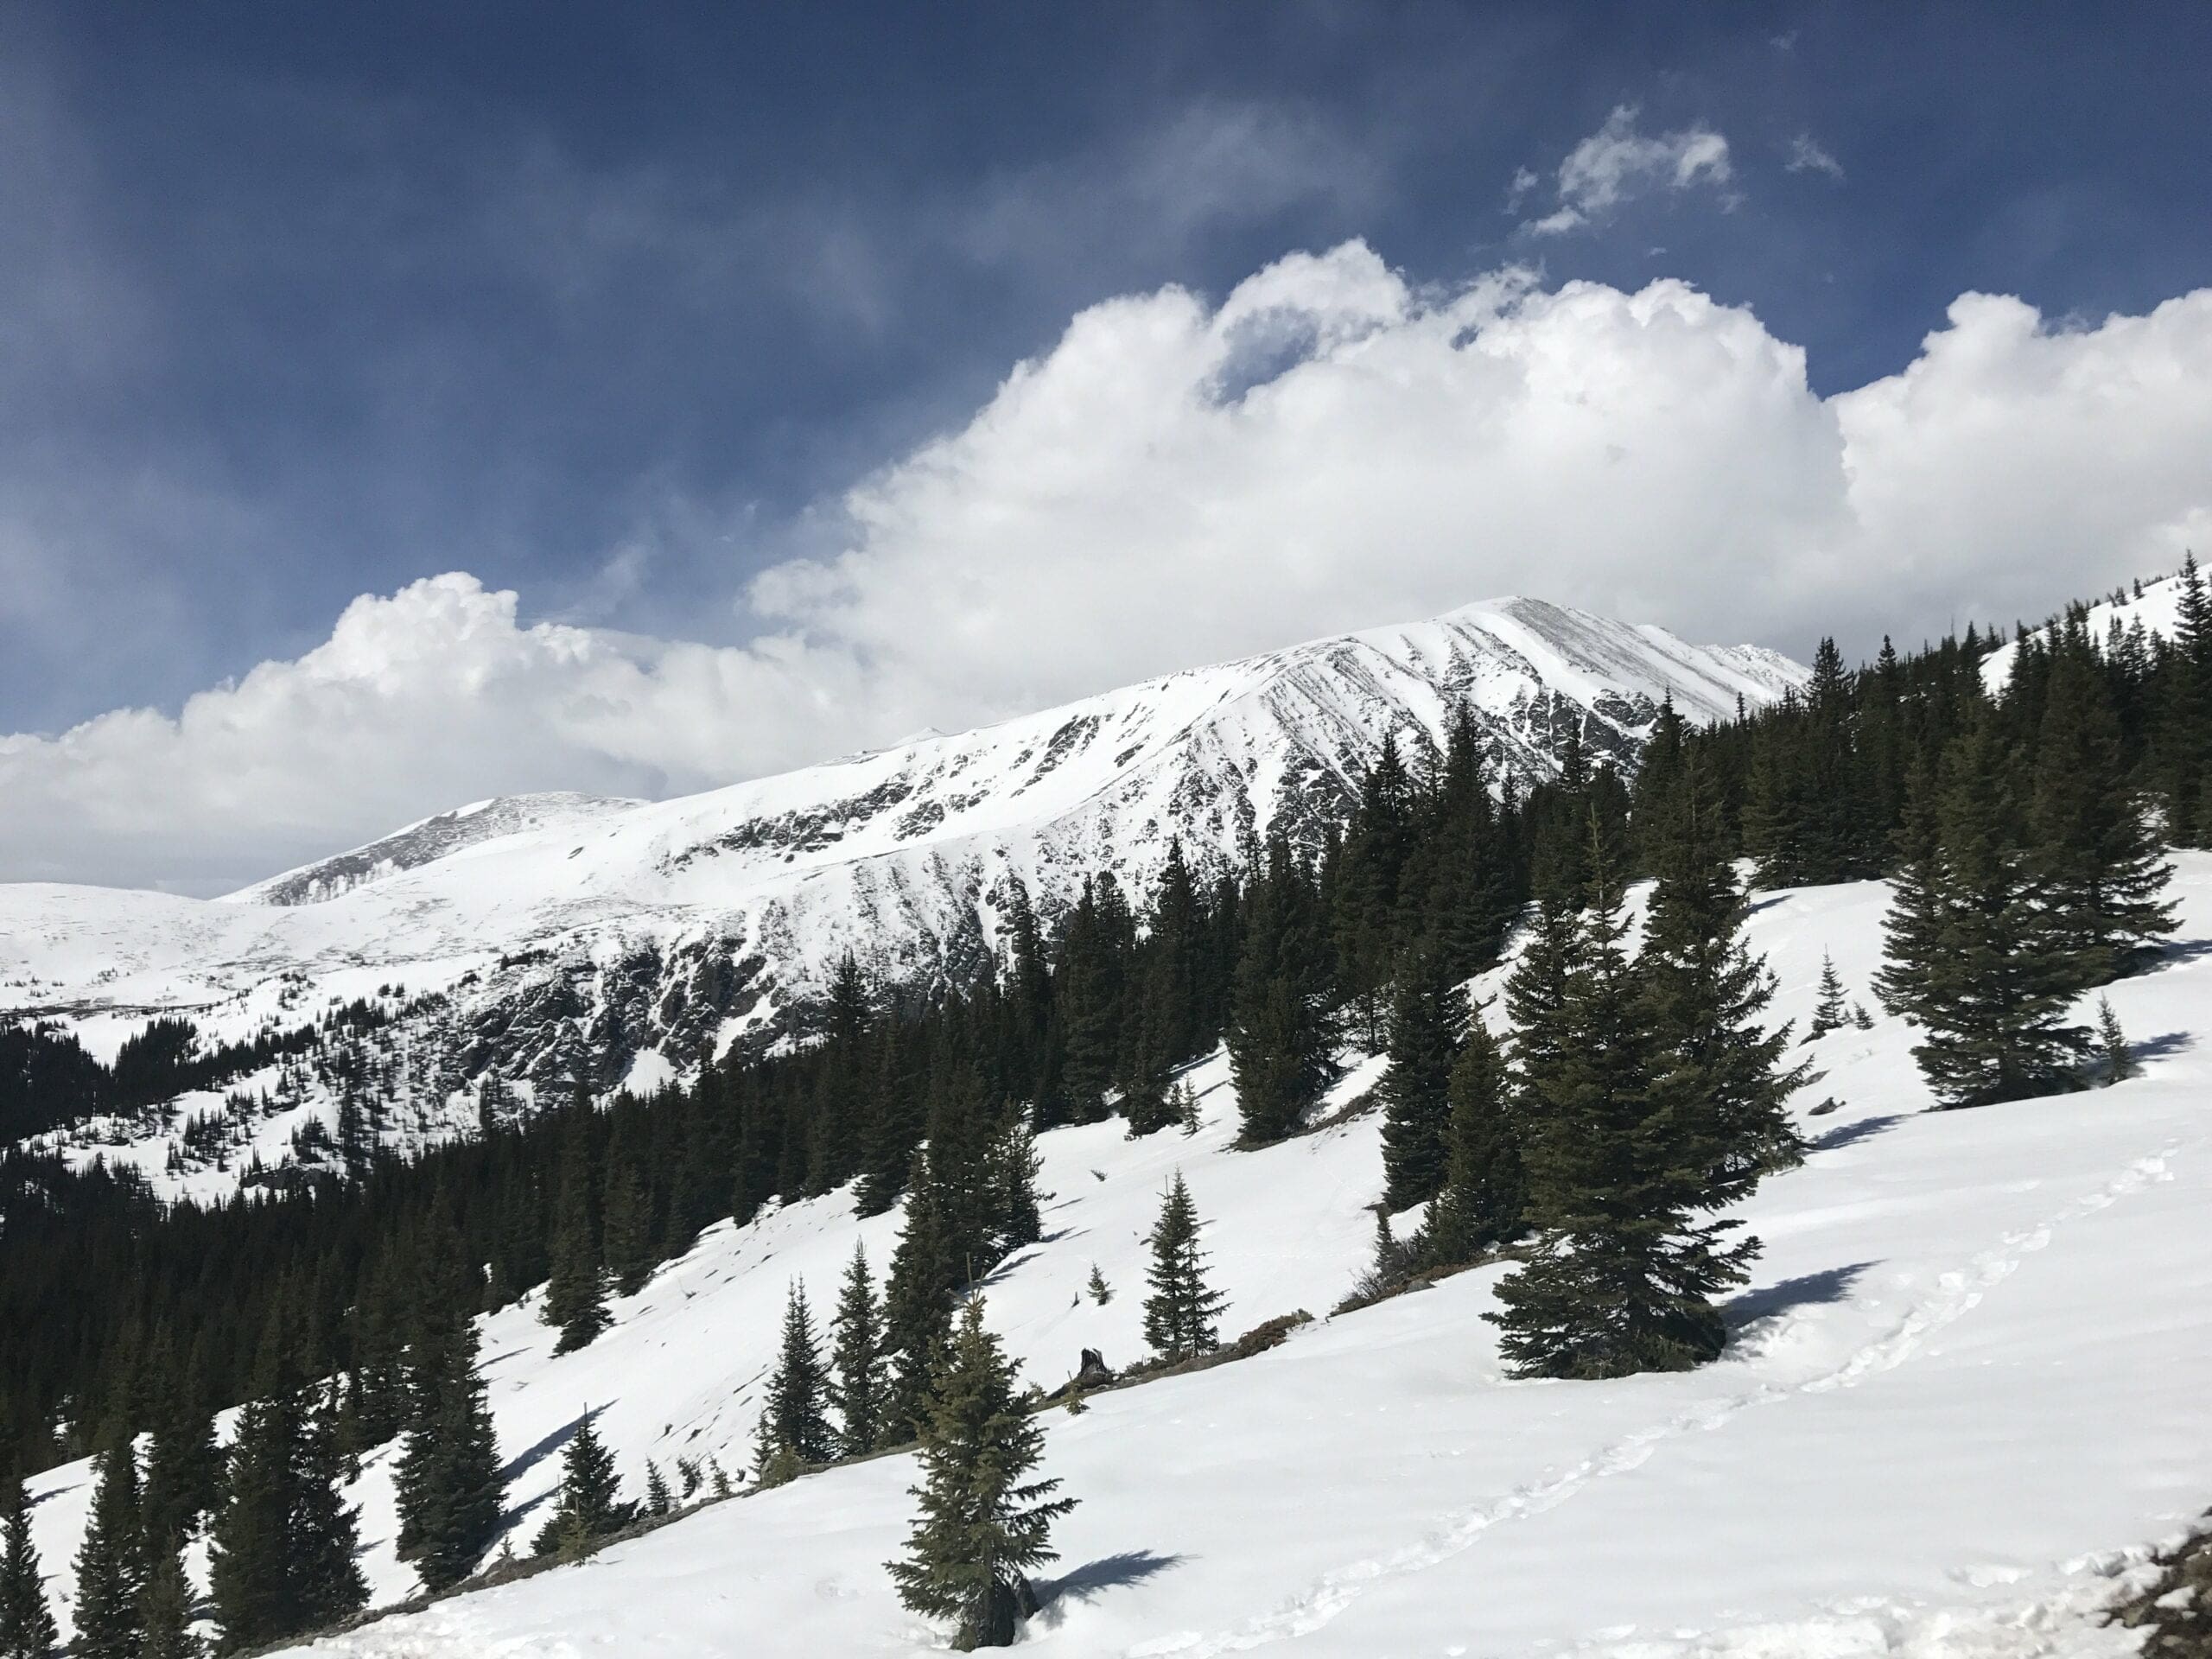
Just like summer, winter weather can be amazingly unpredictable – yet predictable. The pattern is the same. The sky can be blue and the next thing you know there is a winter storm. Don’t forget that the days are extremely short during the winter, and you should plan accordingly. I would not advise summiting during the winter without having any prior experience or support with an experienced guide and outfitter who can help you.
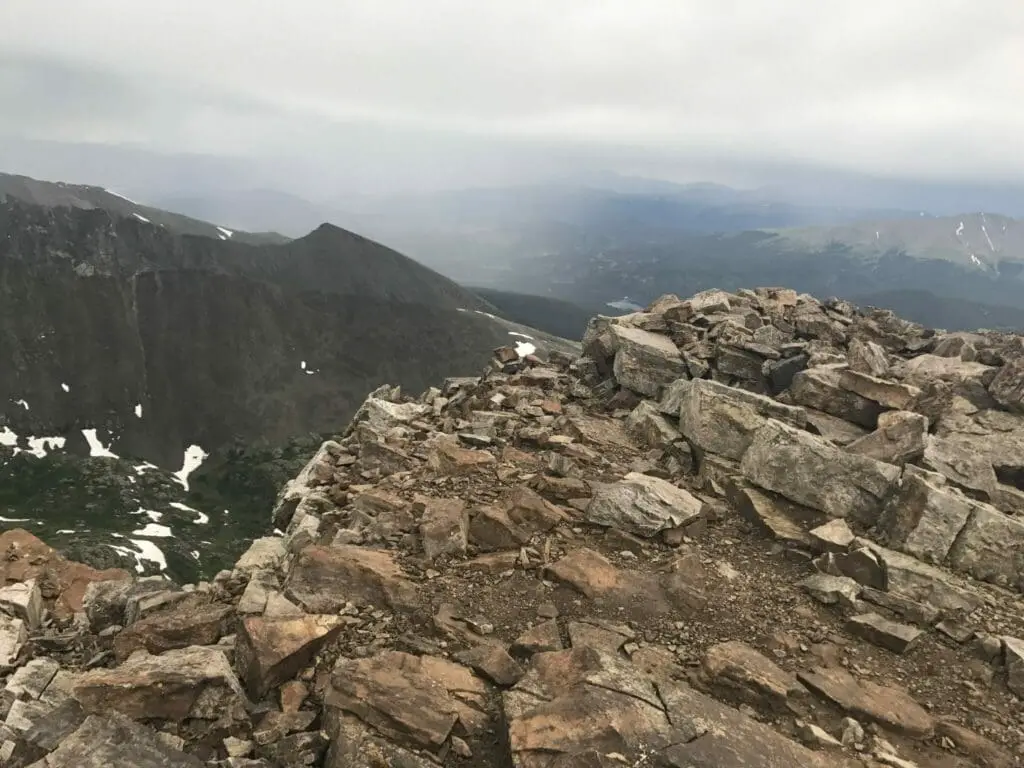
The picture below looks like an awesome winter view, but it was the first week of June. Alpine summits may not be cleared of winter snow (or may still experience snow) well into early summer.
Hiking a 14er for Beginners
When planning your first attempt to summit a 14er, I would advise planning for mountains with specific traits. This includes:
- well maintained trails
- well-marked trails
- close to civilization
- secure/safe parking
- frequent traffic
- Stay within the range of communications
- nothing “expert” rated
A good trail for beginners isn’t one where you start at 5,000 feet and hike up another 9,000+ feet to reach the top – Doing nearly 2 miles of altitude gain is impossibly hard unless you’re already in great physical fitness – save these adventures for future goals. New hikers should focus on a mountain that they can safely ascend within a ~ 6-hour window from ascent to descent and one within their physical and mental capabilities.
I would avoid making any plans where you are committed to summit a mountain in order to get to a destination other than your starting point. For most people new to mountain hikes, it’s hard enough to go up and down the way you came, adding the stress of having a waypoint further down the trail is often a recipe for disaster. You want to make sure that if you can’t make it that you can easily turn around. Don’t commit yourself to climbing that mountain and making it through to a remote destination. Through hikes are a wonderful experience, but I don’t believe they should be your first experience – in the context of achieving your first 14er.
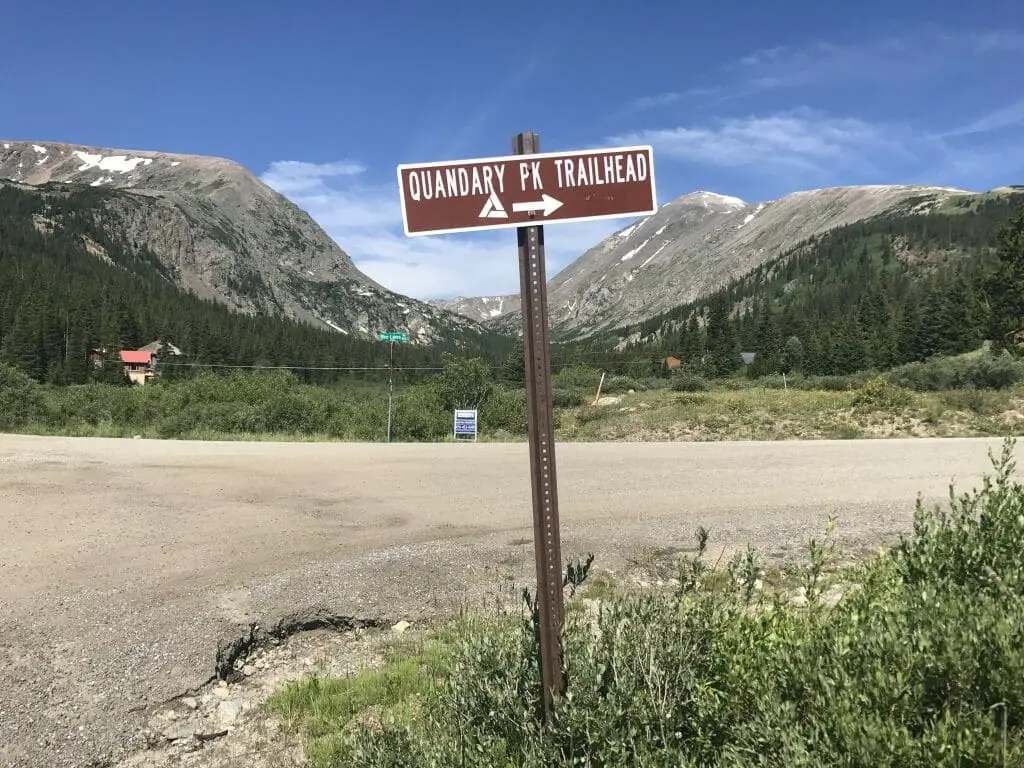
Quandary Mountain – My first summit was Quandary Mountain in Breckenridge Colorado. Check out our ascent of Quandary Peak. If you’re looking for an amazing hike, lots of wildlife and views you will never forget, Quandary is a great first summit. The trail is busy, well-marked and Breckenridge makes an awesome base camp to acclimate at!
Acclimate to Altitude
If you’re not already adjusted to alpine altitudes, make sure you give your body time to acclimate before you attempt to ascend a 14er. Arrive at your base camp/area a couple of days in advance. Be sure to drink plenty of fluids and do short heights and activities in the surrounding areas. Failure to acclimate yourself before attempting to climb a 14er – especially if you don’t live in alpine areas – is one of the single biggest reasons people fail to summit a mountain or swear never to return and attempt another if they do successfully climb.
An average person may need 3-4 days (or more) to acclimate to altitudes above 8,000 feet. Failure to acclimate usually results in headaches, nausea, dizziness, and shortness of breath.
From my experience, if I fly into alpine areas, my acclimation takes a day or two longer than If I drive into these areas.
Altitude sickness! It can strike without warning and strike hard. Acclimation and plenty of hydration is a wonderful way to prevent altitude sickness.
Hiking a 14er checklist
Don’t leave home without packing the following essentials. Water, Food, layered clothing, and a map are just a few of the items that help you stay safe, comfortable, and focused. Your goal isn’t just to summit that peak but to do so safely and without unnecessary risk and discomfort.
Gear checklist
- Quality Shoes / Boots – Good boots that breathe and offer grip and stability are critical.
- Breathable Shirt and Layers – Layer up with moisture-wicking clothes that you can easily add/remove. Layers will help with unpredictable weather and assist your body with changing temperatures and different levels of exertion.
- Windbreaker/Rain Gear – It’s often windy at altitude and if there is any precipitation – wind + rain + altitude can drop the temperature and increase the risk of exposure/hyperthermia. Raingear + layers = warmth and comfort. Don’t skimp here!
- Gloves – Keep those hands warm as well as offer protection. Lightweight gloves can also be great when using hiking poles. If you’re hot and muggy starting out in a dense forest you may think you don’t need them, but if you’re at the summit and a cold wind is blowing, you will wish you had them.
- Map – Trail maps are a necessity. Printed maps don’t need recharging or batteries. If you’re looking for great electronic maps, we really enjoy Gaia GPS Maps. Gaia GPS is great for mapping, tracking, and saving your routes!
- Water – Stay hydrated and drink fluids constantly. Bring more water than you think you will need.
- Snacks – Bring easy to eat/digest snacks. As you get higher in altitude note that your appetite and taste for food will change. I prefer salty foods and trail mix style. Chocolate tastes great at lower altitudes but can be overpowering and unappetizing above the tree line.
- Sunscreen – Put it on and use it every couple of hours. Your face, skin, neck, and arms will love you. Plus, a good sunscreen can also help keep your skin moist and hydrated.
- Sunglasses – protect your eyes. The sun is bright and the wind can whip up dust and debris.
- Hat – Brimmed hats are great for shade and protecting you from the elements and help keep warmth in as well.
- Emergency Kit – Bandages, Whistle, ibuprofen, etc.. Small portable kits are better than nothing.
- Handheld 2-way Radio – (Especially if you’re going solo). Simple radios offer a great way to stay in touch on the mountain, stay in touch with base camp and many offer local weather.
- Camera – You will want photos to capture those awesome memories!
- Trekking Poles – I won’t do a trail with ascents/descents without them! Telescoping trekking poles don’t add much weight in your pack and are great at saving your knees and giving you more traction and stability.
Mental checklist
Bring a friend – Nothing beats getting to the top than getting to a top with a friend. A friend is a great companion to share the experience with and someone who can help you out if anything should arise. If you can’t have a trail buddy be sure to use a two-way radio with someone who is staying back. Two-way radios will often reach for miles as you climb up a mountain and are a wonderful way to keep loved ones up to date on your journey and status.
Eat up – You will need energy and lots of it. I found it much easier to have a good breakfast at basecamp than to try and snack my way up. I usually lose my appetite completely once I’m above the tree line.
Research – Know your route, read up on your trails – read trail reviews and check out others’ success or failure stories. Knowledge about the hike will help you along the way and pays you back in dividends. Make sure everything you’re researching is as current as can be – every season can bring new terrain, trail closures and massive changes to these mountains.
Legal Checklist
Some trails and mountain summits may require permits, fees, or permission from property owners before you can legally climb them. Make sure that you know any requirements before hitting the trail. Often these permits are used to help pay for maintenance, search and rescue and other services to keep them open to the general population. Please respect private property, posted signs, or required permit laws – we want to preserve our climbing and hiking trails for future generations and not risk closure.
Safety at Altitude
Listen to your body and don’t put your goals above yourself. You should live another day to try another day than to make a mistake that could cost you your health or your life. If you’re low on water, turn around. If you’re feeling sick and vomiting, turn around. If for any reason you can’t think straight or find yourself dizzy and out of disarray or stumbling and losing balance, turn around – any of this could be symptoms of altitude sickness, dehydration or issues with improper acclimation and it’s best not to do anything but safely turn around.
If for any reason you do start to feel altitude sickness – turn around. Take your time, take rests, drink water and snacks to maintain energy and hydration levels. Do not under any circumstances attempt to take any shortcuts or try alternative trails back. Stay on the main trail and ask for assistance from passersby if you need any help for any reason. Everyone on that mountain is out there because they have a passion for the outdoors and I’ve yet to run across anyone who wasn’t extremely nice and helpful or would refuse to assist. Asking for help is not admitting defeat. That mountain will be there for another day and another climb.
Protect our trails
Finally, if you pack it in, pack it out. Let’s keep our trails natural, beautiful, and protected for all to enjoy! Don’t litter, leave trash, or destroy public or private property. Many alpine summits are protected fragile lands, so stay on marked trails and follow posted signs for any closures and restrictions. Tread Lightly and enjoy it.
Have Fun
Take your time, sit down, and take frequent breaks to adjust and enjoy the scenery. Your first ascent shouldn’t be a world record attempt not will you get any brownie points for having the fastest time. Have fun, be friendly and be safe. Don’t forget to take lots of pictures so you can share them with us in the comments below. We would love to hear about your first trip hiking a 14er! Please let us know what worked for you below!
FAQ
What time should you start hiking a 14er?
I recommend you start as early as you can. With tall mountains, afternoon storms are common. It’s best to get up and down the mountain before these afternoon showers.
Can you hike a 14er at night?
You sure can. A lot of times, I’ll start a daytime hike well before sunrise. I would always advise you have a hiking friend and only do night-time hikes on trails you are experienced in.
Can you hike a 14er alone?
Yes. There is no law that says you must hike with a friend, but as always, Bring a friend. If anything goes wrong, you don’t want to be stranded by yourself. If you do hike alone, then I would advise trails with plenty of hiker traffic so that you are no “alone”.
What to eat before hiking a 14er?
I prefer high calorie, easy to digest foods. A great breakfast will go a long way. I found the higher I got up the mountain, the more I lost my appetite. Altitude does strange things like that. Eat well before you hit the altitude.
Pin it! Pin this to save it & Share!