Raxiom Jeep LED Halo Headlights Guide
The poor quality of factory halogen headlights is truly disappointing. They are dim, there’s a noticeable inconsistency between the left and right lights, and their output fails to adequately illuminate the road ahead. It can be difficult to discern whether they are on at all! For those who frequently drive at night, upgrading to LED headlights is a must, and the Raxiom LED Headlights with Halos are a great choice. We thoroughly enjoyed installing and testing Raxiom’s headlights, ending the experience with a broad smile and a renewed zest for nighttime driving – as if we needed more excuses to enjoy our Jeep!
Raxiom Halo LEDs
Right out of the box, you can see that the Raxiom LED Headlights are in a league of their own. The product feels solid, looks great and has some character to it. The chrome accent and center daytime running light feature give the light and your Jeep some character.
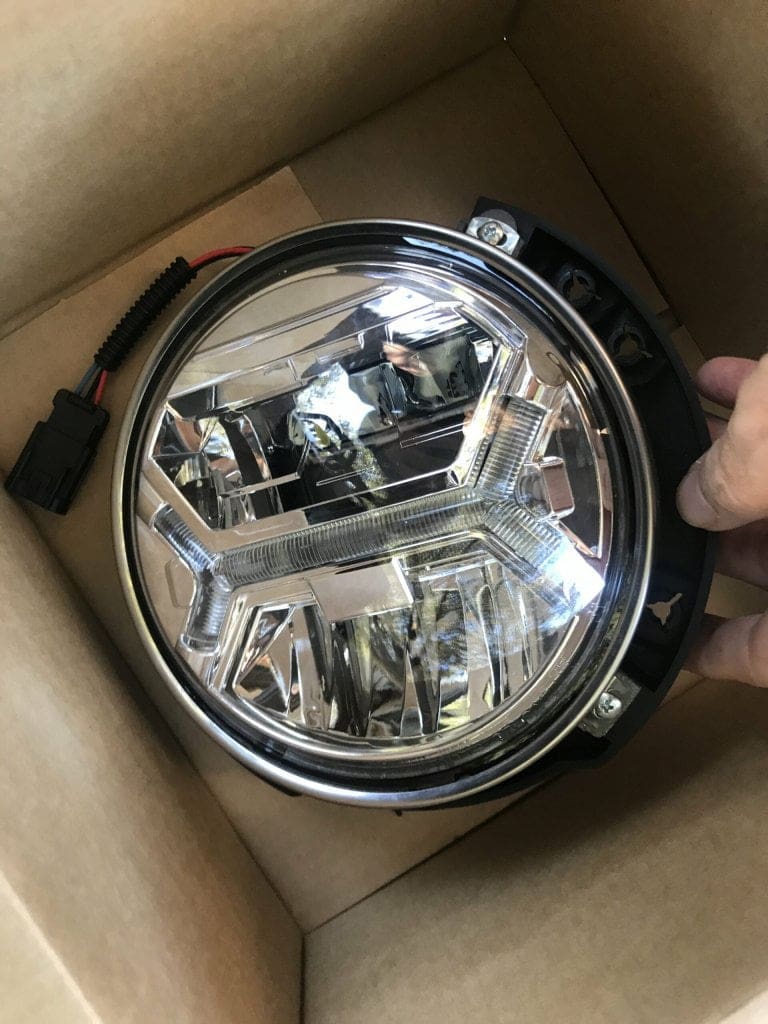
Raxiom Halo LEDs – Item J121872
- 6500k Color Temperature
- Two Year Warranty
- High Output Osram & Nichia LEDs
- Sold as a pair – left and right assemblies.
No review of aftermarket headlights would be complete without starting with the factory headlights, so let’s dive right in and start collecting some data to compare numbers and see how well of an upgrade these Jeep Wrangler LED headlights are.
Factory Headlights
The factory lights are astonishingly dim and soft/yellow light – and we took some measurements to quantify just how dim they are. It took a lot of courage and patience (it’s hard to have “new Jeep parts” sitting around waiting to be installed!!), but I managed to keep the old headlights in my Jeep for a few nights to take some measurements with a Lux Meter.
At night, parked out in my residential driveway I marked a spot about 20 feet from my garage so I could park my Jeep and measure the LUX reading of the lights before and after the upgrade.
Low Beam: Lux at ~20 feet – 750 Lux
High Beam: Lux at ~20 feet – 850 Lux – Not much more output – broader illumination.
(I estimated 20 feet because it was just a quick measure and where I parked, this isn’t 100% pure science here, just an experiment to see if I could collect some real data)
Overall Review of Factory lights
- Thin horizontal beam – doesn’t light up much of the “picture” in front of me.
- Yellow light – In cities with low light its hard to tell if my lights are even on.
- Doesn’t light the road much. Not a good brightness level. Low Reflection
- High beam is “OK” – not much brighter, but broader — decent visibility.
To measure the LUX output I used a handheld meter trying to stand in the middle of the brightest part of the beam. Again, since it wasn’t experimental conditions, most of these numbers are just decent baselines to work from – not an actual scientific comparison. If the numbers from the new headlamps change by any amount, these are good enough to know if the new lamps are brighter or dimmer as measured in LUX.
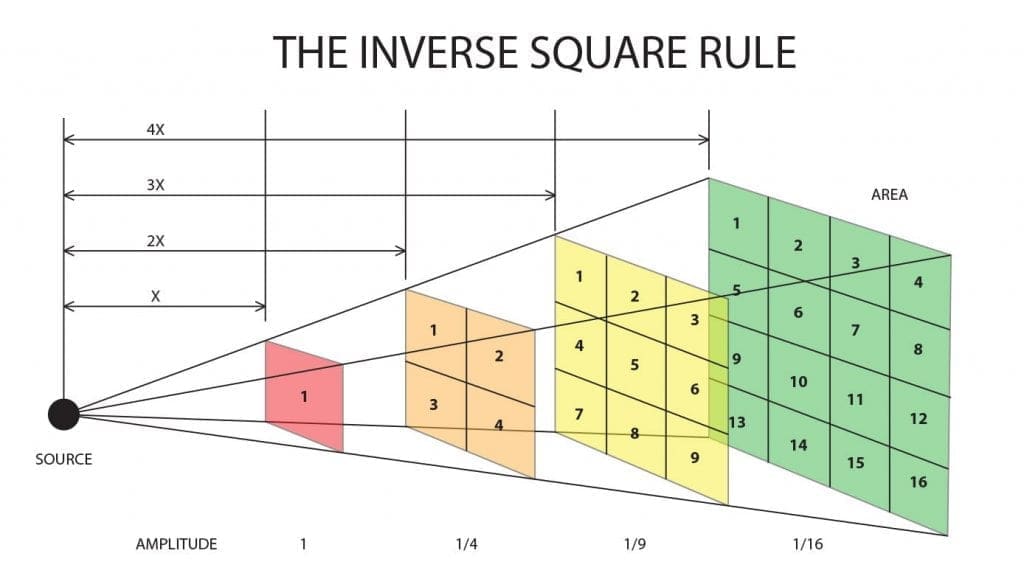
Measured in a purely scientific sense – without moon/streetlights and with calibrated instruments the LUX should measure using the “inverse square rule” which means at 10 feet a 2000lux would be 1/4th that at 20 feet and 1/16th that at 40 feet. To not end up writing a book about lights, I decided 20 feet was a good number to start from, and if people are interested, they could calculate the inverse square and figure out LUX at shorter/further distances. This is my first time using a light meter so I wasn’t as prepared as I wished I could be – and to be honest, I was too excited to replace the terrible factory lights that I was fine with personal experience review. Numbers don’t lie, but sometimes it’s hard to get the entire story from them.
Factory Headlights
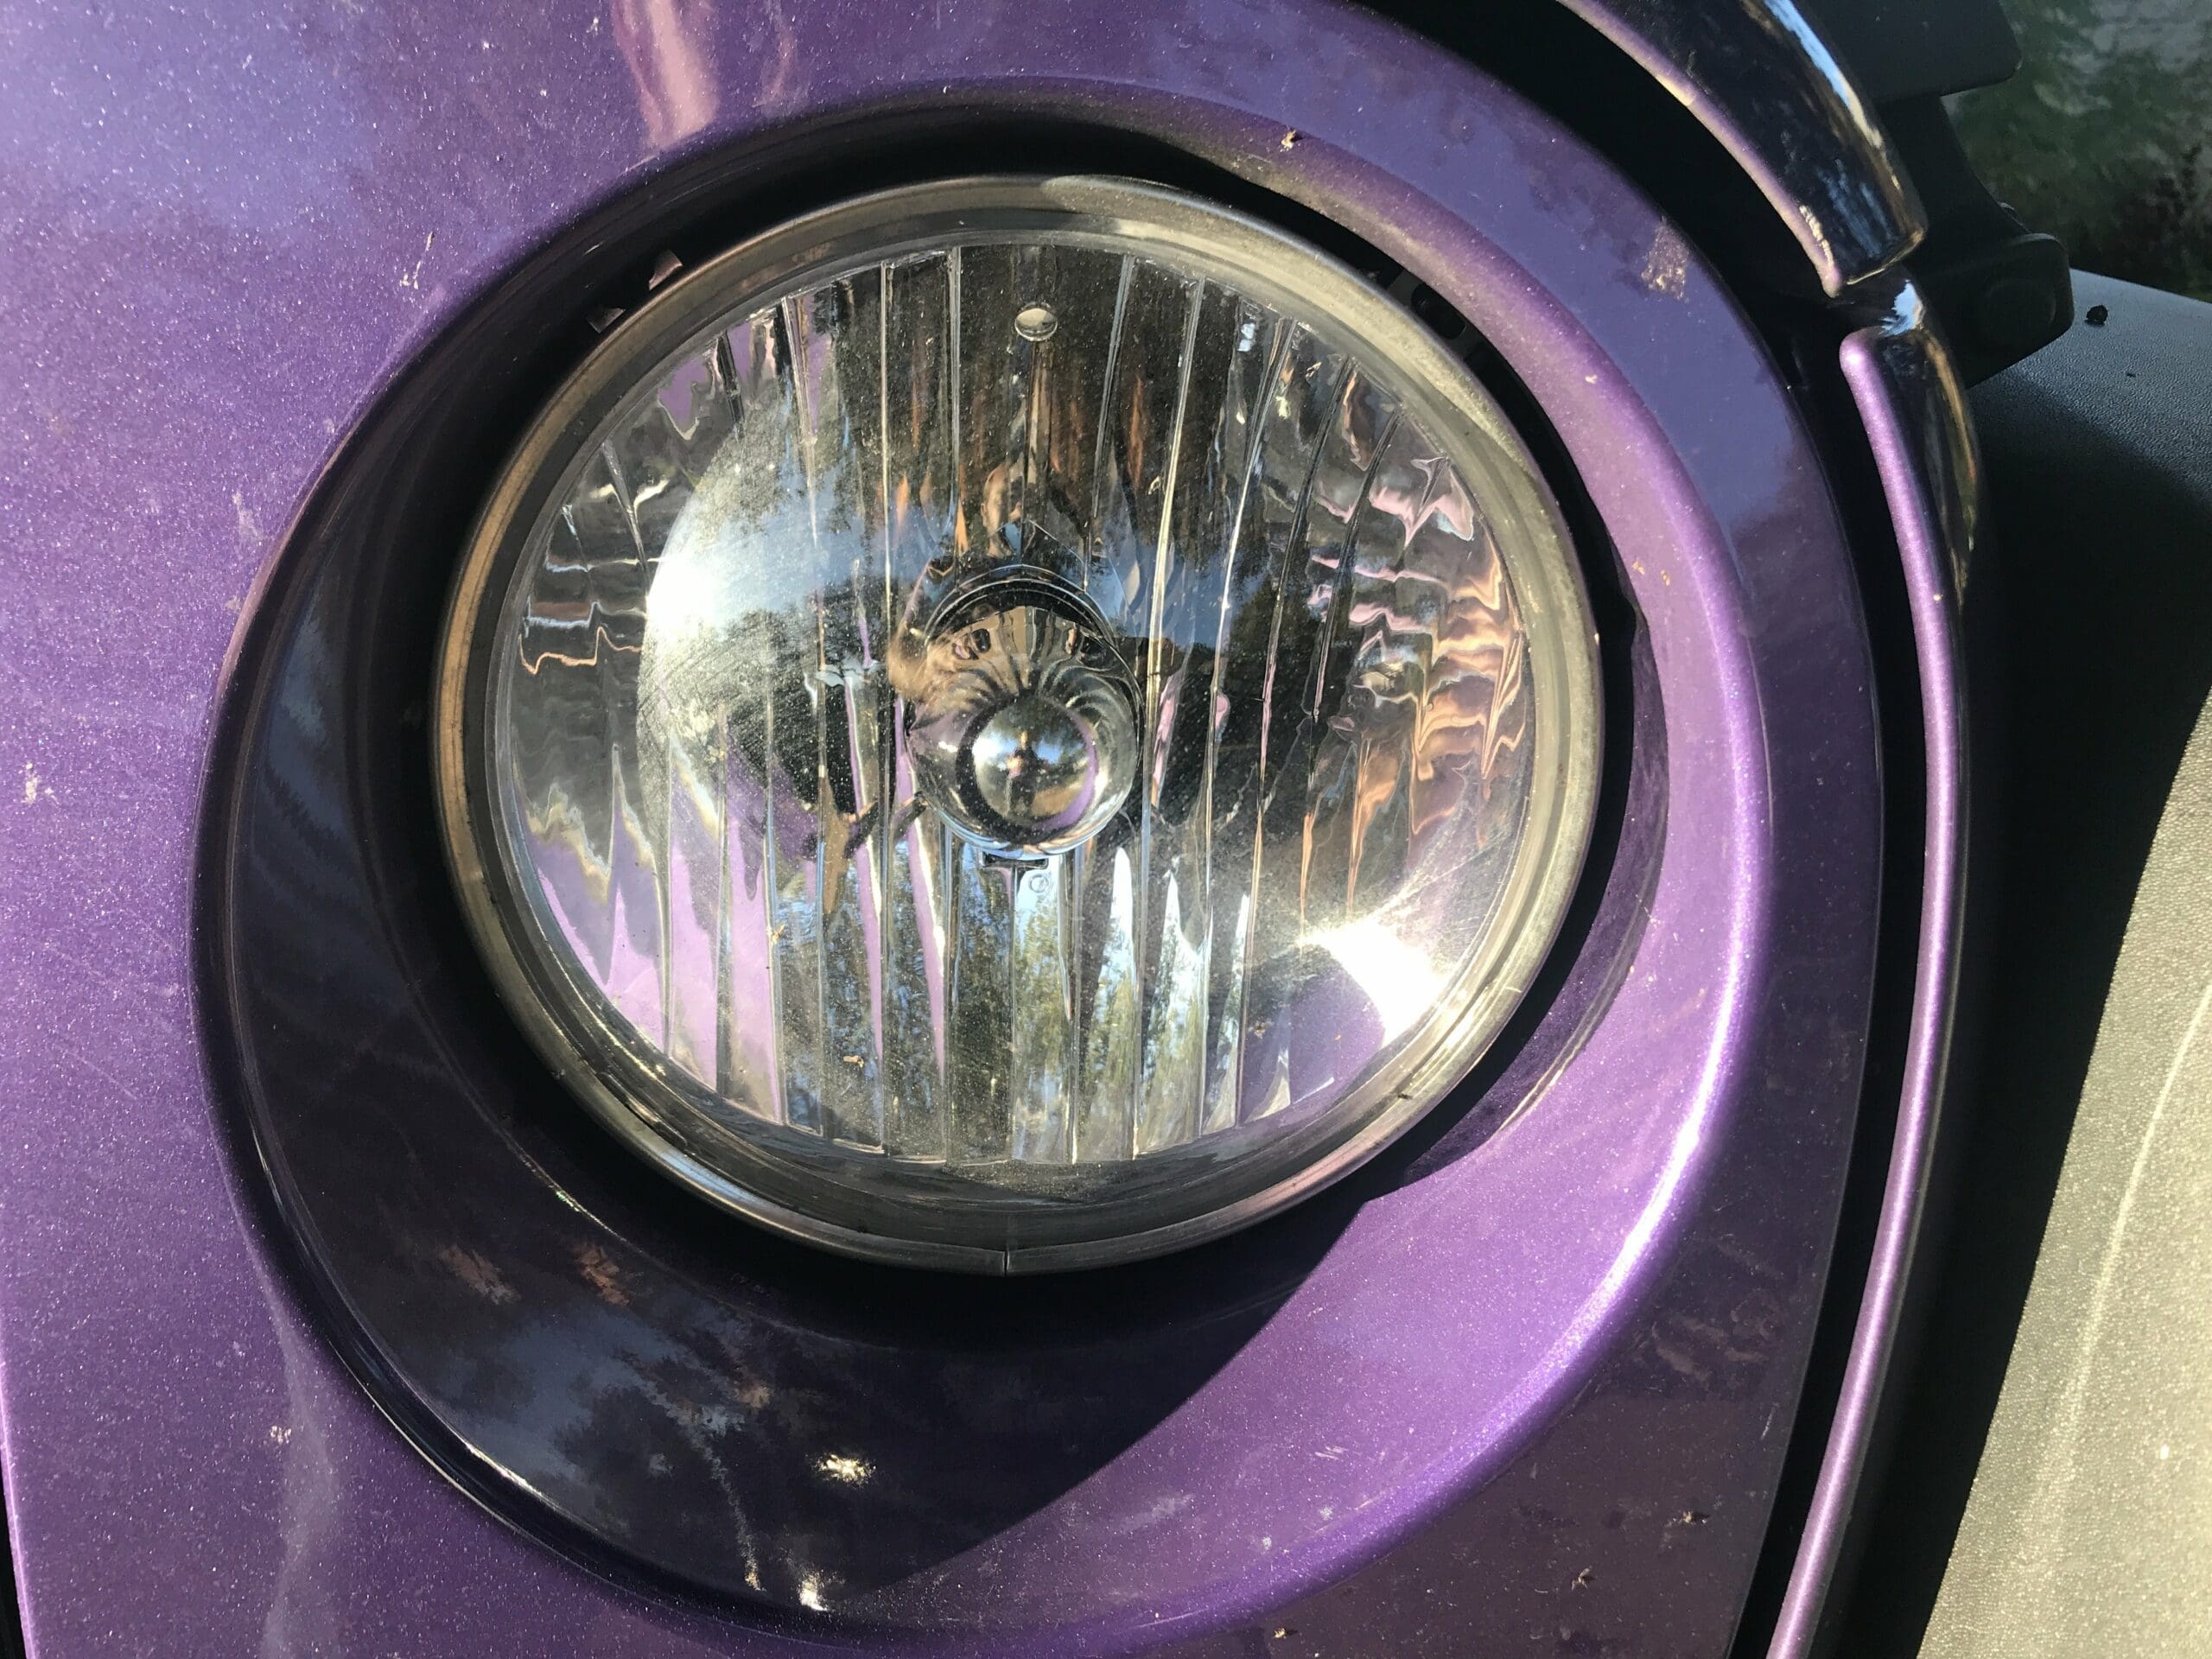
Pretty basic Halogen bulb and reflective assembly. Low beam and High beam options.
Now that we have some baseline comparison, let’s get on with the Install!
Installation
This is a “Driveway” installation capable upgrade, and that’s how we did it. No need for a specialized shop or paying for anyone to customize your Jeep. Anyone with some basic mechanic skills and the ability to follow instructions will be able to upgrade their lights in just a couple of hours.
Tools
- Screwdriver – Flathead
- T15 Torx Bit/Screwdriver
- Pliers
- Four (4) “Scotch locks.”
- “Body Clip” Removal Tool(s)
- CONDUCTIVE U-CONTACT: Tin-plated brass helps conductivity and resistance to corrosion.
- HIGH-PERFORMING INSULATOR: Made with polypropylene.
- SAFETY CERTIFIED: UL Listed as a Pressure Cable Connector, Tested per UL Standard 486C, UL File No. E23438.
- COMPATIBILITY NOTE: UL Listed for AWG only.
- For industrial/occupational use only. Not for consumer sale or use.
- Non-Scratch Pry Tools: Made from durable nylon, this auto trim removal tool kit protects your car’s surfaces from scratches while offering strong…
- Essential for Panel Jobs: This car panel removal tool set makes removing dashboards, door panels, and plastic trim fast and simple, whether you’re…
- Flexible and Durable Build: Designed to last, each car trim removal tool is sturdy yet flexible enough to handle tight angles and edges during…
- Universal Clip Tool Set: Includes multiple shapes for different applications; this clip removal tool helps safely extract rivets, fasteners, and car…
- Compact for Any Job: The lightweight car trim removal tool kit fits easily in your glove box or toolbox, ready for quick access whenever you need to…
- VERSATILE HAND TOOL SET: The pliers tool set includes 8-inch slip joint, 8-inch long needle nose pliers, 8-inch lineman, and 7-inch diagonal pliers…
- SECURE GRIP: Machined jaws provide a strong hold, enhancing control while working and reducing slips for increased efficiency in tasks
- DURABLE PERFORMANCE: The wire pliers include induction-hardened cutting edges that provide long-lasting, reliable performance and withstands frequent…
- ENHANCED SAFETY: The pliers are made with non-slip handles that provide a secure grip to minimize slips and provide comfort during extended use
- QUALITY PRODUCTION: The wire cutters meet or exceed ANSI specifications
- Sizes laser etched on blade
- Blade-through-handle design for high torque applications
- Tip-Ident sizes marked
- Convenient hang hole
- Chamfered end for ease of use
Affiliate links & Product Images are from Amazon Product Advertising API.
Mark your current light position
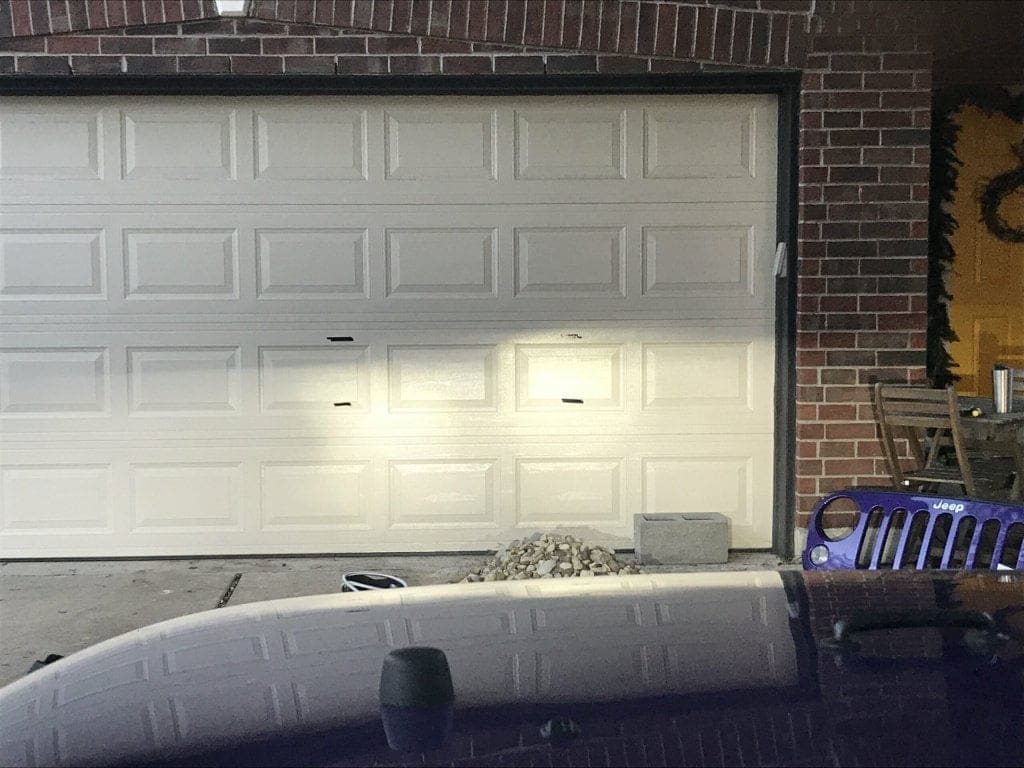
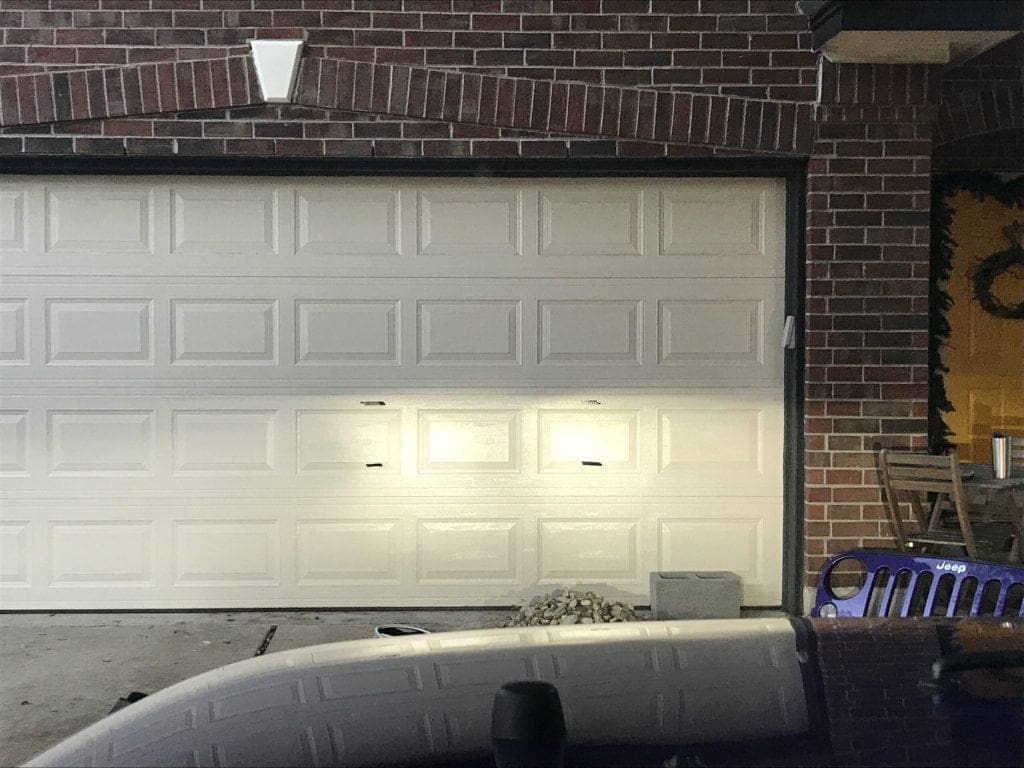
During the night (or during the day if you can still get an unobstructed view) before you replace your headlamps, I suggest you do a little pre-work. Park 10-20 feet away from your garage (or a wall) and turn your lights on.
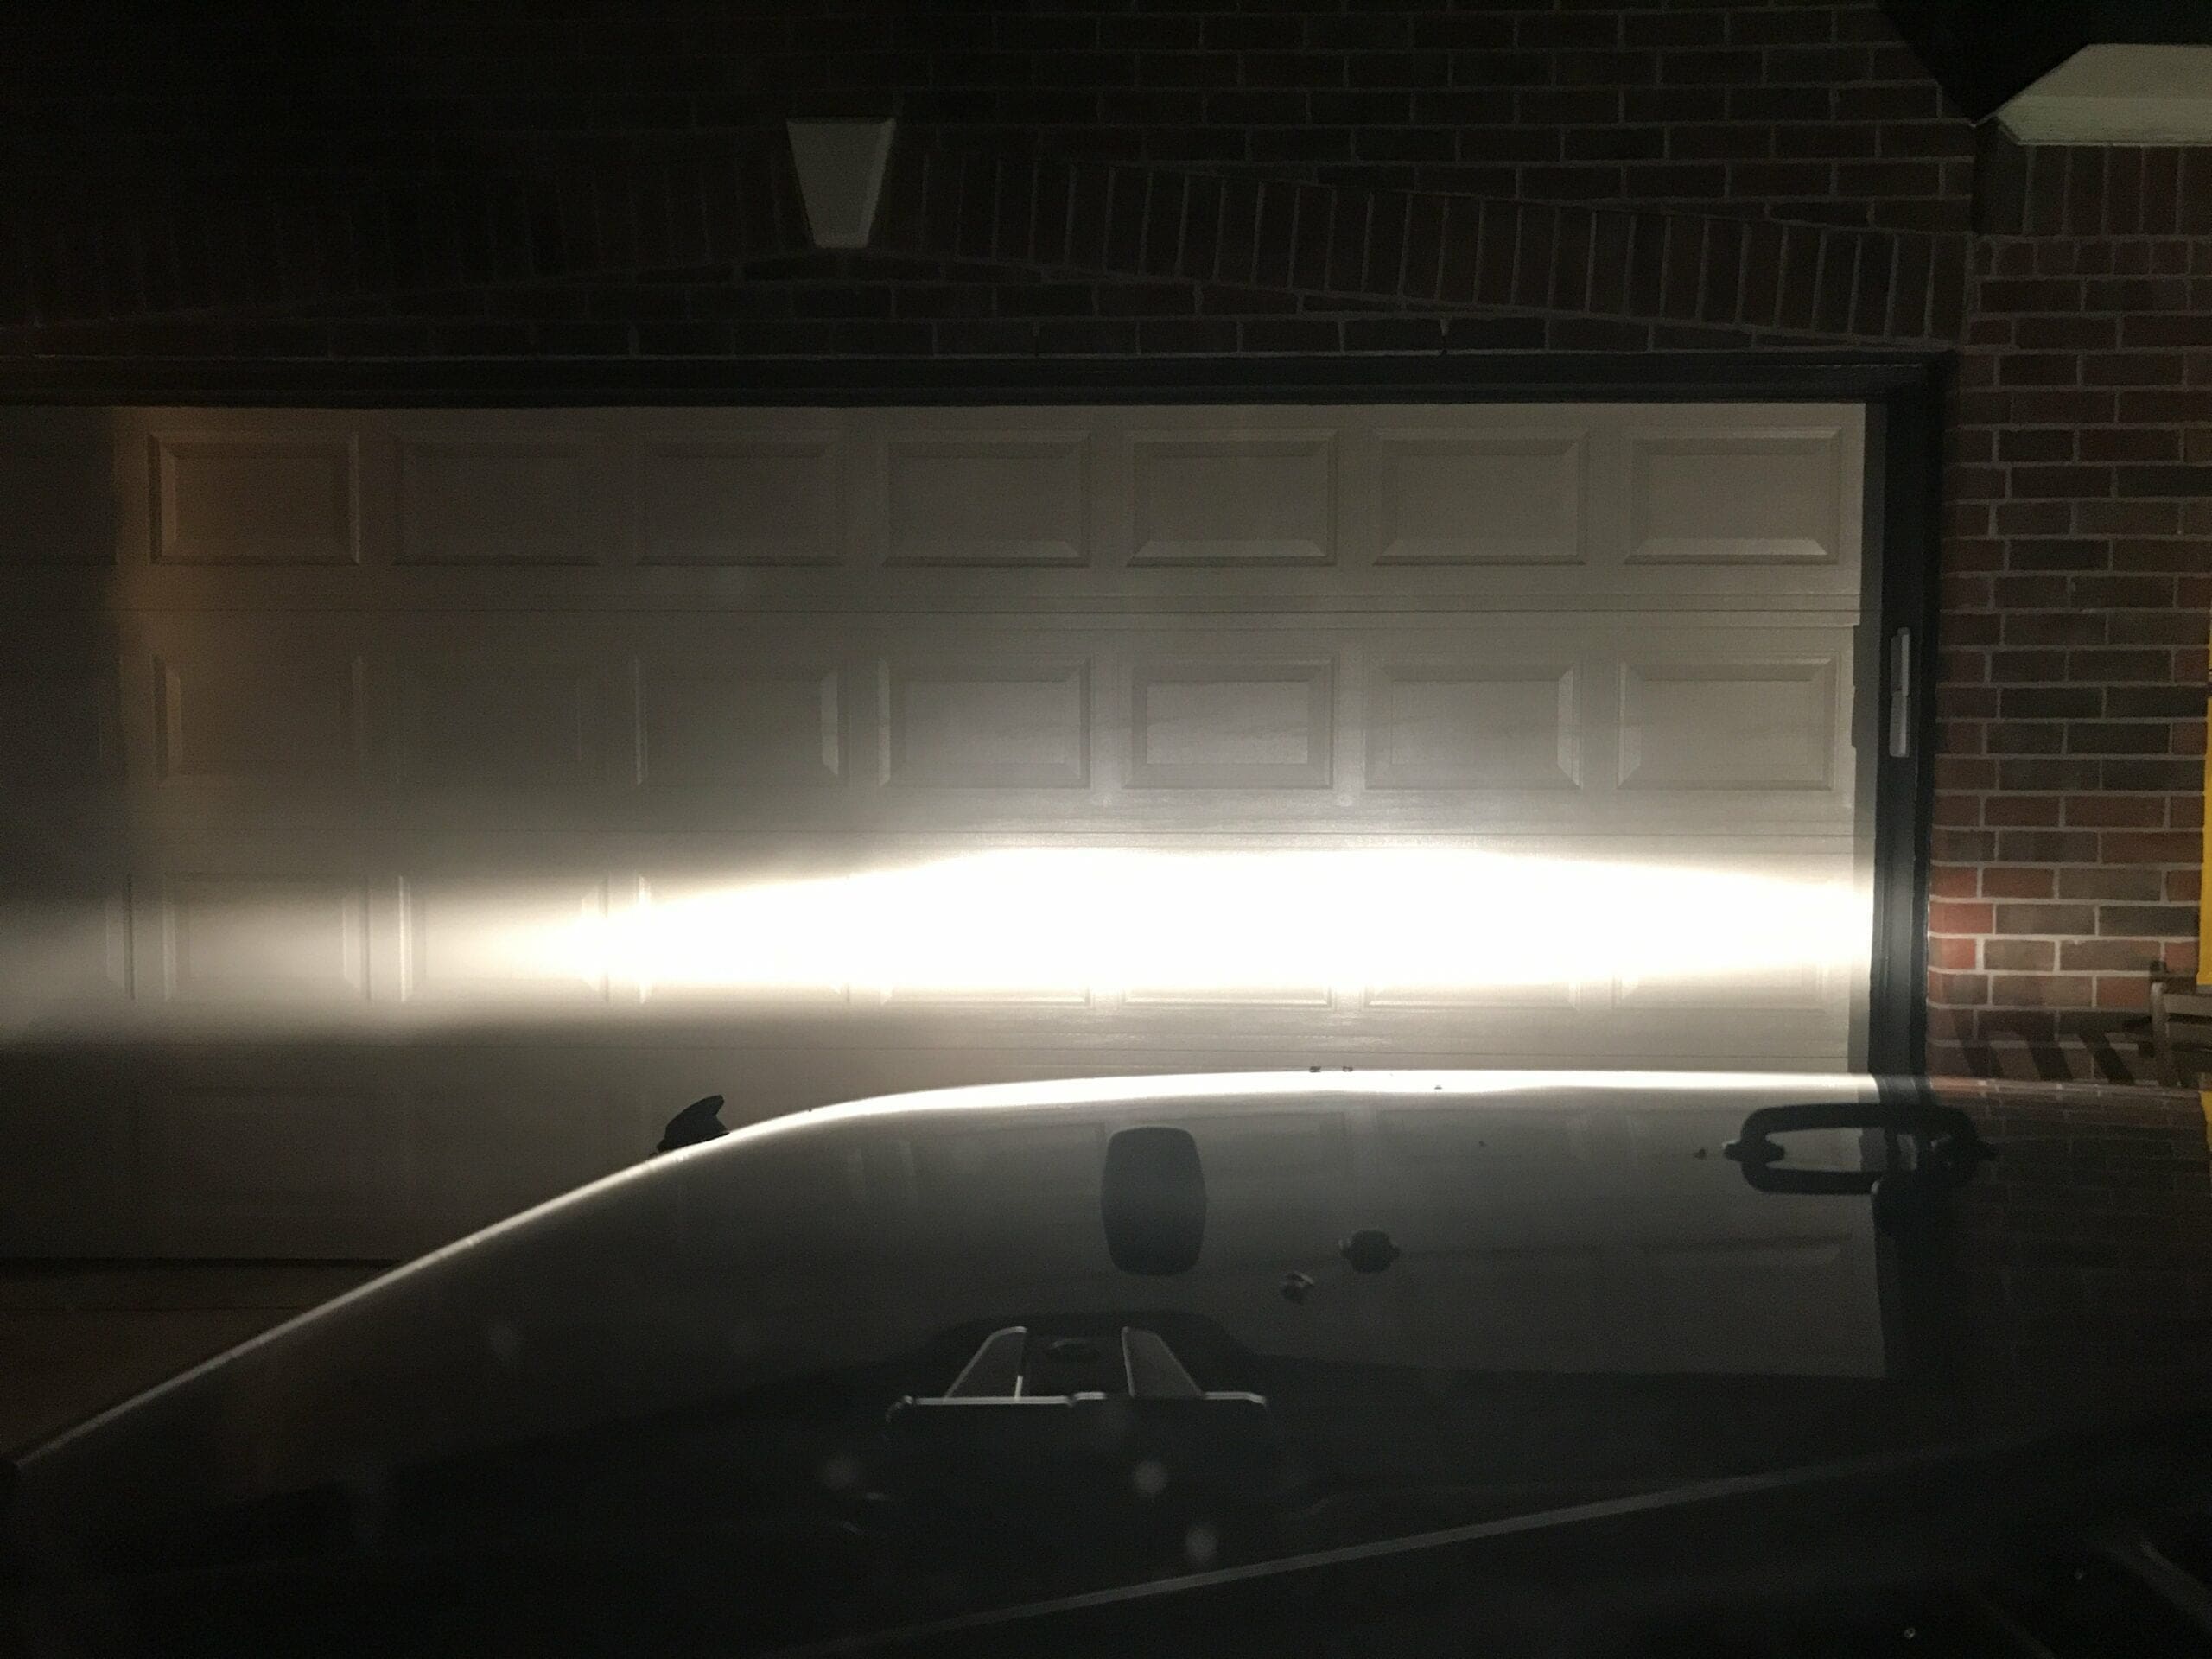
Use some tape to mark the uppermost pattern and tape to make the lowermost pattern. Leave this on your garage (or wall) until the following night when you can use this to re-calibrate your beam height.
This simple trick will help you get back to “where you were” and make it easy to have a similar height/pattern. Just be sure to park ~20 feet from the garage in a similar spot the following day when you calibrate it back to these heights after replacing your lamps.
I mostly wanted to capture the upper limit of the beam and to be honest, my phone camera doesn’t capture the brightness of the lower beam. If I learned anything from these pictures, it’s that the halogen light beam is thin and horizontal. No wonder we can’t see the ground, the light all but disappears.
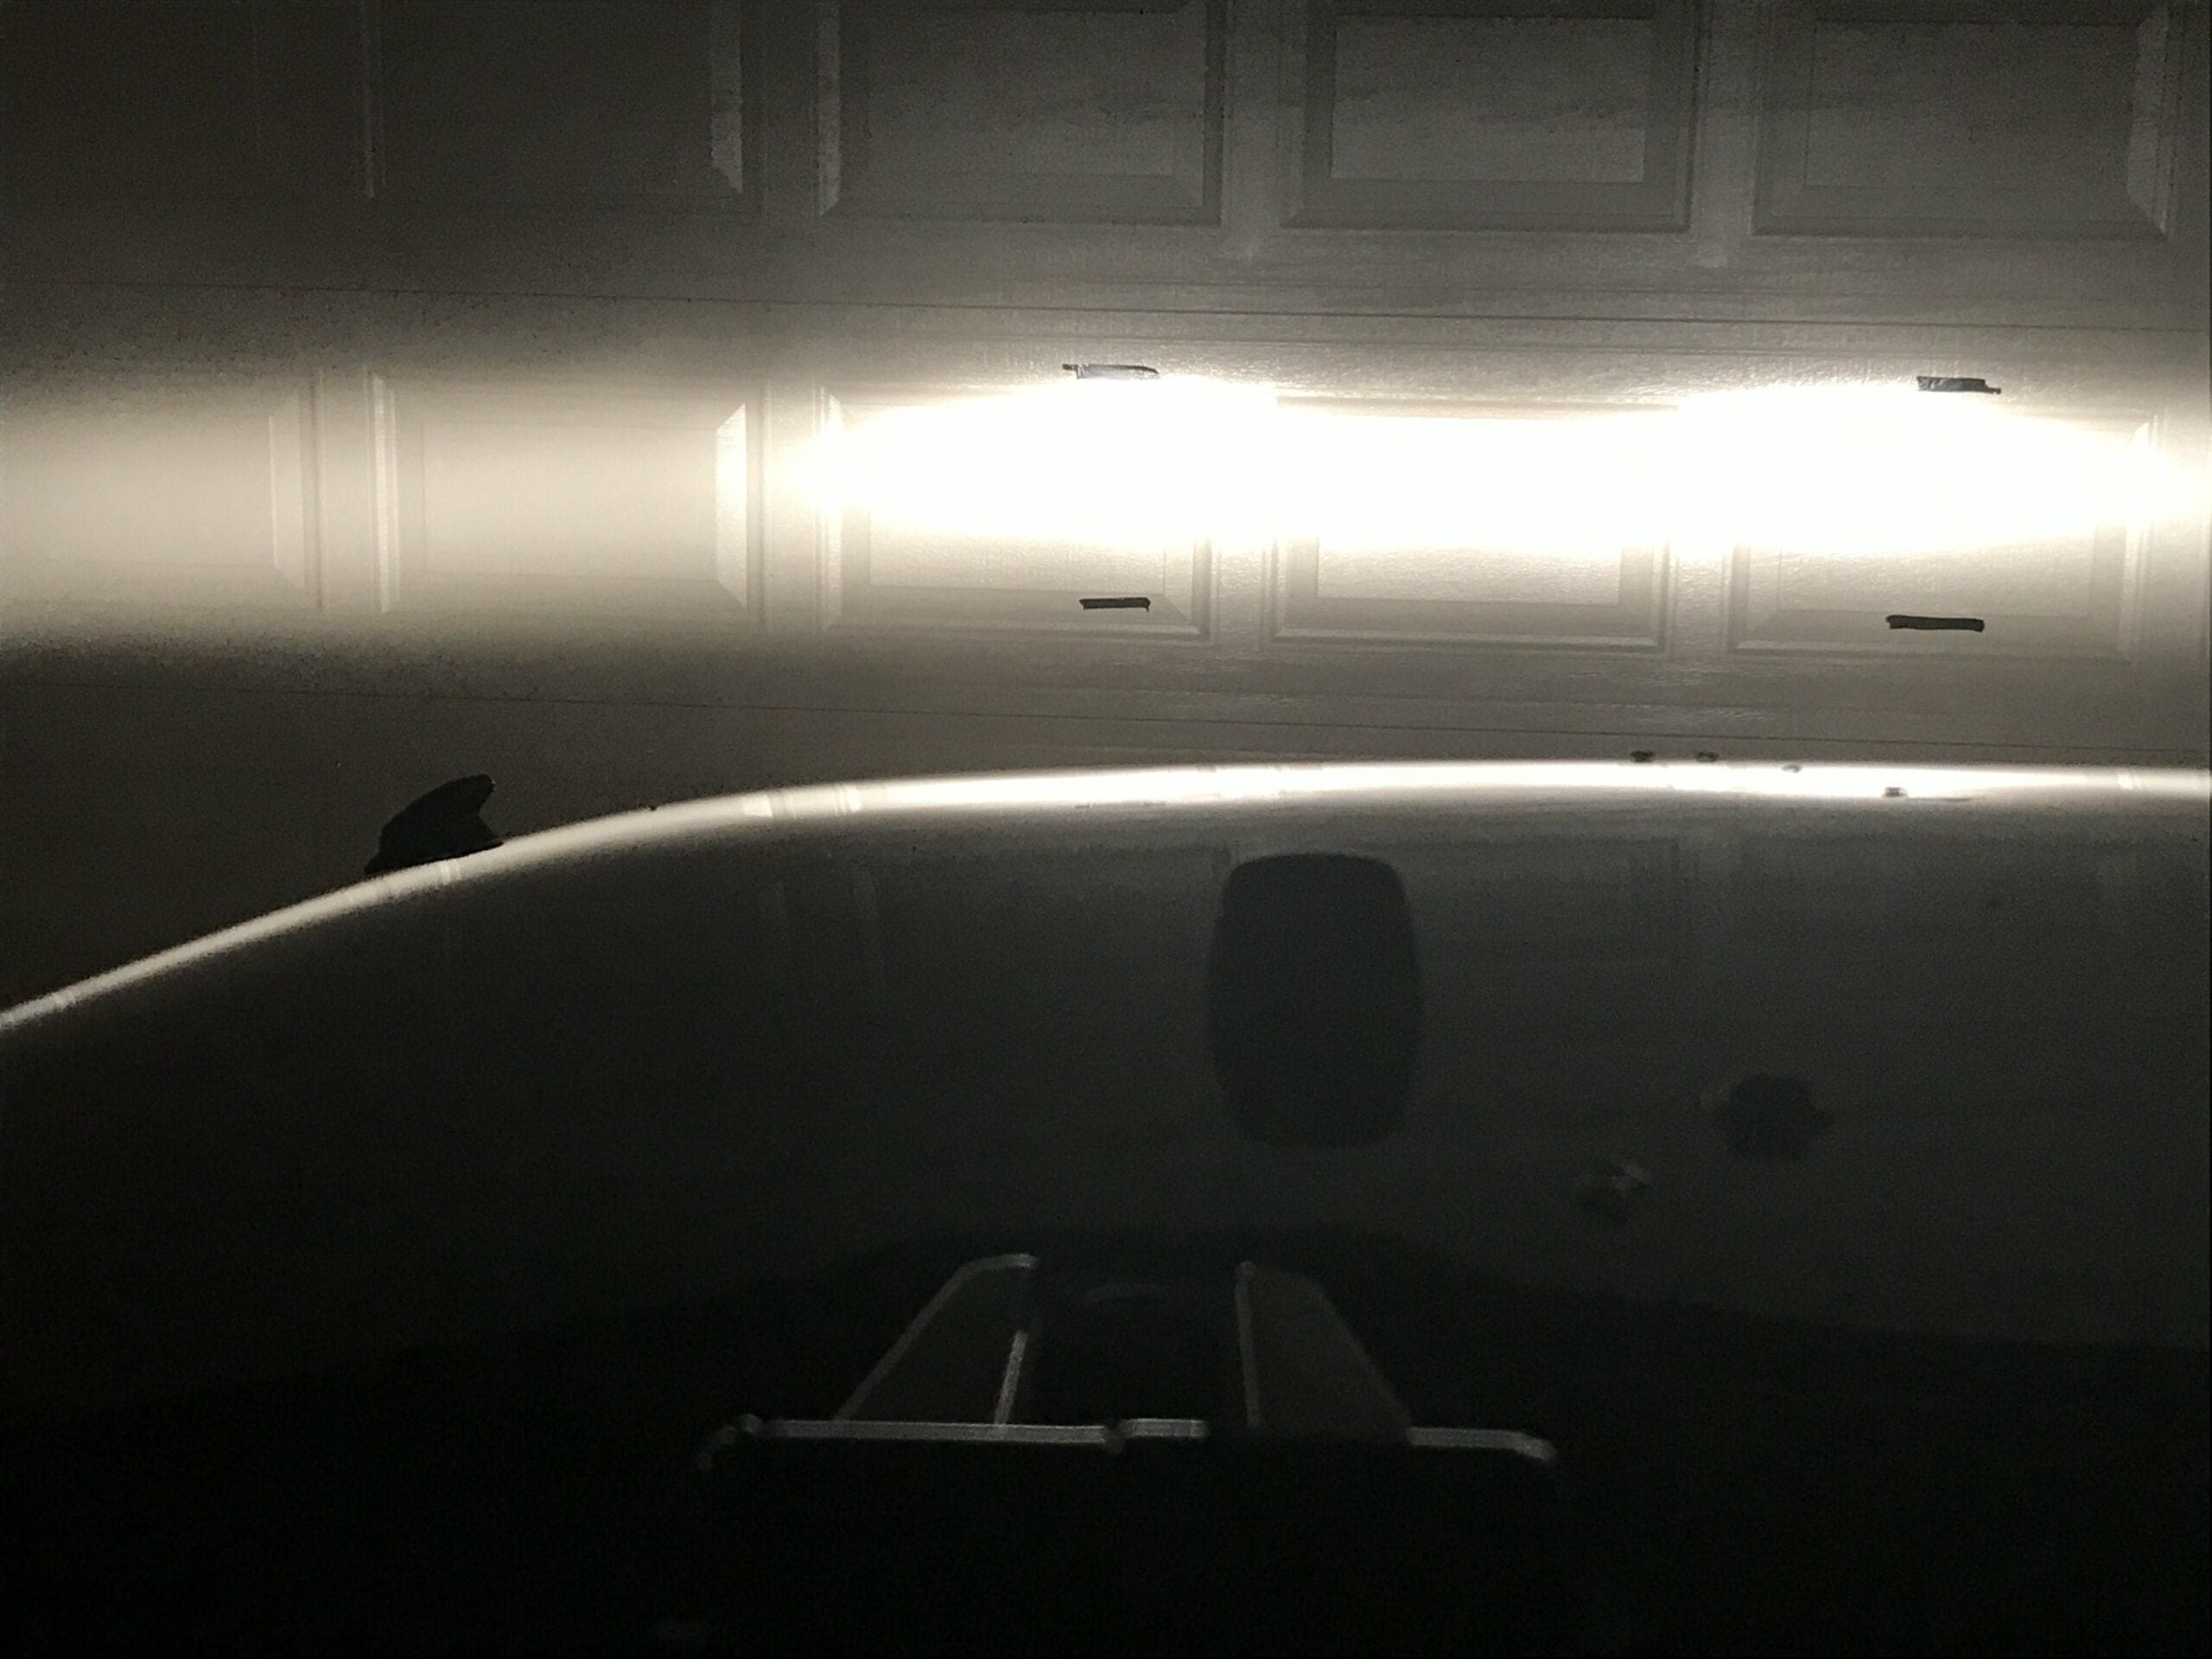
Now that you have your pattern/height marked – let’s get installing your new lights!
Unboxing Raxiom LED Headlights
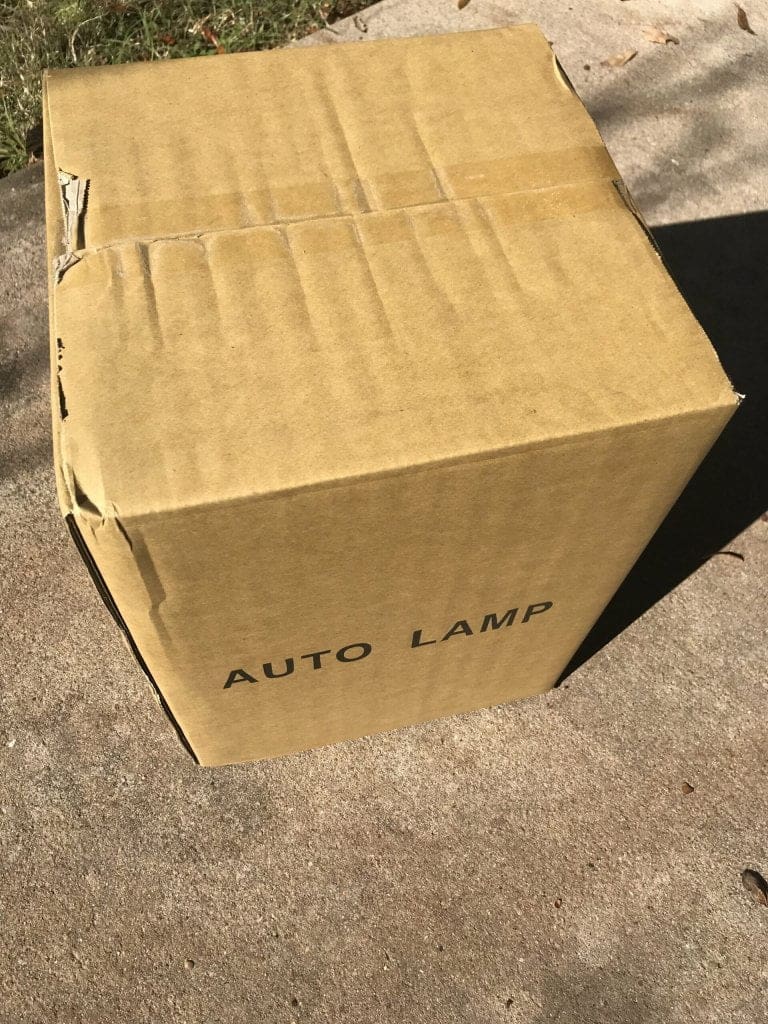
Everything arrived packaged super well. The left and right headlights were marked, and no damaged items were received during shipping. The lamps were boxed in a generic box that UPS dropped off.
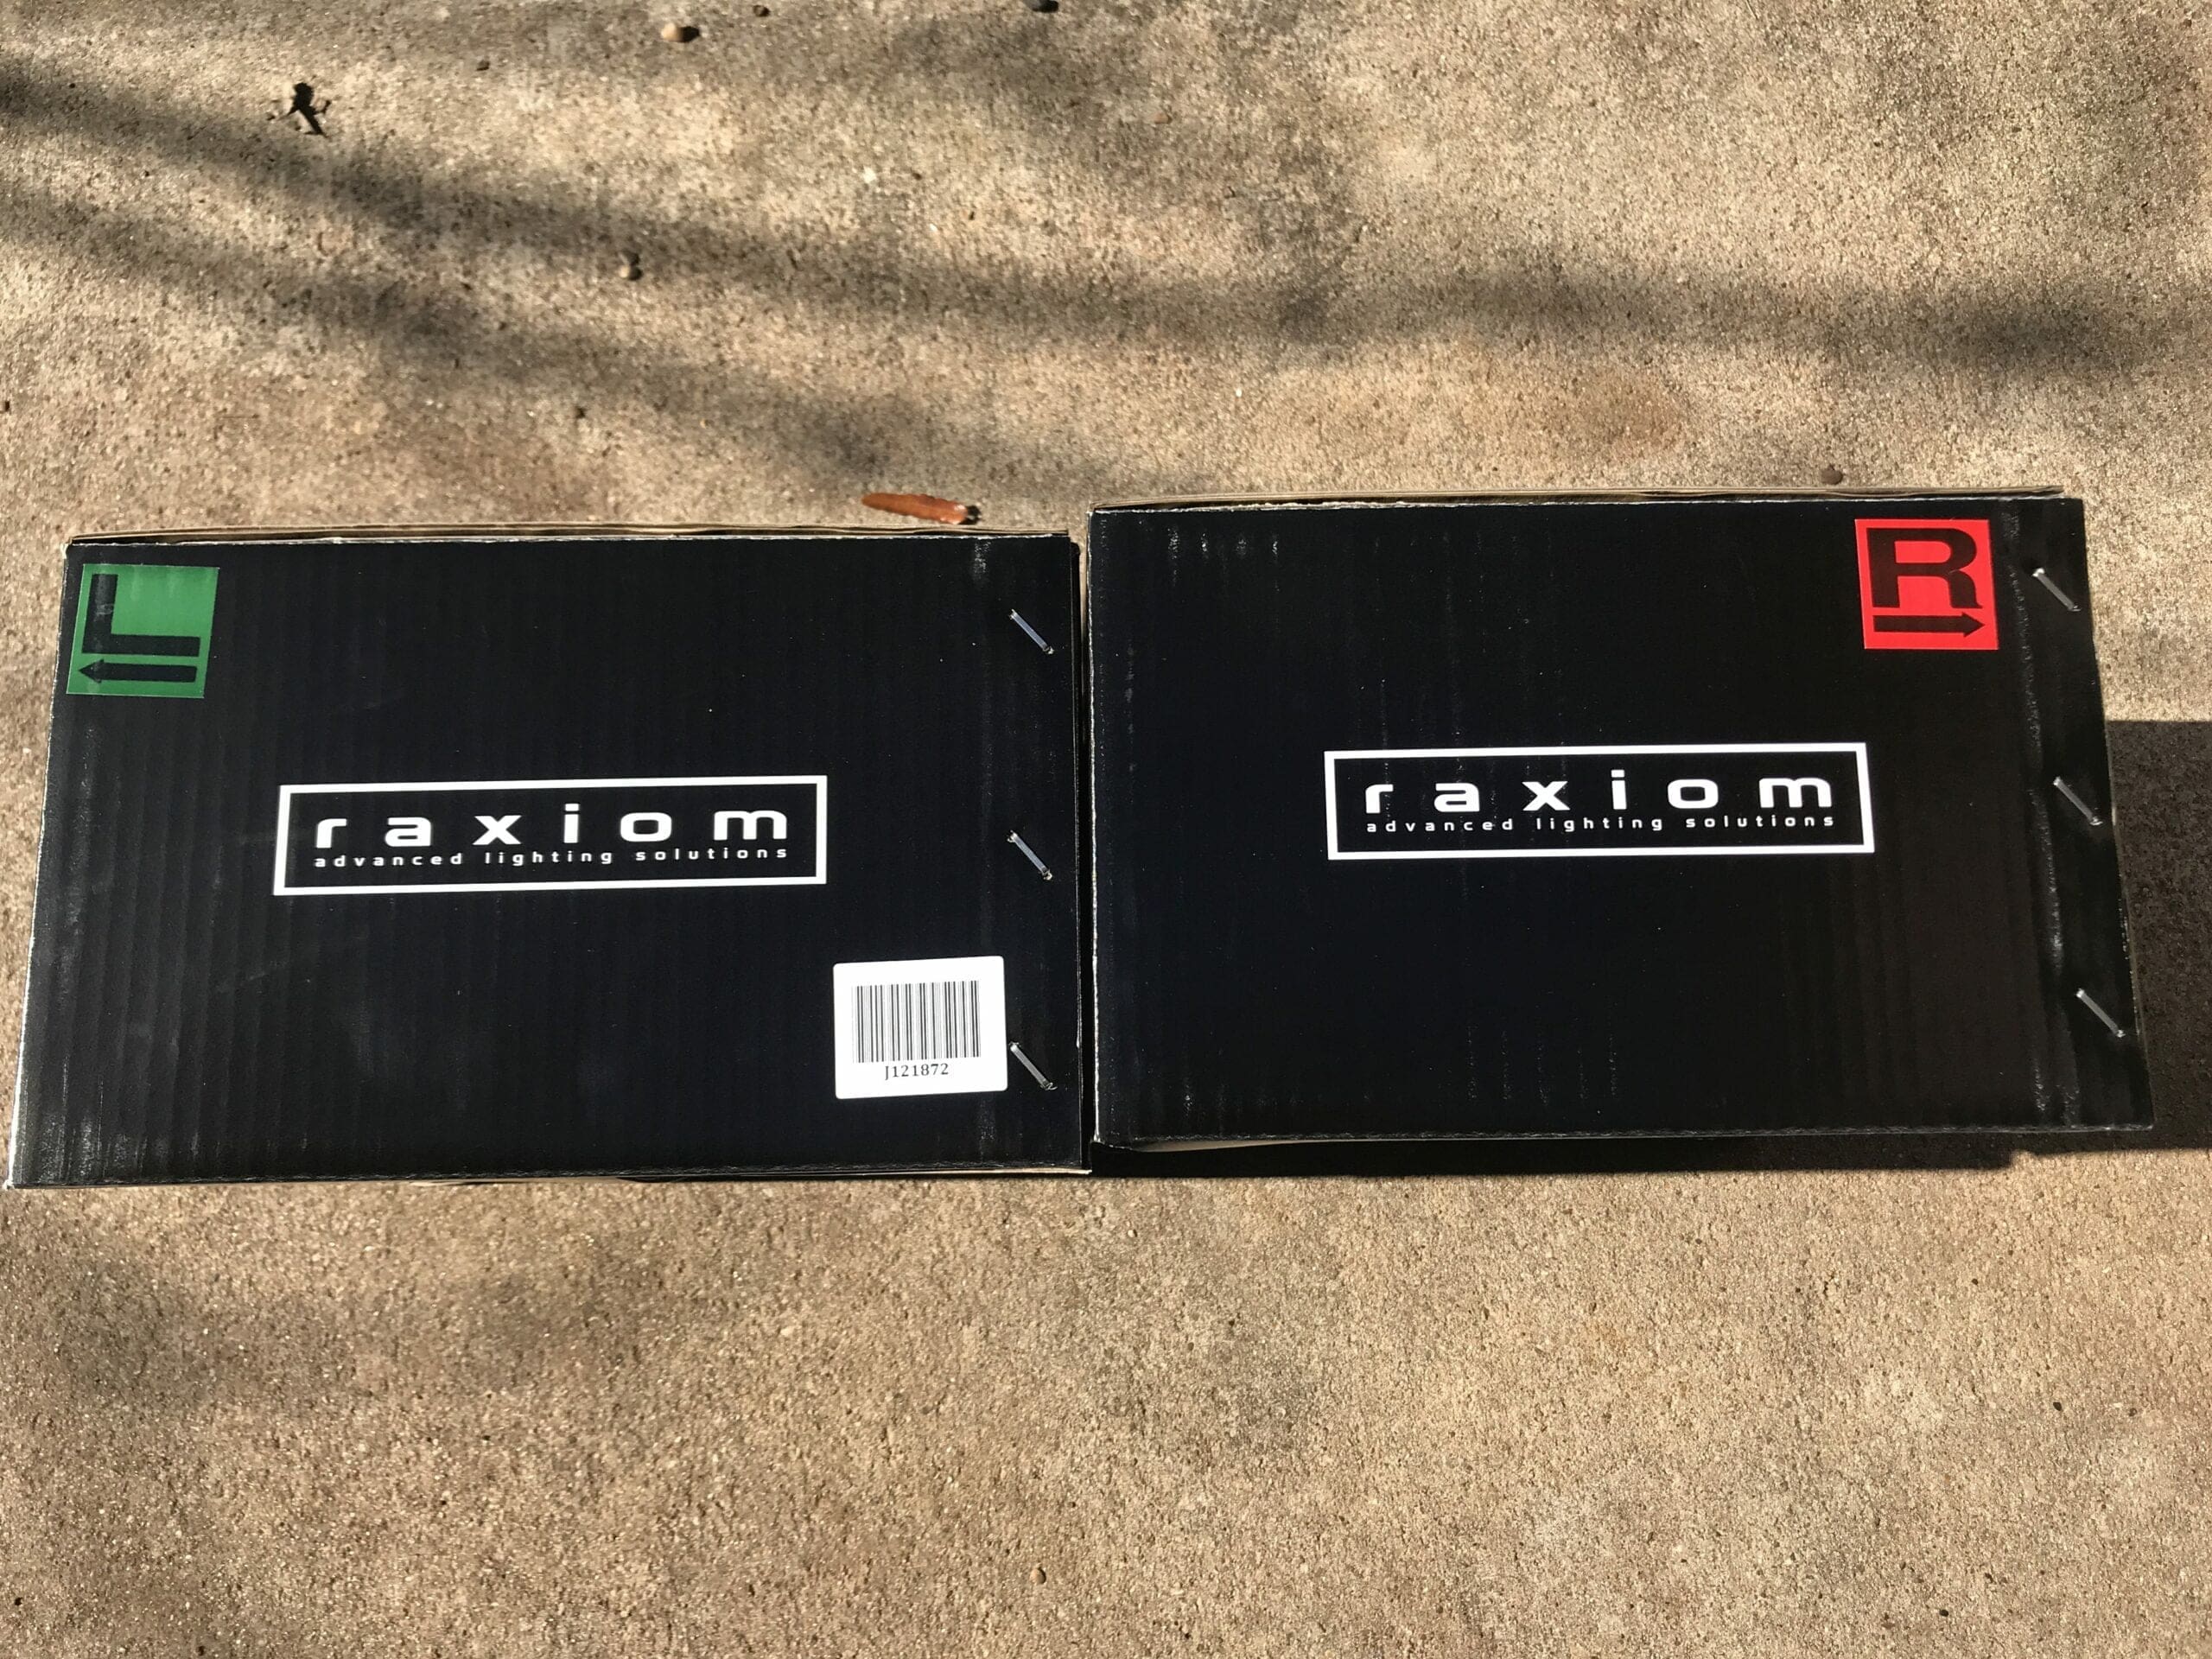
Nice that both packages are marked as needed. I’d suggest you leave everything in or on the box, so you don’t mix up left/right. BTW, Left is DRIVERS SIDE and Right is Passenger!
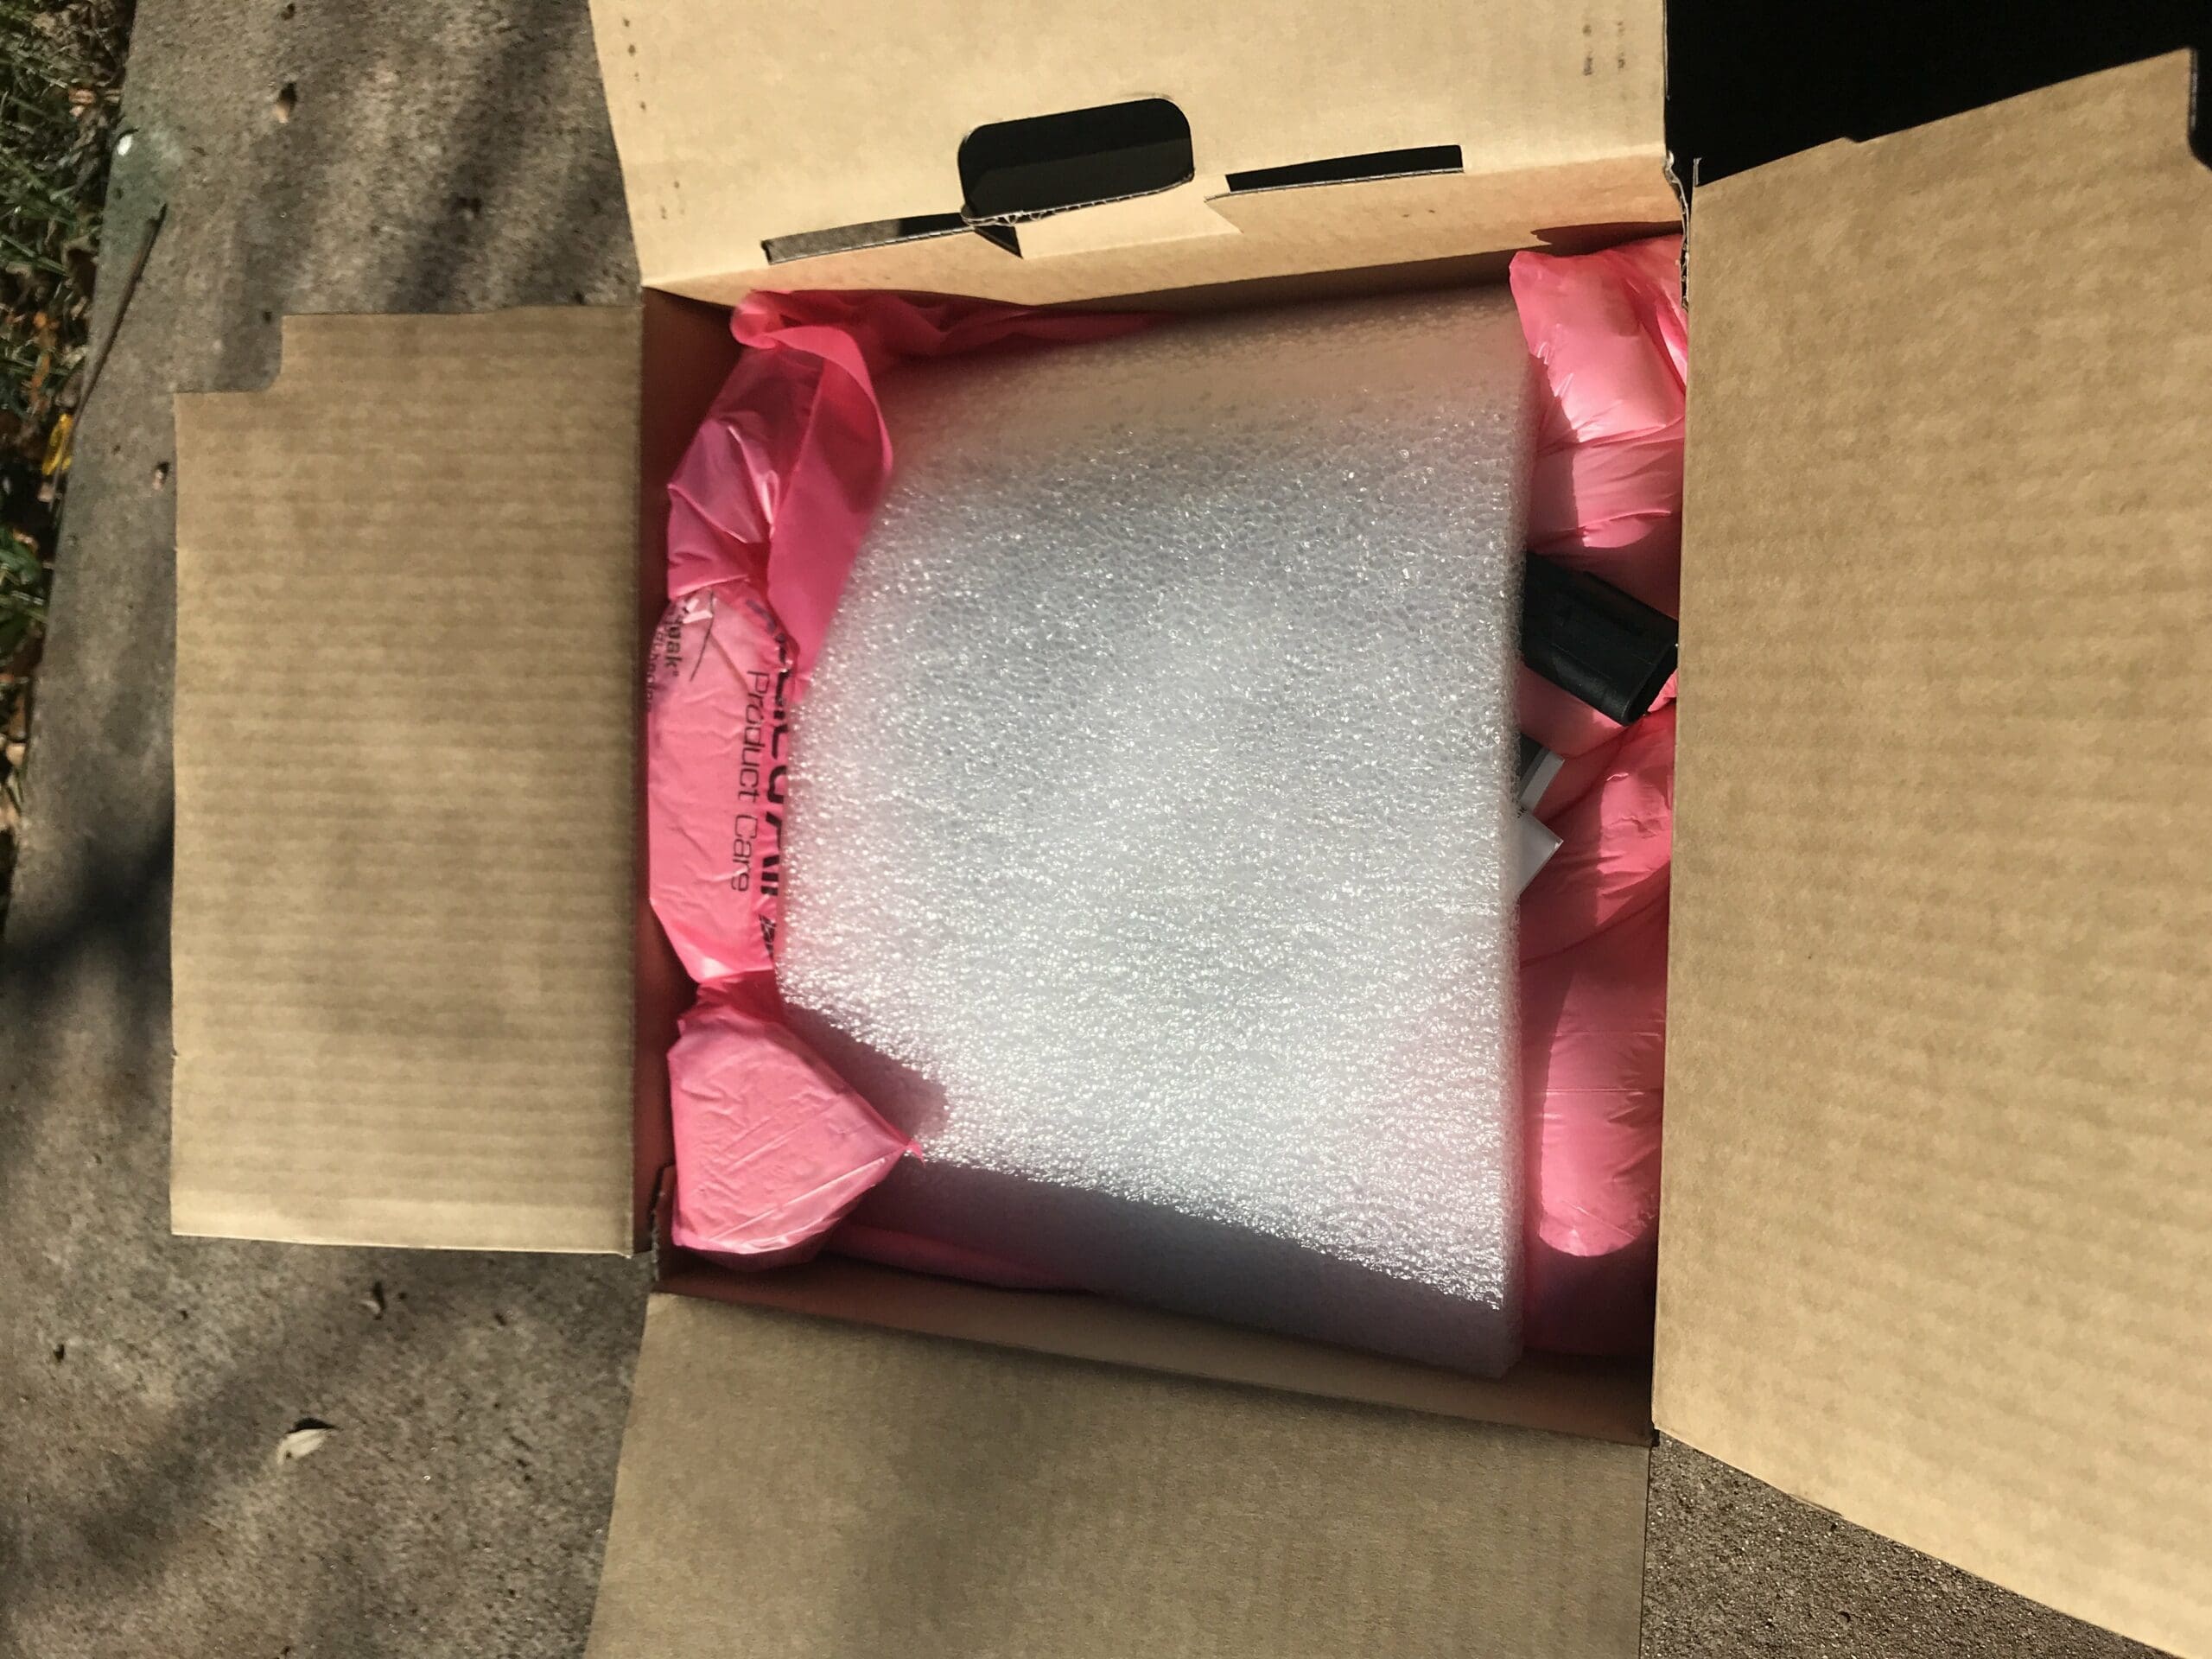
Everything was well packed leaving me without any concern about receiving a pile of broken parts.
Simple printed instructions are provided. (obviously, we’ve embellished upon them a bit here)
Please Note: The instructions say that the “Scotch locks” were included, but I did not have them in my kit. I had to purchase them separately, and I list them as a requirement in the tools section above. We’ll pass this feedback along to the vendor!
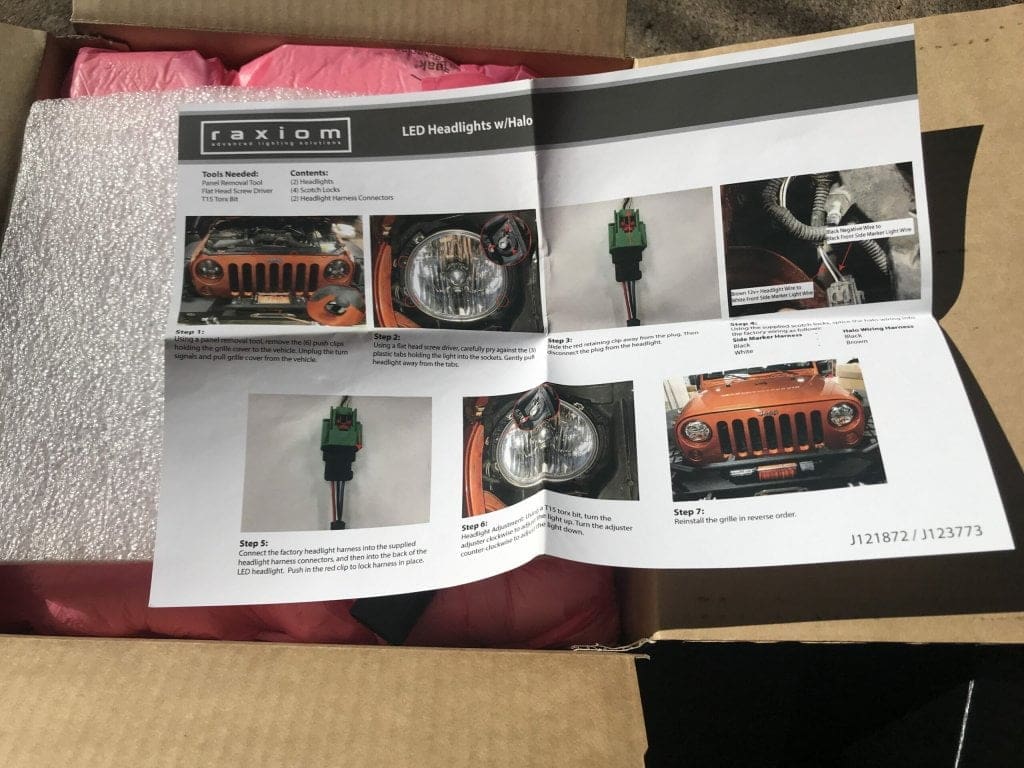
Build Quality feels strong – everything looks and feels sturdy out of the package.
We’re going to upgrade Left Side – Drivers side First.
Remember, the left side of the vehicle is Drivers side! The lights are marked left, and right and that is as if you’re sitting in the car looking out, not looking at it from the front.
Remove Jeep Grill
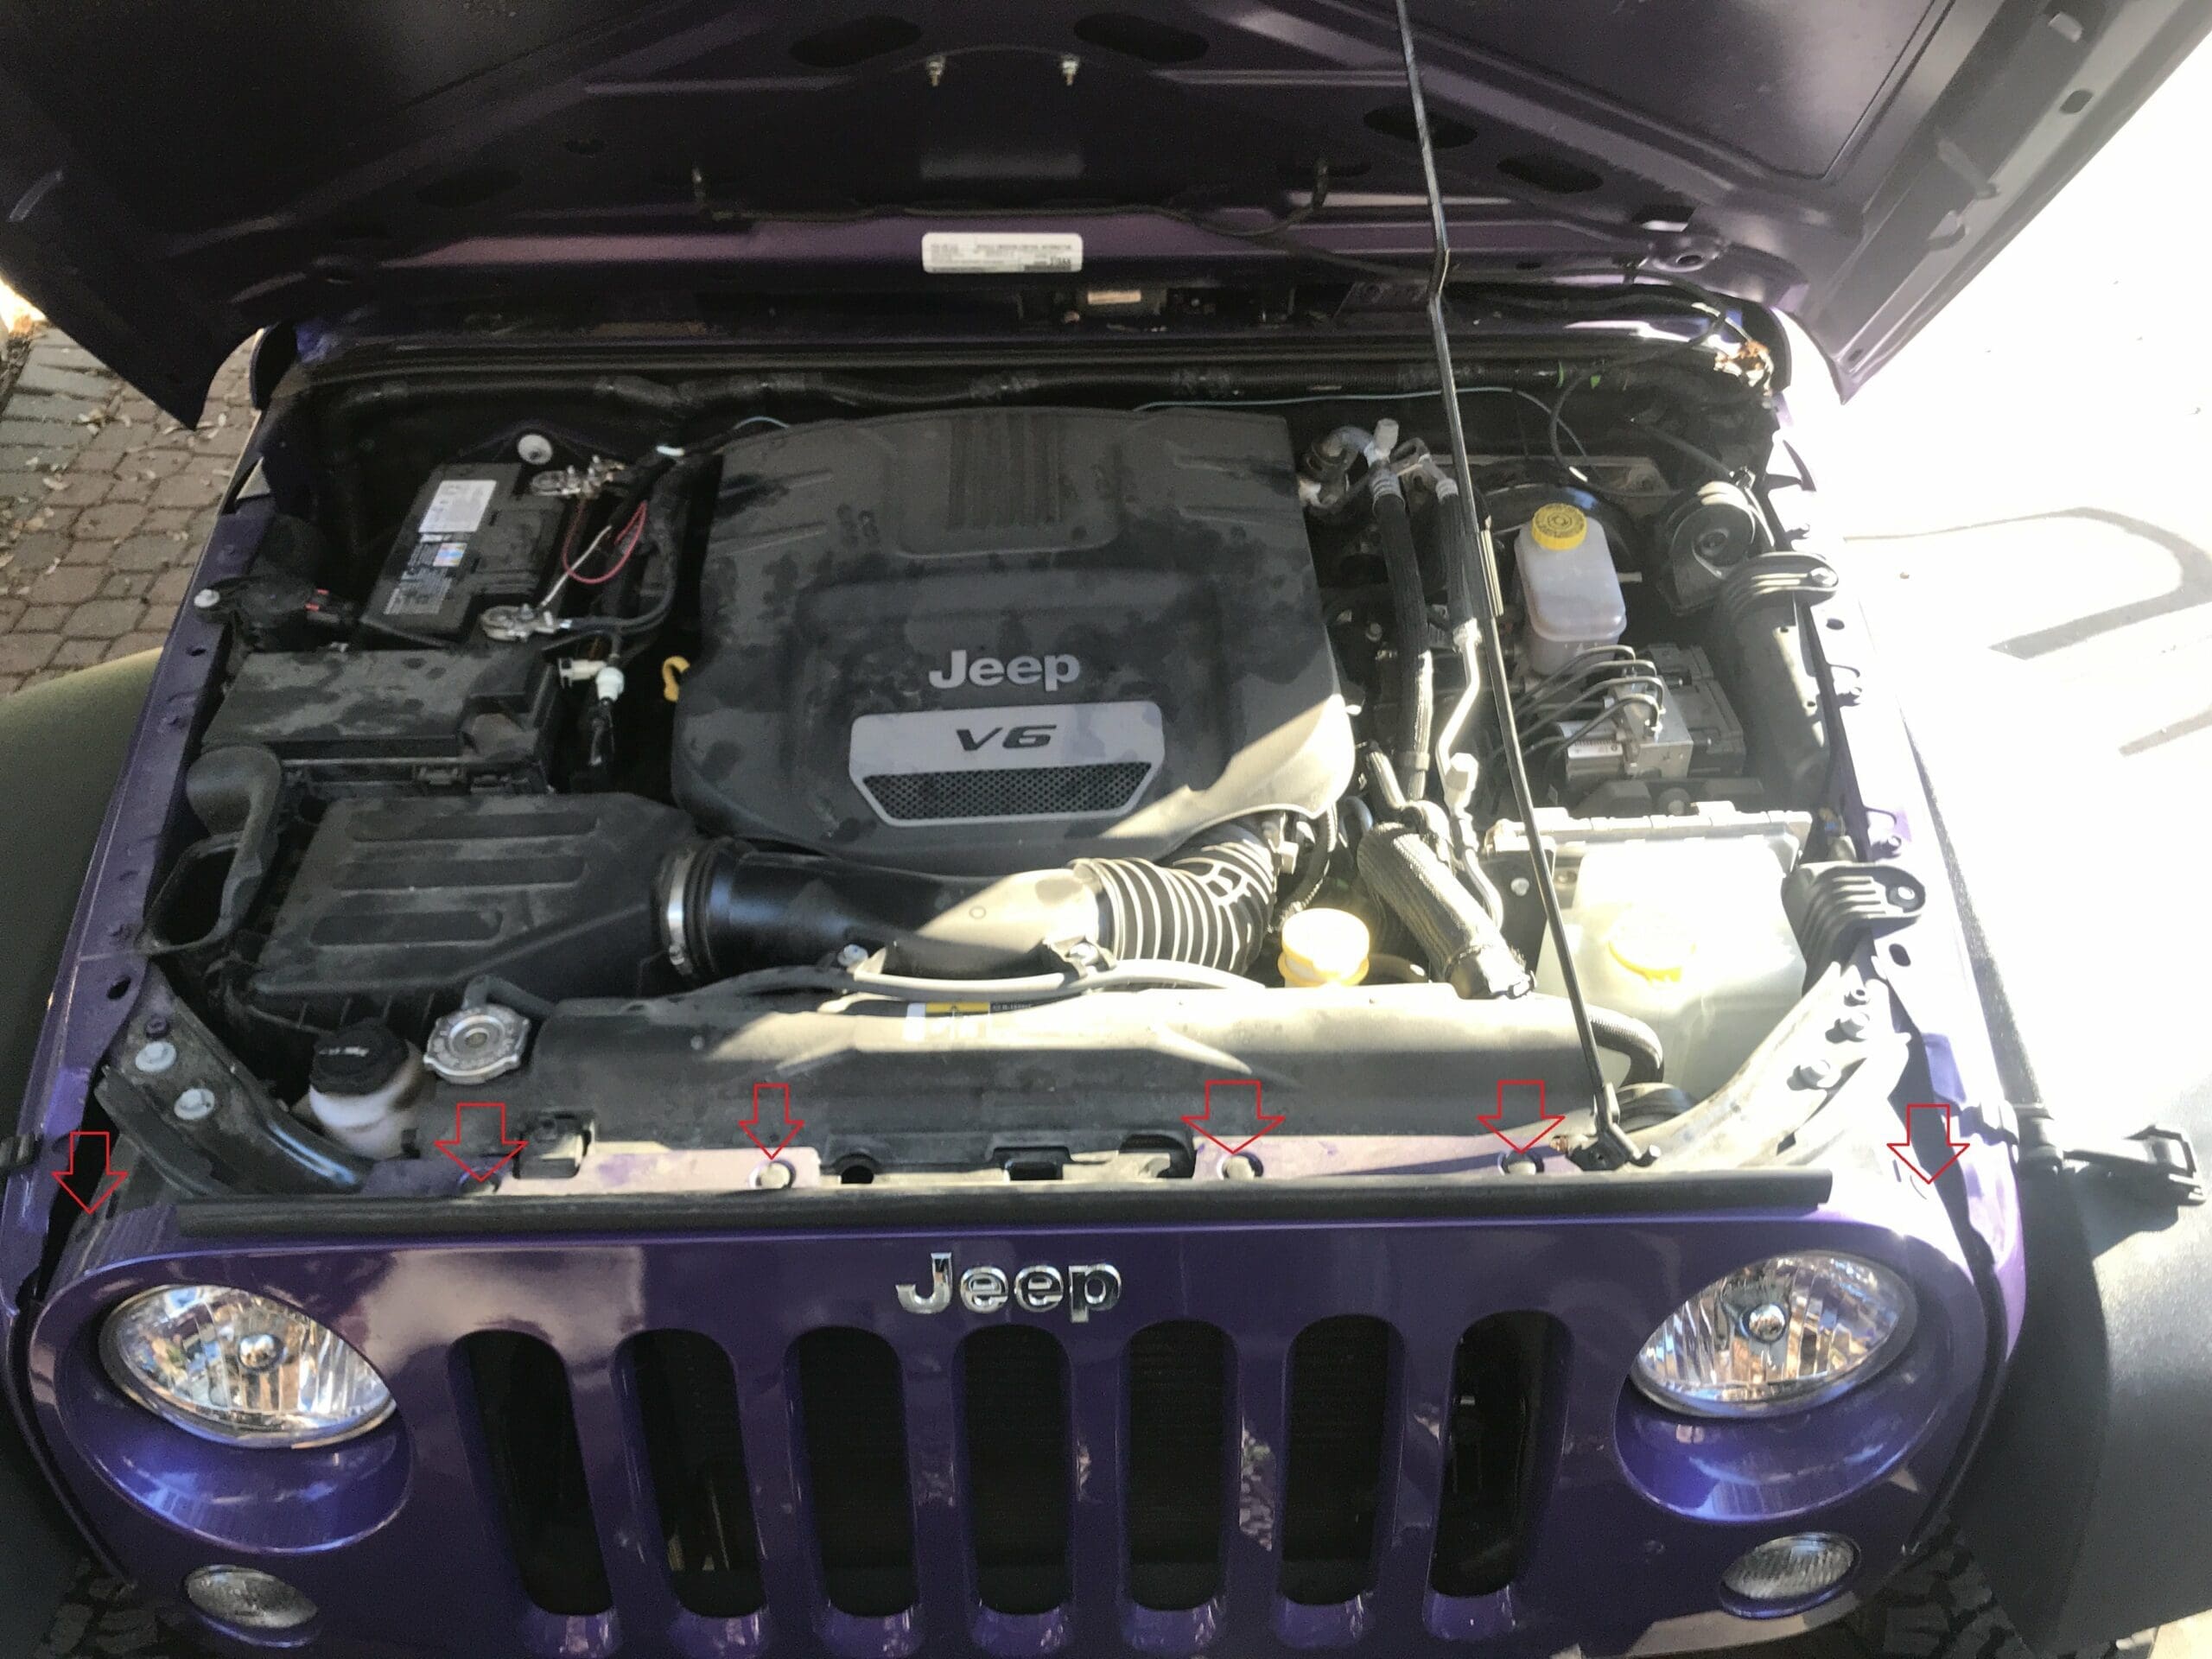
First, we’ll need to remove the front Jeep Grill. To do this, we need to pry off the six clips along the top of the grill as marked here (red arrows).
These clips are two-piece “snaps” – An inner “pin” and then a hollow ring.
We’ll first remove the center “pin.”
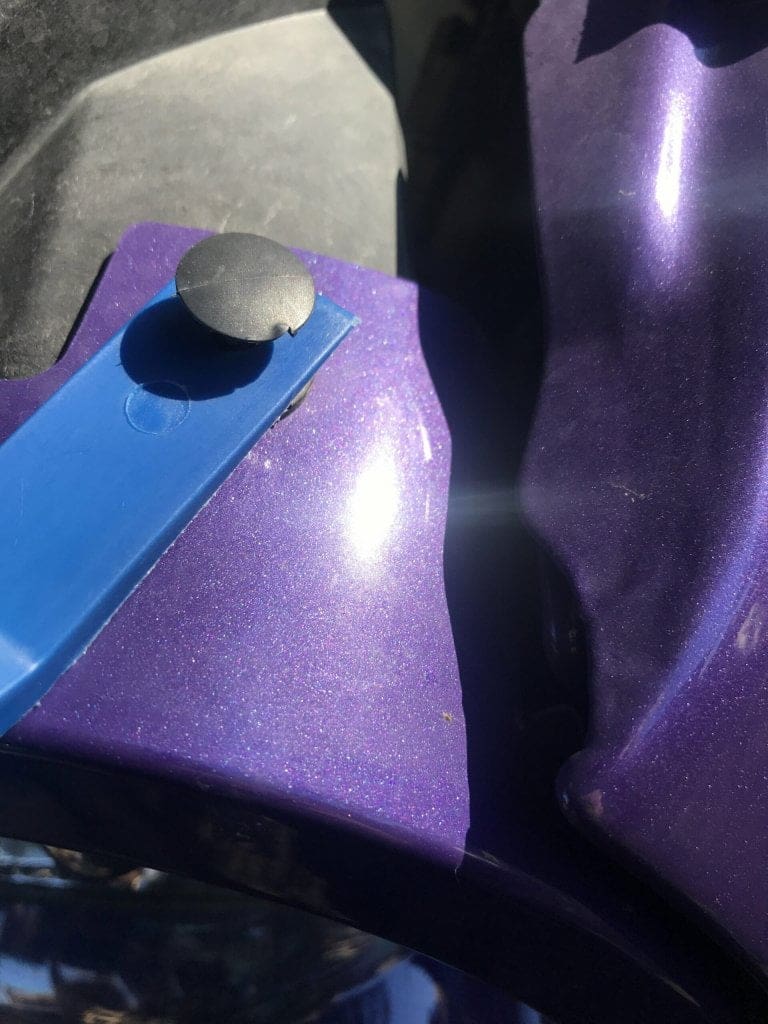
Once you remove the center pin, remove the entire clip the same way. If you use a screwdriver be sure not to scratch your vehicle.
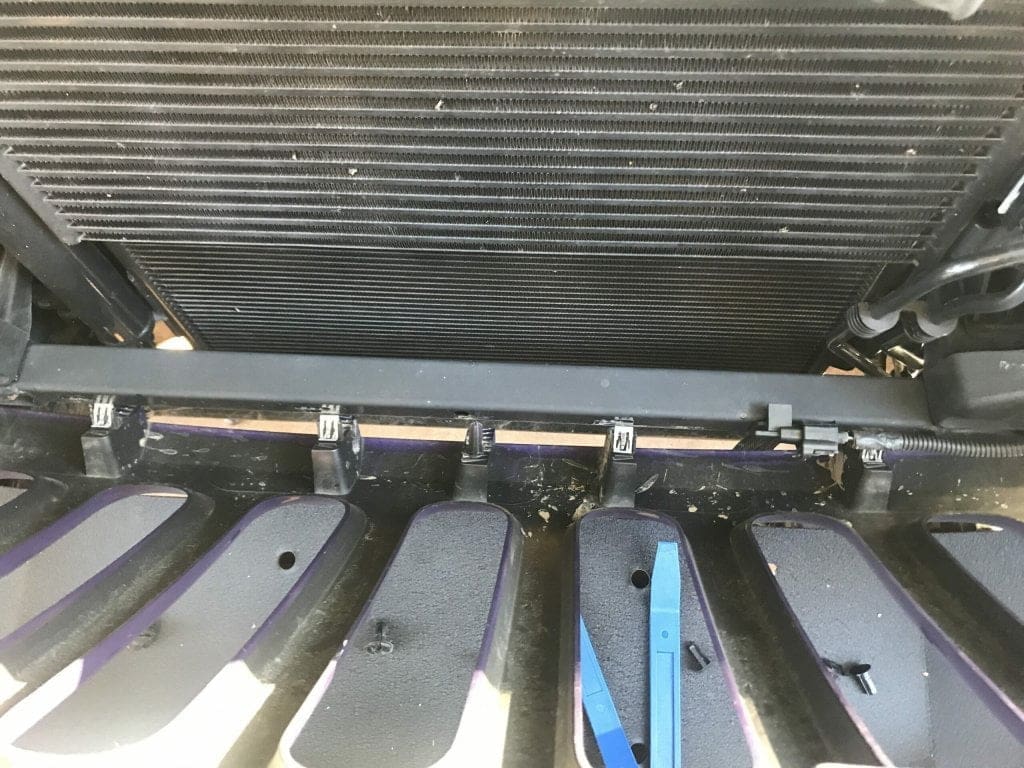
Once those clips have been removed, then you need to “unsnap” the grill along the bottom.
After unsnapping, you will want to remove the left and right orange indicator lamps so you can set the entire grill assembly aside.
The indicator lights (orange lights) on each side of the front grill can be rotated to release from the grill, or you can unclip the power connector. I found it easier just to rotate the light out as the power disconnect wasn’t releasing for me.
Did you know: Your state may have laws about driving with your doors off. Check out our Jeep Mirror Laws page to see if there are any laws or requirements that you should know!
Remove Headlamps
Now that the front grill is removed, it’s time to remove the factory headlamps.
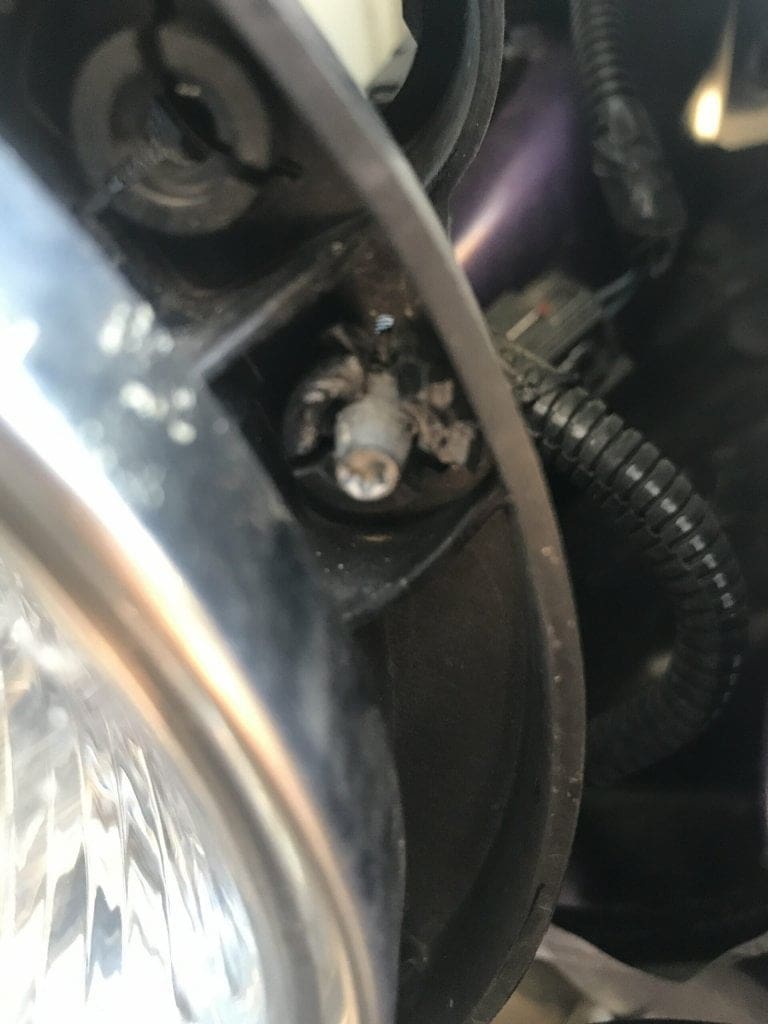
Take your flat headed screwdriver and pry the tabs open on the three rounded “nubs” sticking out. These tabs hold the entire light assembly in place. When trying to pry these back, mine cracked – no worry, they’re never going back on. One will be silver with t15 head (This is your adjustment screw), and the other two will be back. The arrow below marks the tabs. (mine already broke in this shot)
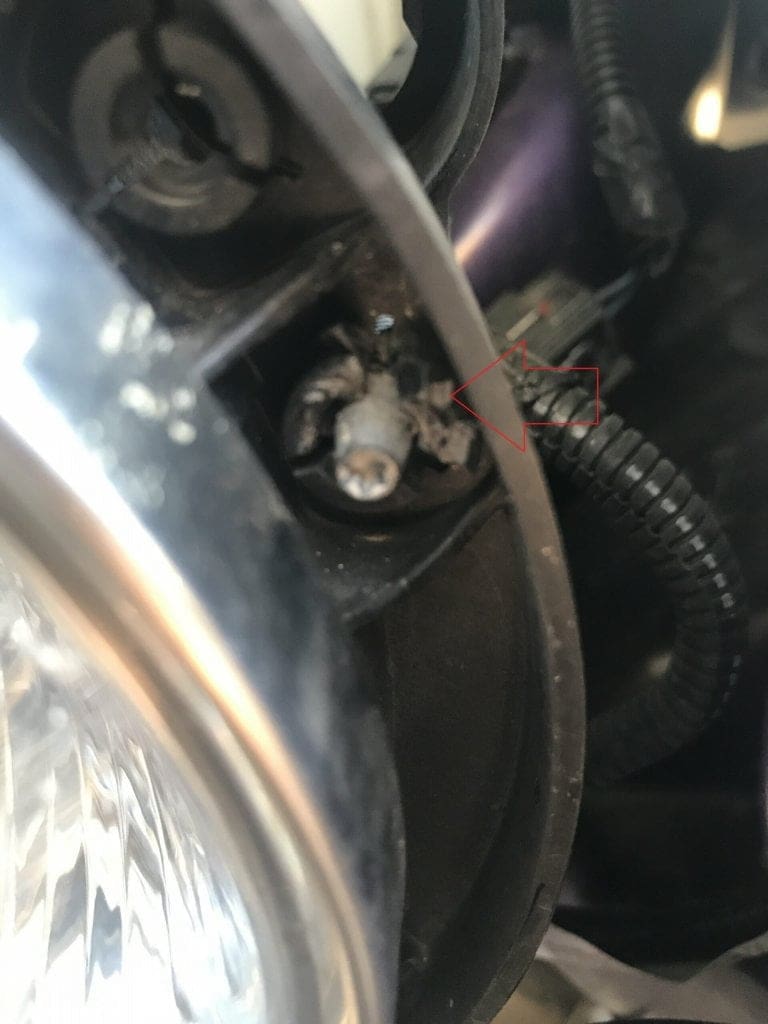
Once the three clips have been opened, pull the lamp out. Just tug gently and try and make sure to pry away any of those tabs that feel stuck.
Disconnect the lamp power. Slide the red lock back to unlock the lamp assembly. I had to use the clip removal tool to get leverage to pull the lamp power plug back. (I removed the light from the lamp assembly to have more room to work with)
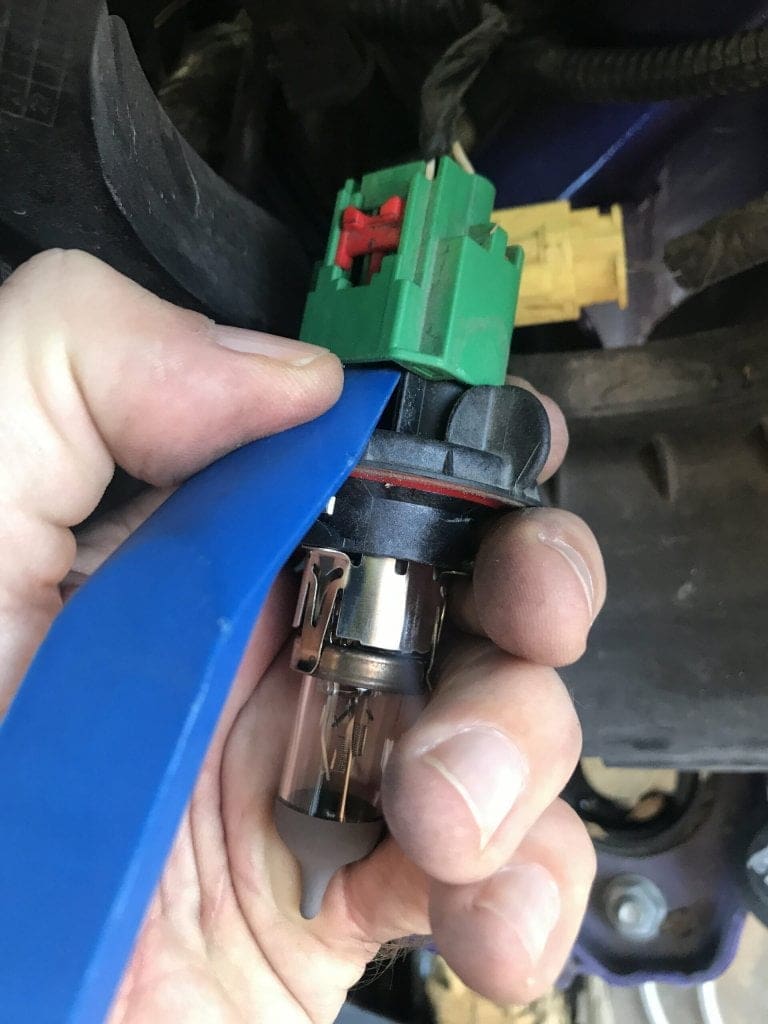
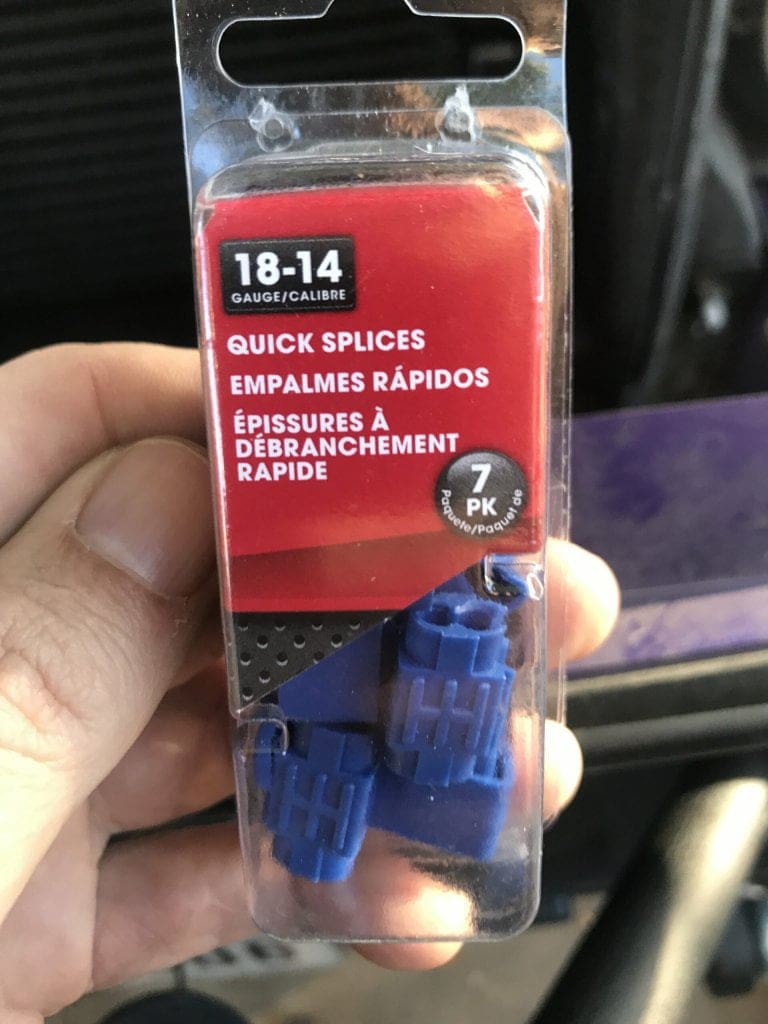
With lamp removed, it’s time to wire in the Halo light to the factory wiring harnesses that go to the driving lights on your left and right fenders. We’ll use the “scotch locks” (quick splices) to crimp wire/splice these in.
Make sure you run the brown and black Halo wires through the main headlamp hole – I don’t want you to have to redo them because you can’t push it all back through when you re-mount your headlight.
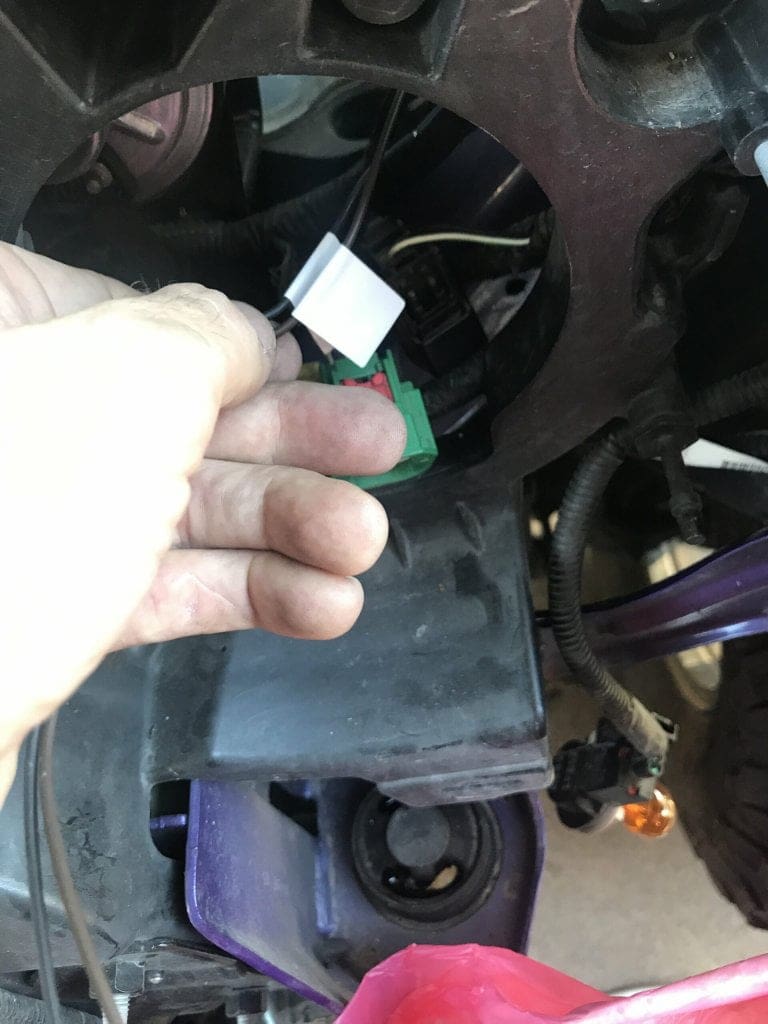
While working on this part, I made sure to rest the lamp on the included foam pad on top of the front bumper. It’s a great way to make sure we don’t break or damage the light while we work on the wiring.
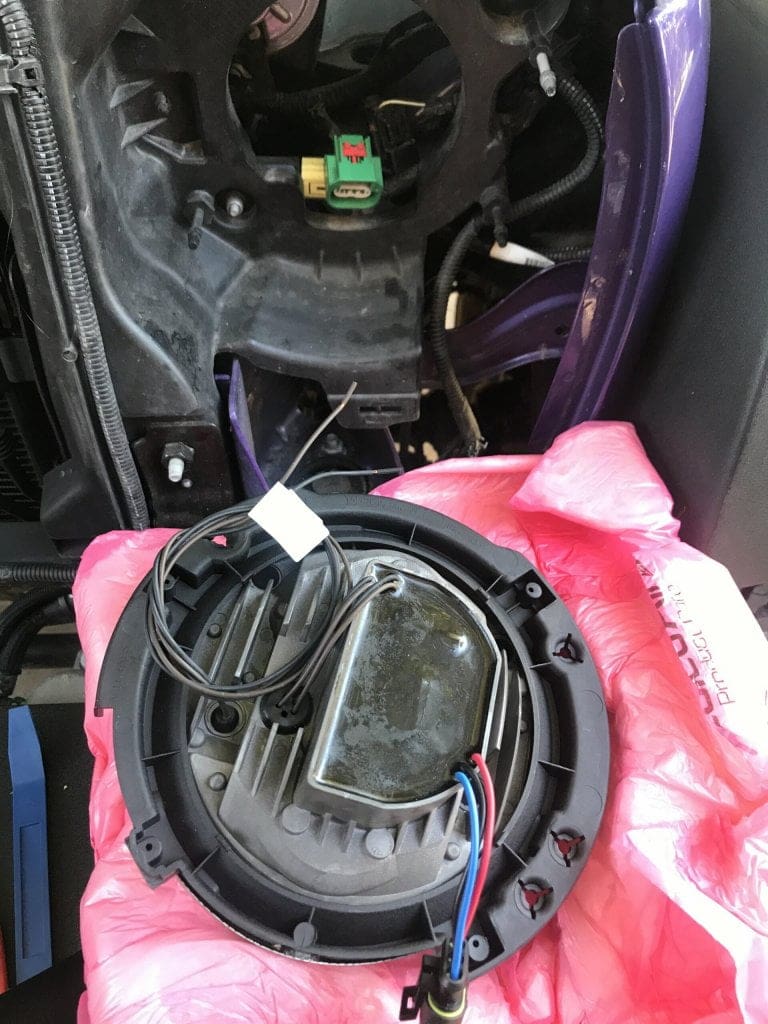
Connect Halo Light
Now we need to scotch lock the brown and black wires to the fender driving light wires. This will allow the “Halo” to turn on when lights are in driving lights (one click forward on the light switch).
I had to trim back some of the wiring protection to clear enough of the wire to install my scotch locks.
The black wire from LED lamp goes to Black Wire
Brown Wire from LED lamp goes to White & Green Wire
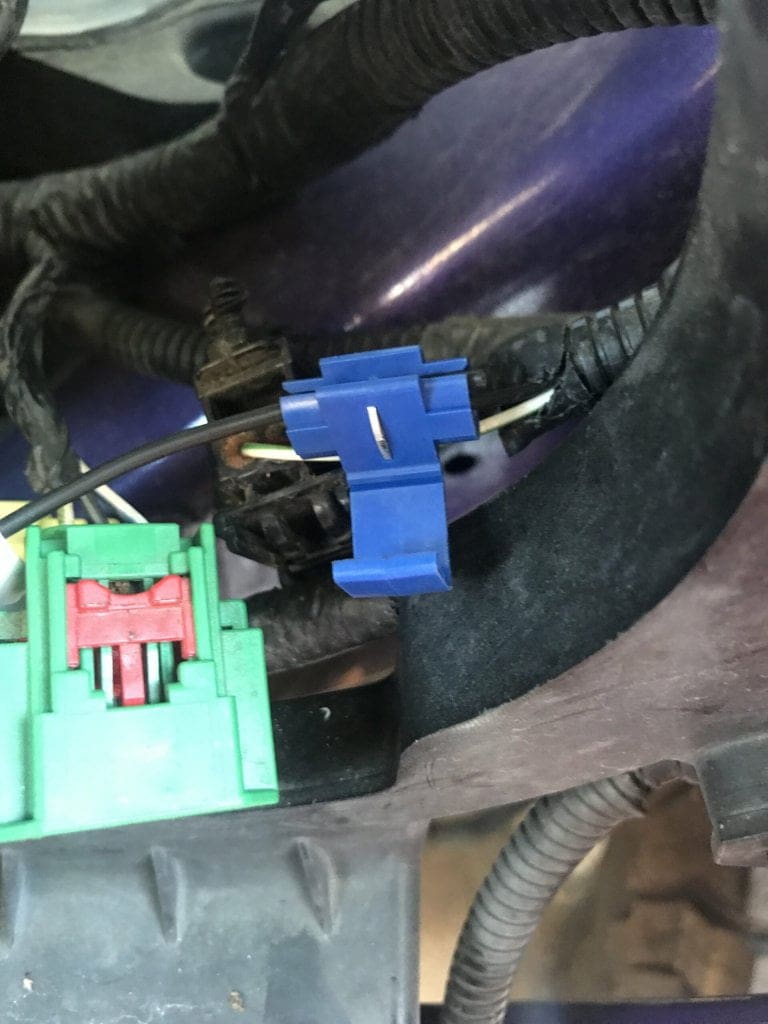
The scotch lock is pretty simple and ingenious. Slip the wire you connecting too into the bottom of the assembly and then put the lamp wire into the top and “Clamp” that silver piece tightly with pliers.
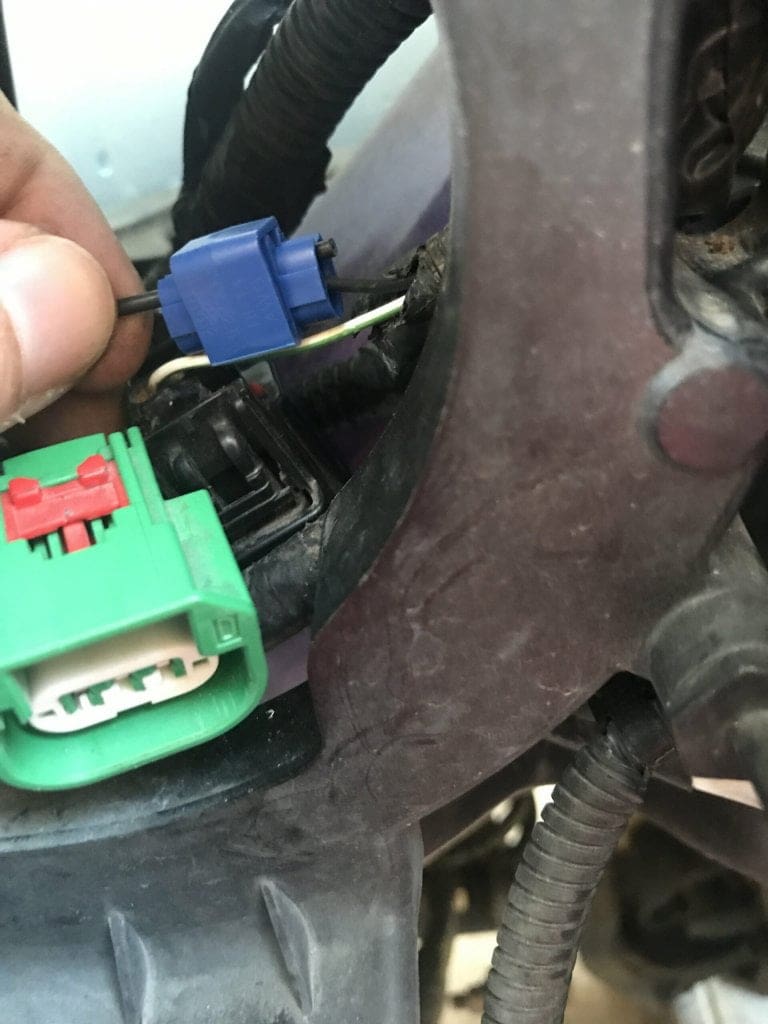
Once clamped, you snap the blue shield over, and it closes everything up nice and snug. Here you can see both wires done and closed up.
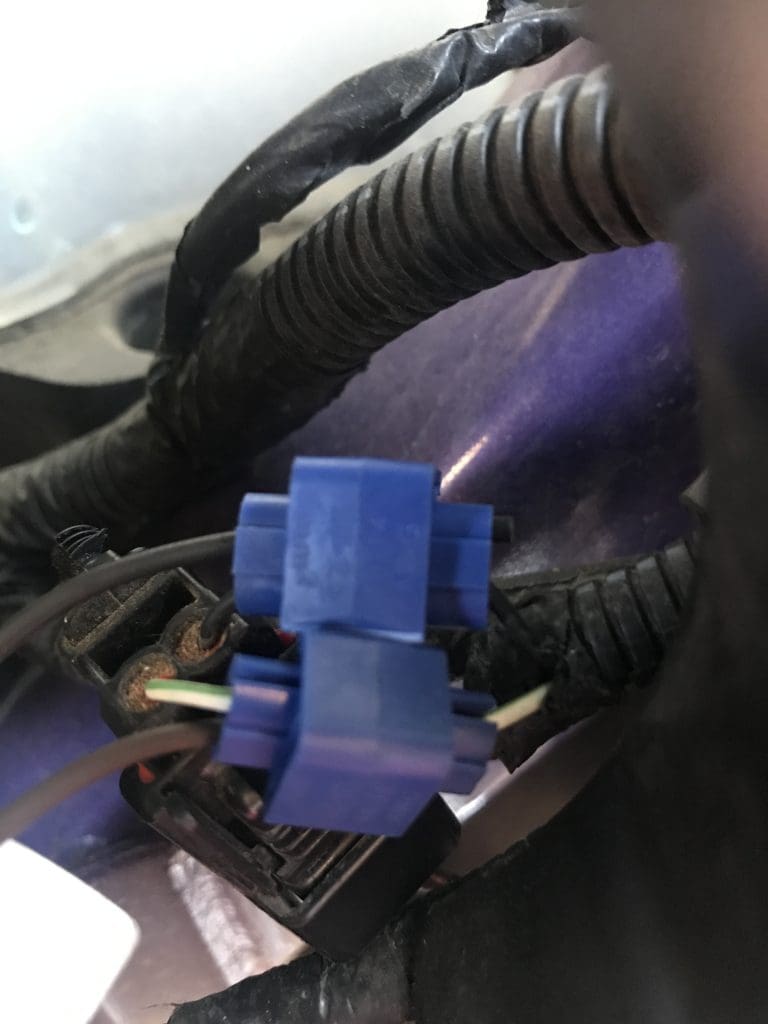
If you have never done a scotch lock, here is a brief YouTube Video.
Reconnect Lamp Power
Re-connect the lamp wiring – Insert the black male adapter into the green female plug and slide the red locking mechanism down.
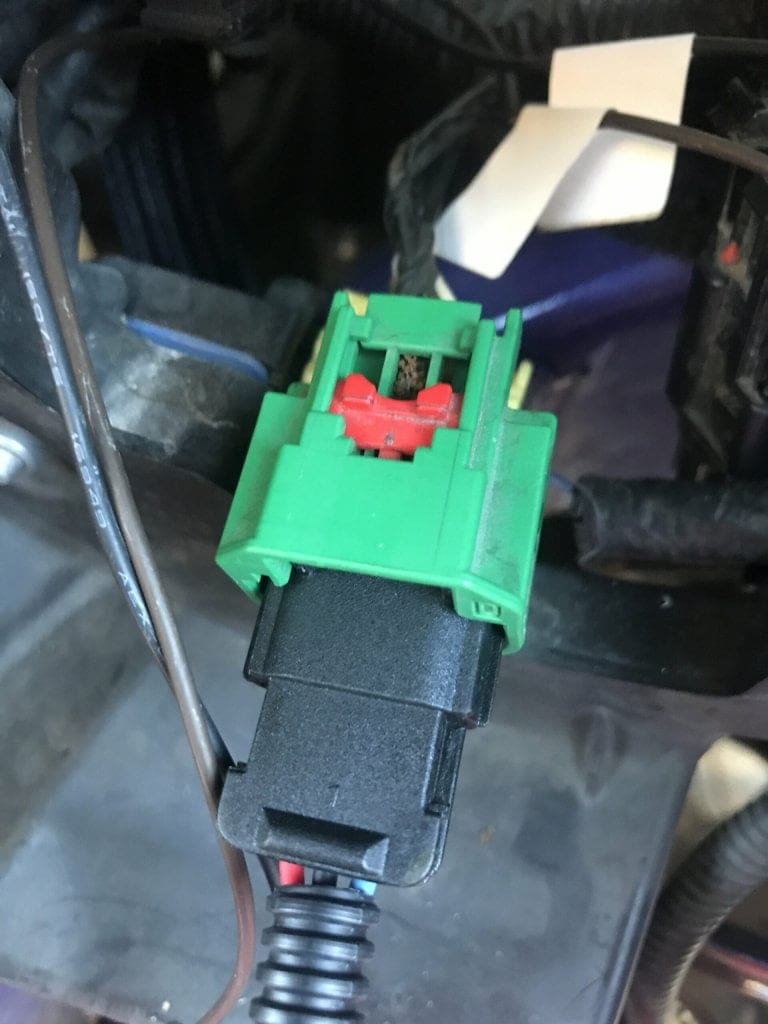
Now that we’re all connected and before we re-assemble everything, I would turn your lights on “one click forward” (driving lights) to make sure the halo turns on. If yes, go on. If not, make sure the scotch locks were tightly crimped.
When you turn your headlight on one click forward, it should turn on the Halo like this.
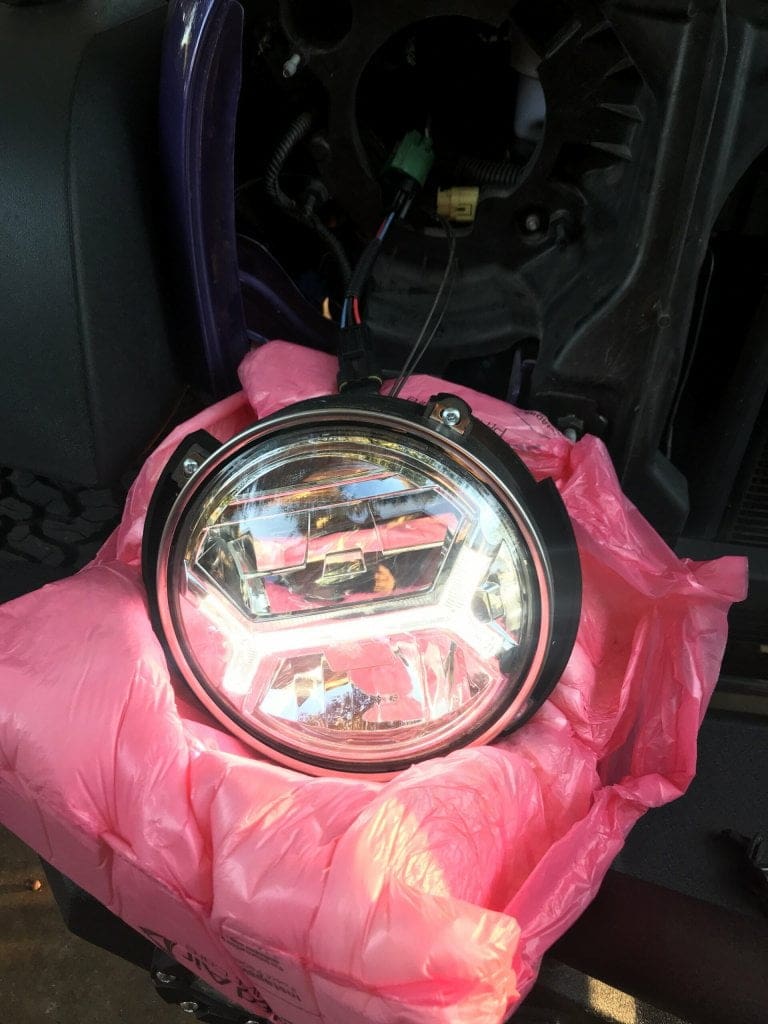
Insert the Halo LED lamp into the assembly.
Time to “snap in” the lamp assembly. Line it up so it’s right-side-up and that it aligns with the three connectors we removed the “clips” from earlier. I used a screwdriver to put leverage to “Snap” the assembly in by pushing with the end of the screwdriver near the three connectors. You will hear clicks as it locks in.
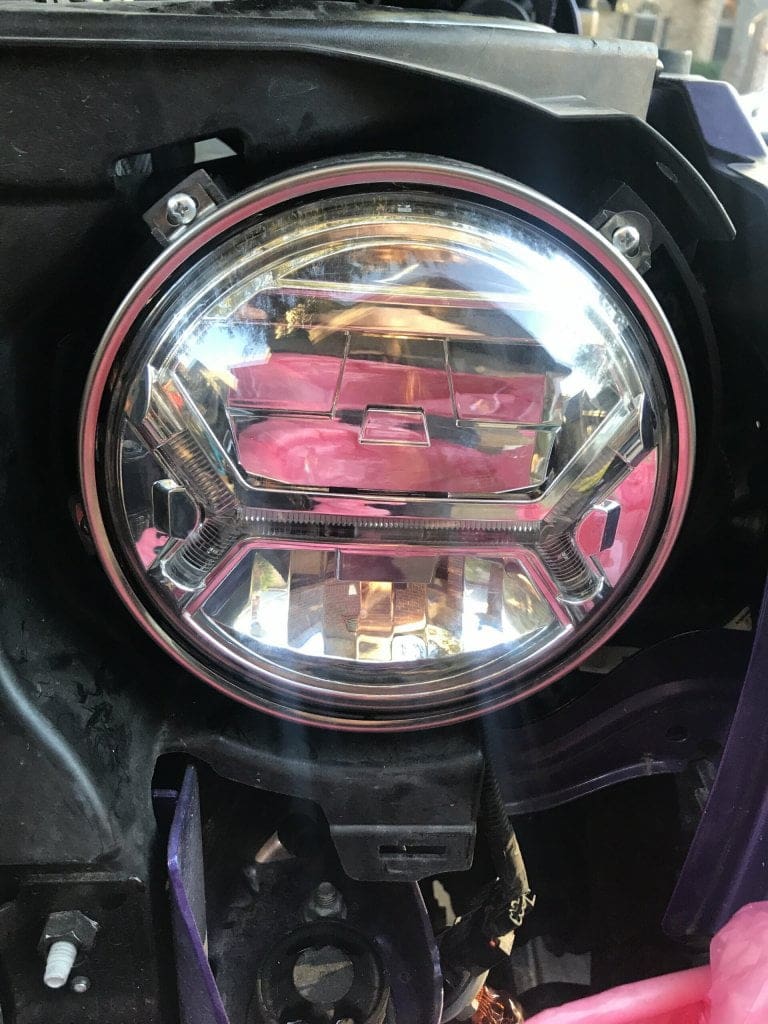
Drivers side is done, now its time to repeat the same process on the passenger side (right side).
Repeat all of the above installation steps for the passenger side. Once the passenger side is done, we’ll want to turn everything on and re-calibrate the headlights and then put the grill back on and close everything up.
Calibration
We want to make sure that the headlights are the same height adjustment as before so we can match what came from the factory or whatever it is we’re already used to driving with. You can always adjust to whatever height you wish, just know that now is the time to set this height since you need the grill to remain off.
Before Calibration
As you can see in the image below, my driver light is a little low.
T15 Calibration Adjustment
The T15 screwdriver connects back the adjustable silver screw to change the height of the lamp.
To turn the headlight up – turn the T15 screw clockwise.
To turn the headlight down – turn the adjustment T15 counter-clockwise.
After Calibration
Adjusted the driers side and now everything looks to be right height to match what I had before.
Re-Install Grill
Now we need to re-install the Jeep Grill. We’ll just reverse the process we did to take it off. First, put the grill up against the Jeep then re-Insert the indicator lamps/lights or reconnect their power cable if you pulled the cables. Once lights are back in, and power is installed, snap in the bottom snaps that you see here:
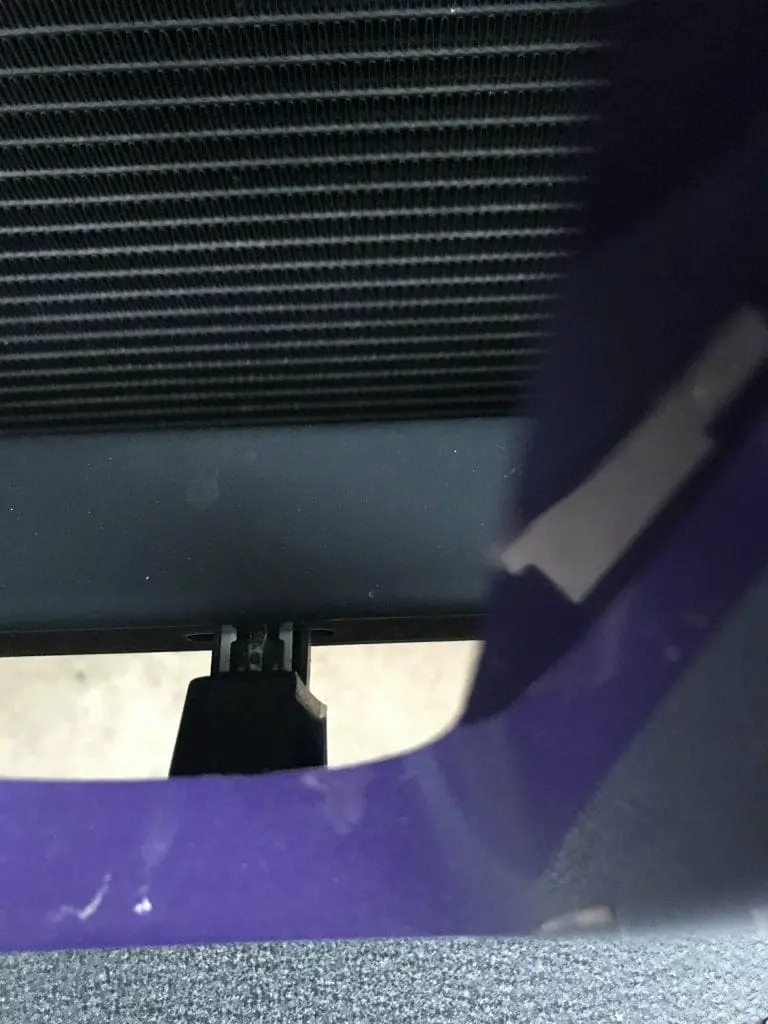
Just make sure they line up and click in. Doesn’t take much force to re-insert. No need to bang it, they go in with a light push and a clip.
Finally, Insert the top six “snaps” to secure the grill back in. You push the hollow round snap in first and then insert the pin into the middle.

Installed Halo LED Lights
Everything is back together, and it looks amazing!
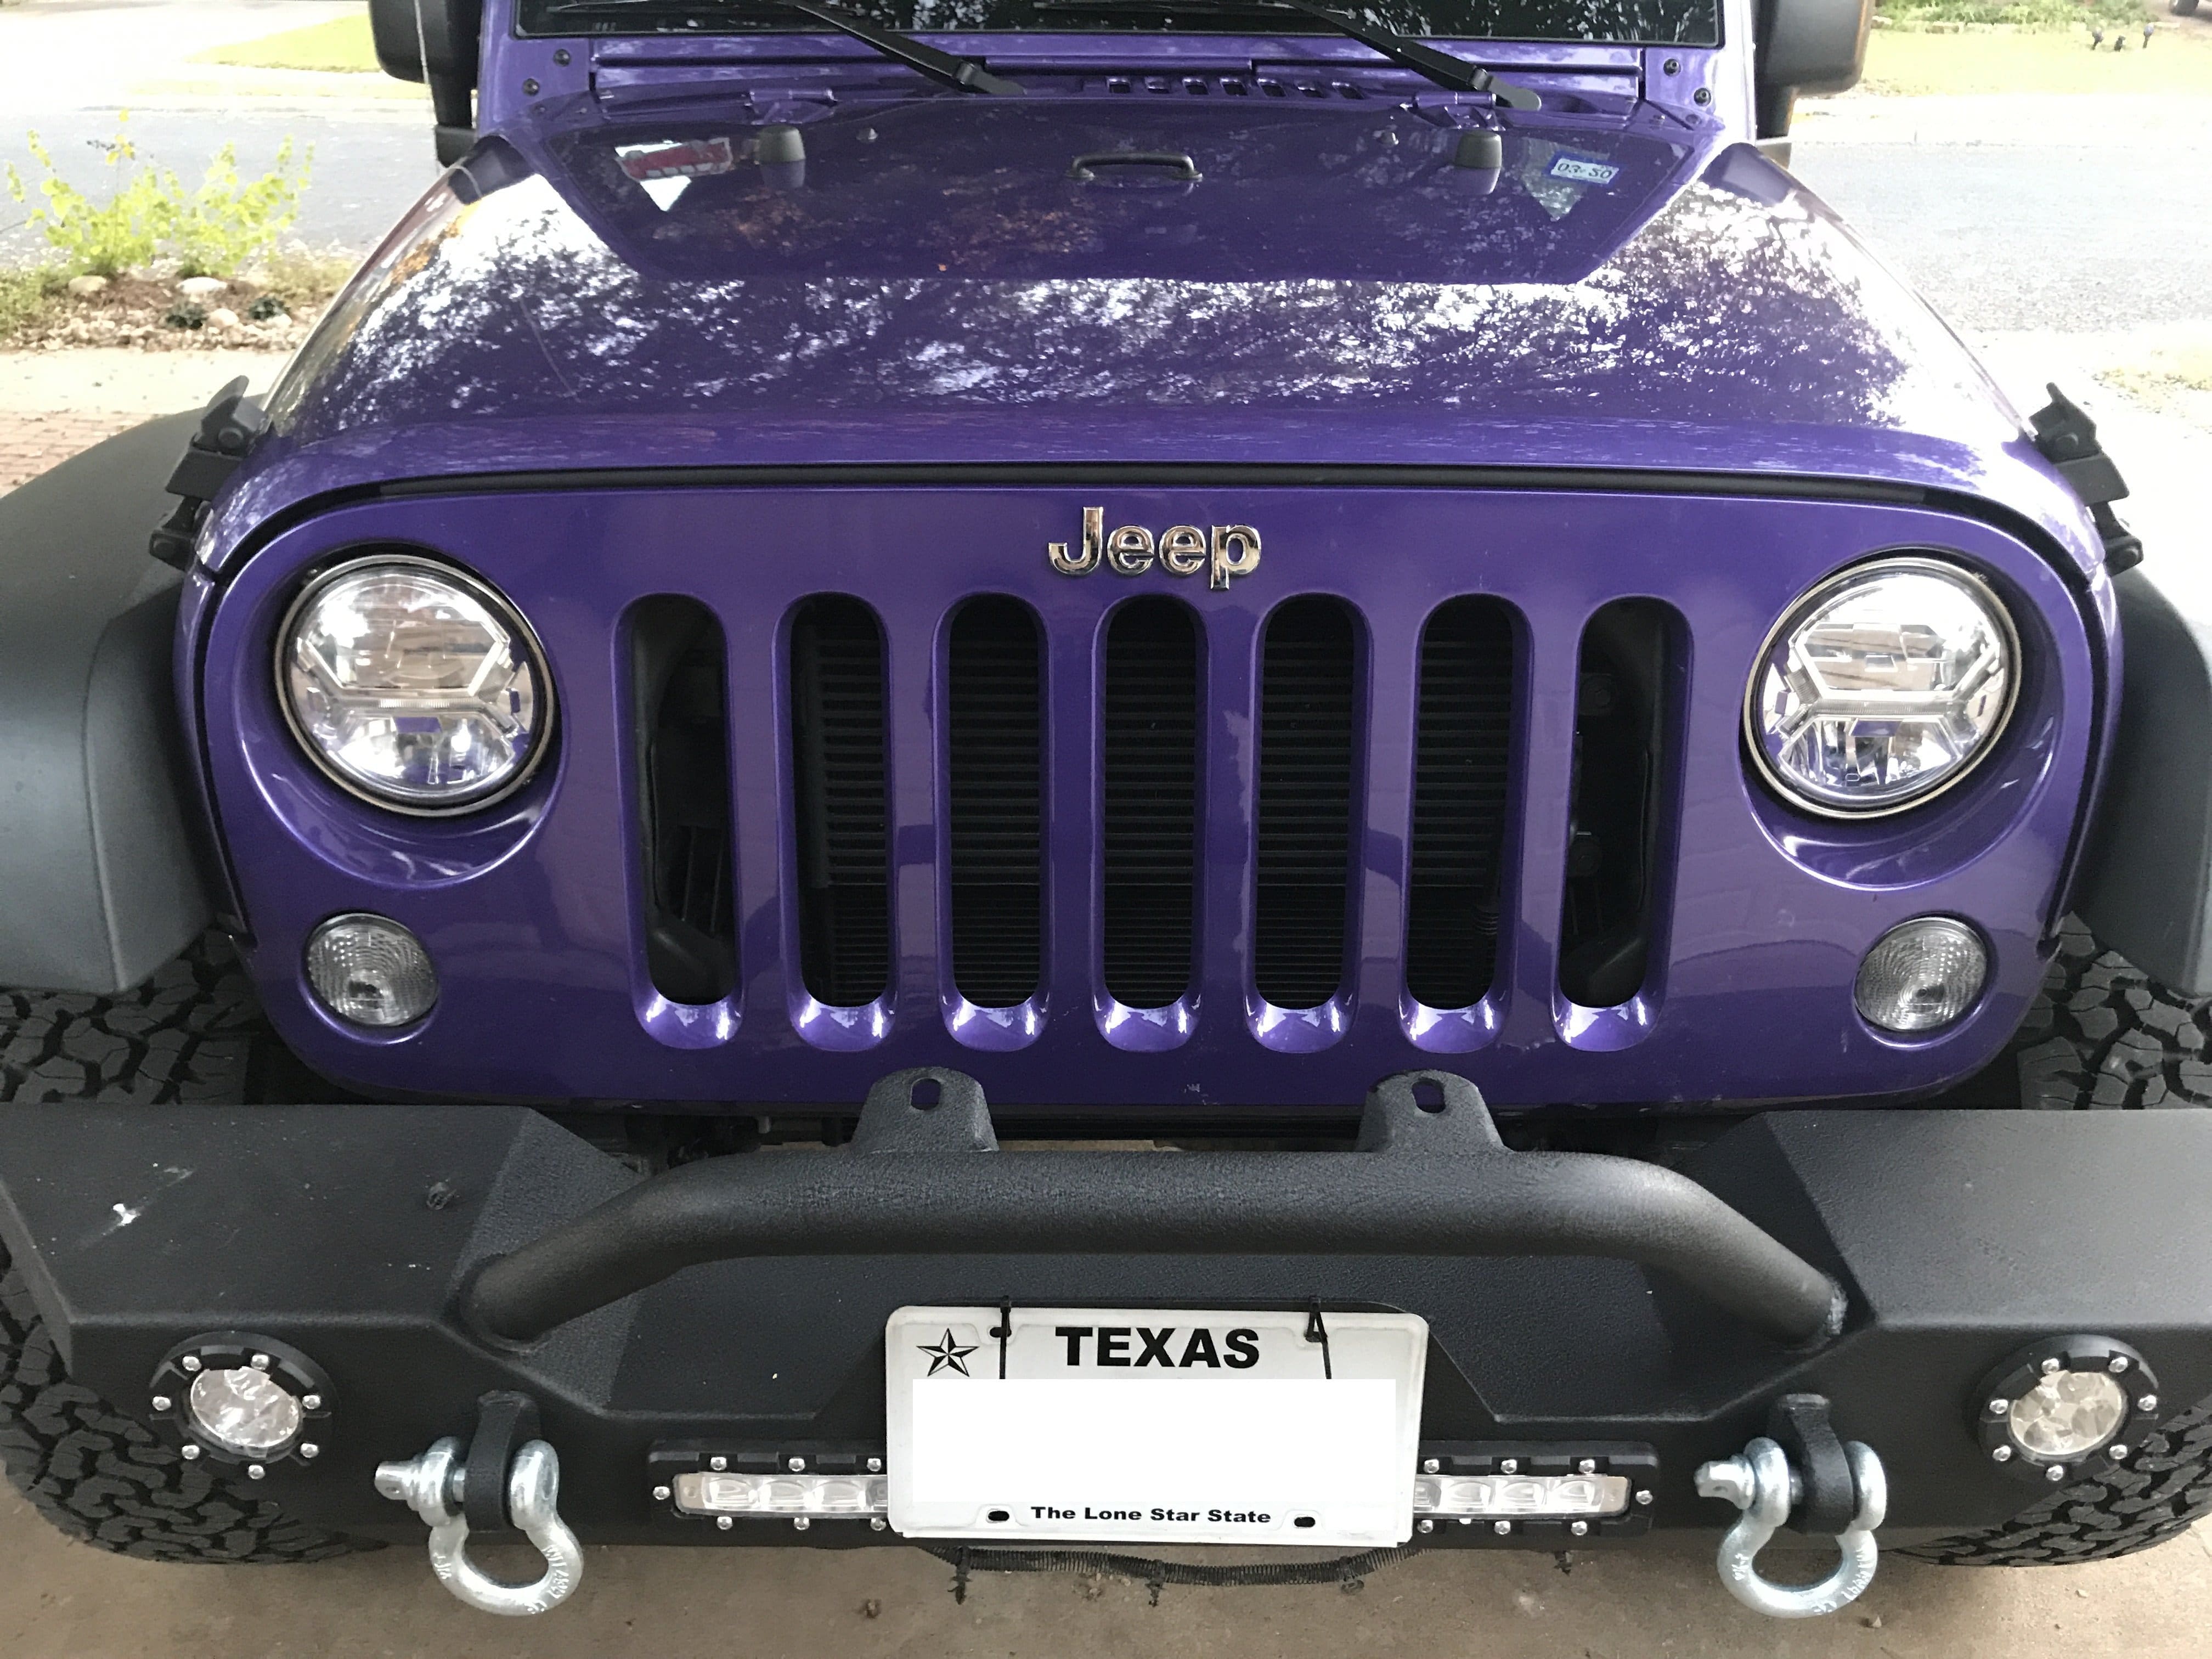
They look awesome! The Halo design certainly gives them a bit of character!
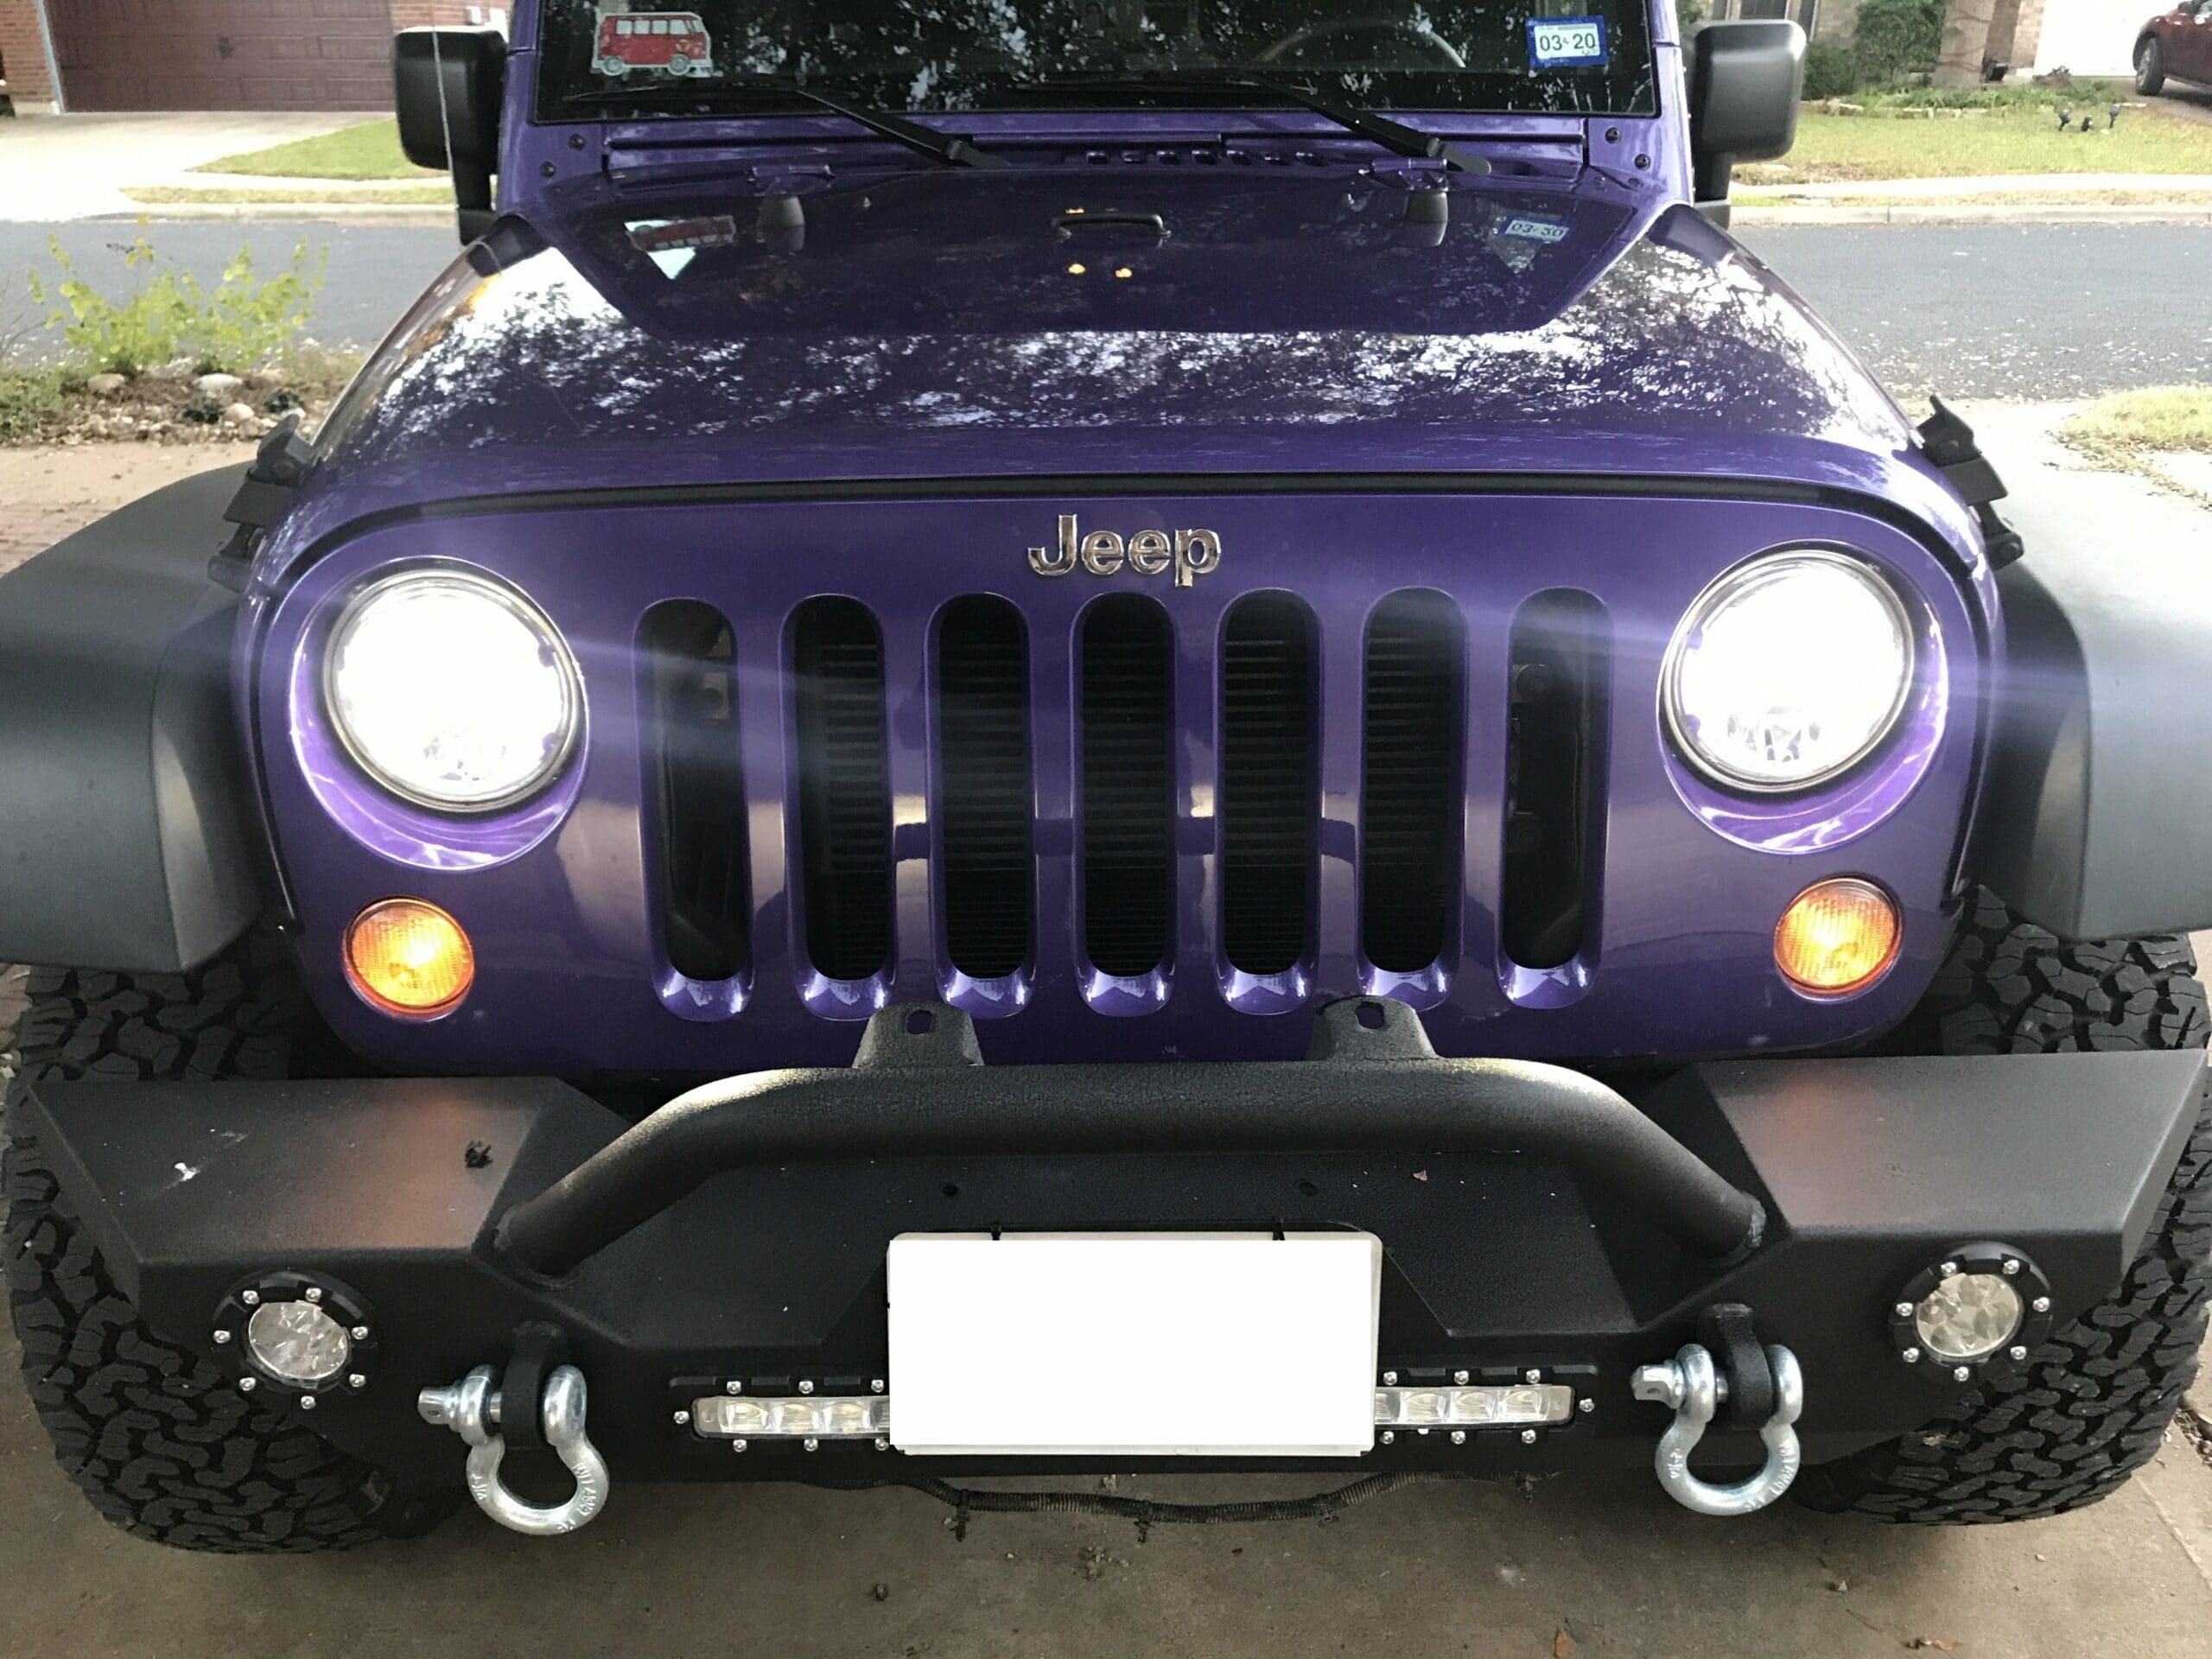
Headlights on – Nice and Bright! We’ll measure the LUX output in the evening!
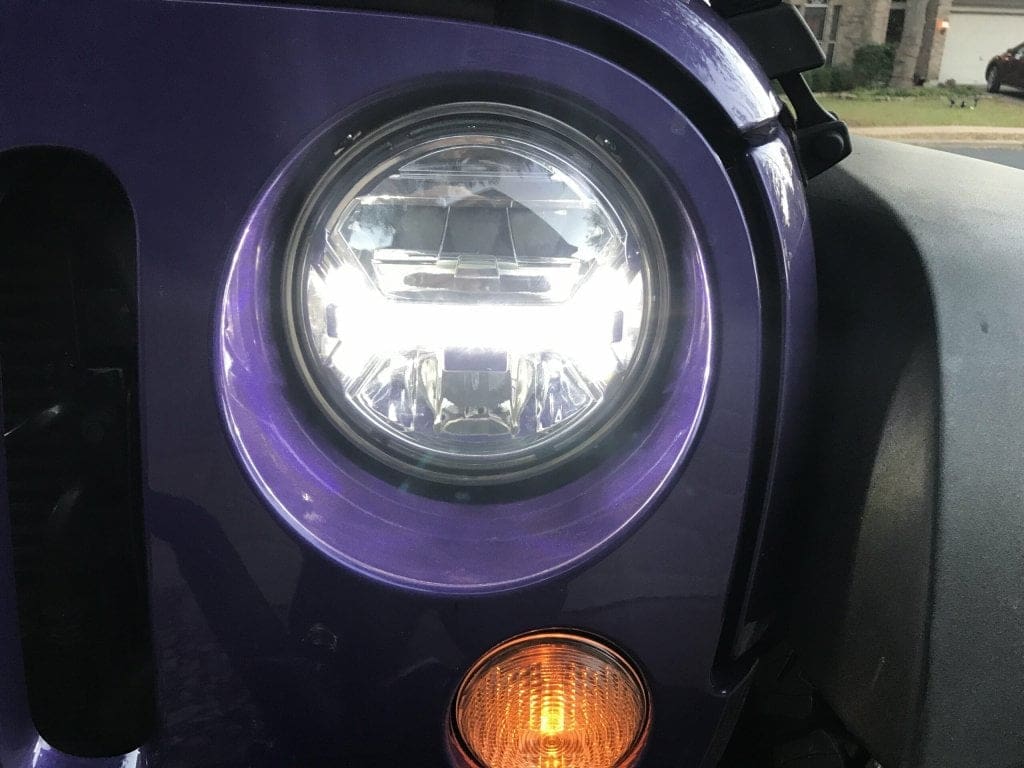
LED “Halo” effect in driving mode. Love it!
Installation wasn’t too hard or complicated. The longest part was scotch-locking the halo power to the fender running lights. Otherwise, everything else fits in with a factory finish. If you want LED headlights without the “Halo” light, you can choose a model with no Halo, and that will simplify the install a bit.
Brightness
All of this effort was in the hopes of having better driving lights. Anecdotally, the LED lamps give a much bigger “light picture” than the Halogen lamps did. The beam is brighter from the ground forward in a bright white light vs. a dull yellow glow. I could see a HUGE improvement the second I turned the new LEDs on.
A “low beam” Lux Measured at 20 feet was a bright 1,100 LUX! – Not only were these lights BRIGHTER but the “picture” was bright all around. To get a good readout on the old halogens I had to hold my meter right in the center of each light beam, but with the Raxiom Halo LEDs – as long as I’m forward of the Jeep and within both headlights they’re bright.
This measurement alone shows over 35% improvement in LUX over factory Halogens! Pretty amazing that LED technology can be this much brighter and provide a much better night time view all the meanwhile using 60% less power than the old Halogen bulbs!
The “High Beam” on these Raxiom Halo’s creates a HUGE picture – not necessarily brighter with a measurable increase to overall LUX but a HUGE “picture” in front of you – Great for those country roads where seeing the glowing eyes of wildlife and the road far ahead can mean the difference between a breakdown/accident or a safe Journey home. I killed the battery in my LUX meter, so I’ll update this post with high beam readings ASAP.
Buy Online
You can order these fantastic headlamps direct from Extreme Terrain:
Review
These lights are AMAZING. If you’re Jeep doesn’t include Factory LEDs (Sahara, Rubicon’s or custom packages by dealer) then you should upgrade and even if you have factory LED’s the sight-picture, performance, and character of the Halo lights is worth it as well. It’s astonishing they would sell Jeeps to this day without lights like this, you don’t know what you’re missing until you install a pair of Raxiom Halos and *SEE* what you should be able to see at night!
The “sight picture” is phenomenal and it’s such a shame I can’t get good photos of it with a camera. What I mean by sight picture is that everything is lit up and brightened with great detail. Road signs have a much more vivid reflection, the road from immediately in front of me to the distance way out is well lit with a white light that brings out all the details.
Don’t wait to get these. Upgrade Now. If you’re pondering what upgrade you should budget for first, Budget for the Raxiom LED Halo lights. You get functionality, form, beauty and most importantly a piece of mind that you can see and drive safely at night.
I would even go as far to say, delay the thought of a light bar and start with these. Lightbars may look cool, but it most states they’re not street legal and you may find that you won’t feel the need for a lightbar after you experience the Raxiom’s in person.
In the end, Installation wasn’t that difficult. Upgrading to LED headlamps alone is just plug and play, but if you like the Halo style, then there is a little more work involved.
Thanks for checking out our review. We love reader feedback, let us know what LED light upgrades you have done or if you have any comments/suggestions for us to try out!


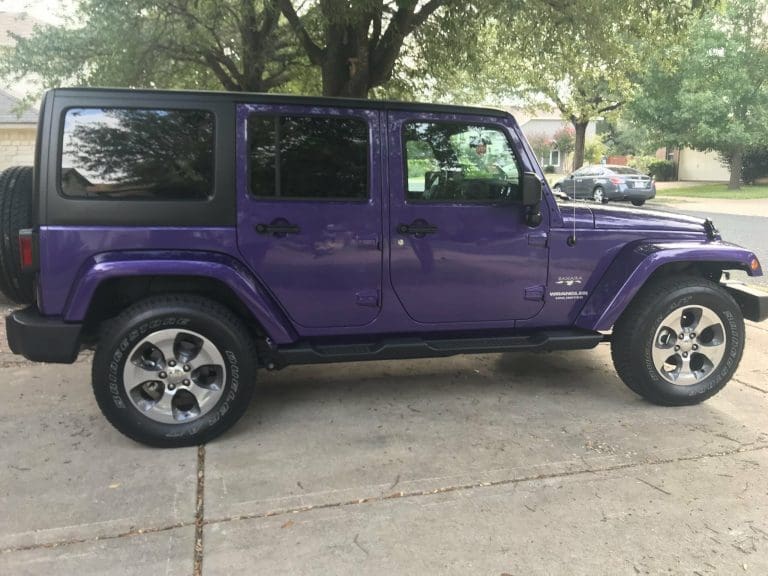


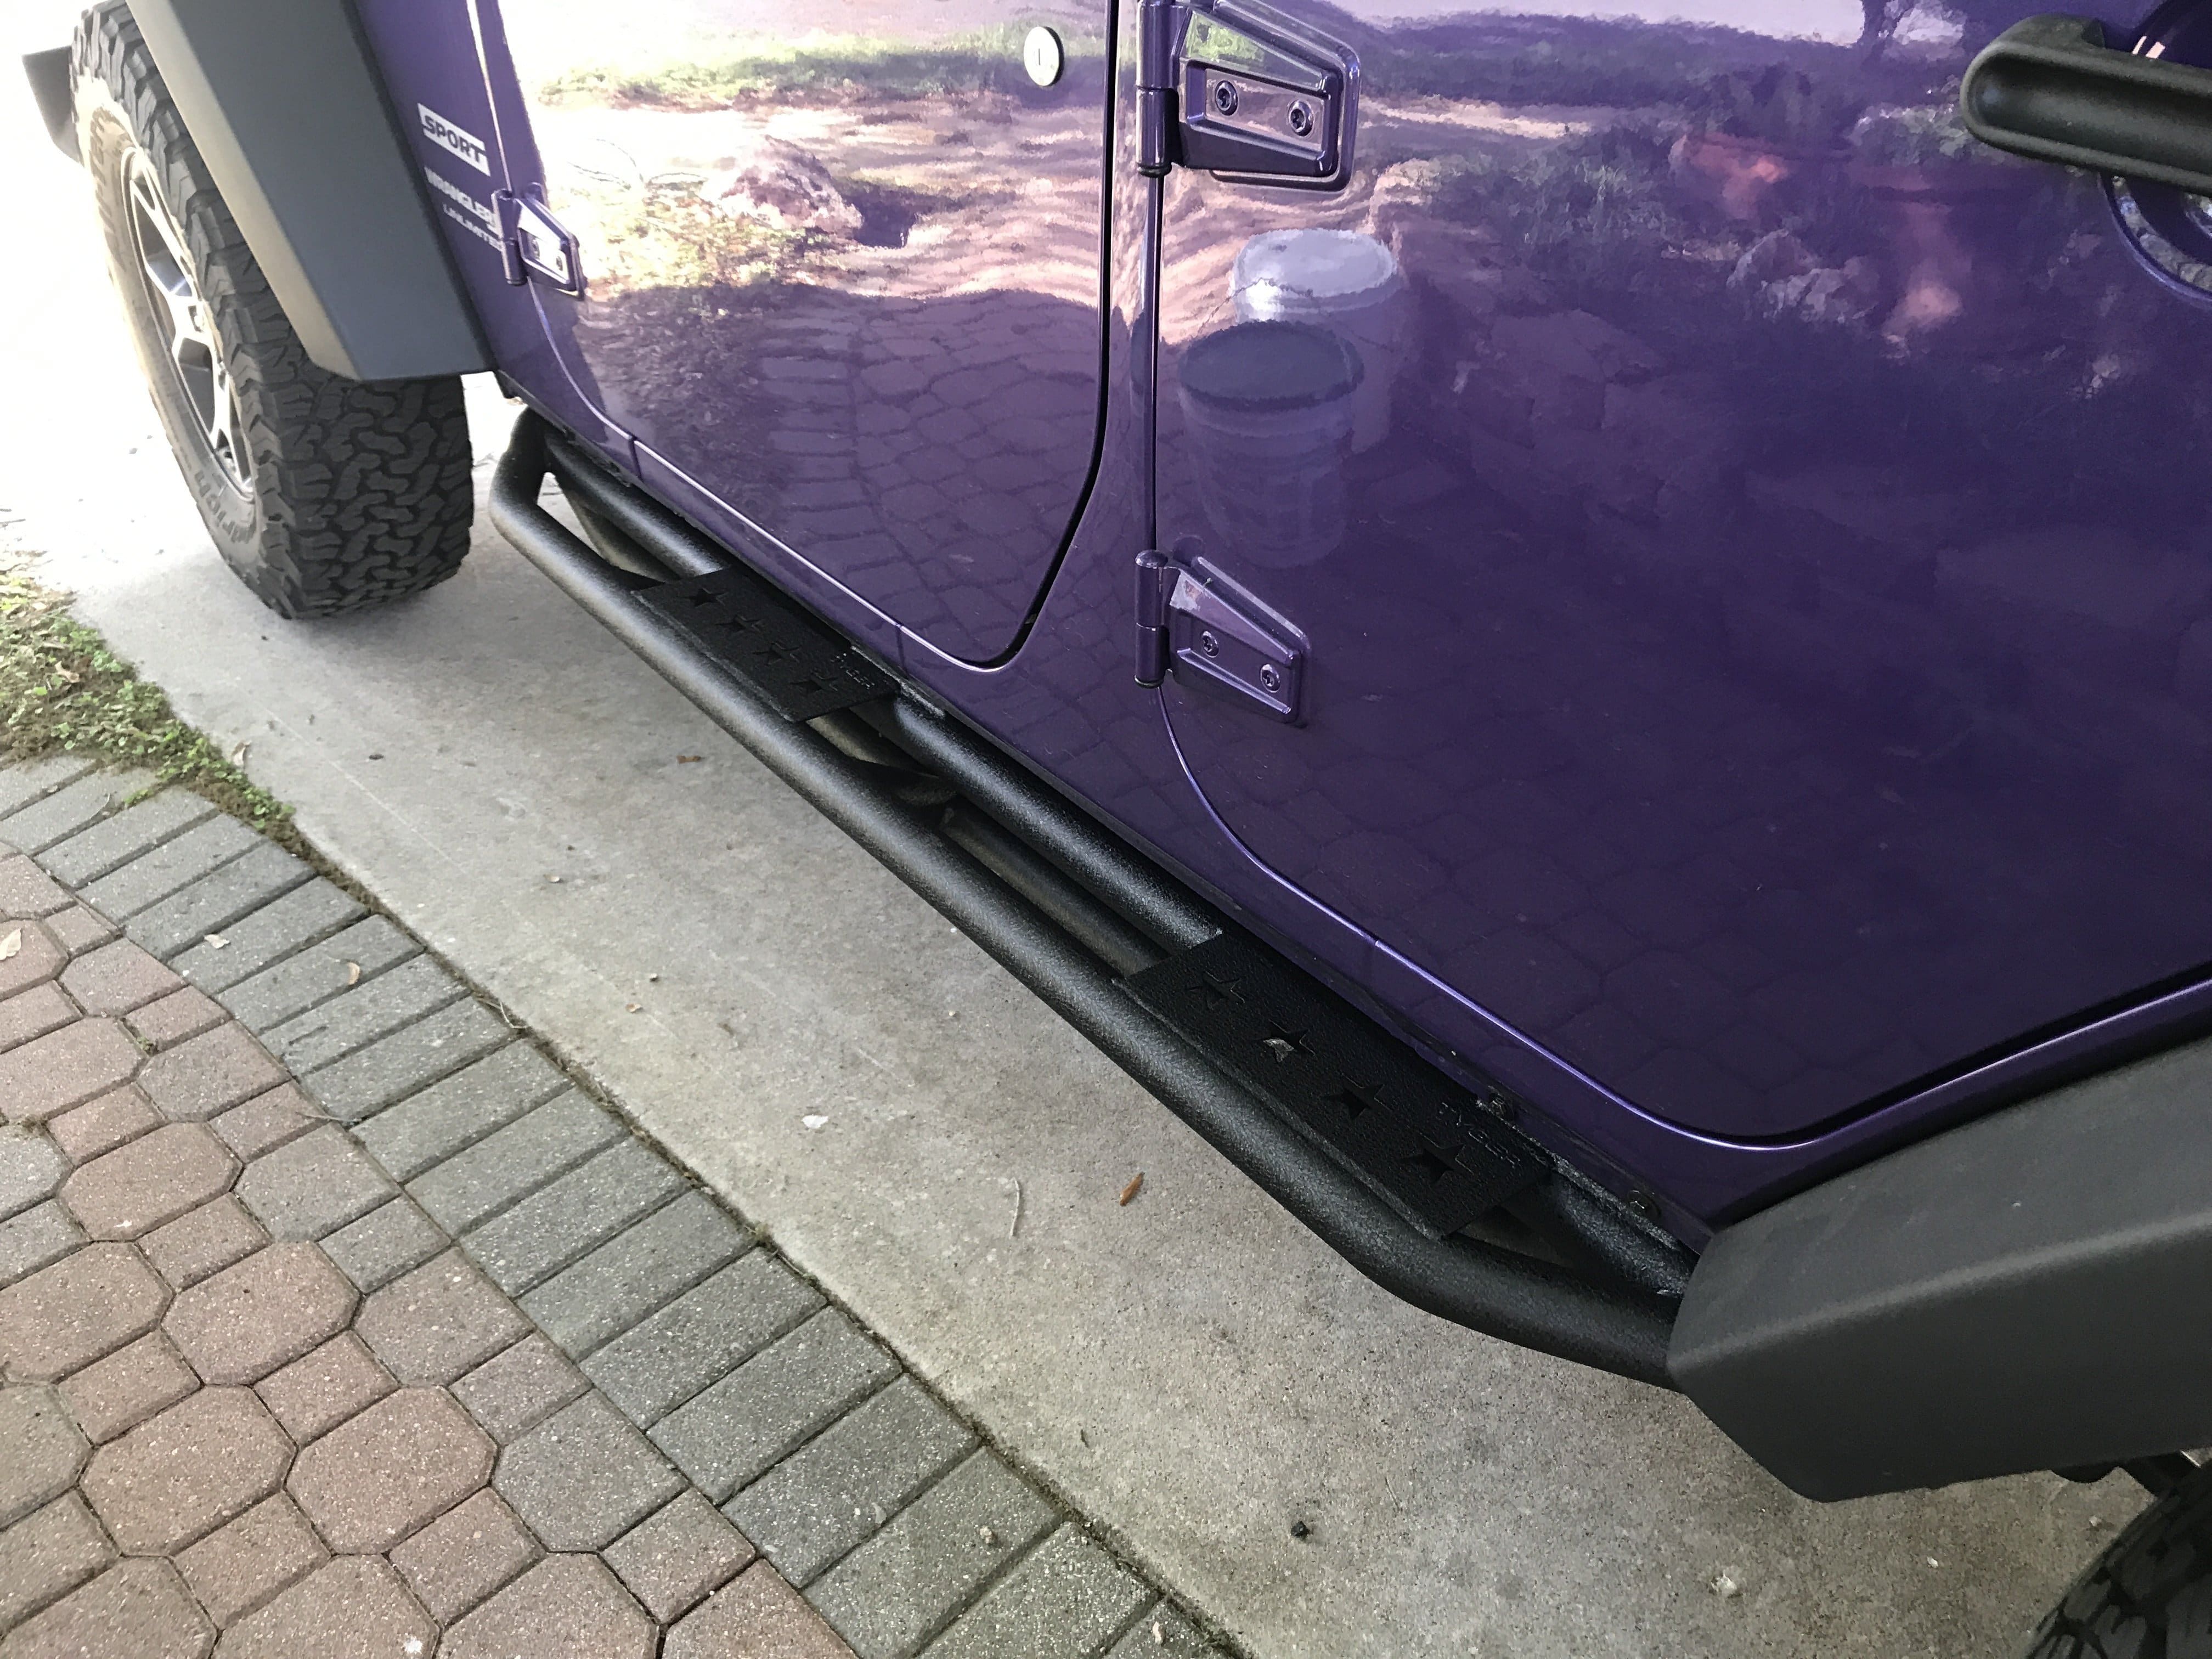

In your review of the Raxiom LED Head Light you could not test the high beam LUX. Have you retested the high beam ?
High beam has such a HUGE spread that I’m not sure my lux meter will read it correctly but I’ll definitely give it a try and report back!