Explore the Ruins of the San Pedro Landslide
I once came across an article comparing Sunken City to the Lost City of Atlantis. “Well, that would make a hell of a hiking spot,” I thought. I’ve since had San Pedro Sunken City on the forefront of my mind, eager to explore the ruins of the 1929 landslide.
Join us as we take you on an adventure through the ruins of the San Pedro aka the “Sunken City”. Please be warned – We hope you enjoy our photo journey from the safety of your own house. This area is closed off and unsafe for general exploration, it is the sight of a landslide!
San Pedro Sunken City
Main landslide area:
Location: 500 W Paseo Del Mar, San Pedro, CA 90731
Map to the secret Sunken City
(You can click on directions on map to get directions from your location) – Parking at Fermin Park or a secure area is advised.
Hours of Operation: Sunrise/Sunset
Please be extra Cautious. This is more of an urban exploration activity, and you do so at your own risk. You can just enjoy the hike by reading our entire post and enjoying the amazing photos 🙂
Quick backstory: A bunch of homes in the Point Fermin area of San Pedro slid into the ocean (because mother nature loves humanity), hence the name “sunken city.”
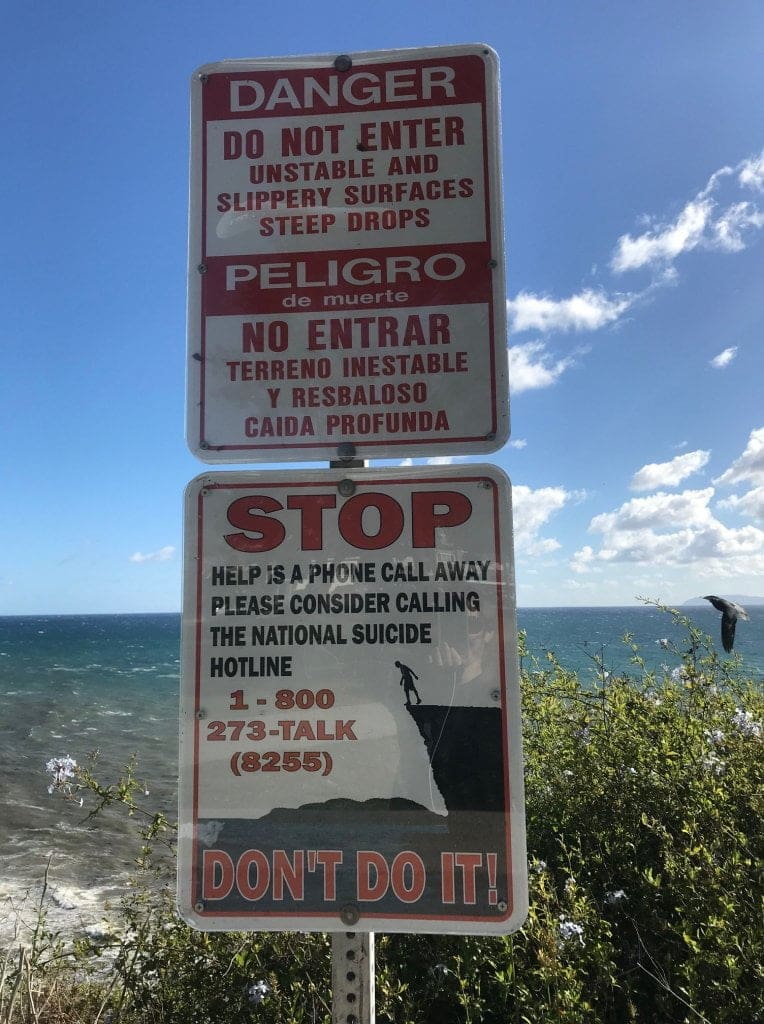
The area is closed off, and it’s illegal to trespass due to safety concerns. There have been numerous reports of suicide attempts and deaths from the rocky cliffs, so hikers are warned.
You can, however, ignore the trespassing signs and climb under one of two fences to enter the area. Keep in mind that this may result in trespassing misdemeanors that may lead to fines and possible imprisonment.
But I, of course, took the risk because I’m a self-proclaimed nut job so here it is folks: your one-way ticket to the lost ruins of Sunken City!
Point Fermin Park
Located in the heart of San Pedro, California (about 26 miles south of downtown Los Angeles) lies a seemingly innocent park with playgrounds, public restrooms (a rarity in LA), and a curved walkway that overlooks the navy-blue hues of the Pacific Ocean.
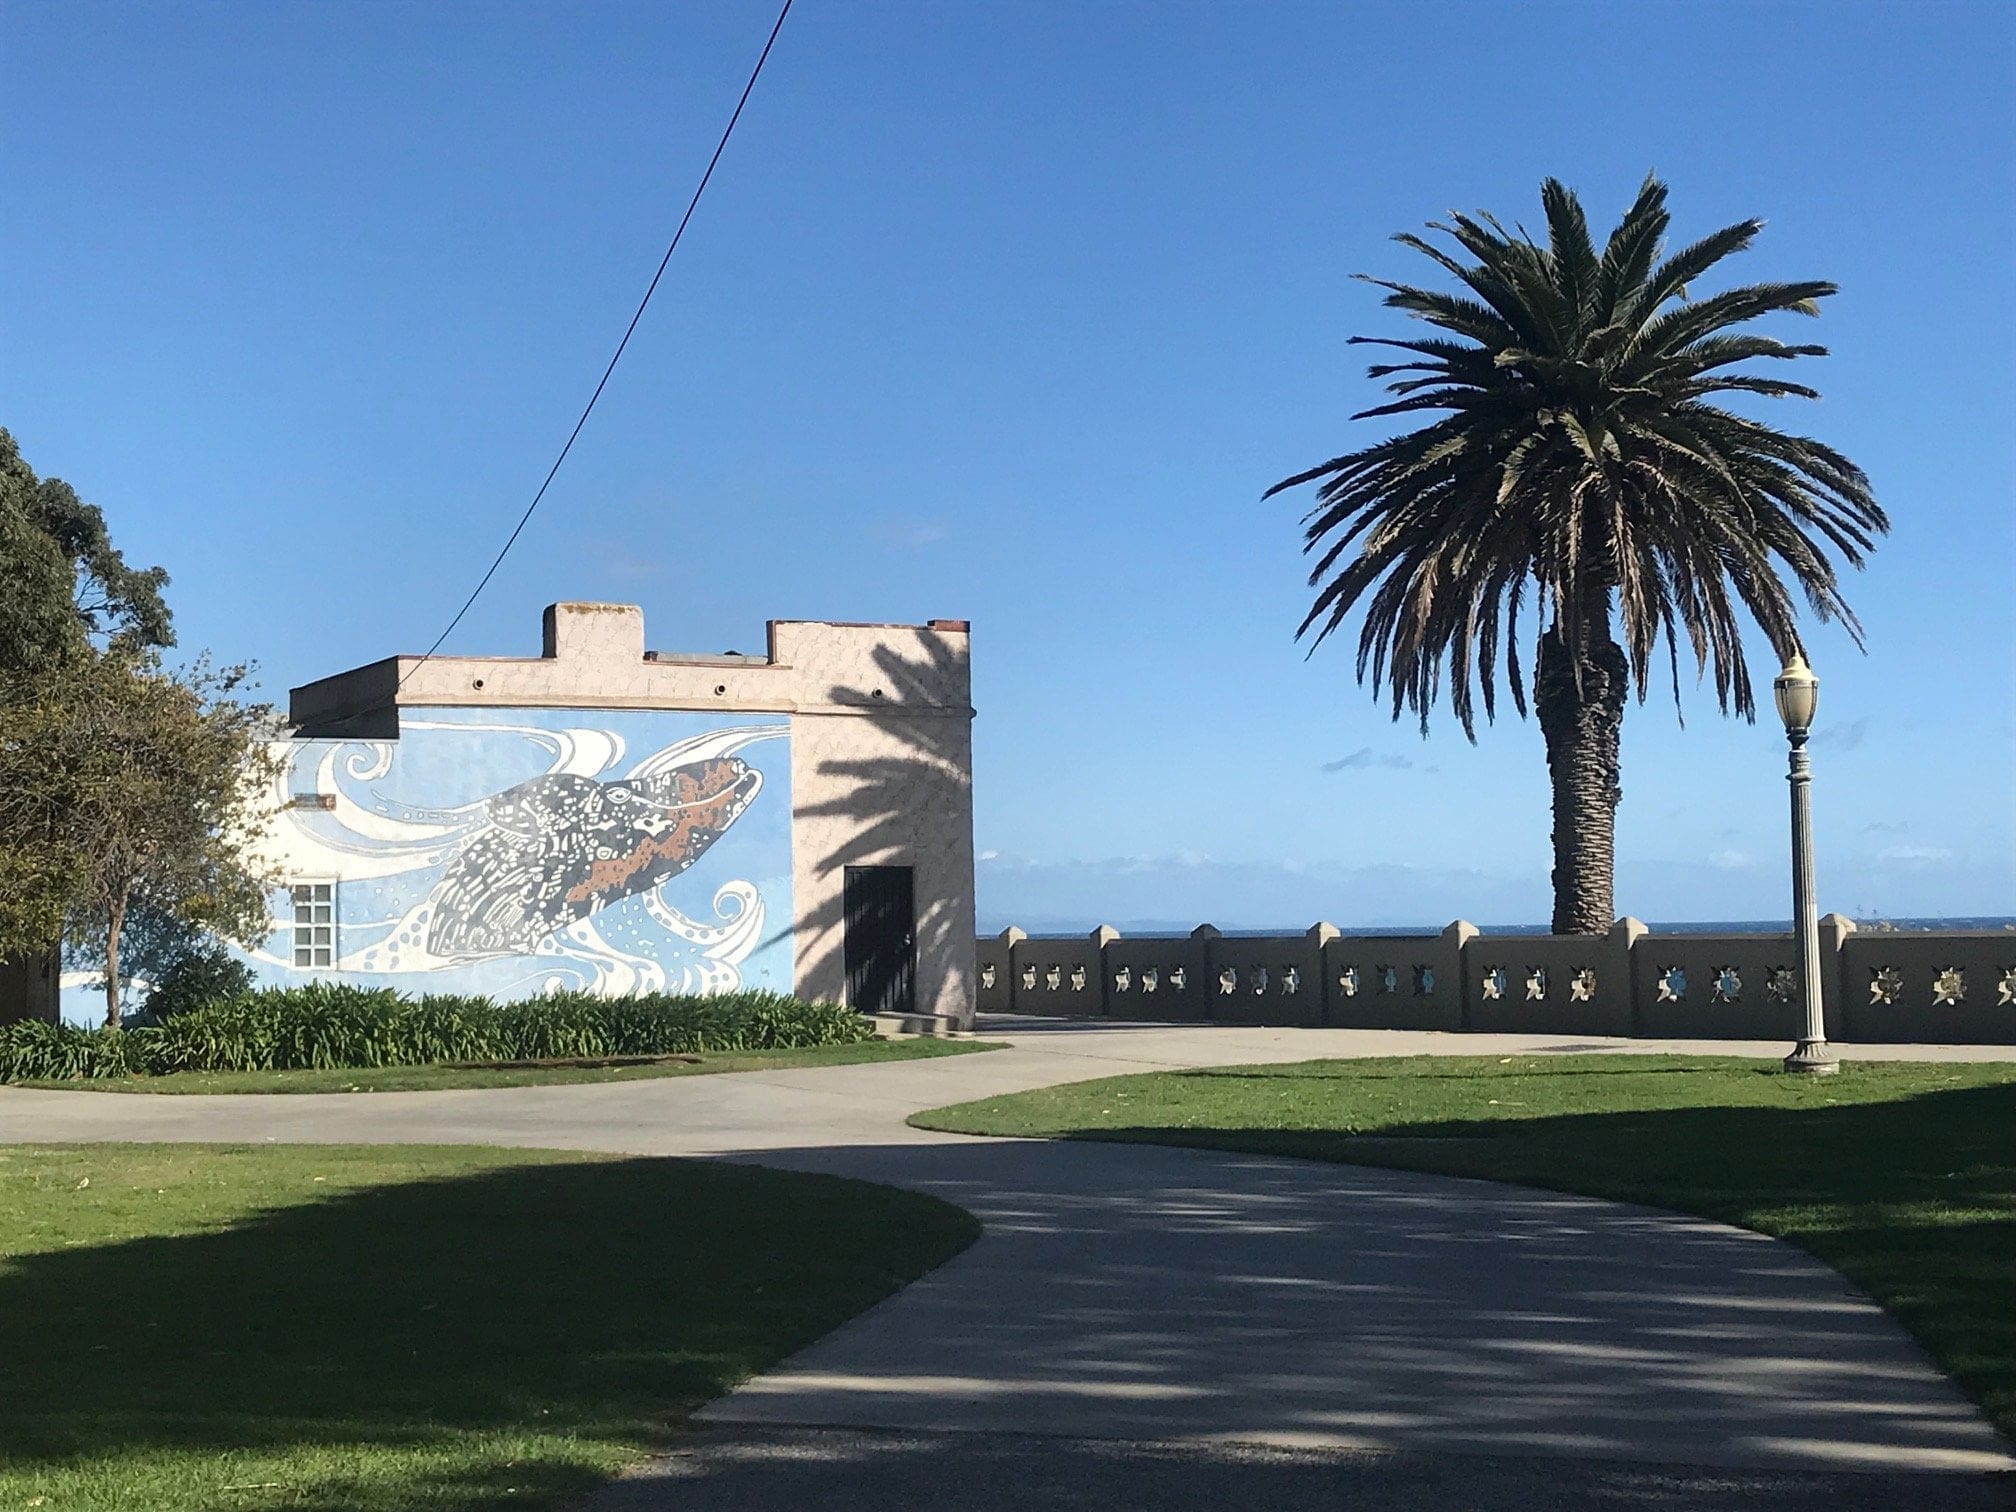
But if you look to the far east, you’ll notice a fenced off sector filled with trespassing signs…and fellow Trespassers.
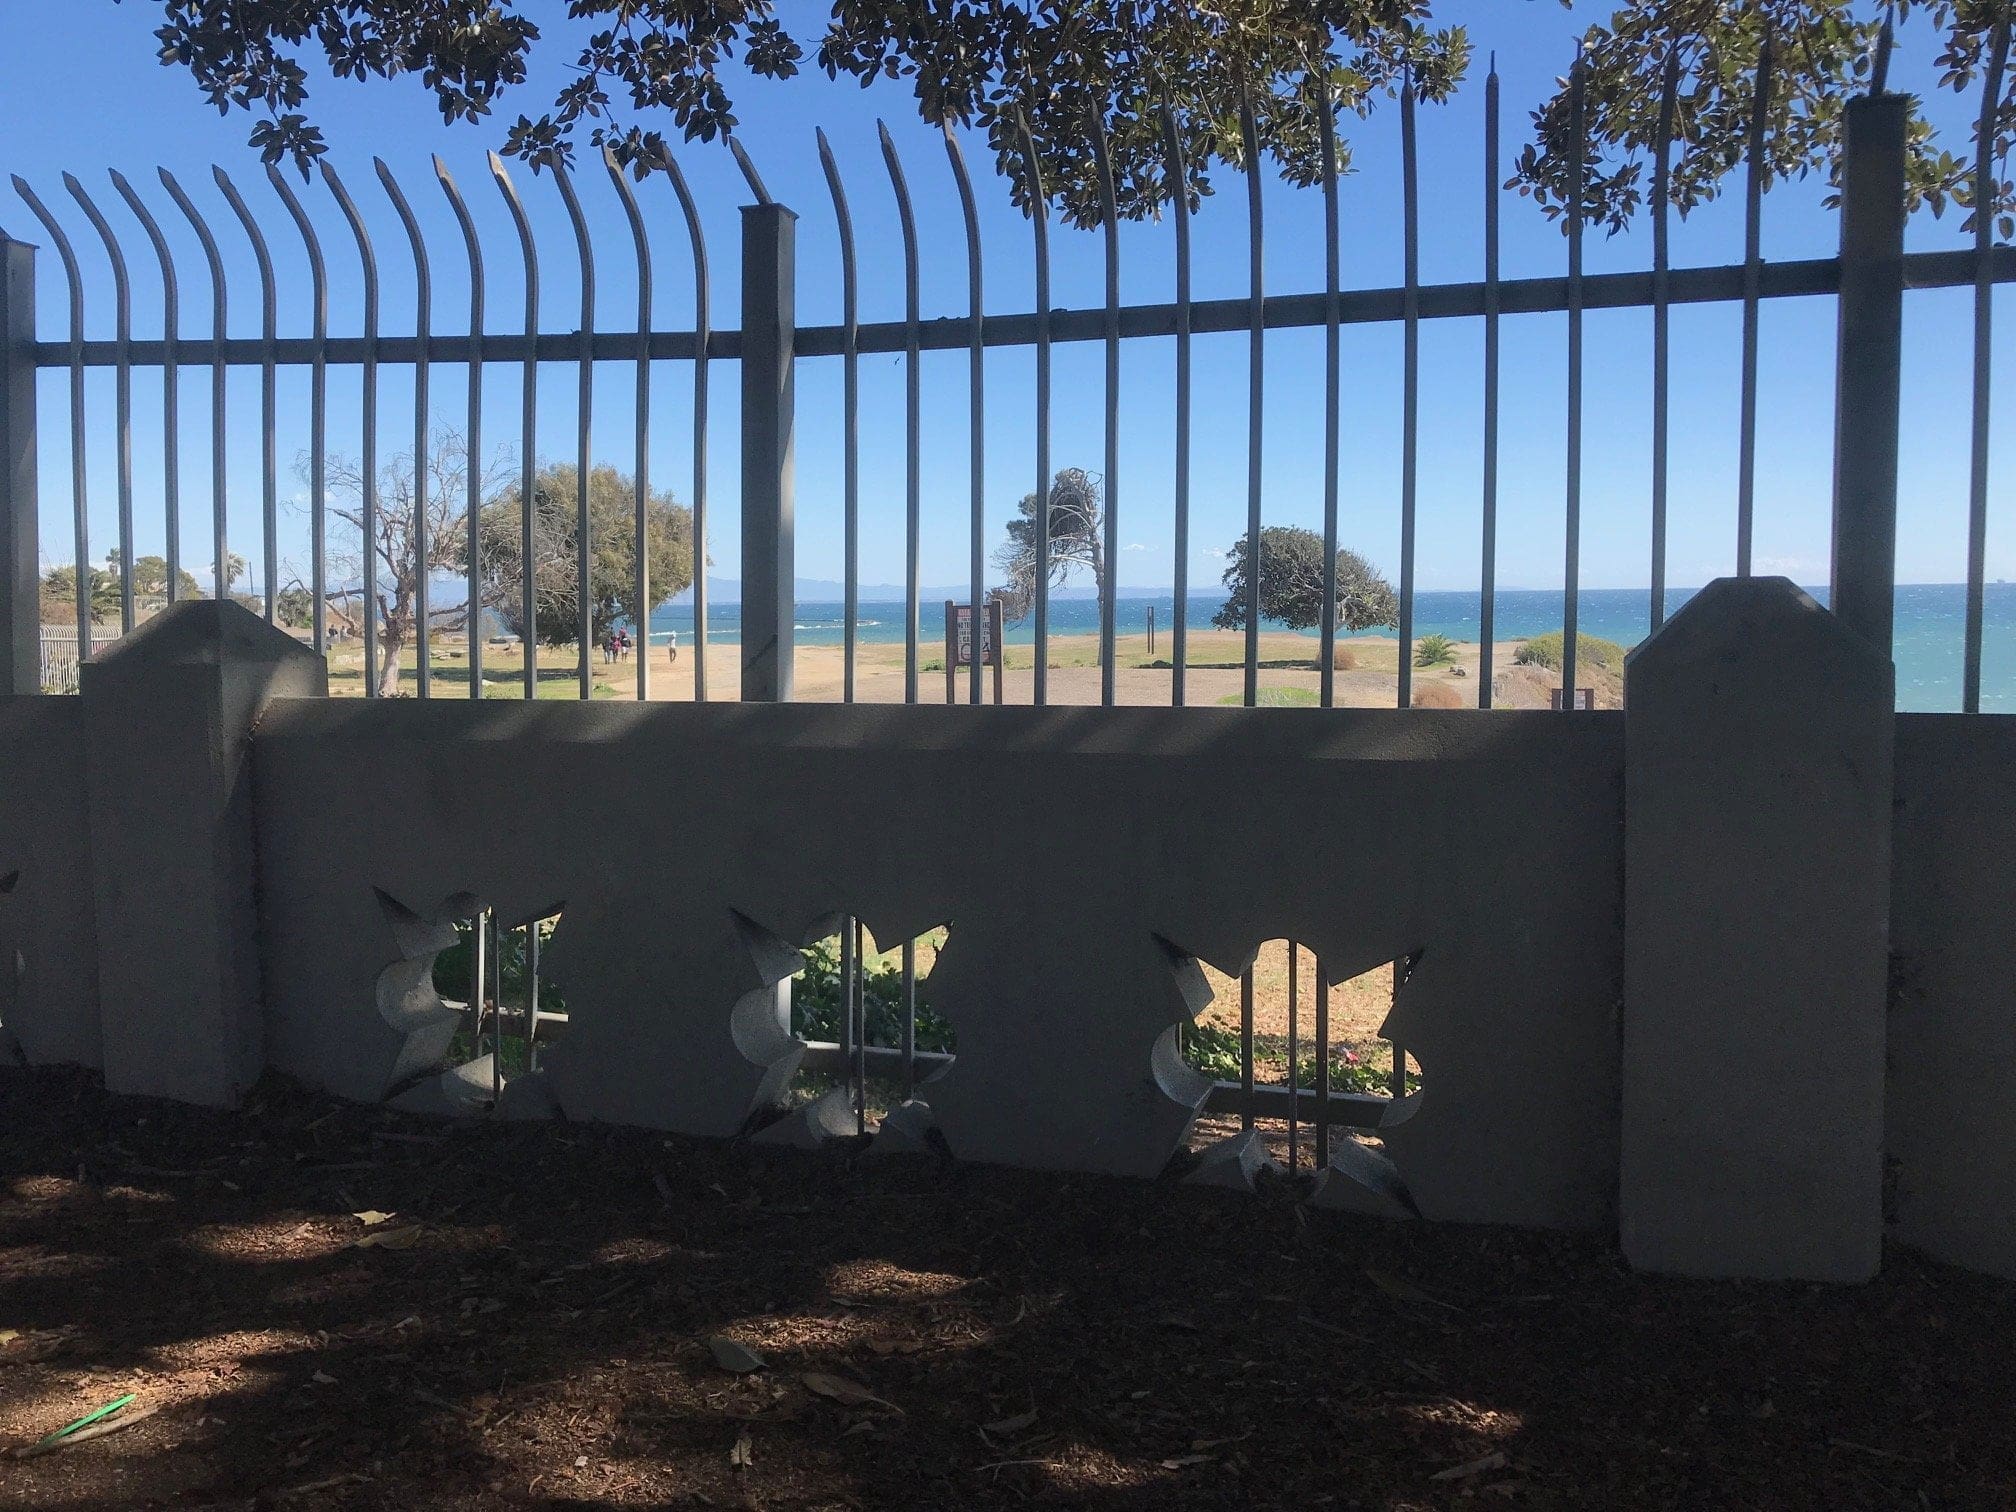
Anti-suicide signs along the walkway, toward the fenced area above.
The entrance of San Pedro Sunken City, which resembles an outdoor jail cell.
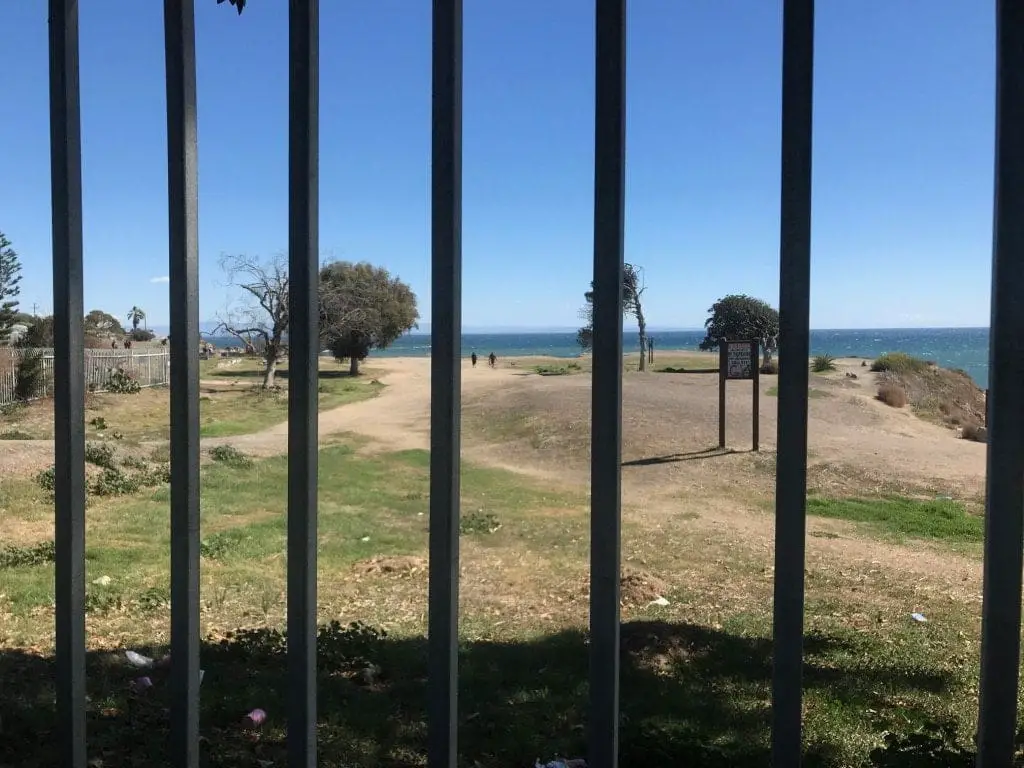
You gain access to Sunken City in one of two ways:
- By climbing over a 3 foot cemented fence, and then climbing directly under a metal fence. You’ll have to lay flat to be able to squeeze underneath, as the gap between the ground and the fence is quite minimal.
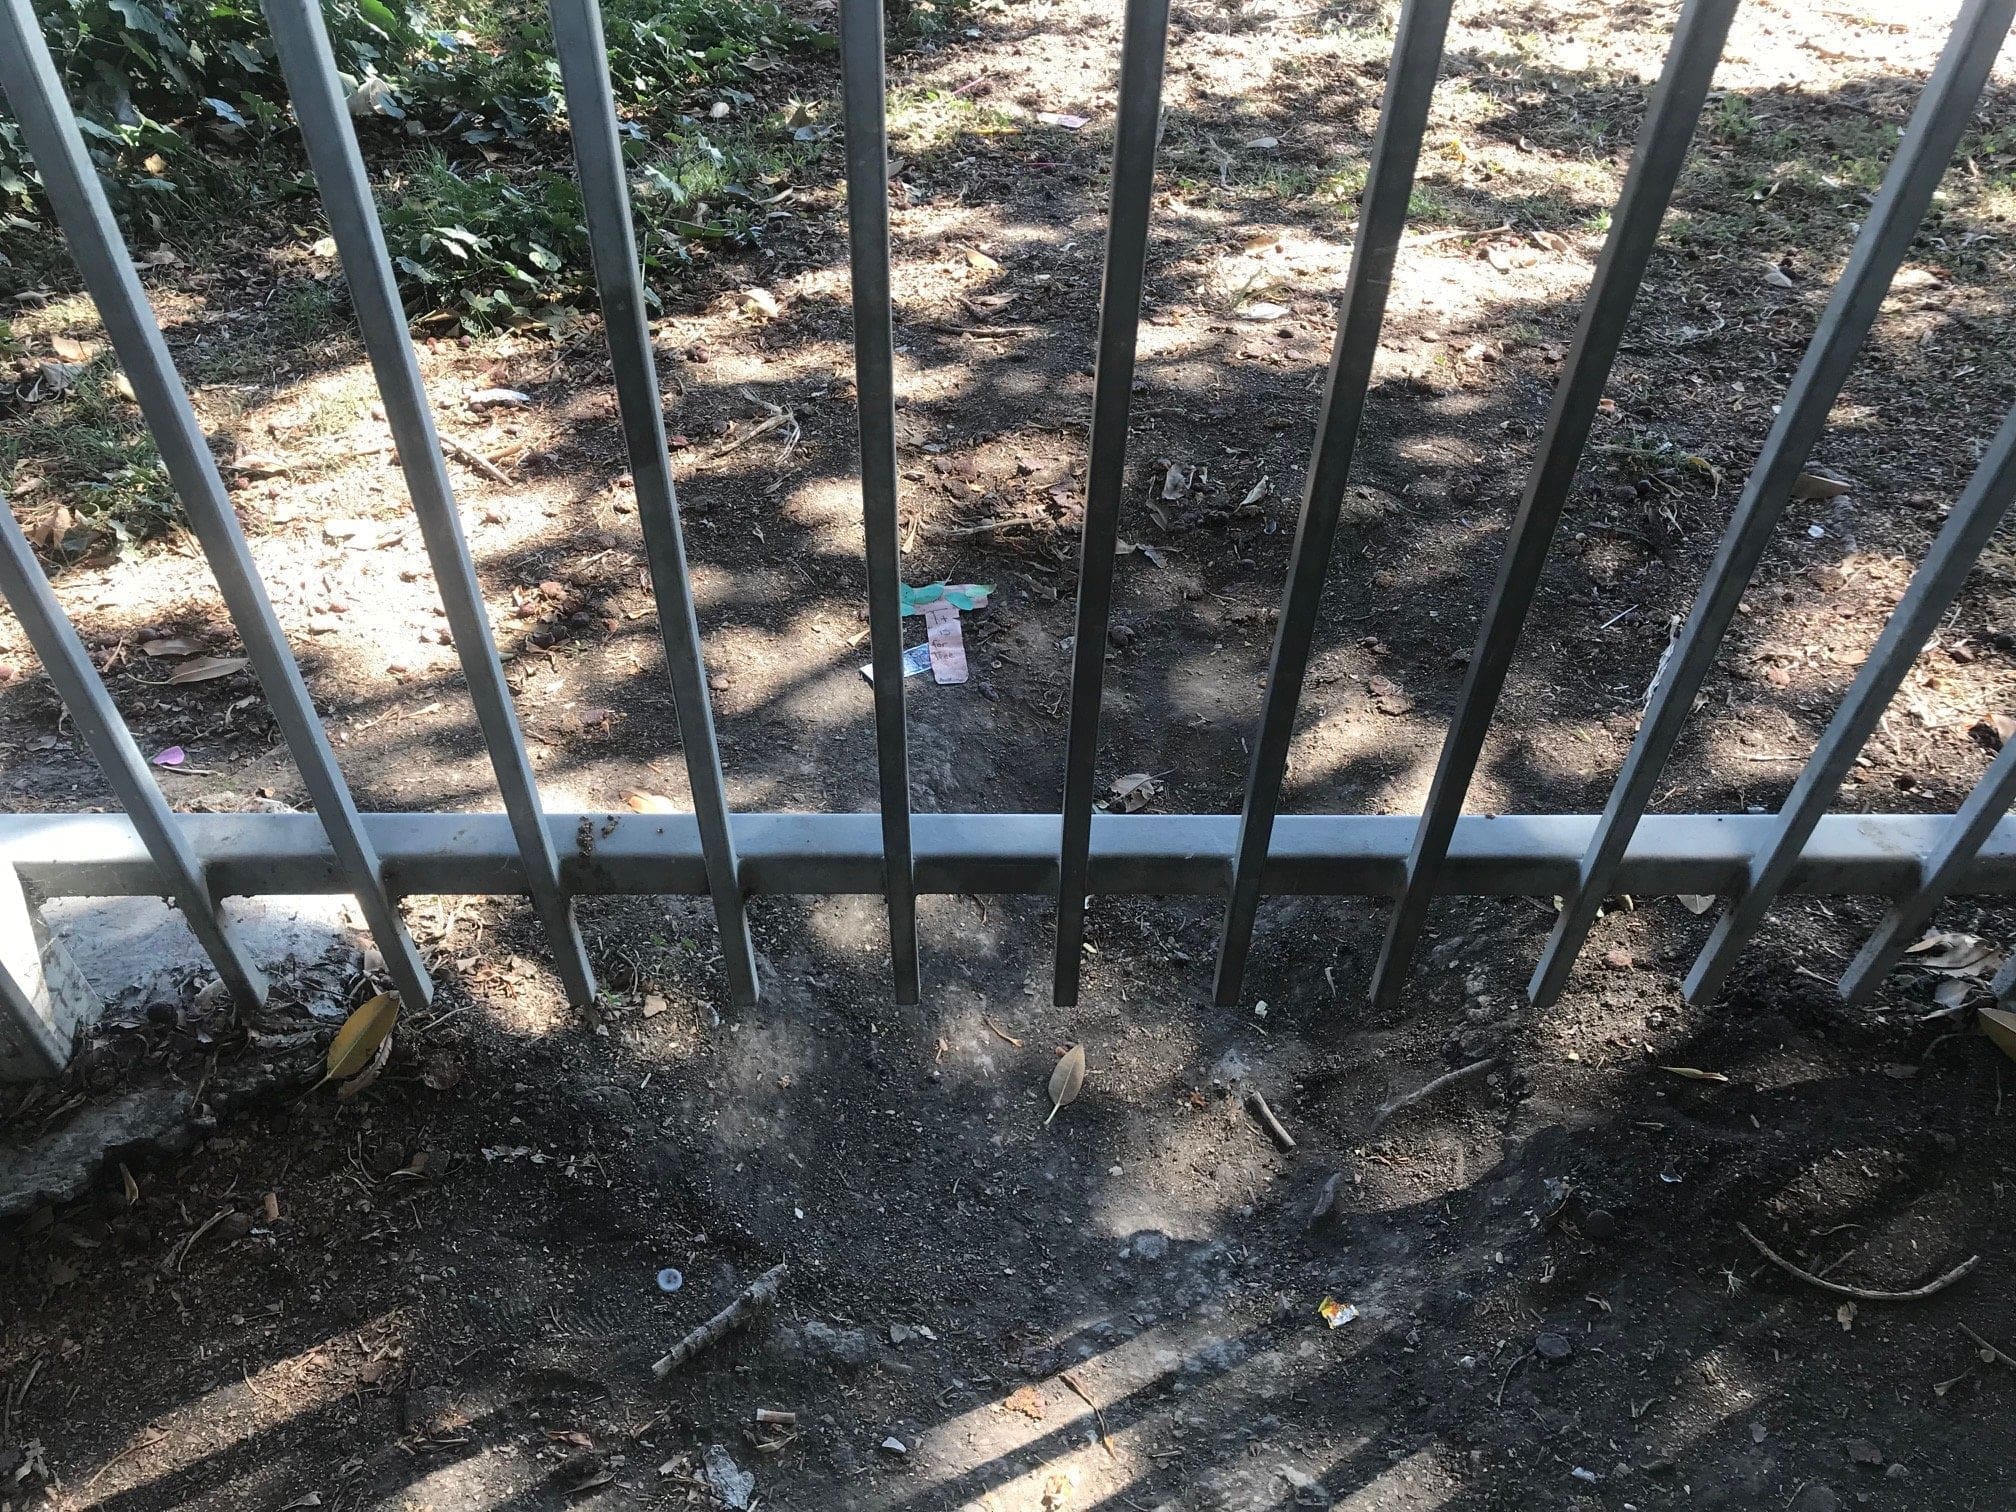
- By climbing over a 3-foot cemented fence, and then crouching underneath another metal fence (about 15 feet from the first one). You won’t have to lie flat for this one as the gap is a little bit bigger.
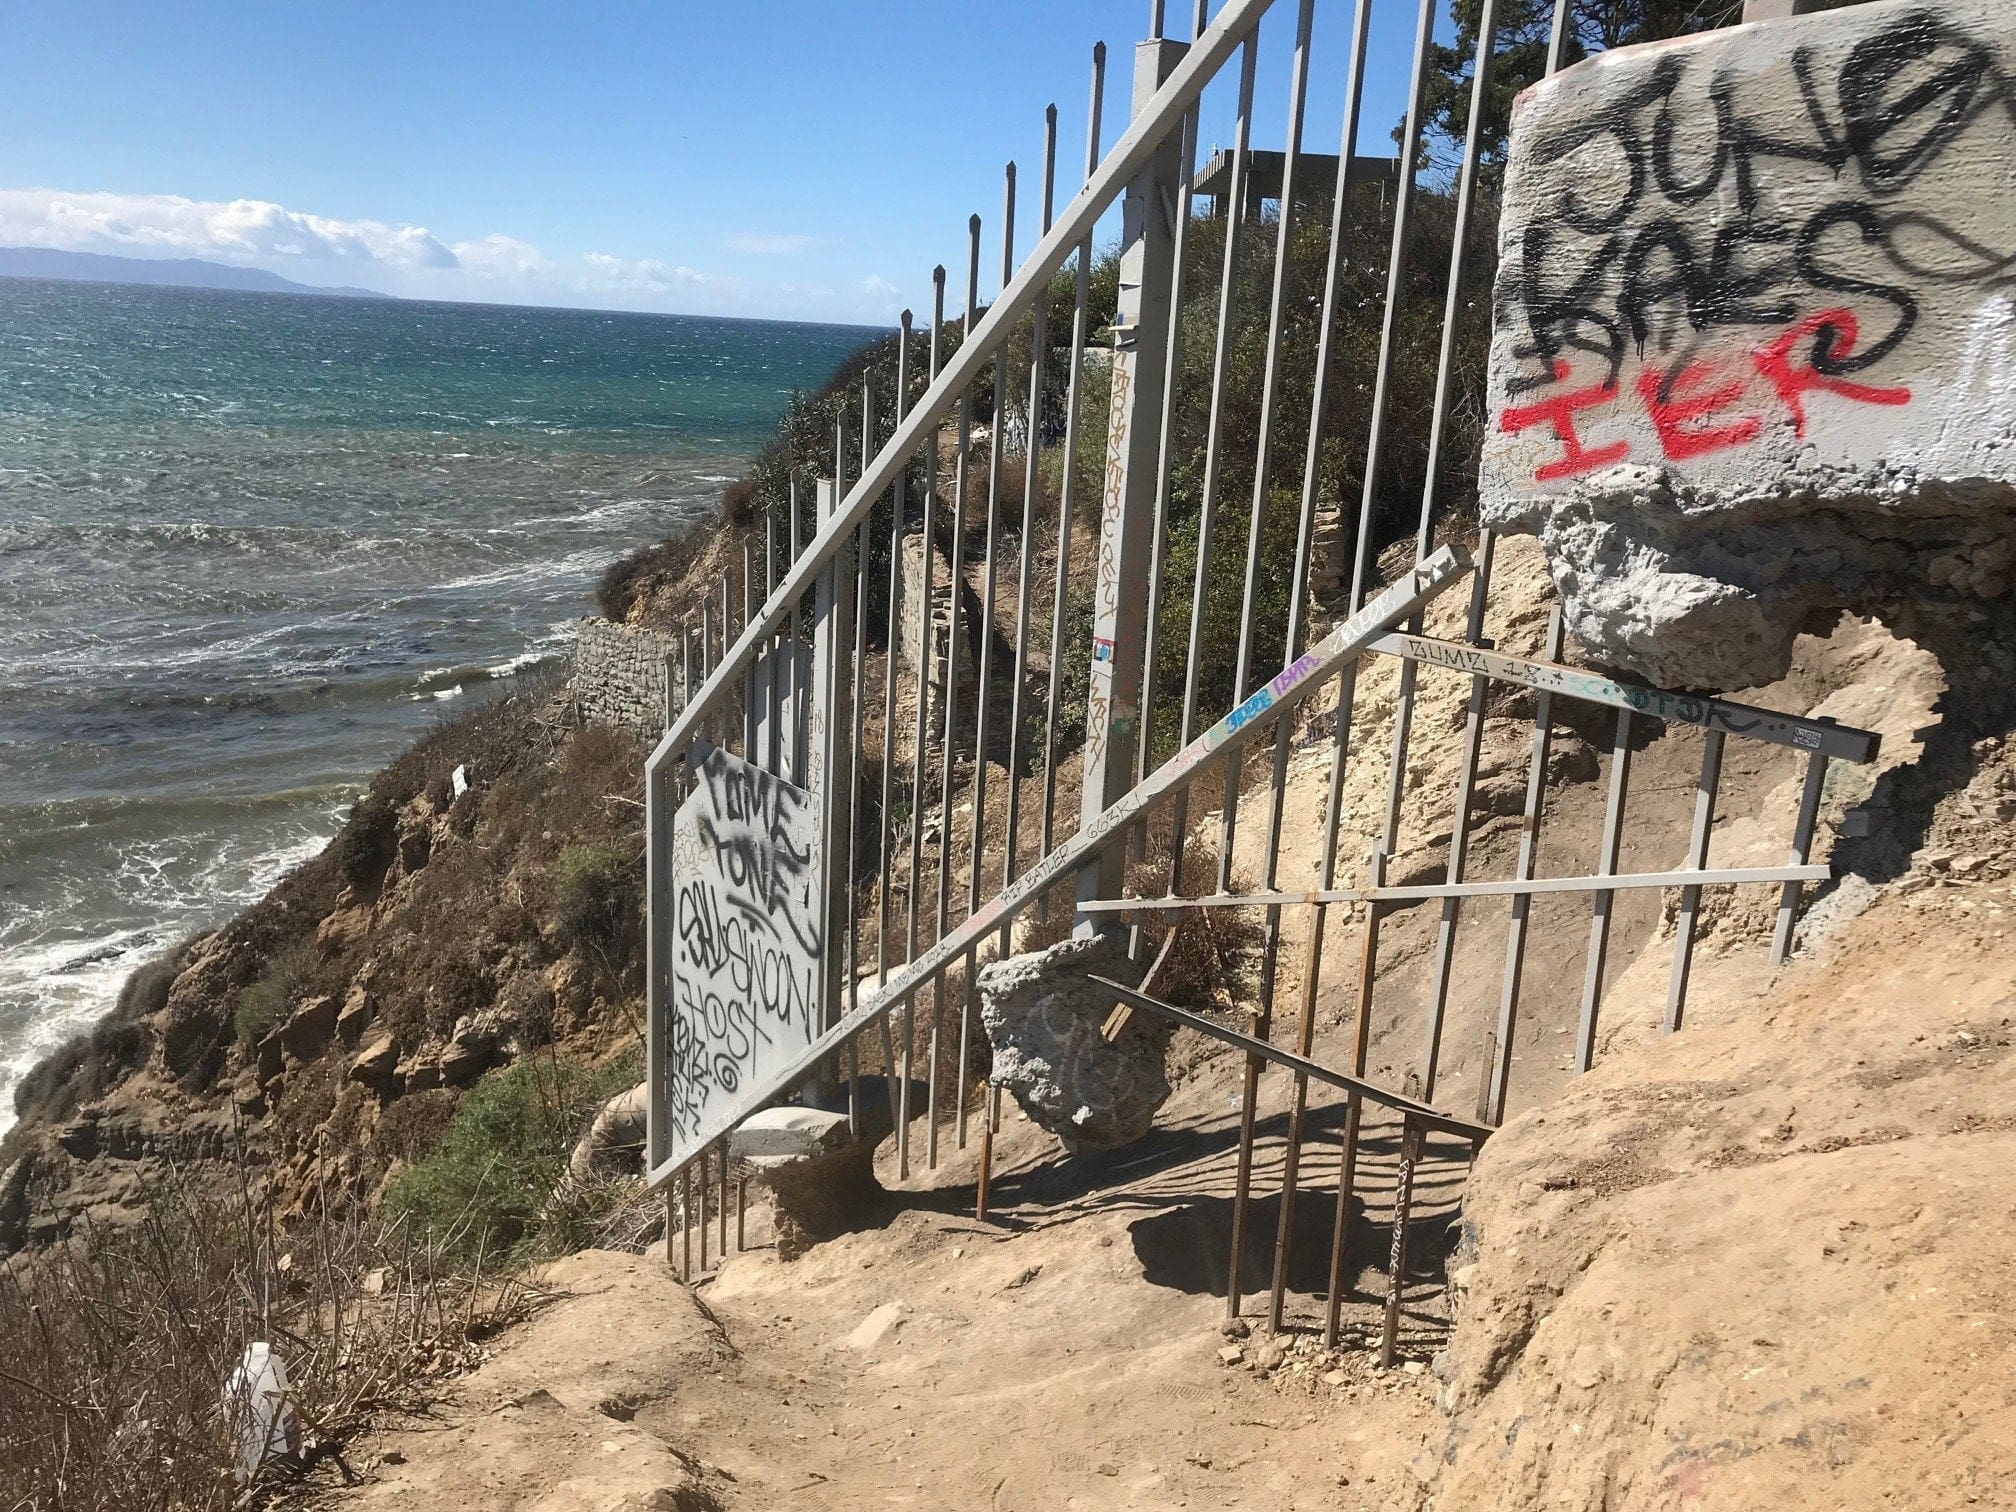
Sunken City Trail: Tier 1
Sunken City is divided into 3 parts, which I will divide into 3 tiers.
- Tier 1: The top-most part of the ruins, which overlooks the Pacific Ocean
- Tier 2: The halfway point between tier 1 and tier 2, the “middle” of the cliffs with a few small (and really short) trails
- Tier 3: The base of the cliffs
(I went from tier 1 to tier 3 and back up to tier 2).
I should also mention that San Pedro Sunken City trail is not really a big hiking trail per se. It’s more of a vast area to explore with some minor climbing if you want to descend toward the beach.
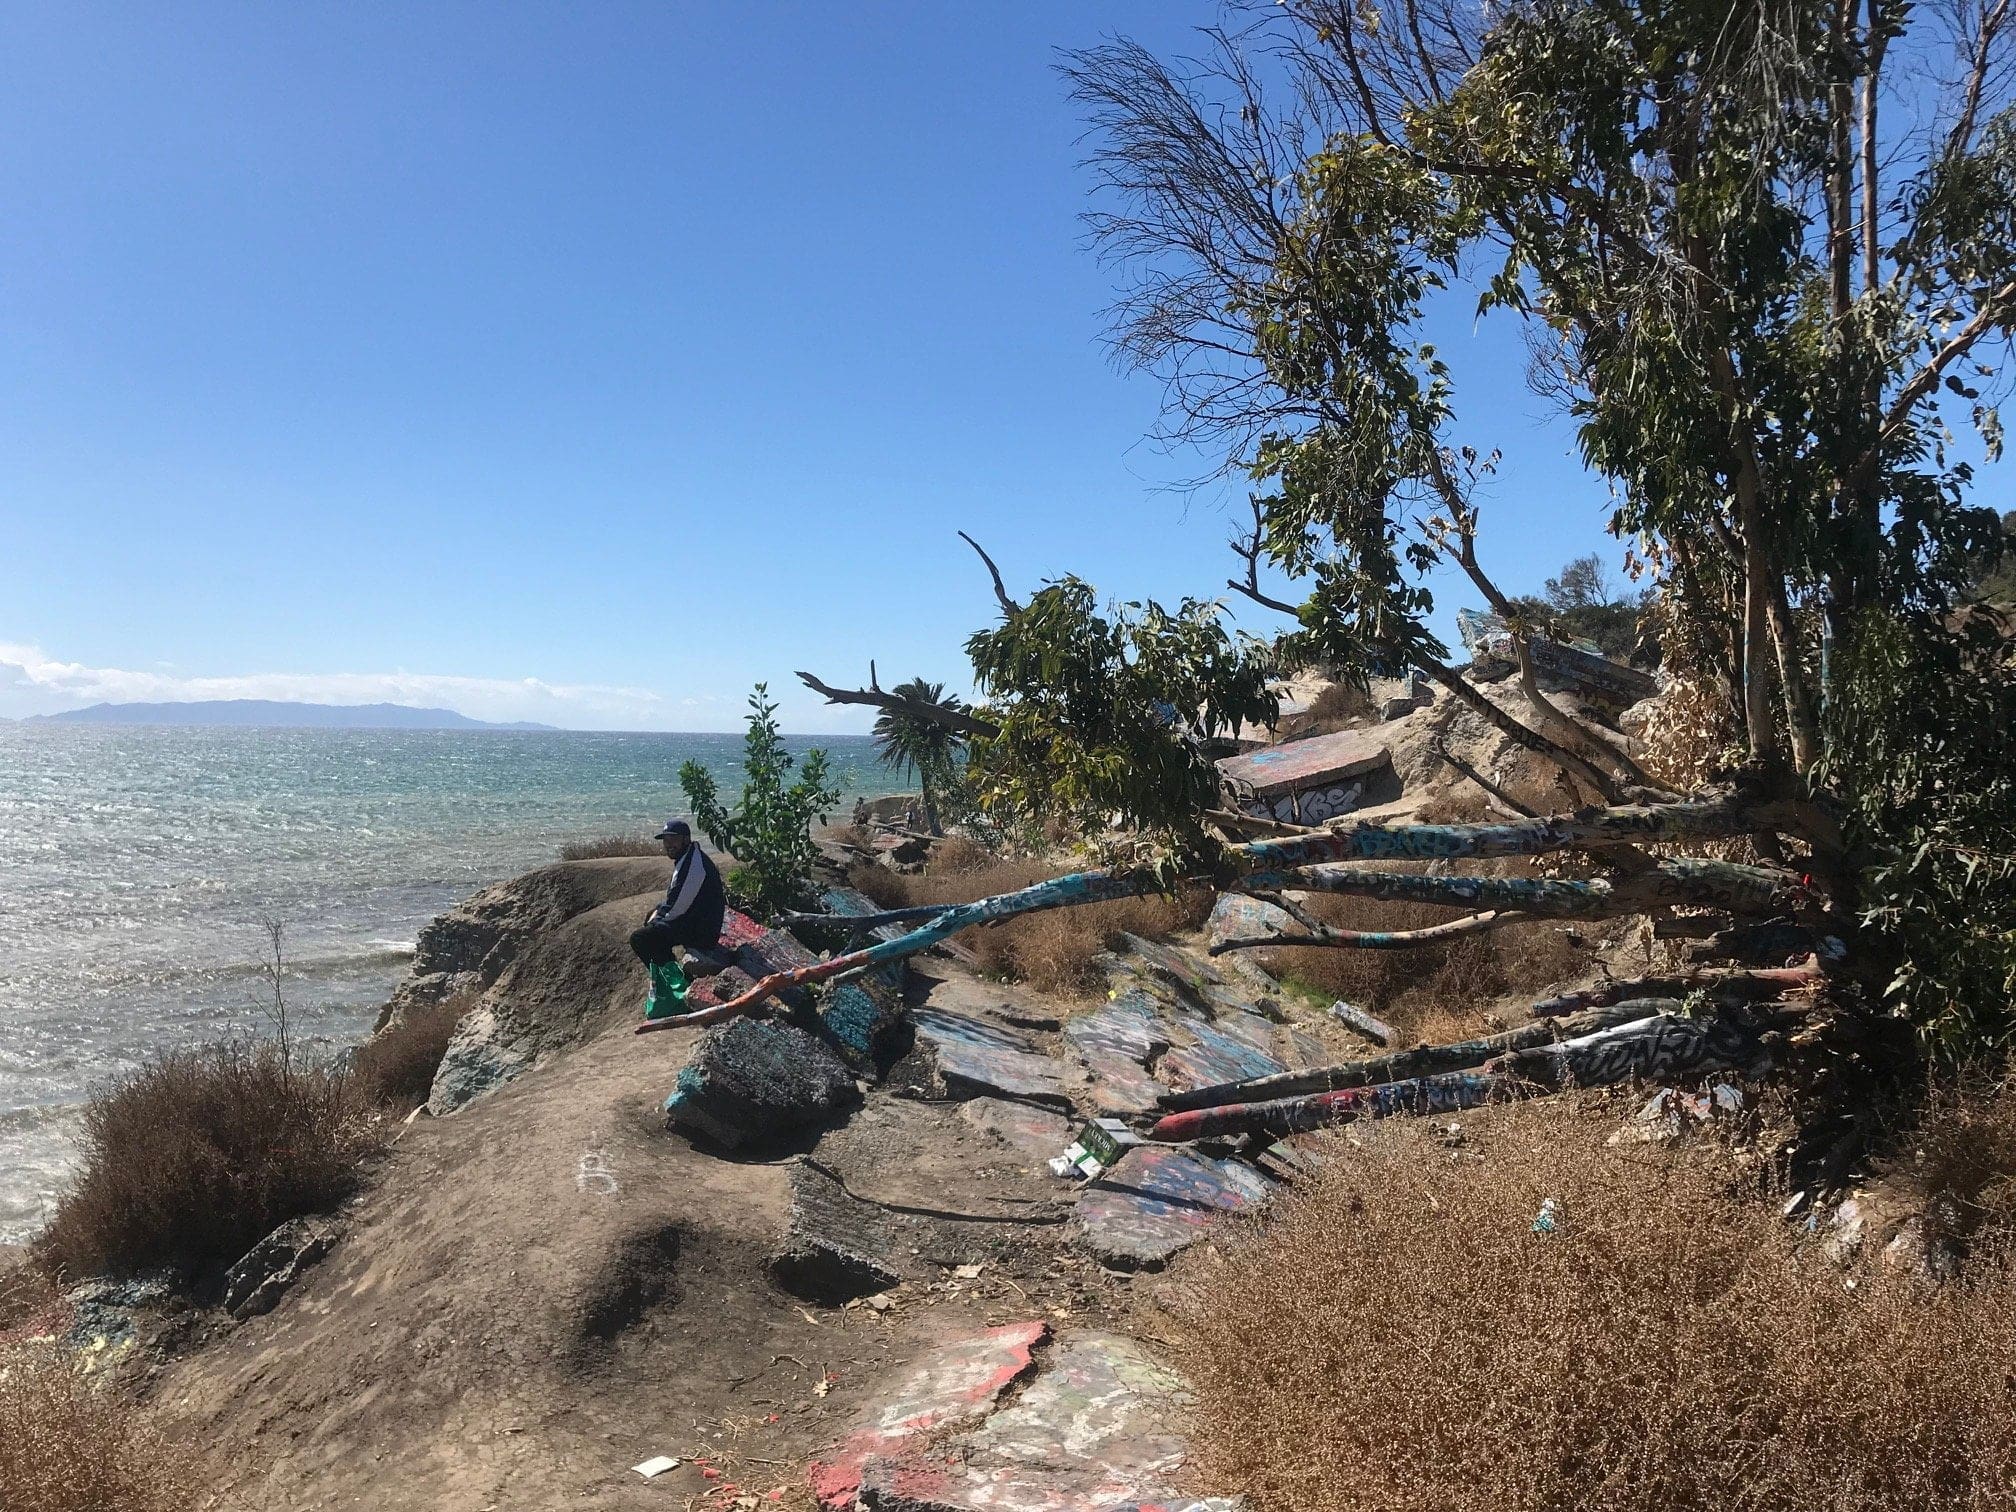
That being said, the “hike” starts off on a vast field with some ruins, interesting-looking trees, and rocky cliffs that spell disaster upon falling.
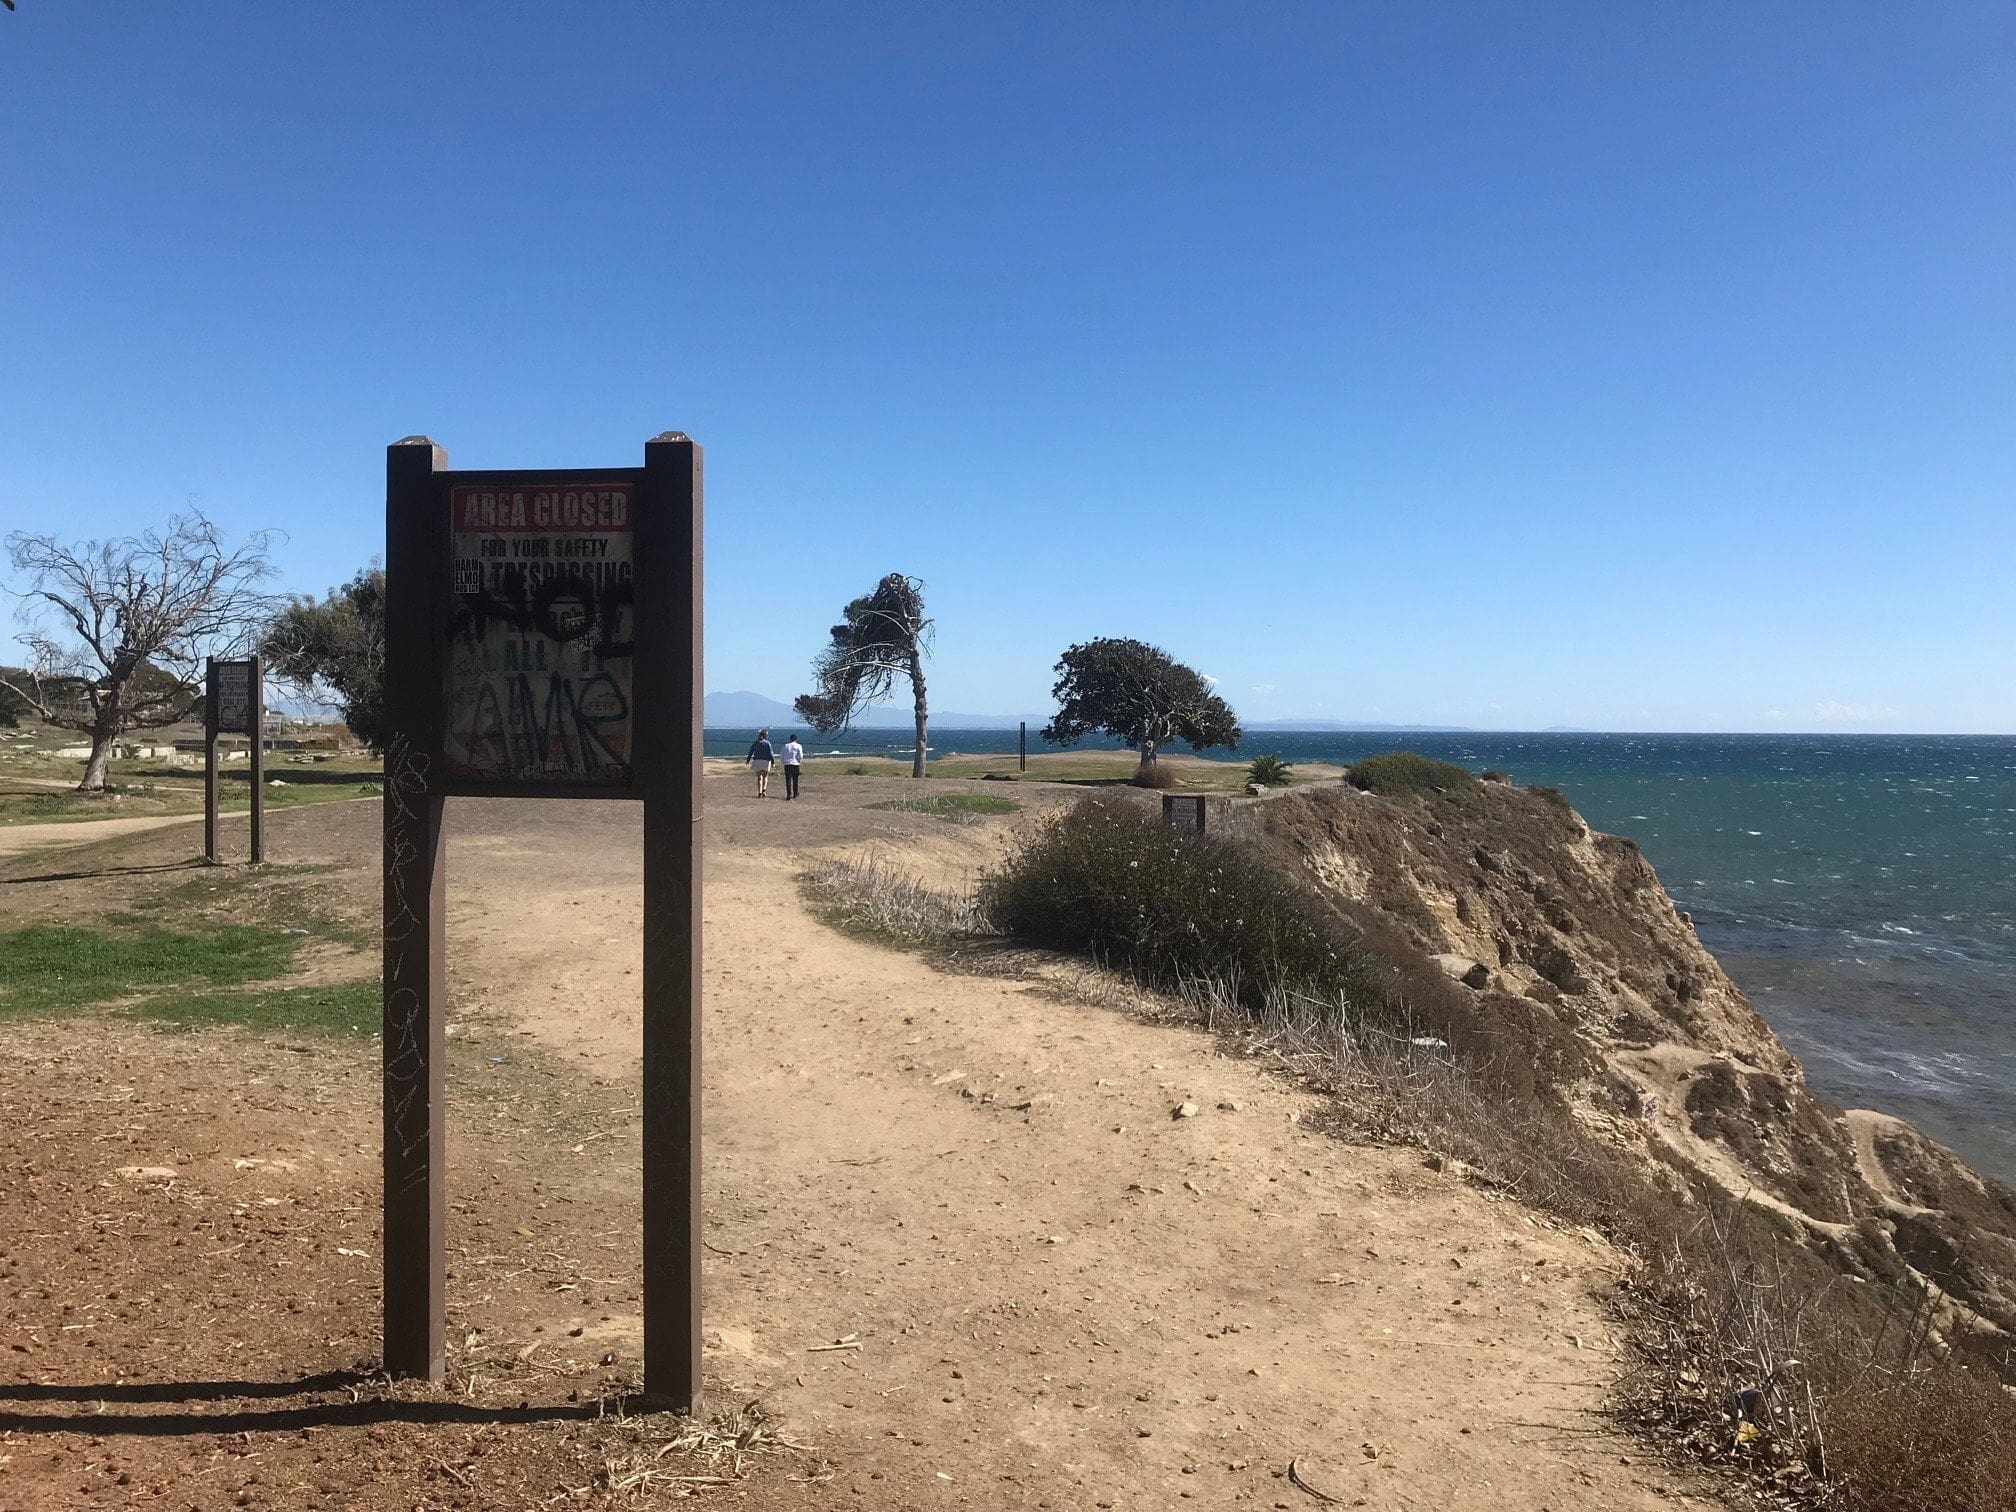
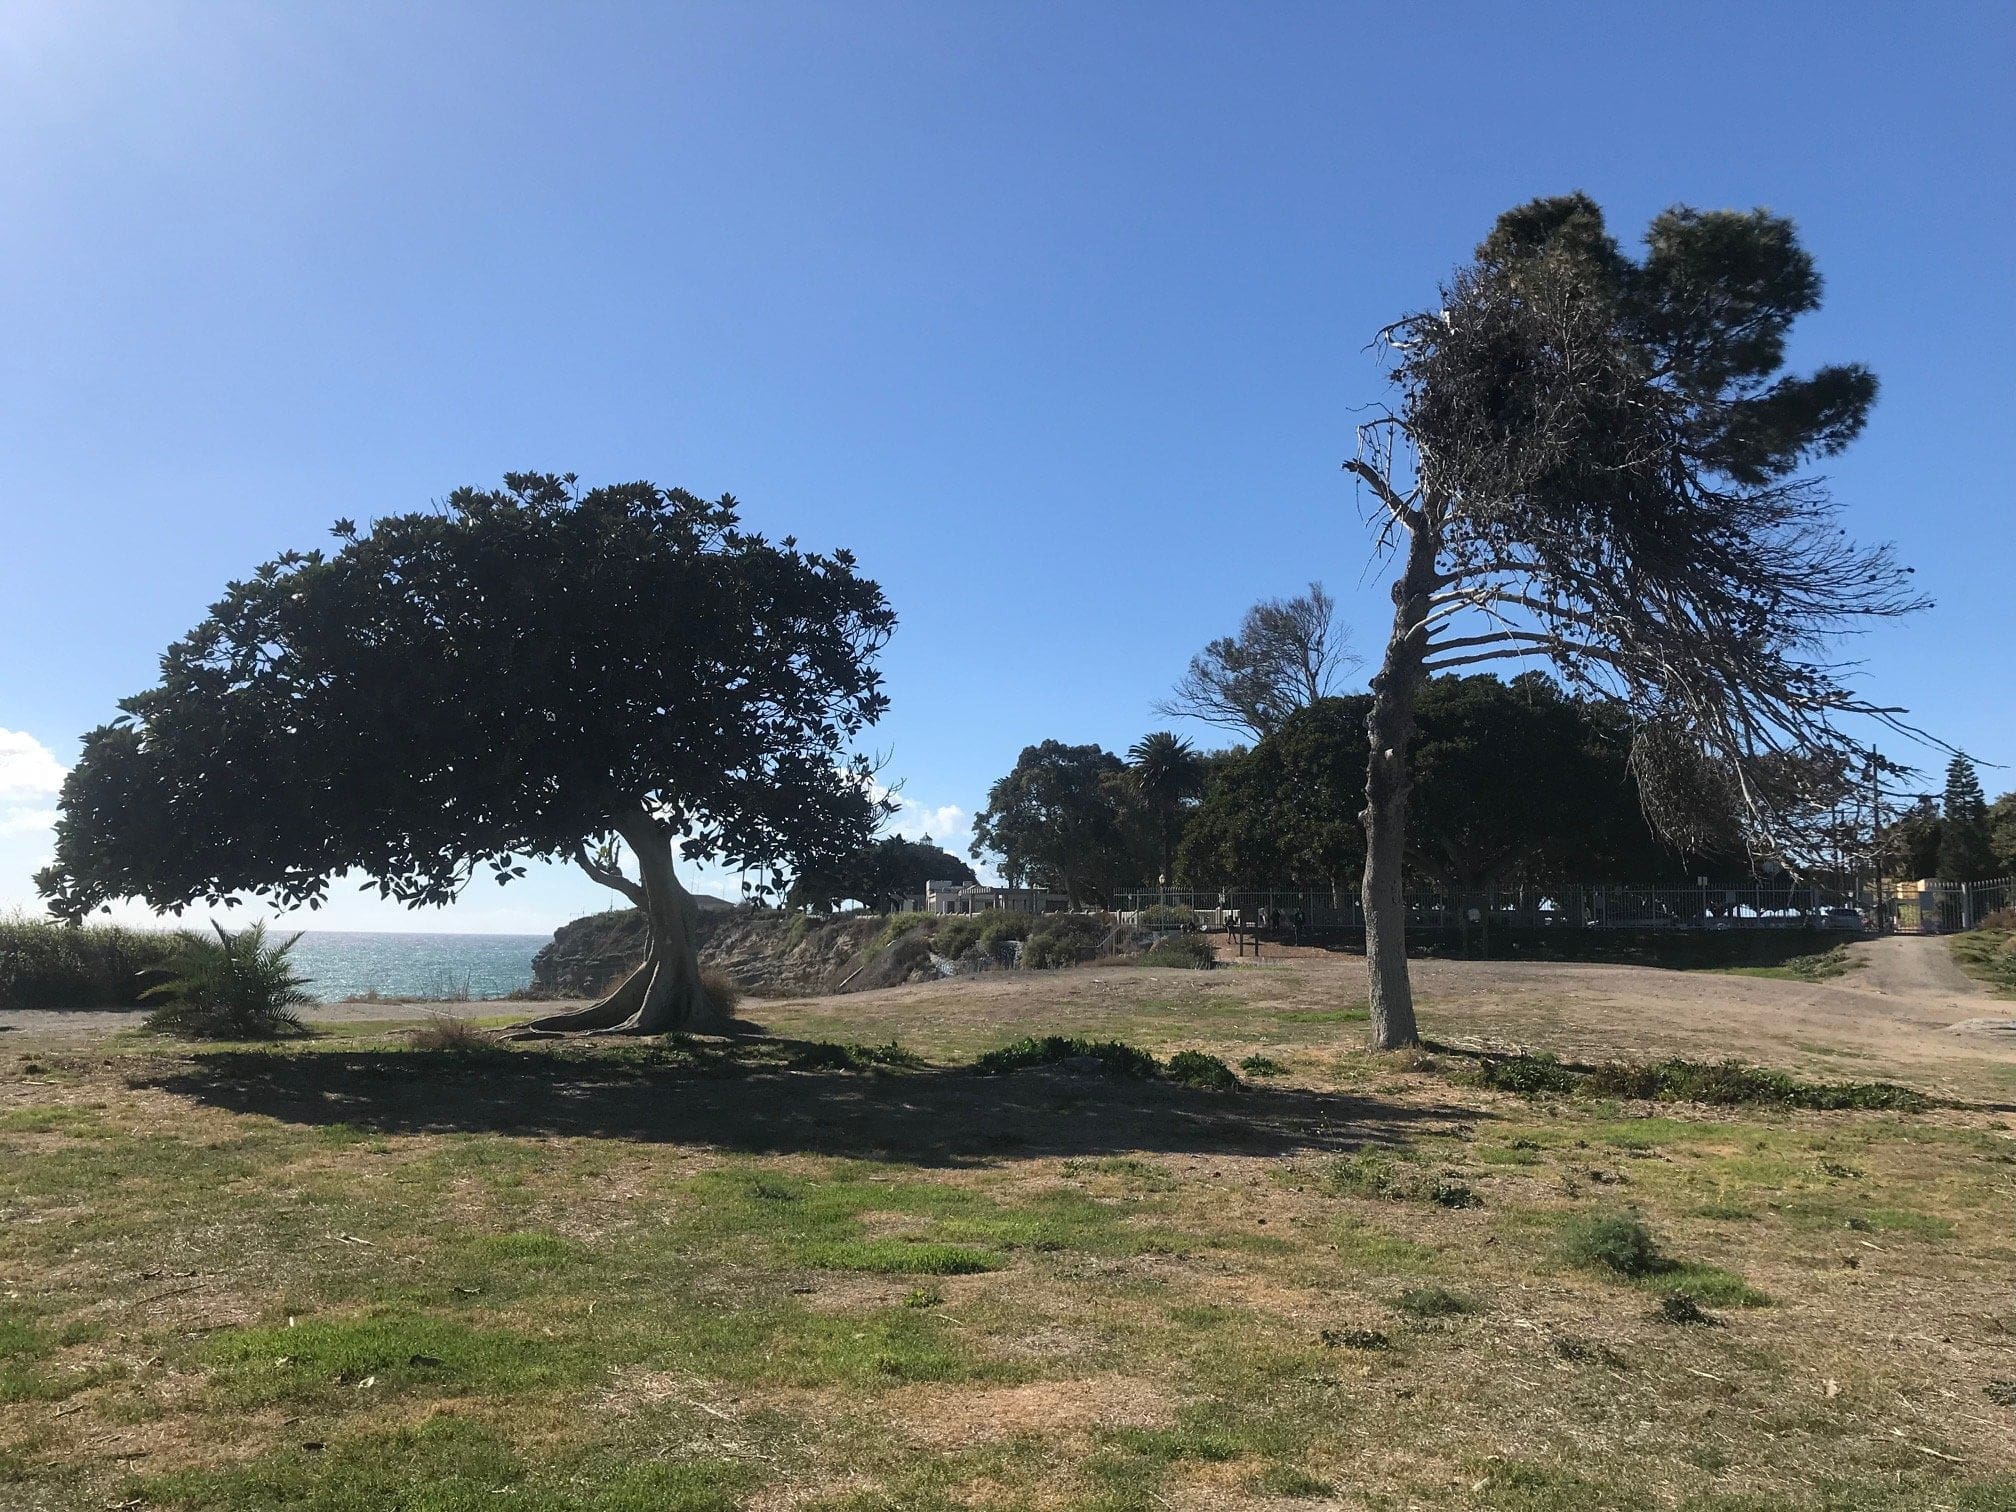
About 600 feet east of the fence lies some small, cemented ruins with some graffiti artwork, foreshadowing what’s to come:
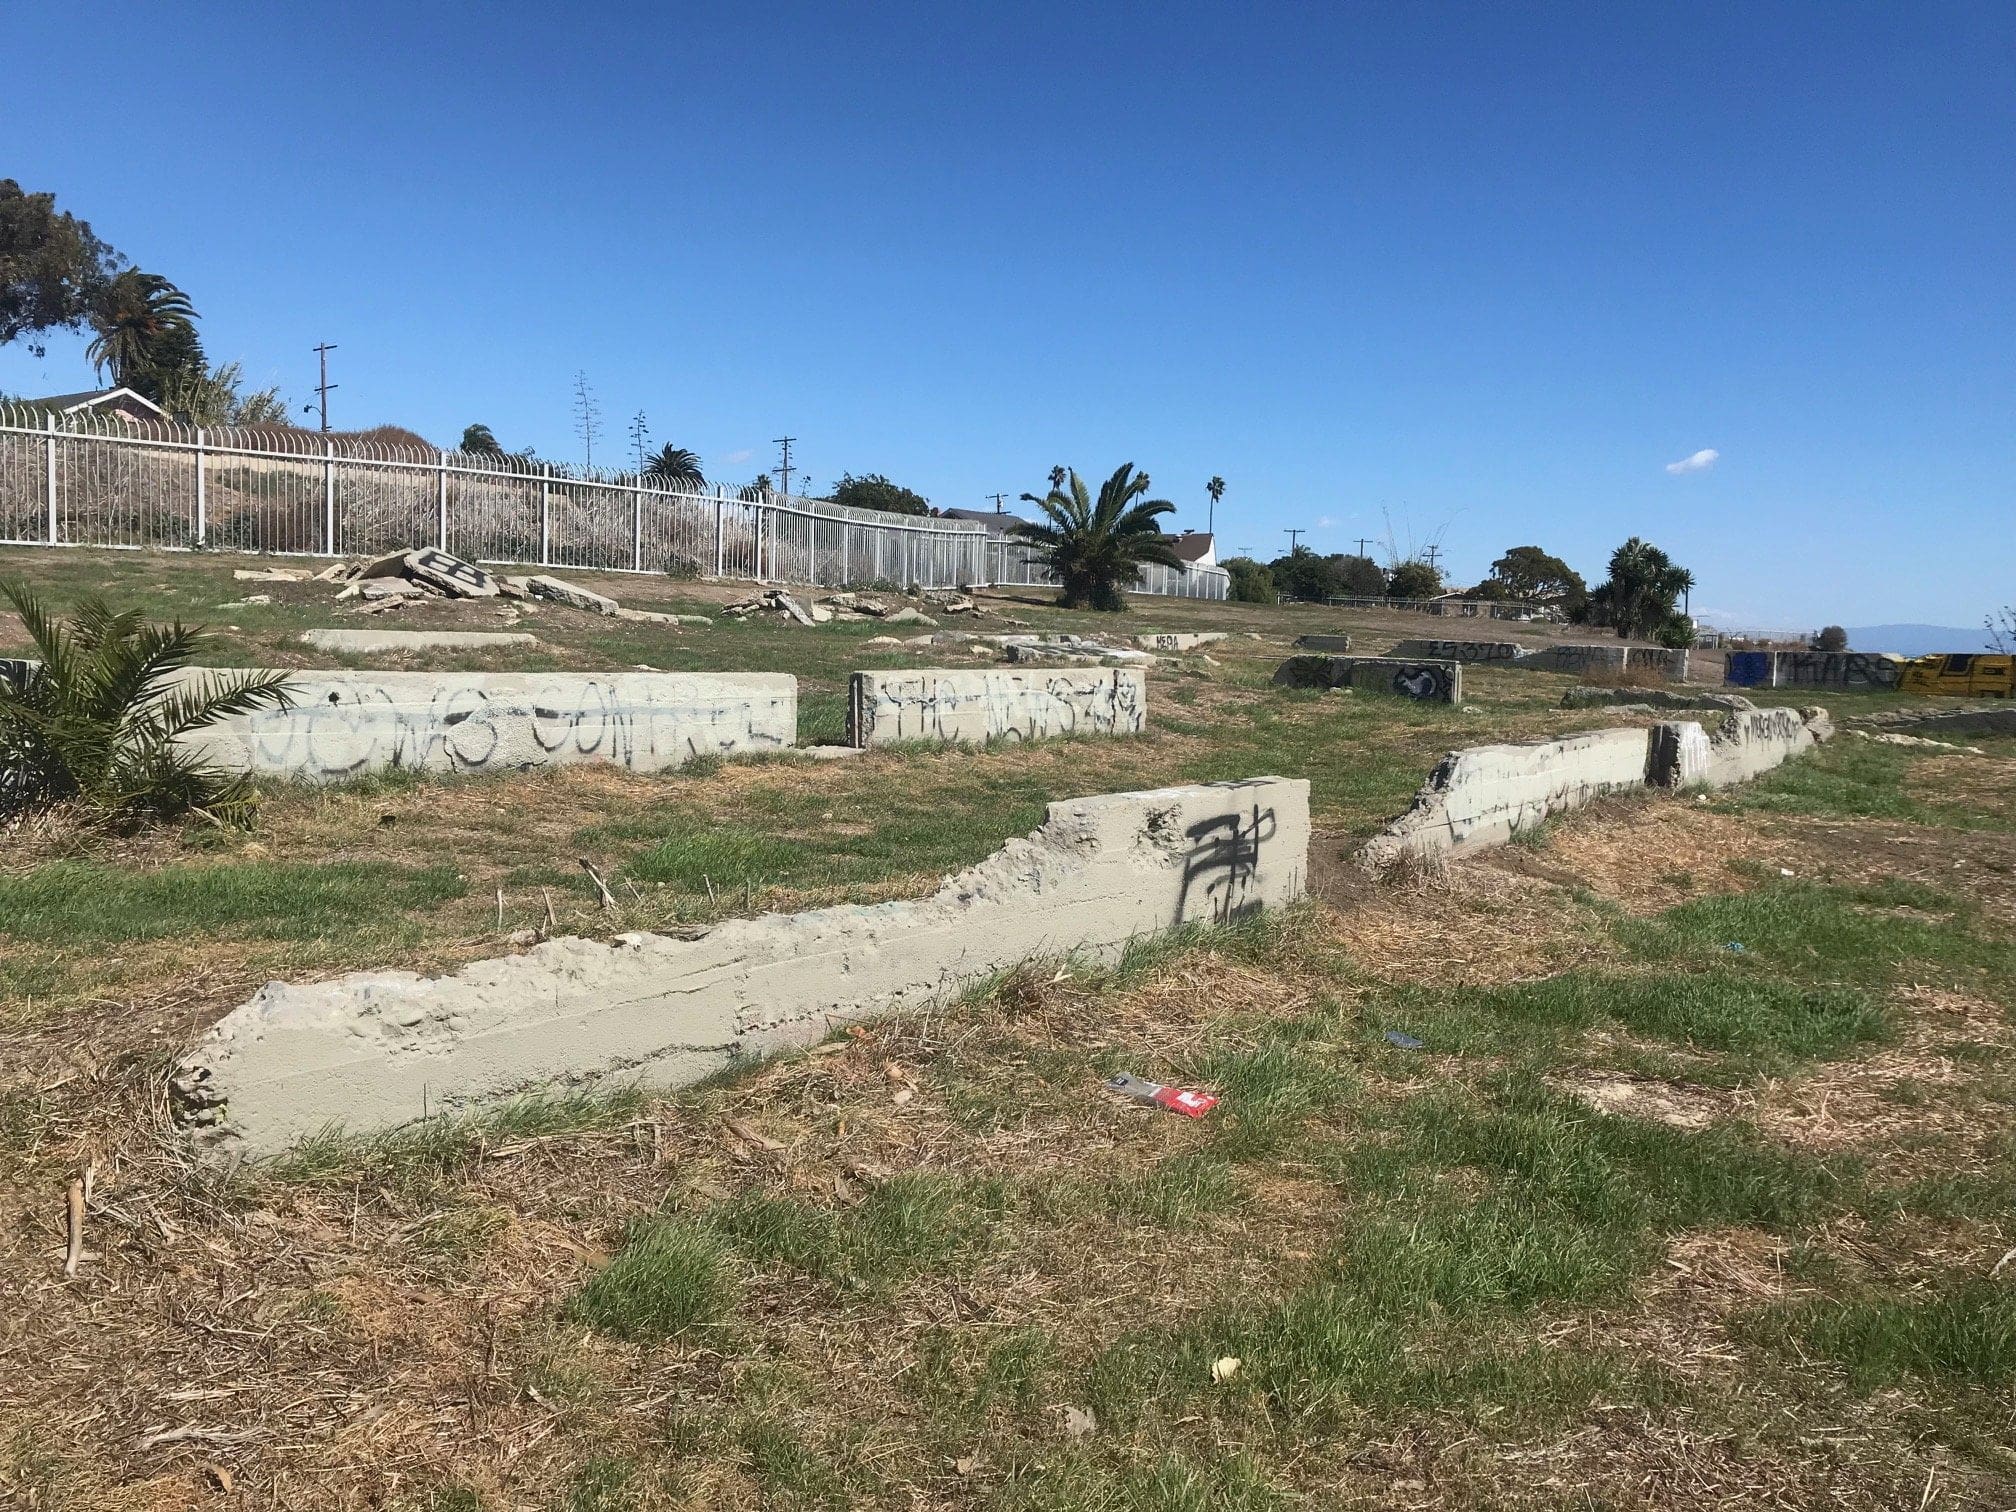

200 feet north of these small ruins lies the prize: the ruins of Sunken City.

For a no-trespassing zone, there were quite a few people around that were also eager for some dangerous fun.
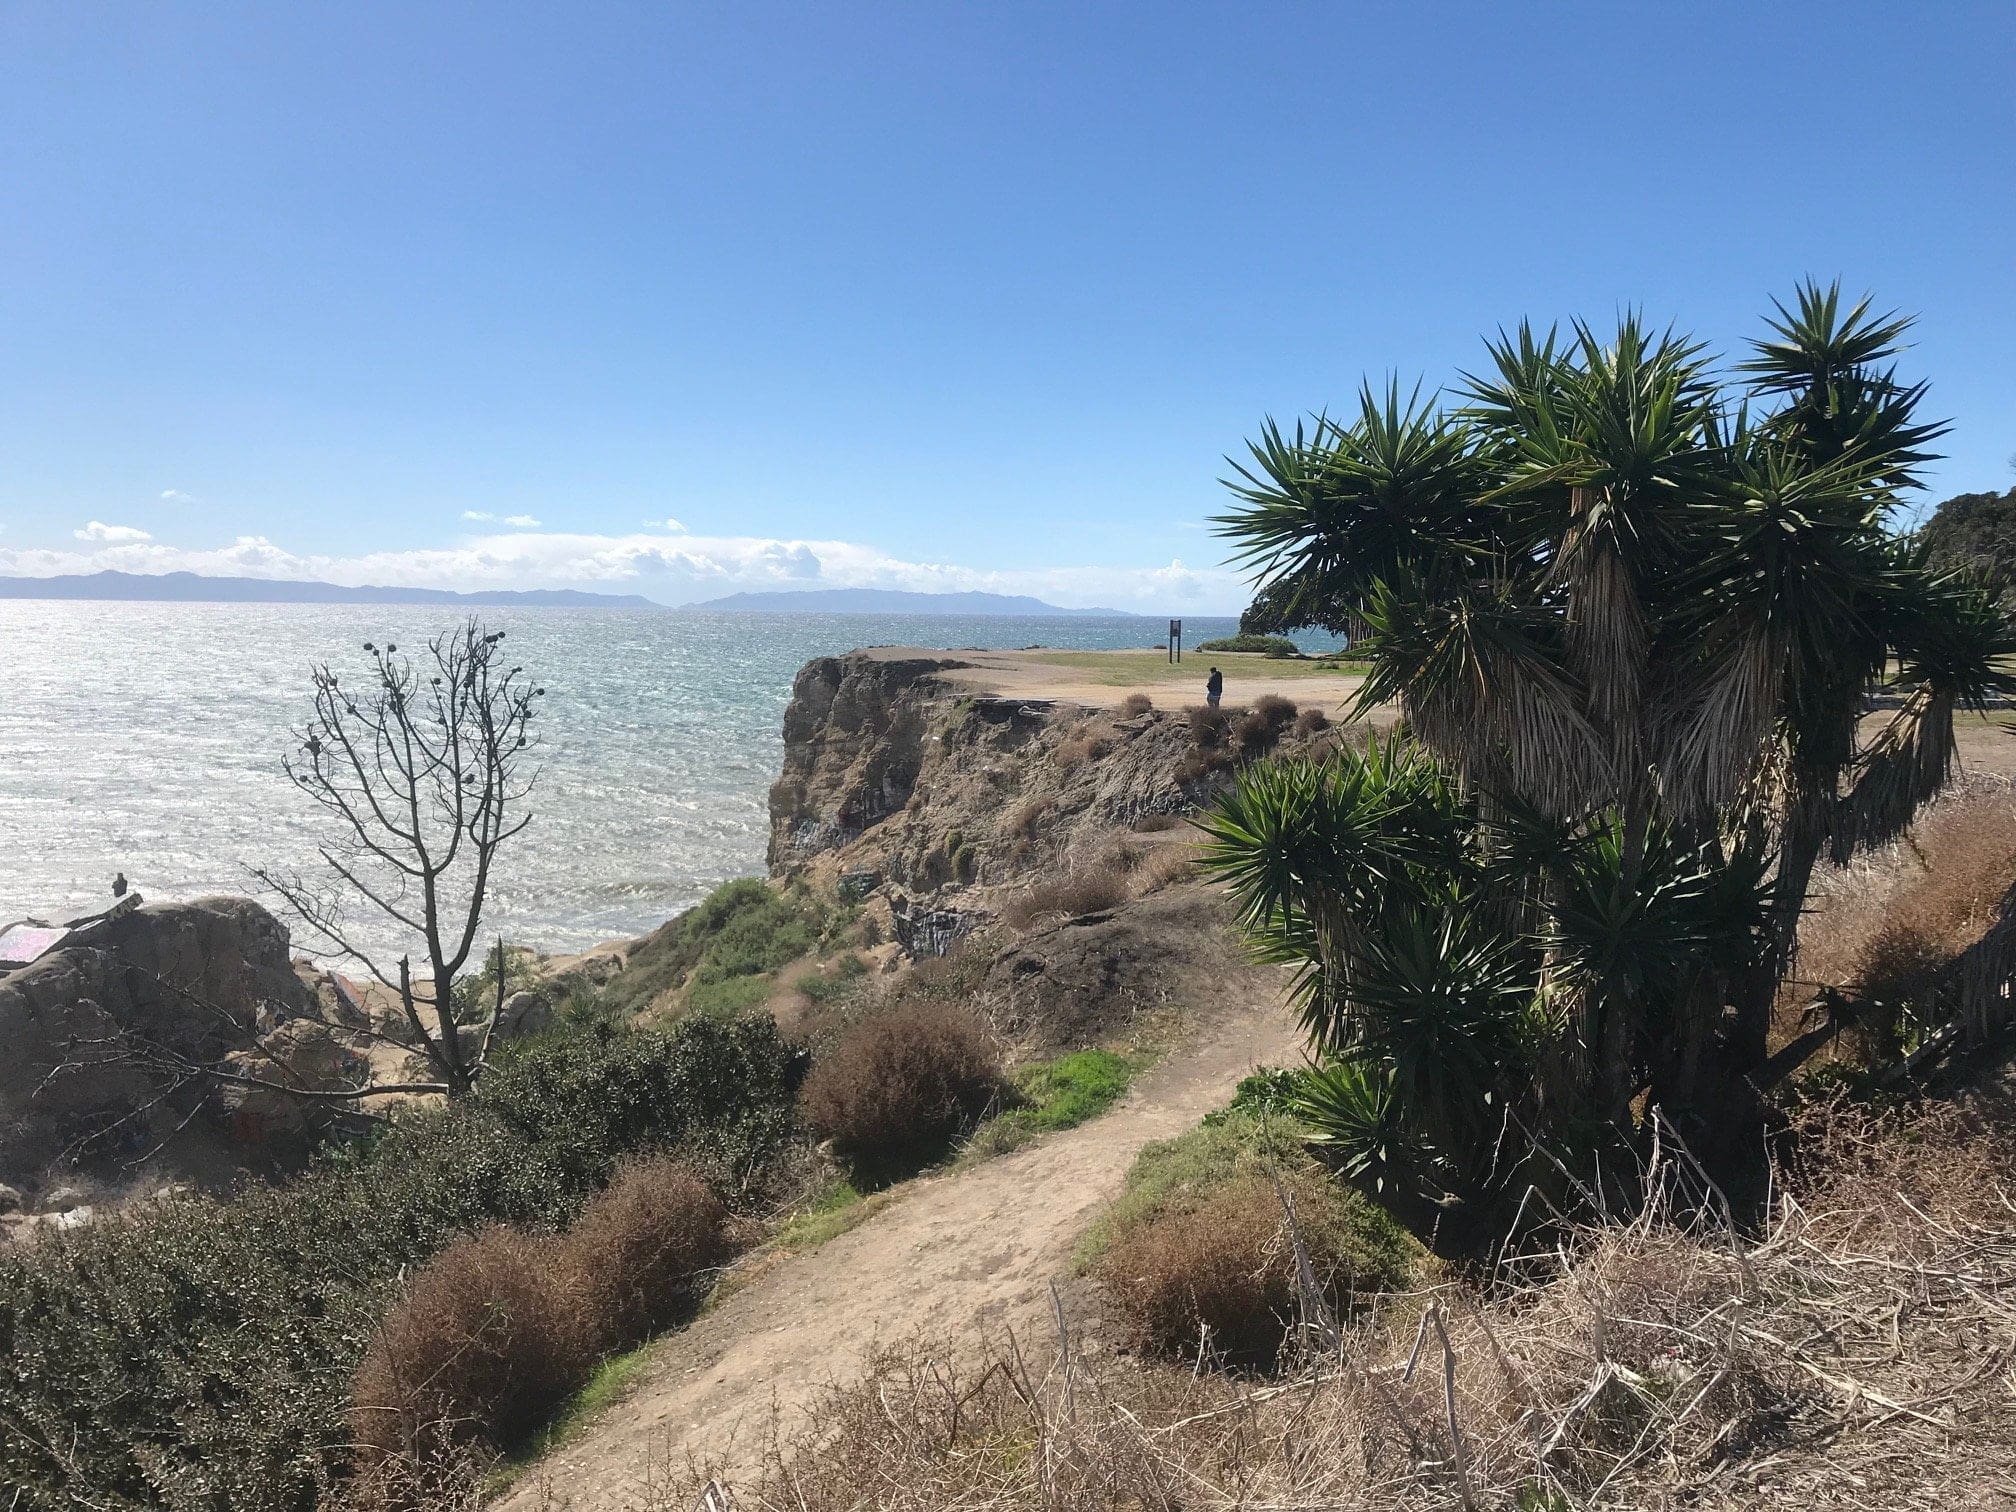
There are a few trails that lead down to Sunken City. The easiest way is to walk east along a fairly wide trail, which loops around and down to the ruins.
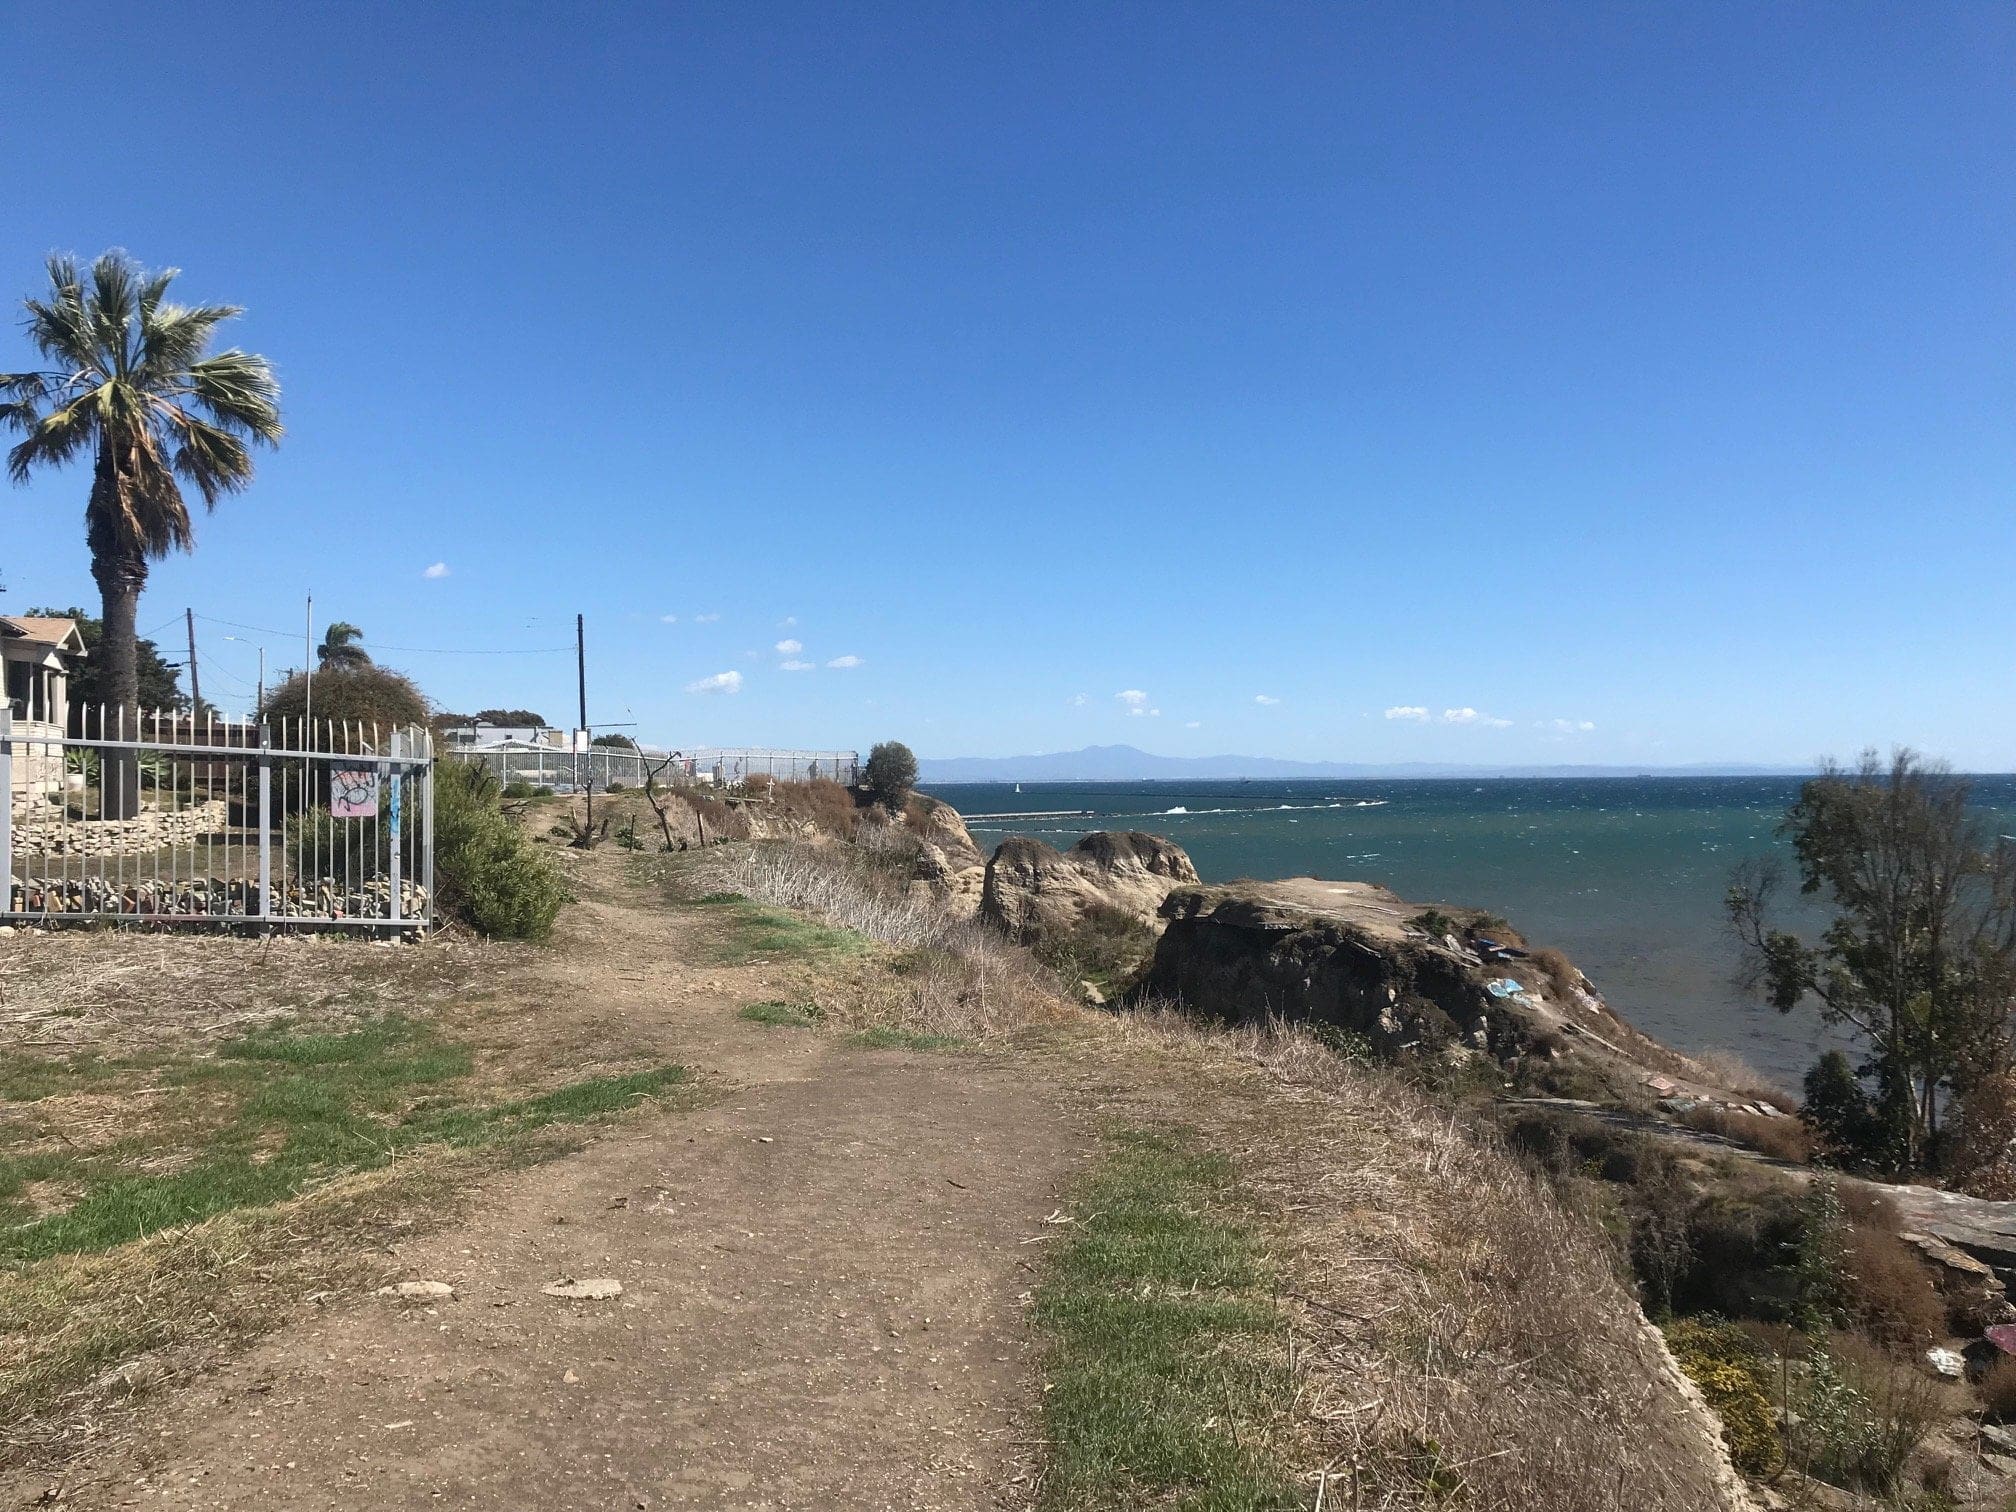
Or, you can turn on adventure-mode and climb down one of the steeper trails.
I opted for the safe route for once in my life.
The entrance of the base of Sunken City:
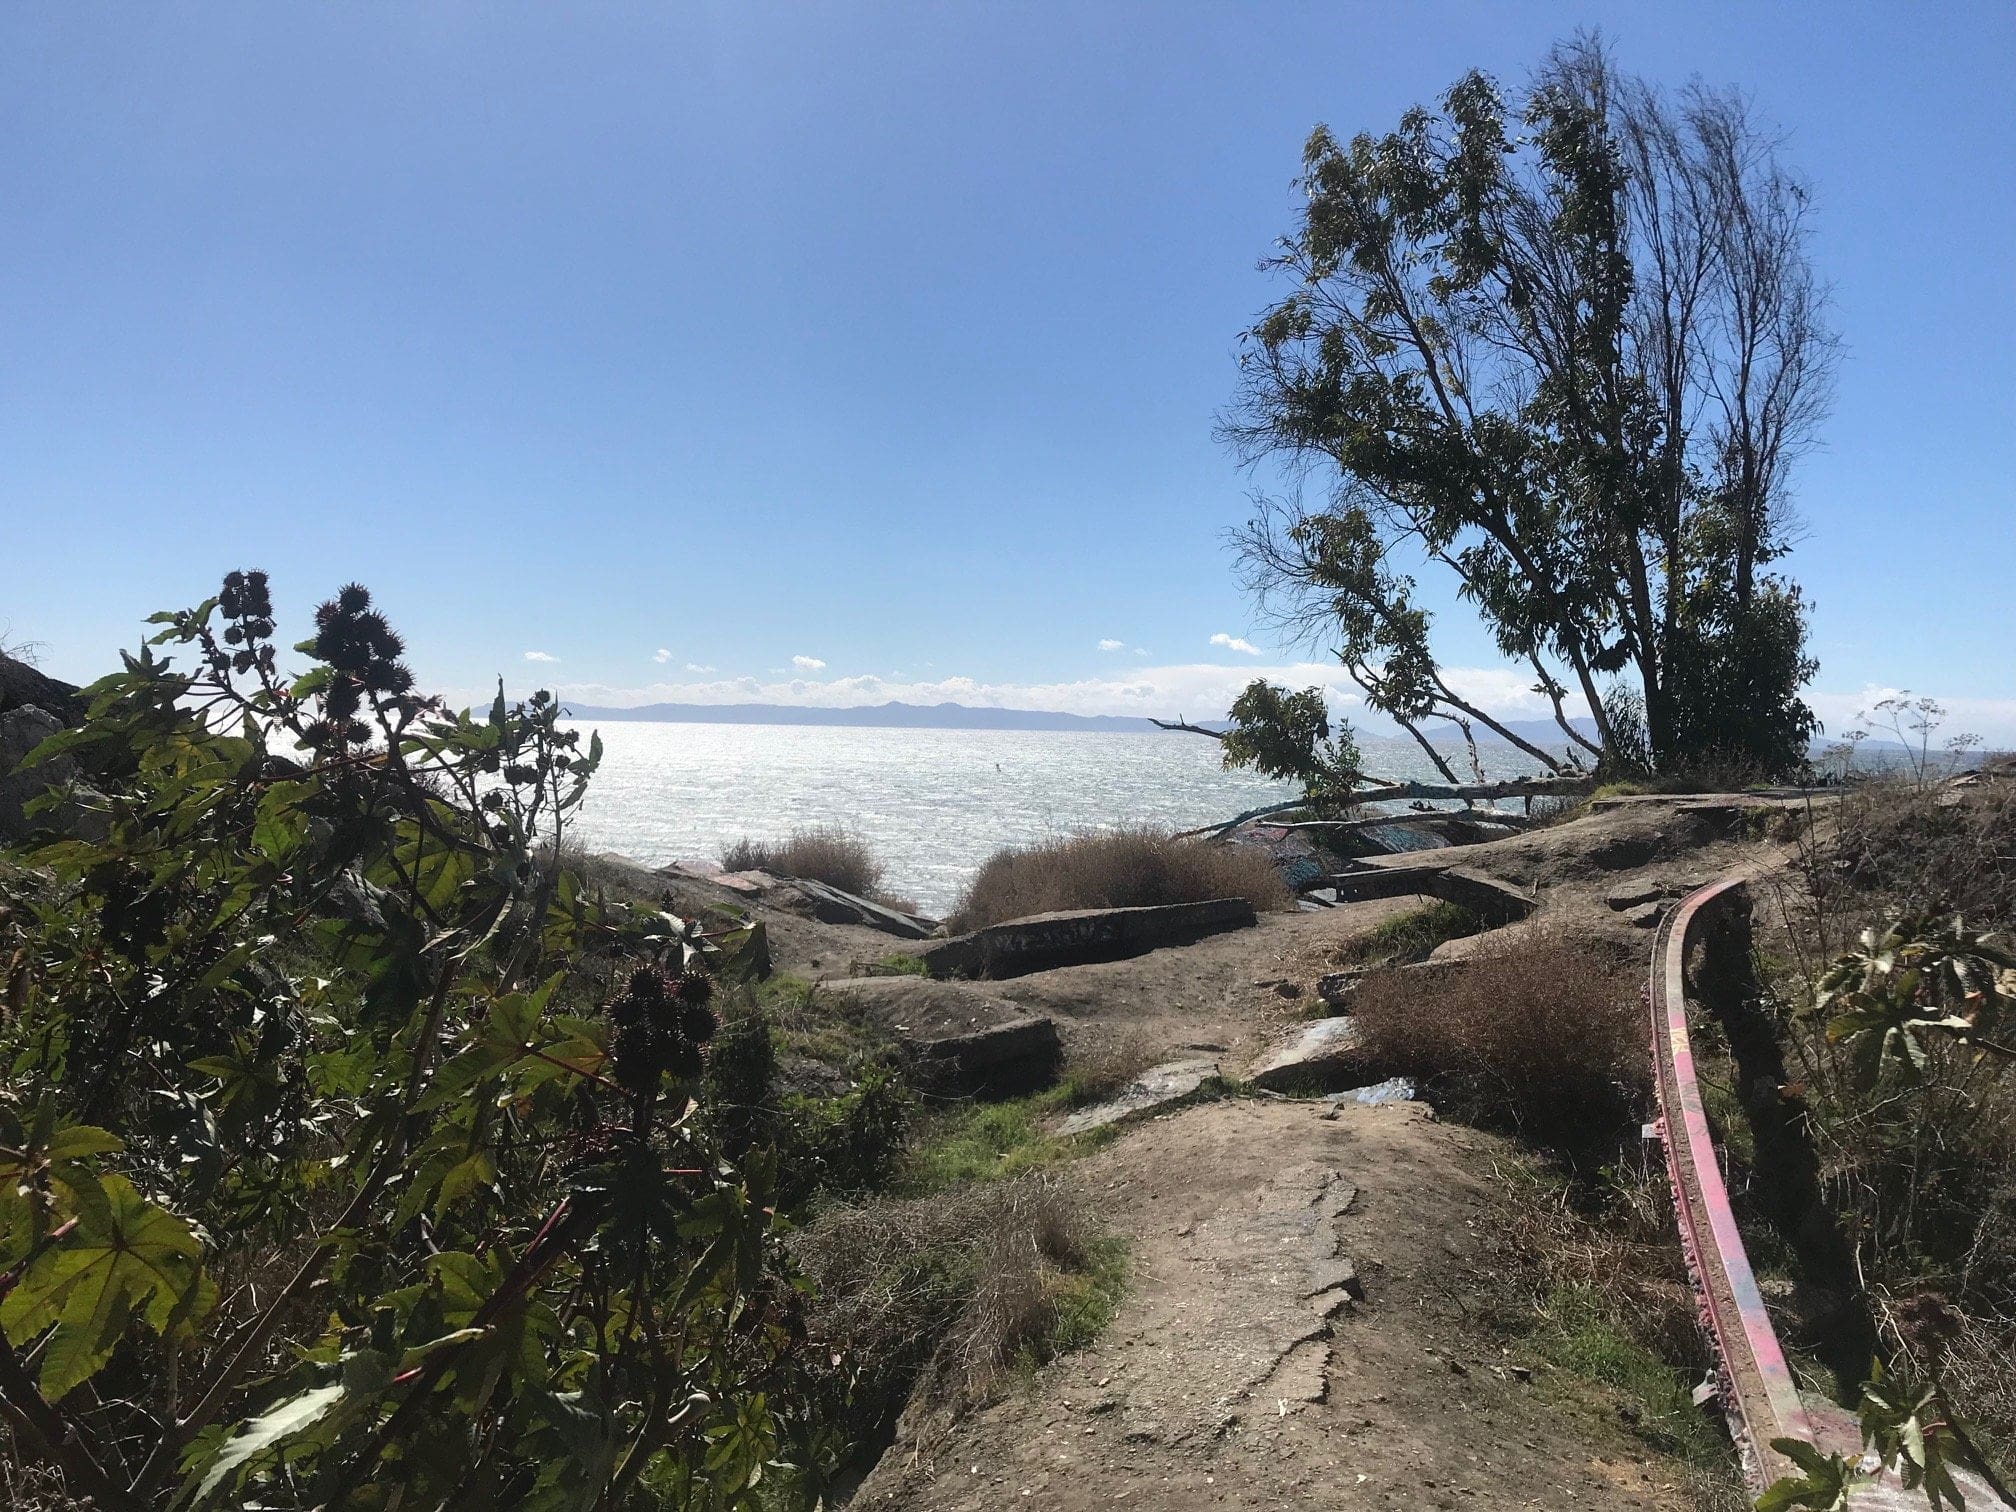
There were quite a few people who brought spray cans to “make their mark” on the ruins, including this man below:

A small trail through some graffiti-branches.
You can see some of tier 2 below.
More graffiti-rocks.
The top of a 7-foot high rock slab with incredible views of the ocean. You can easily climb this by “hopping” on other rocks.
An aerial view of the rock slab.
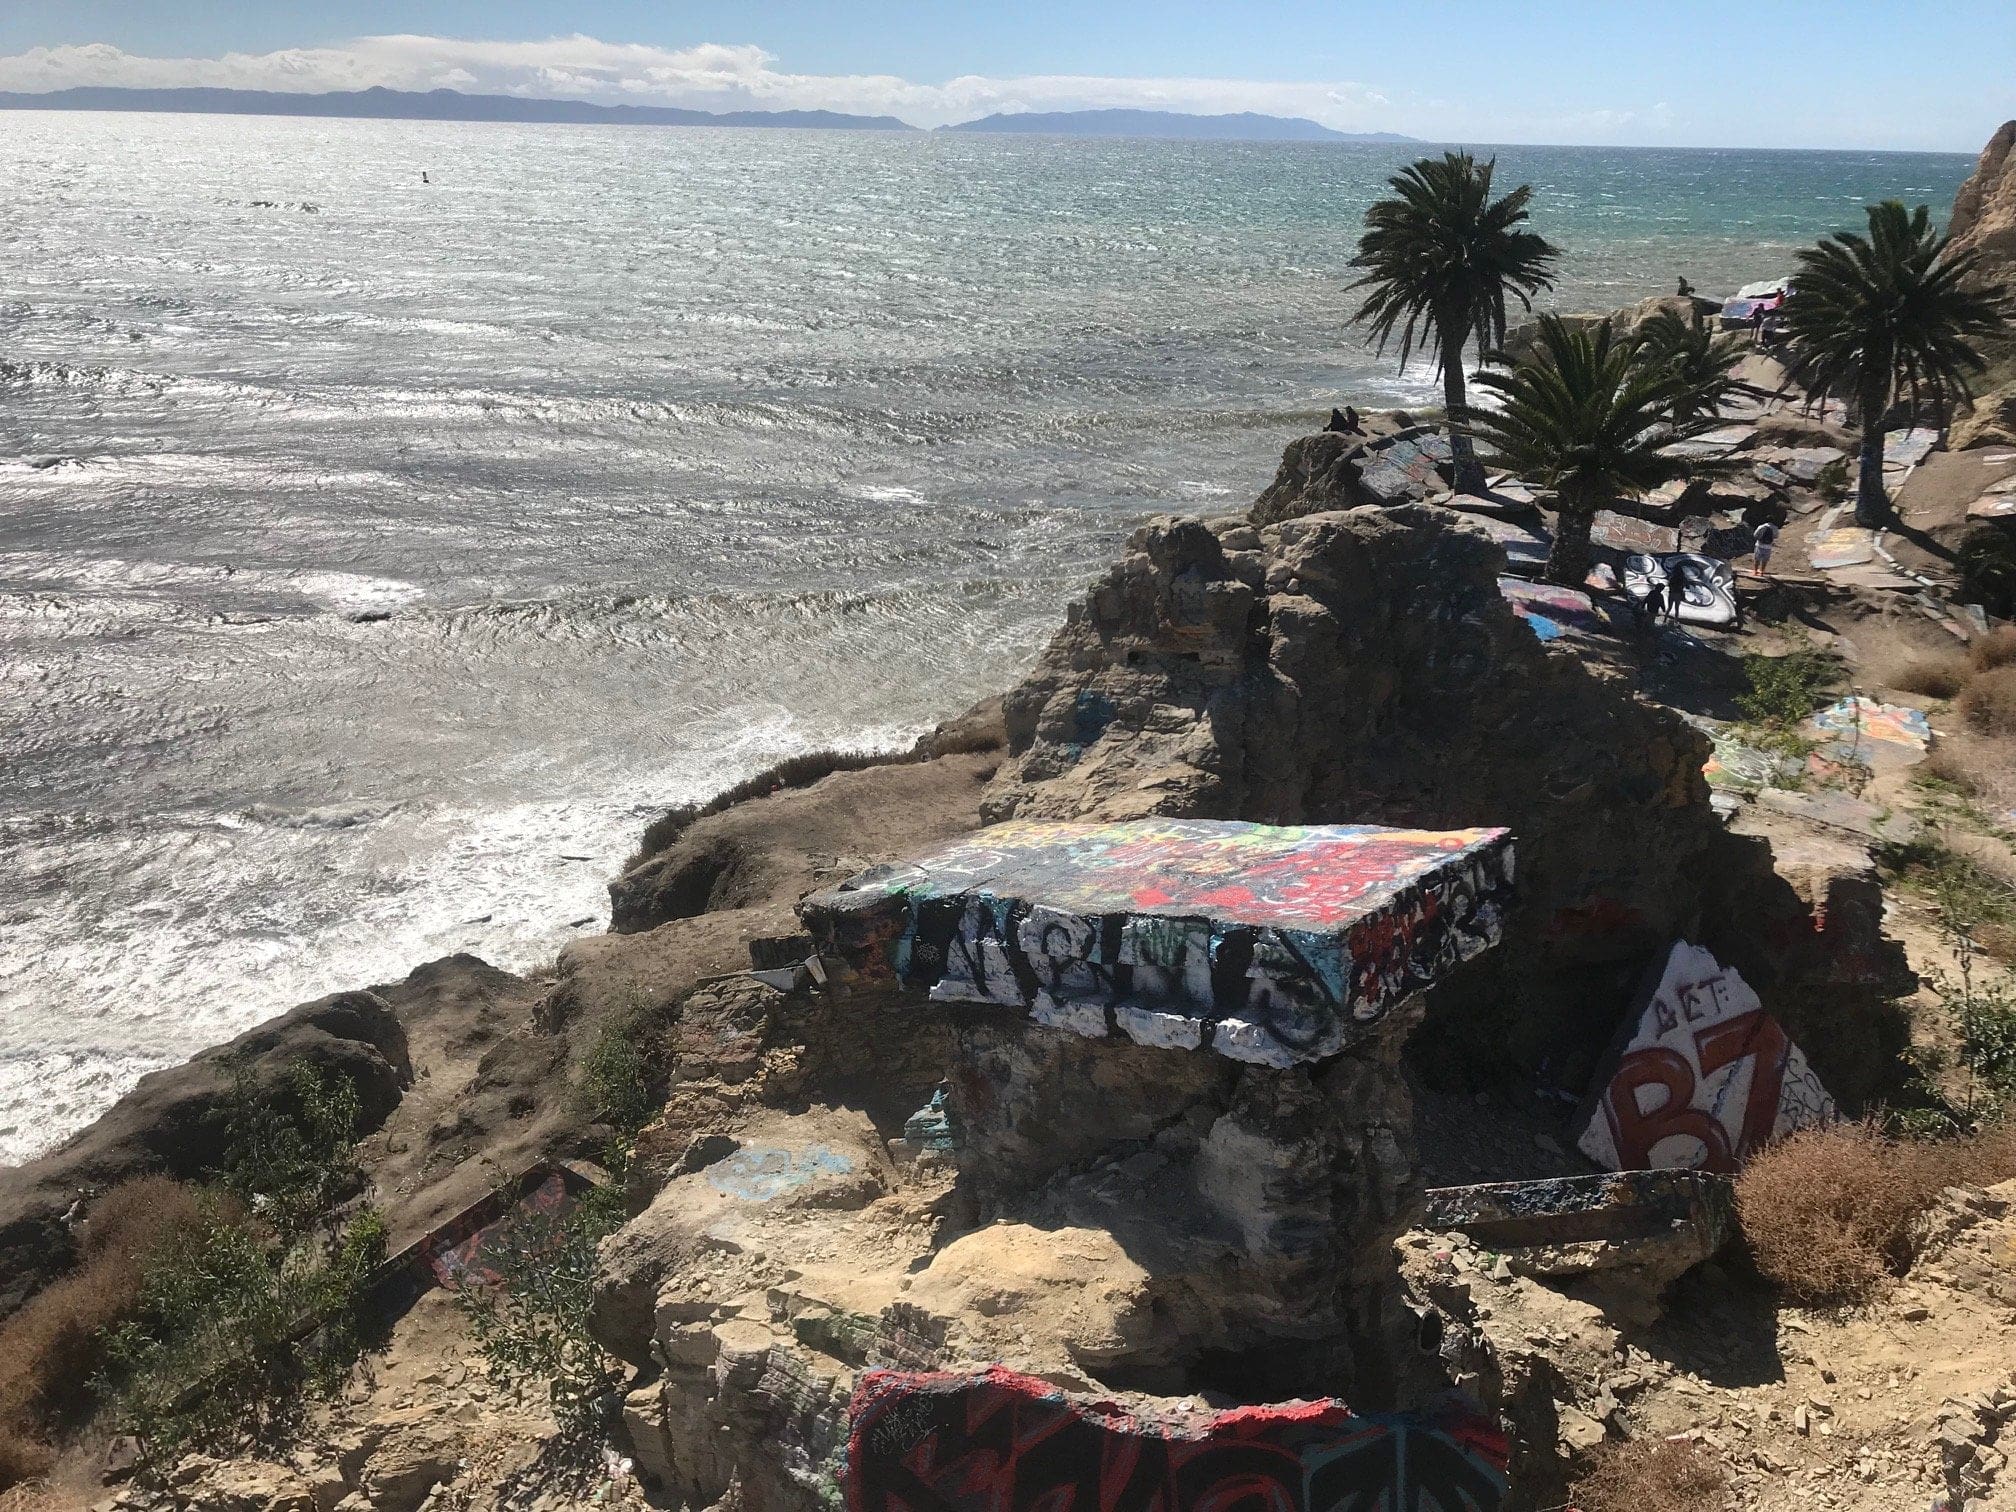
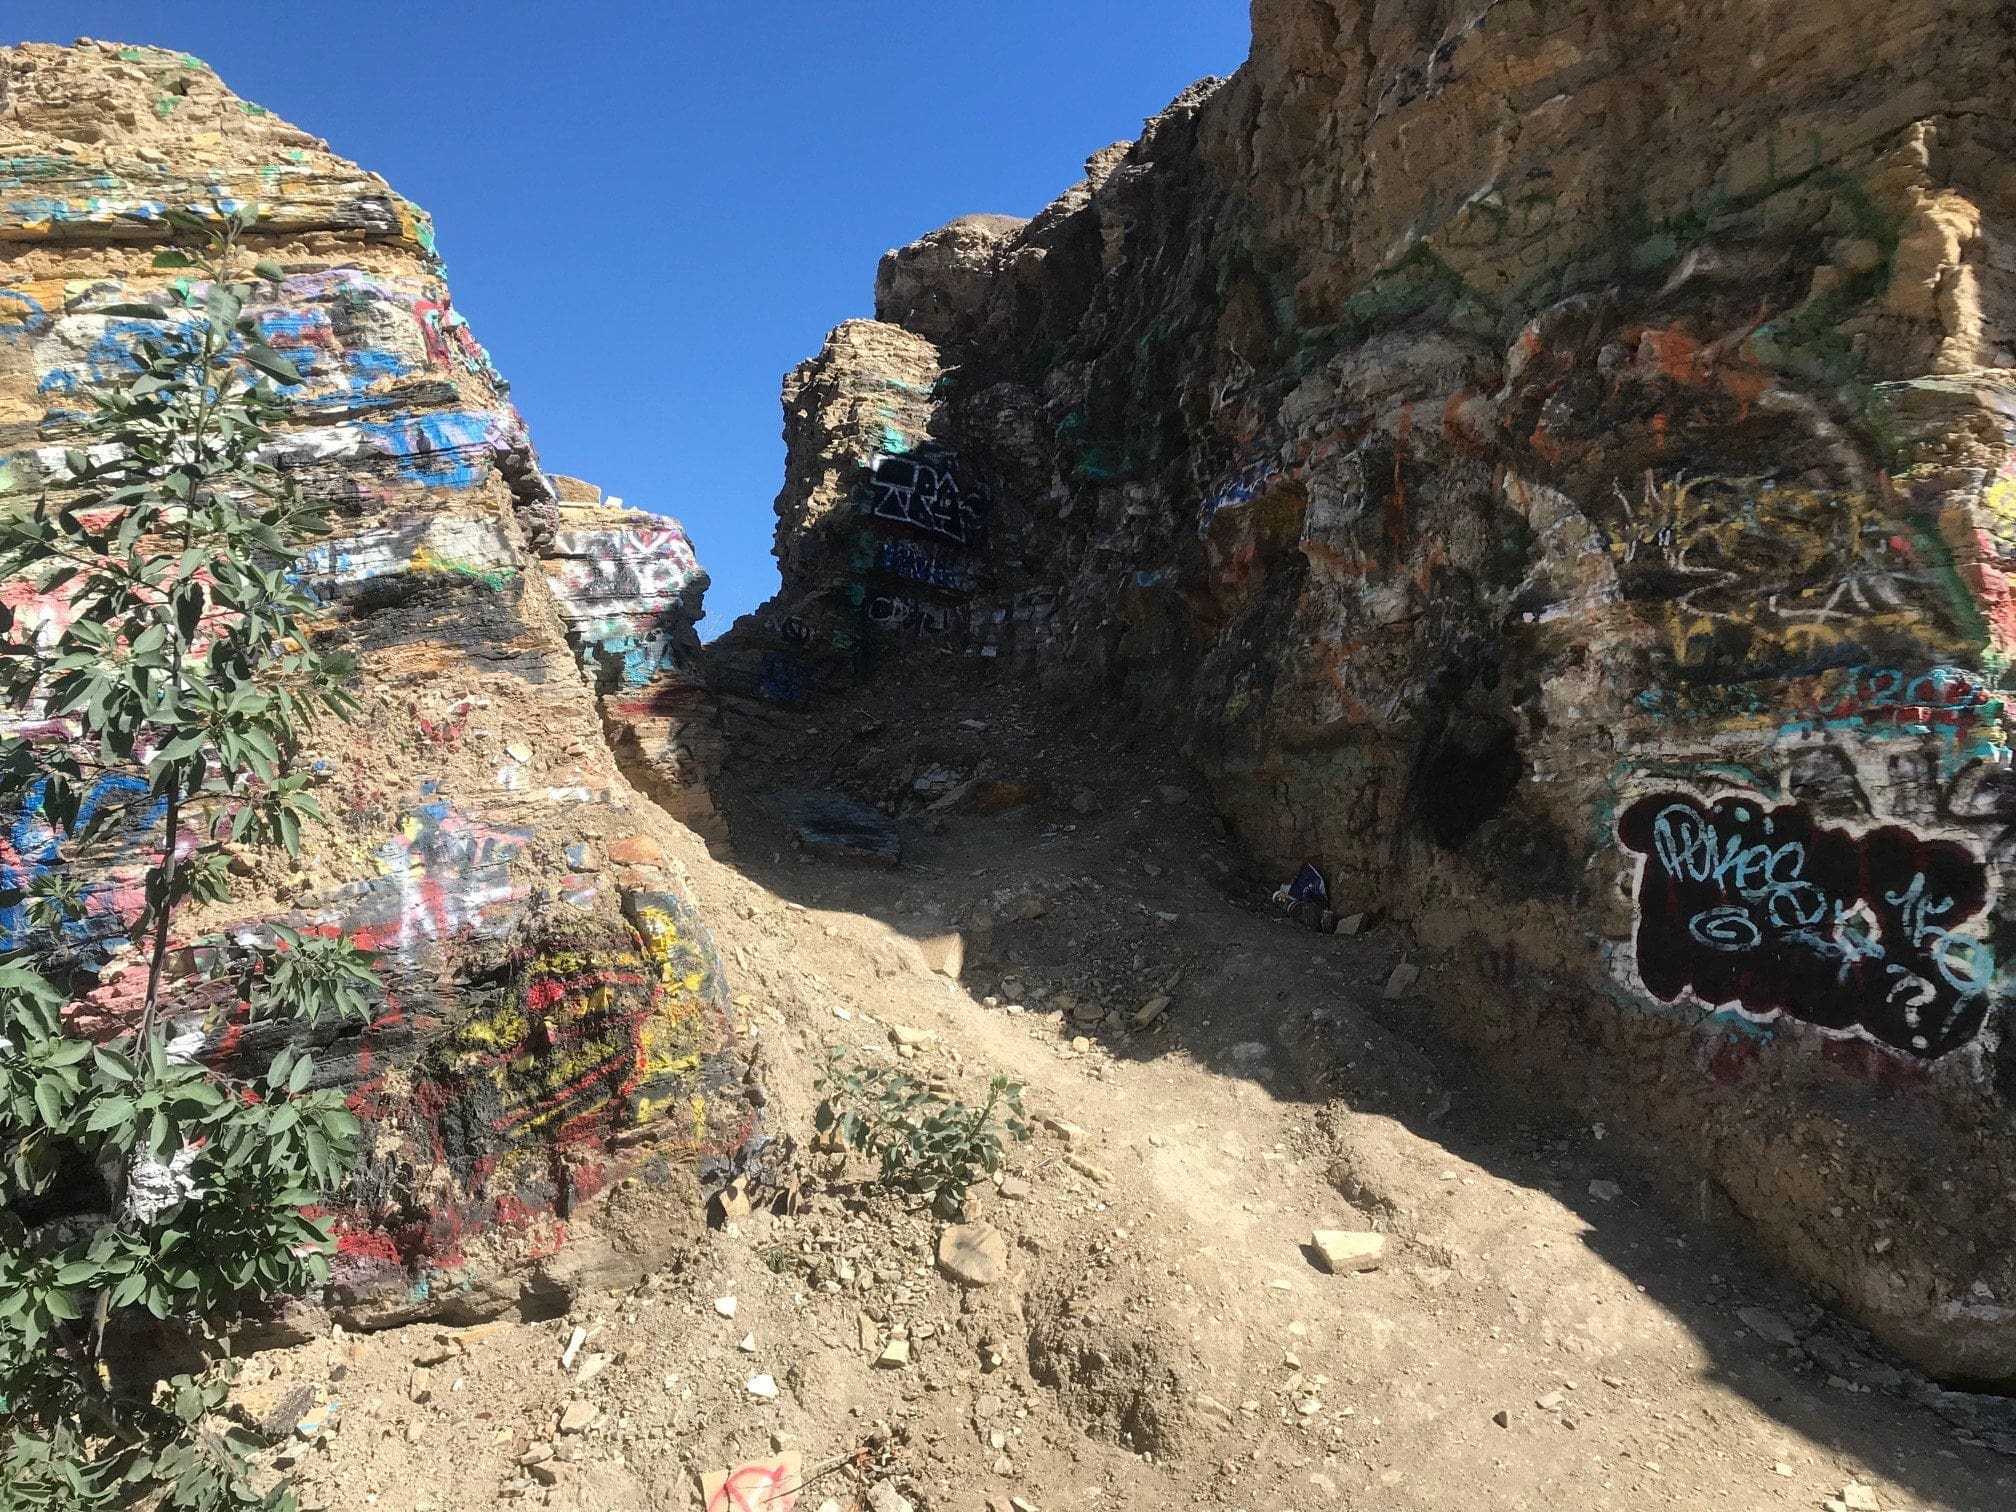
A small, narrow trail between the ruins that offers some protection from the wind.
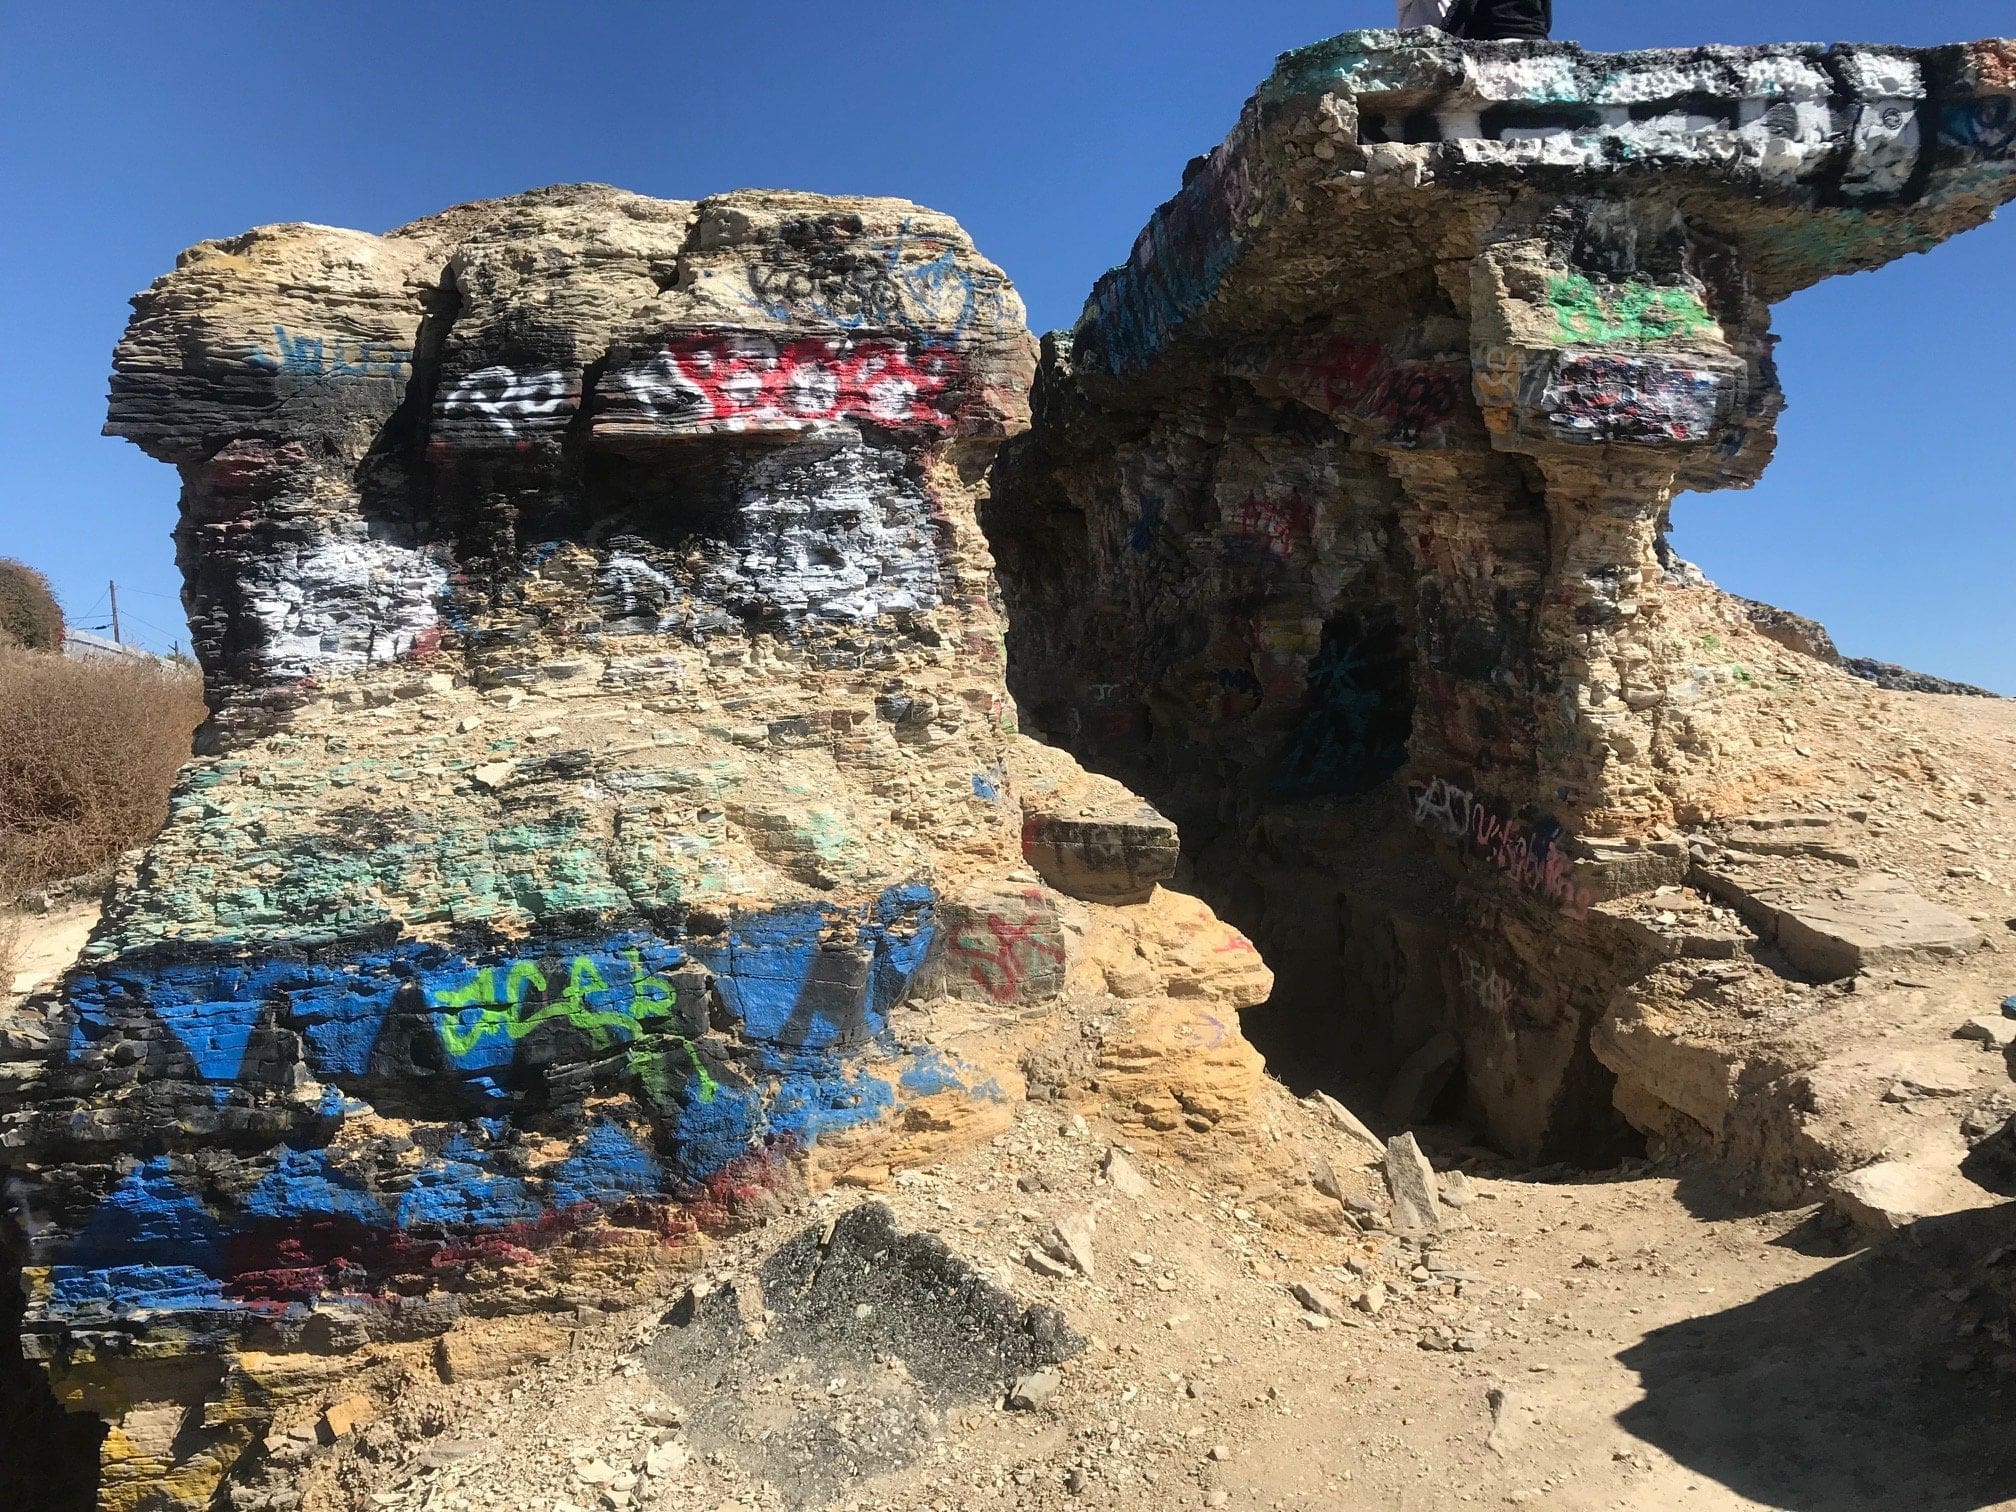
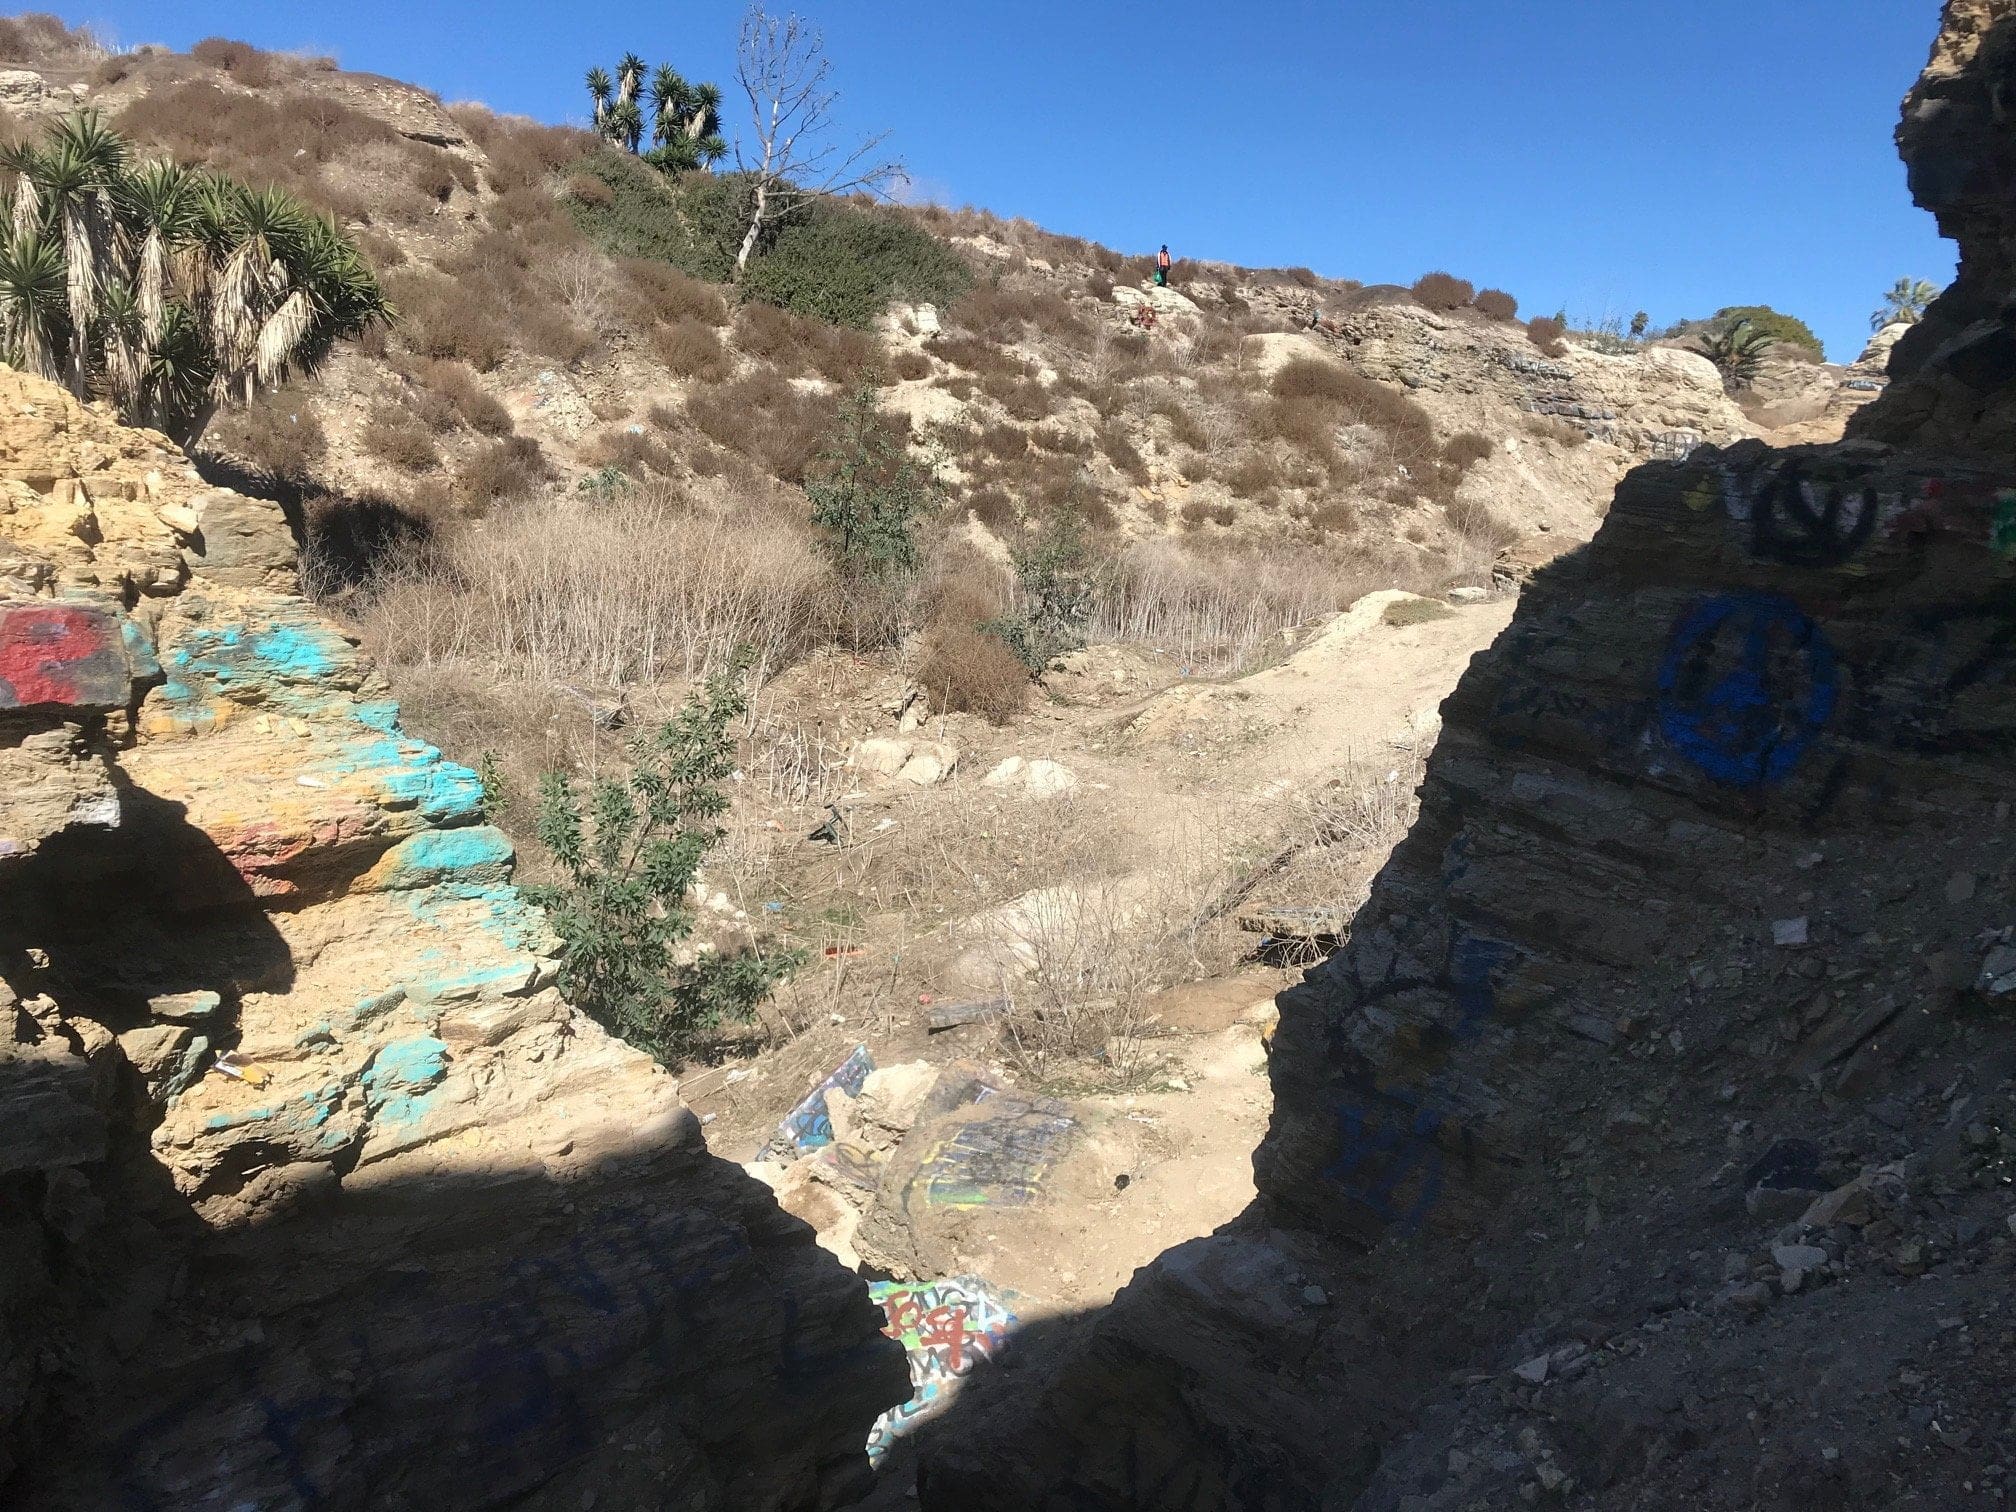
Through the narrow trail from above, leading to more tasteful graffiti. You can see the damage from the San Pedro land slide and thus the aptly named “sunken city”
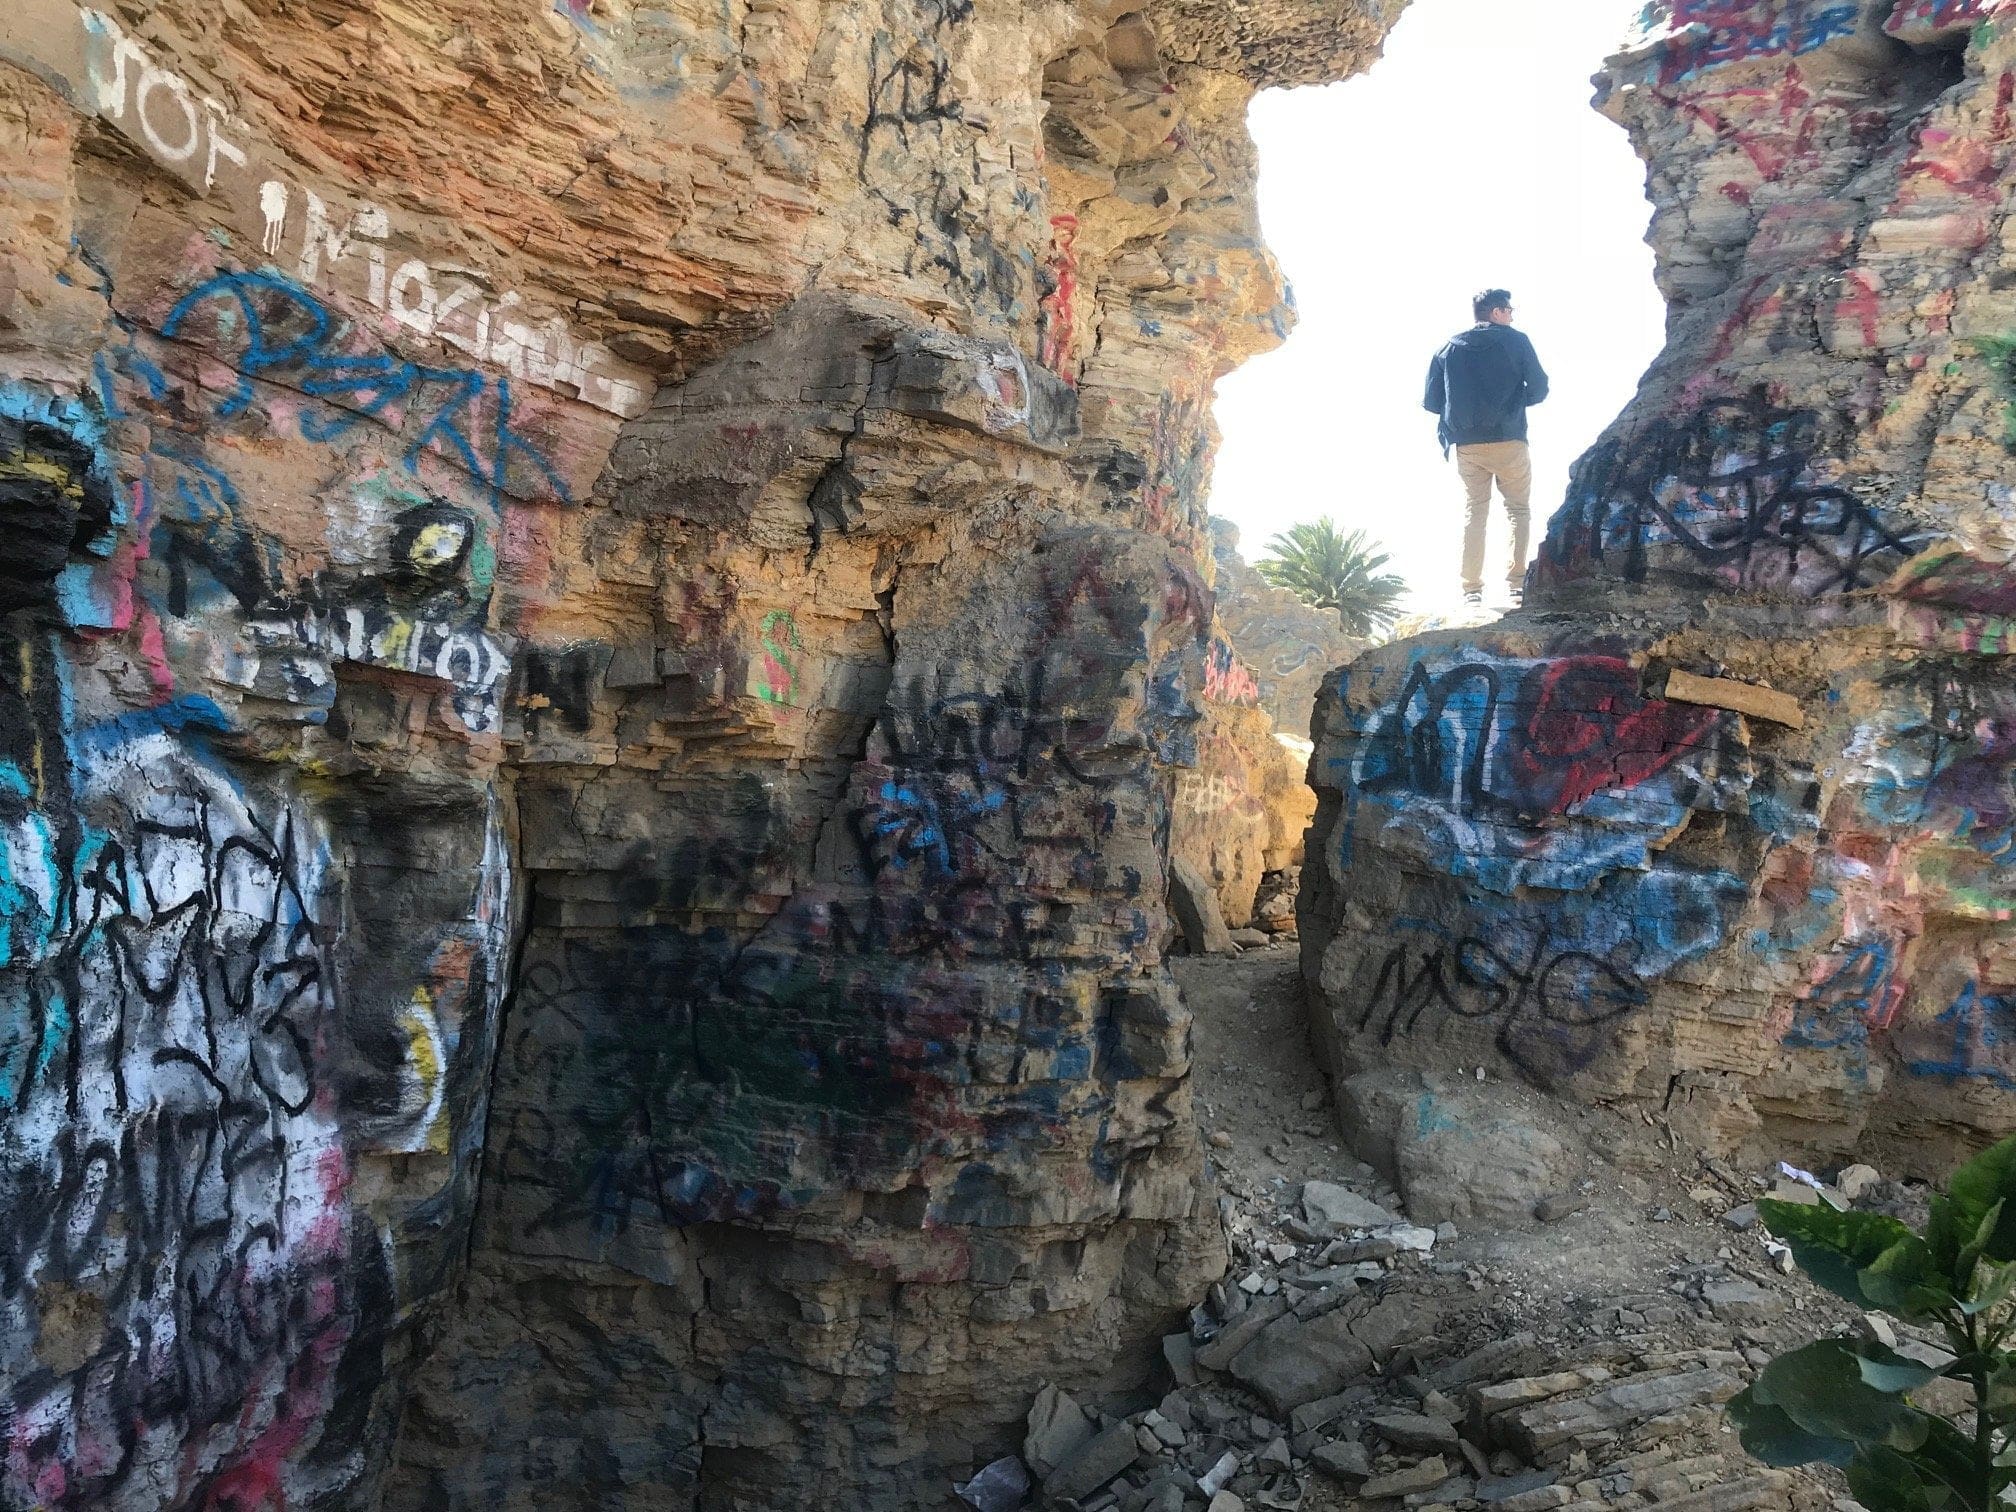
This is certainly a near-perfect place to relax and gain some clarity through “zen moments” (if it wasn’t so damn cold and windy).
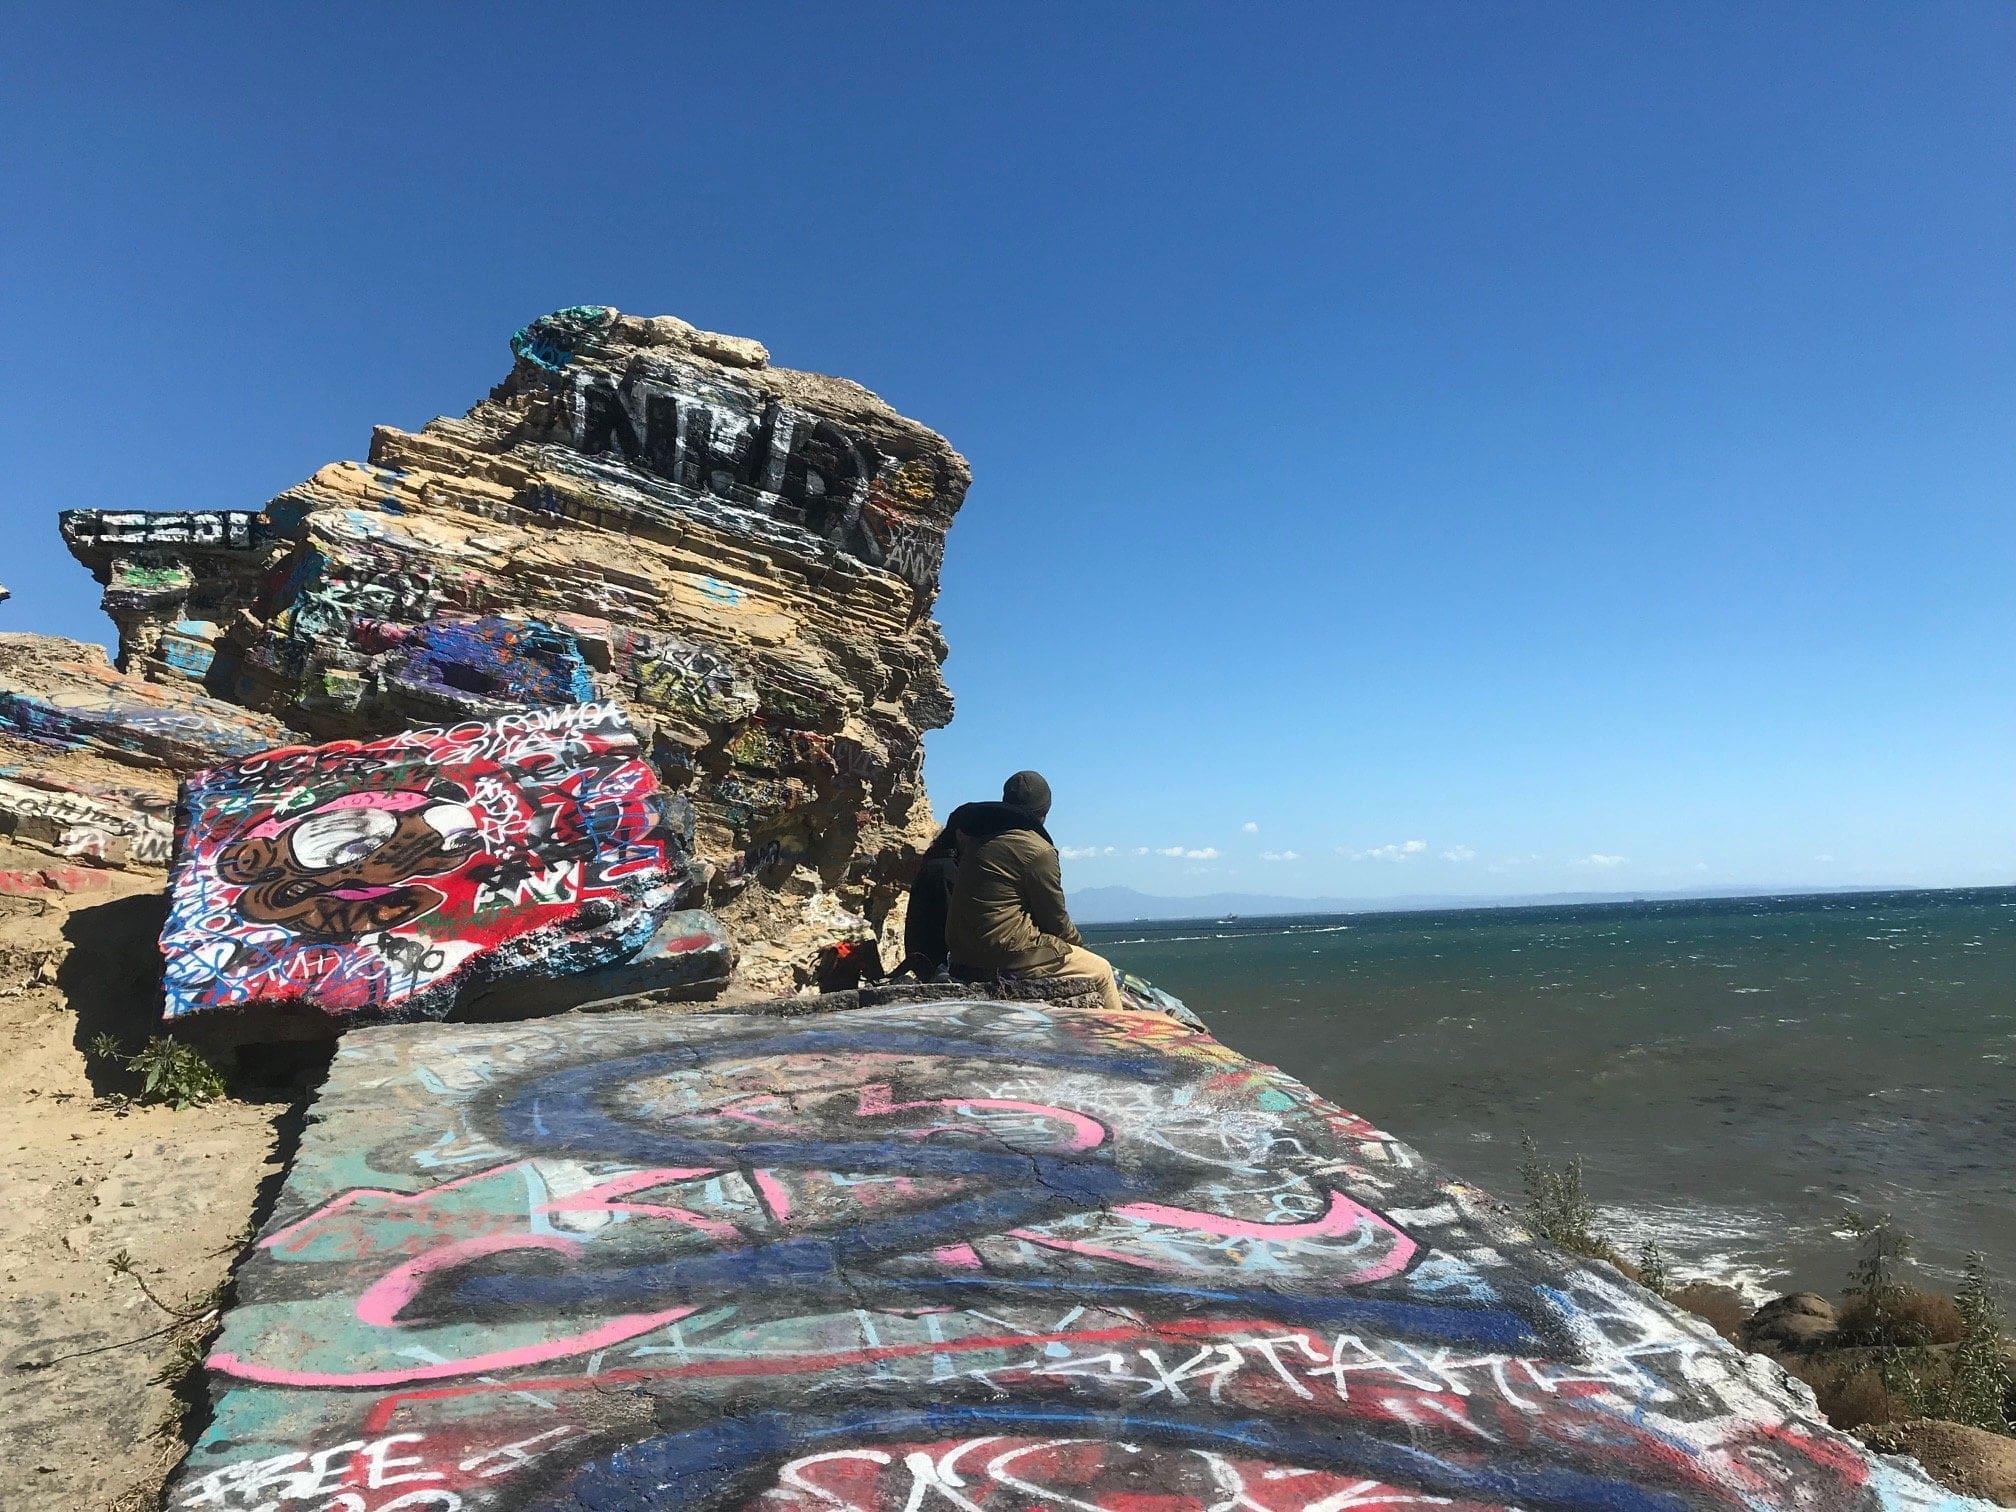
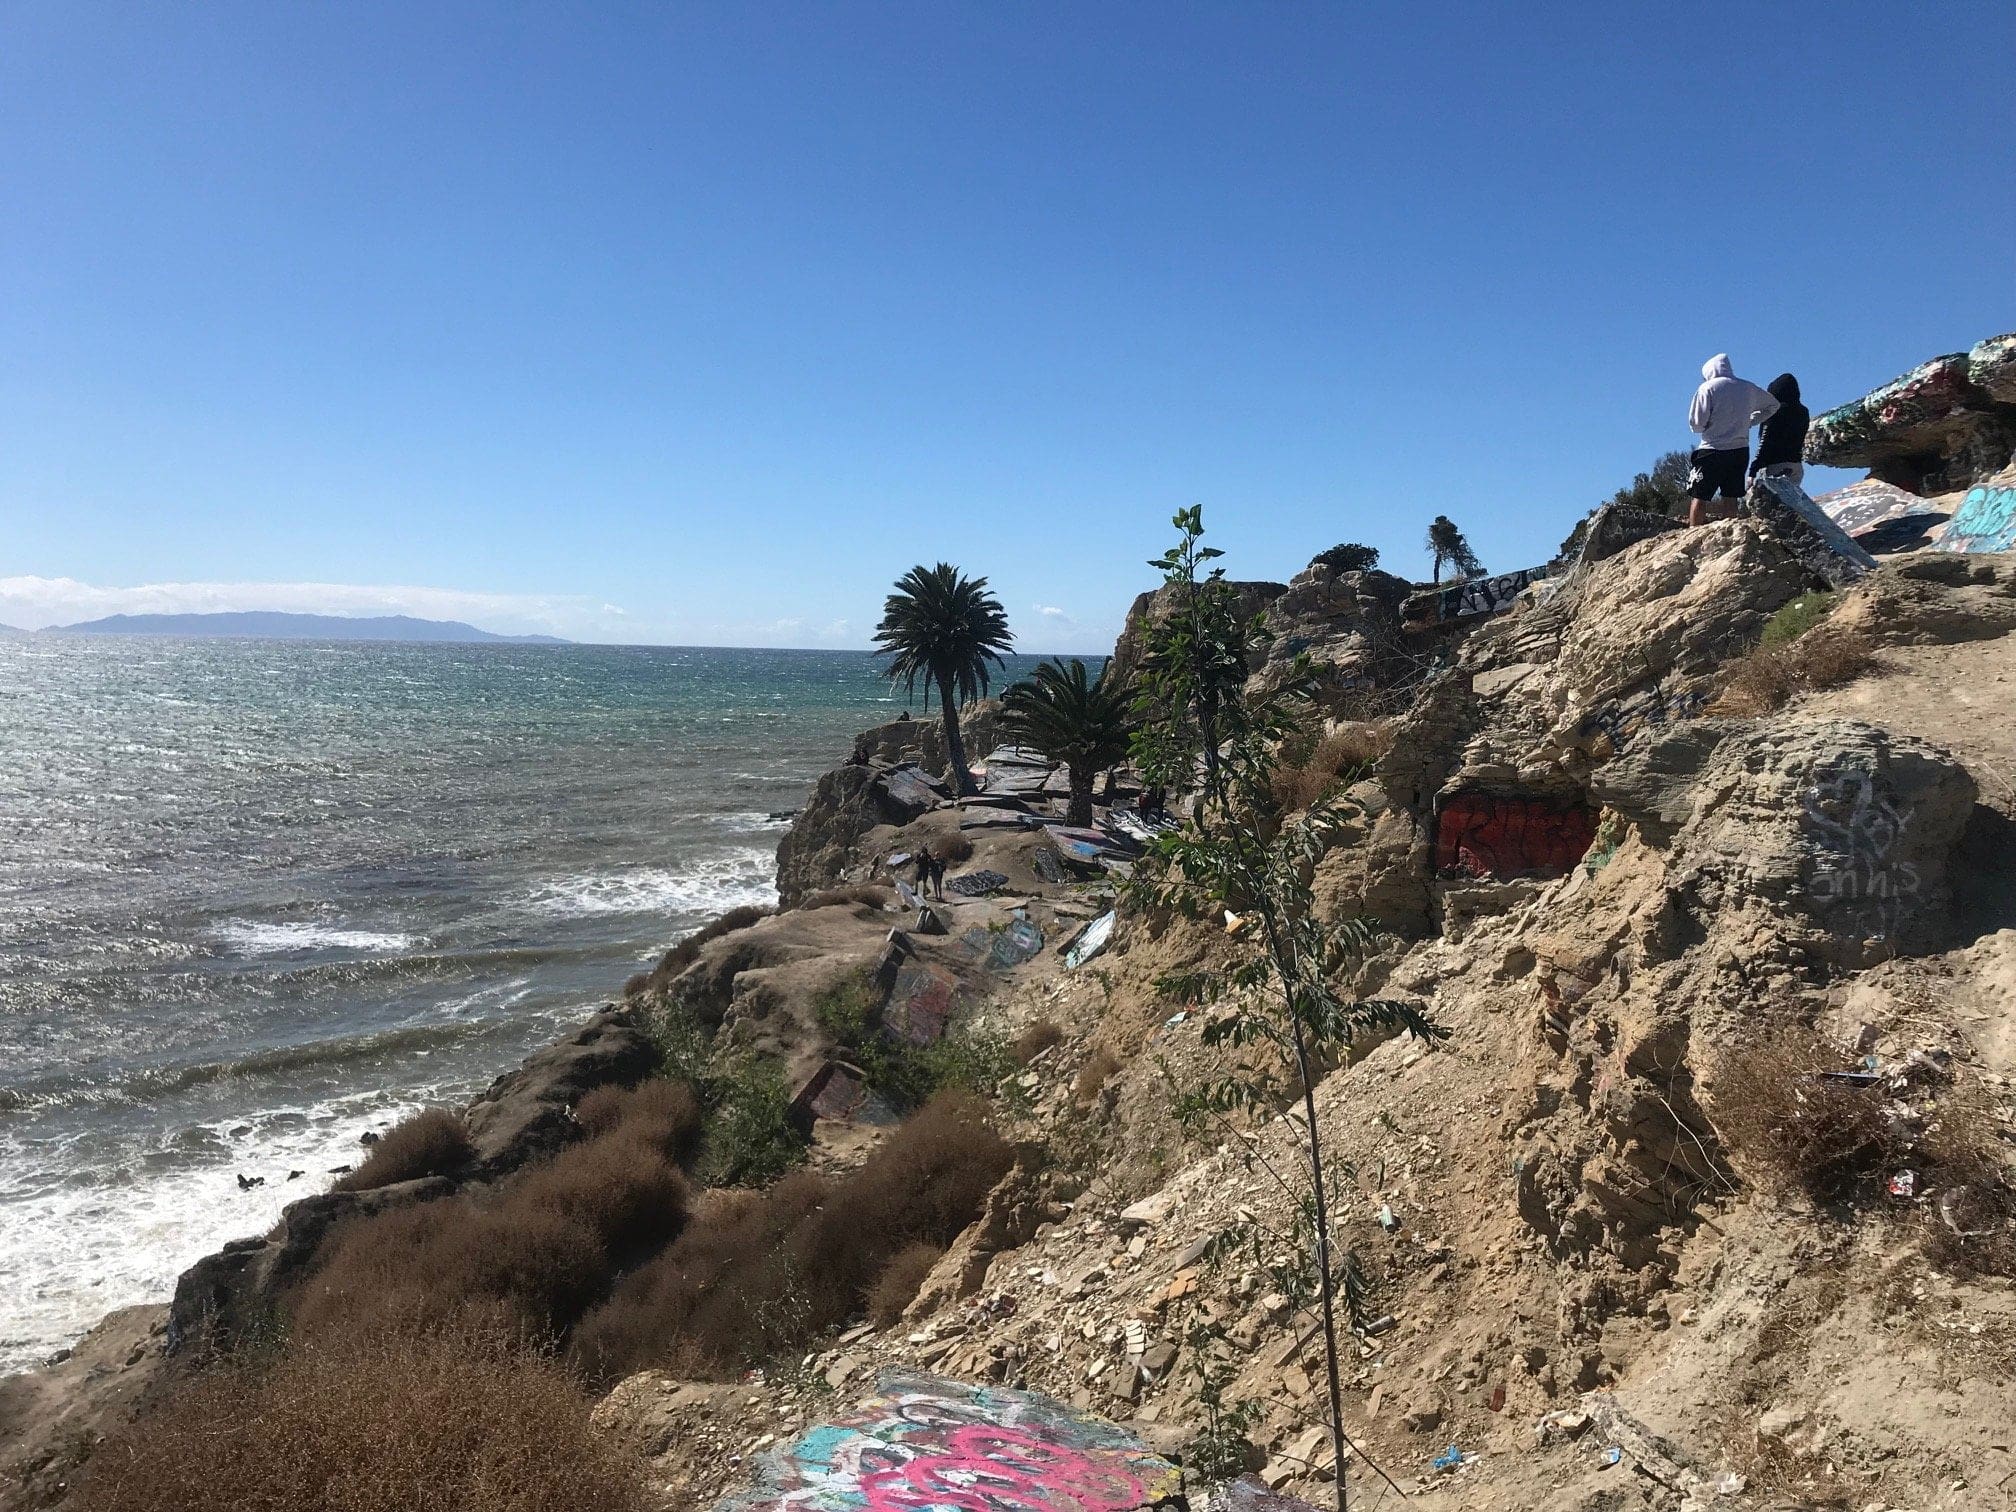
Some of the ruins and trails of tier 2 (which can be quite steep to get down to).
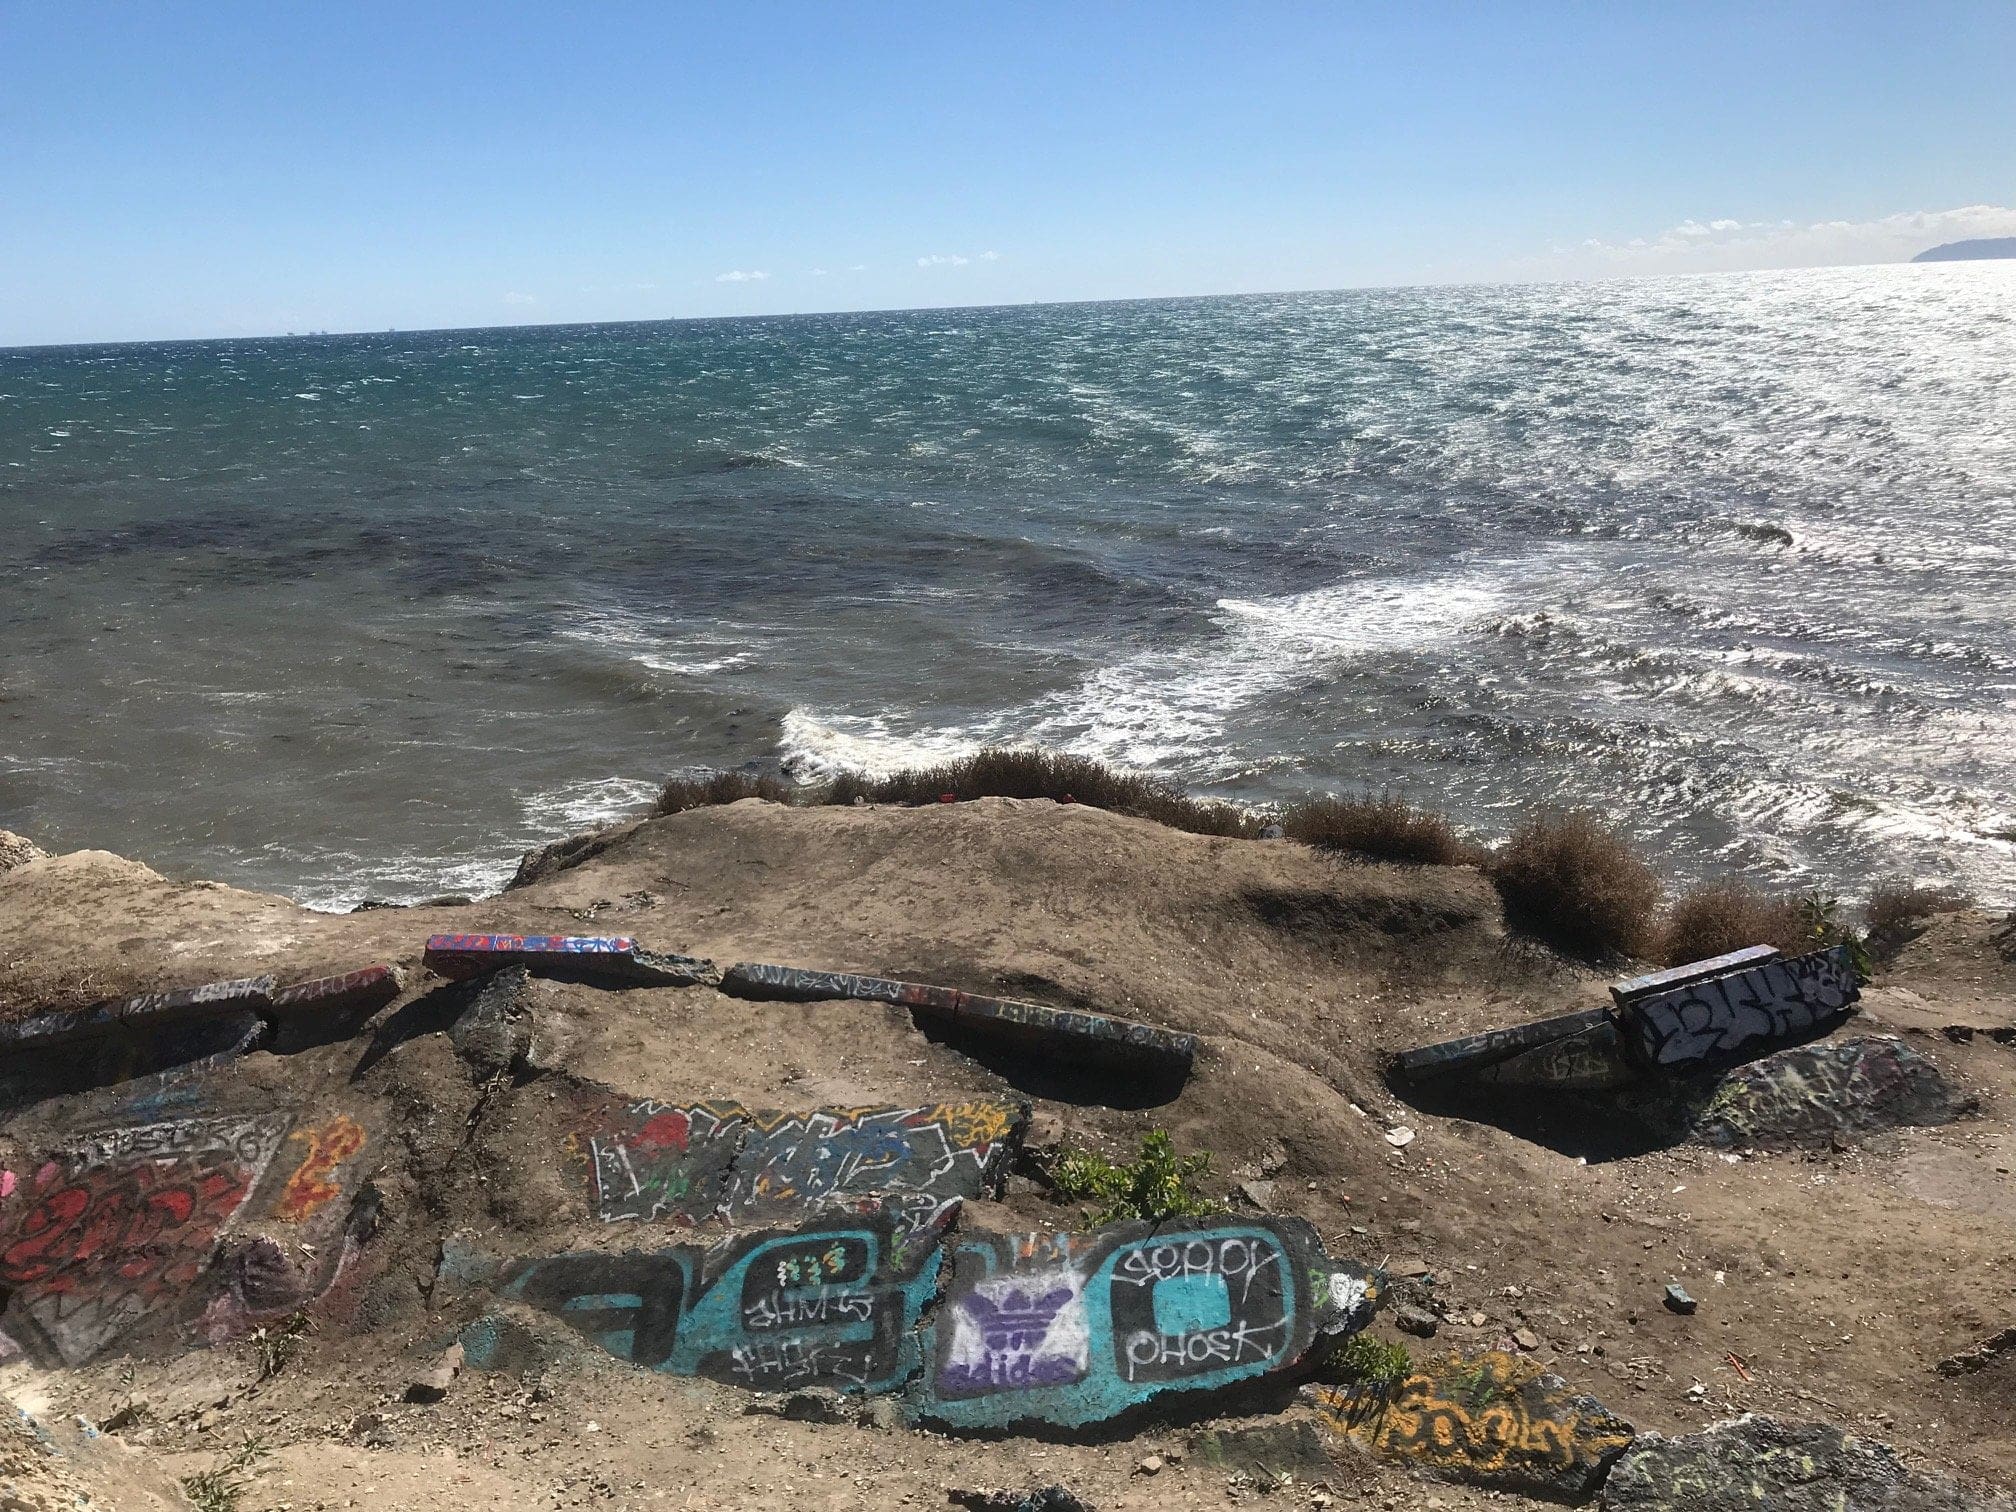
The “main” draw of Sunken City, where most of the graffiti art lies and there is no shortage of it!

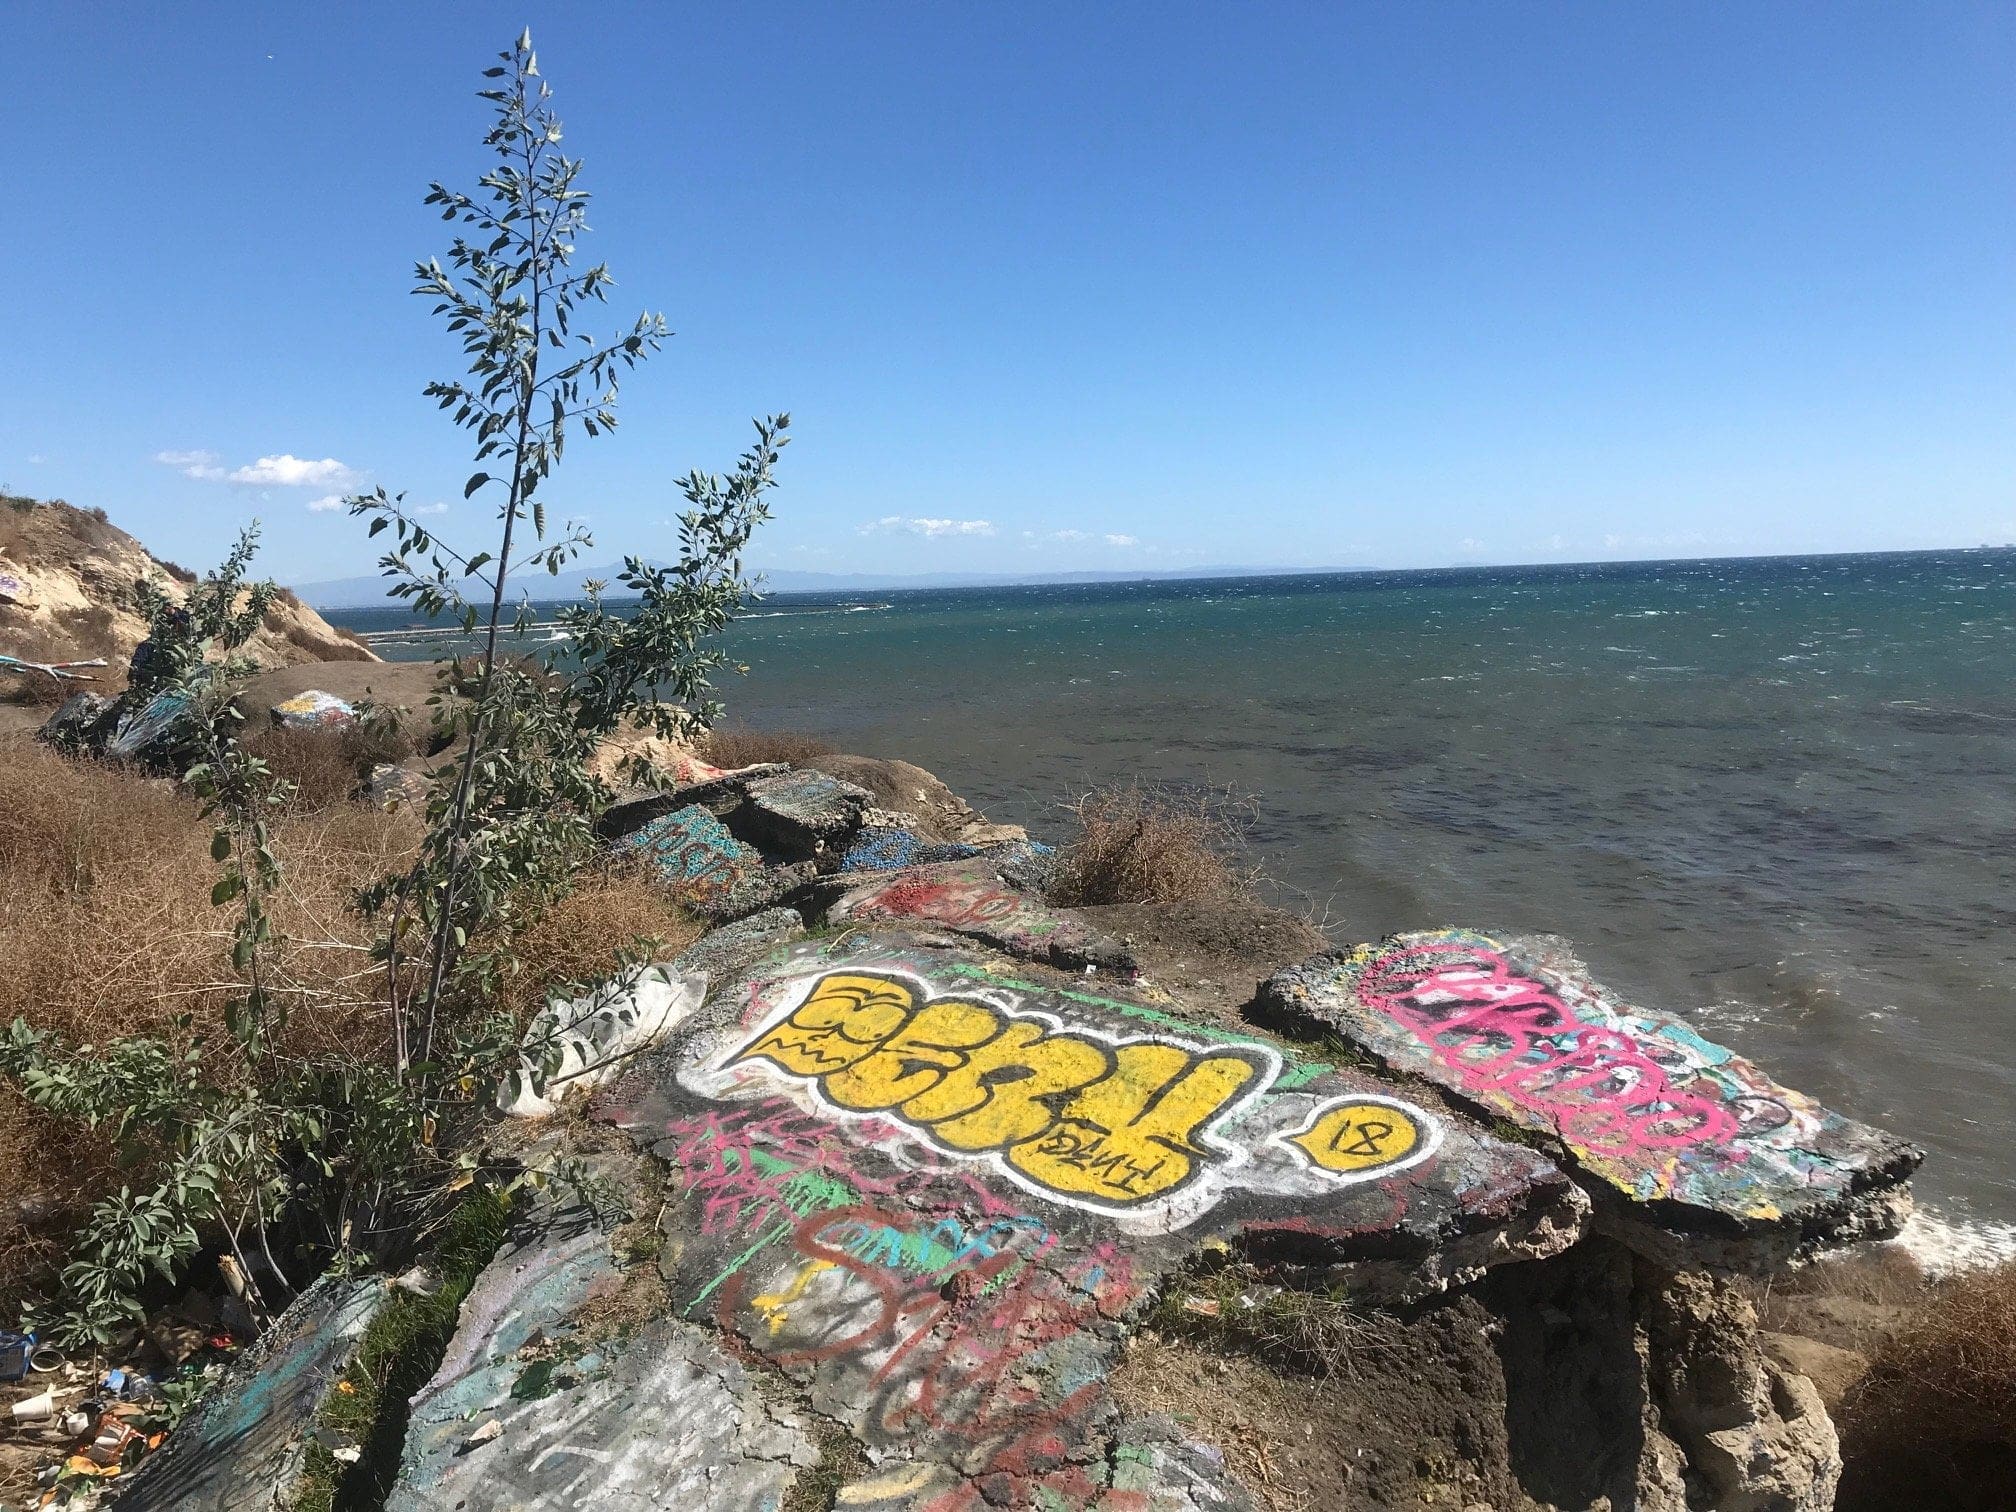
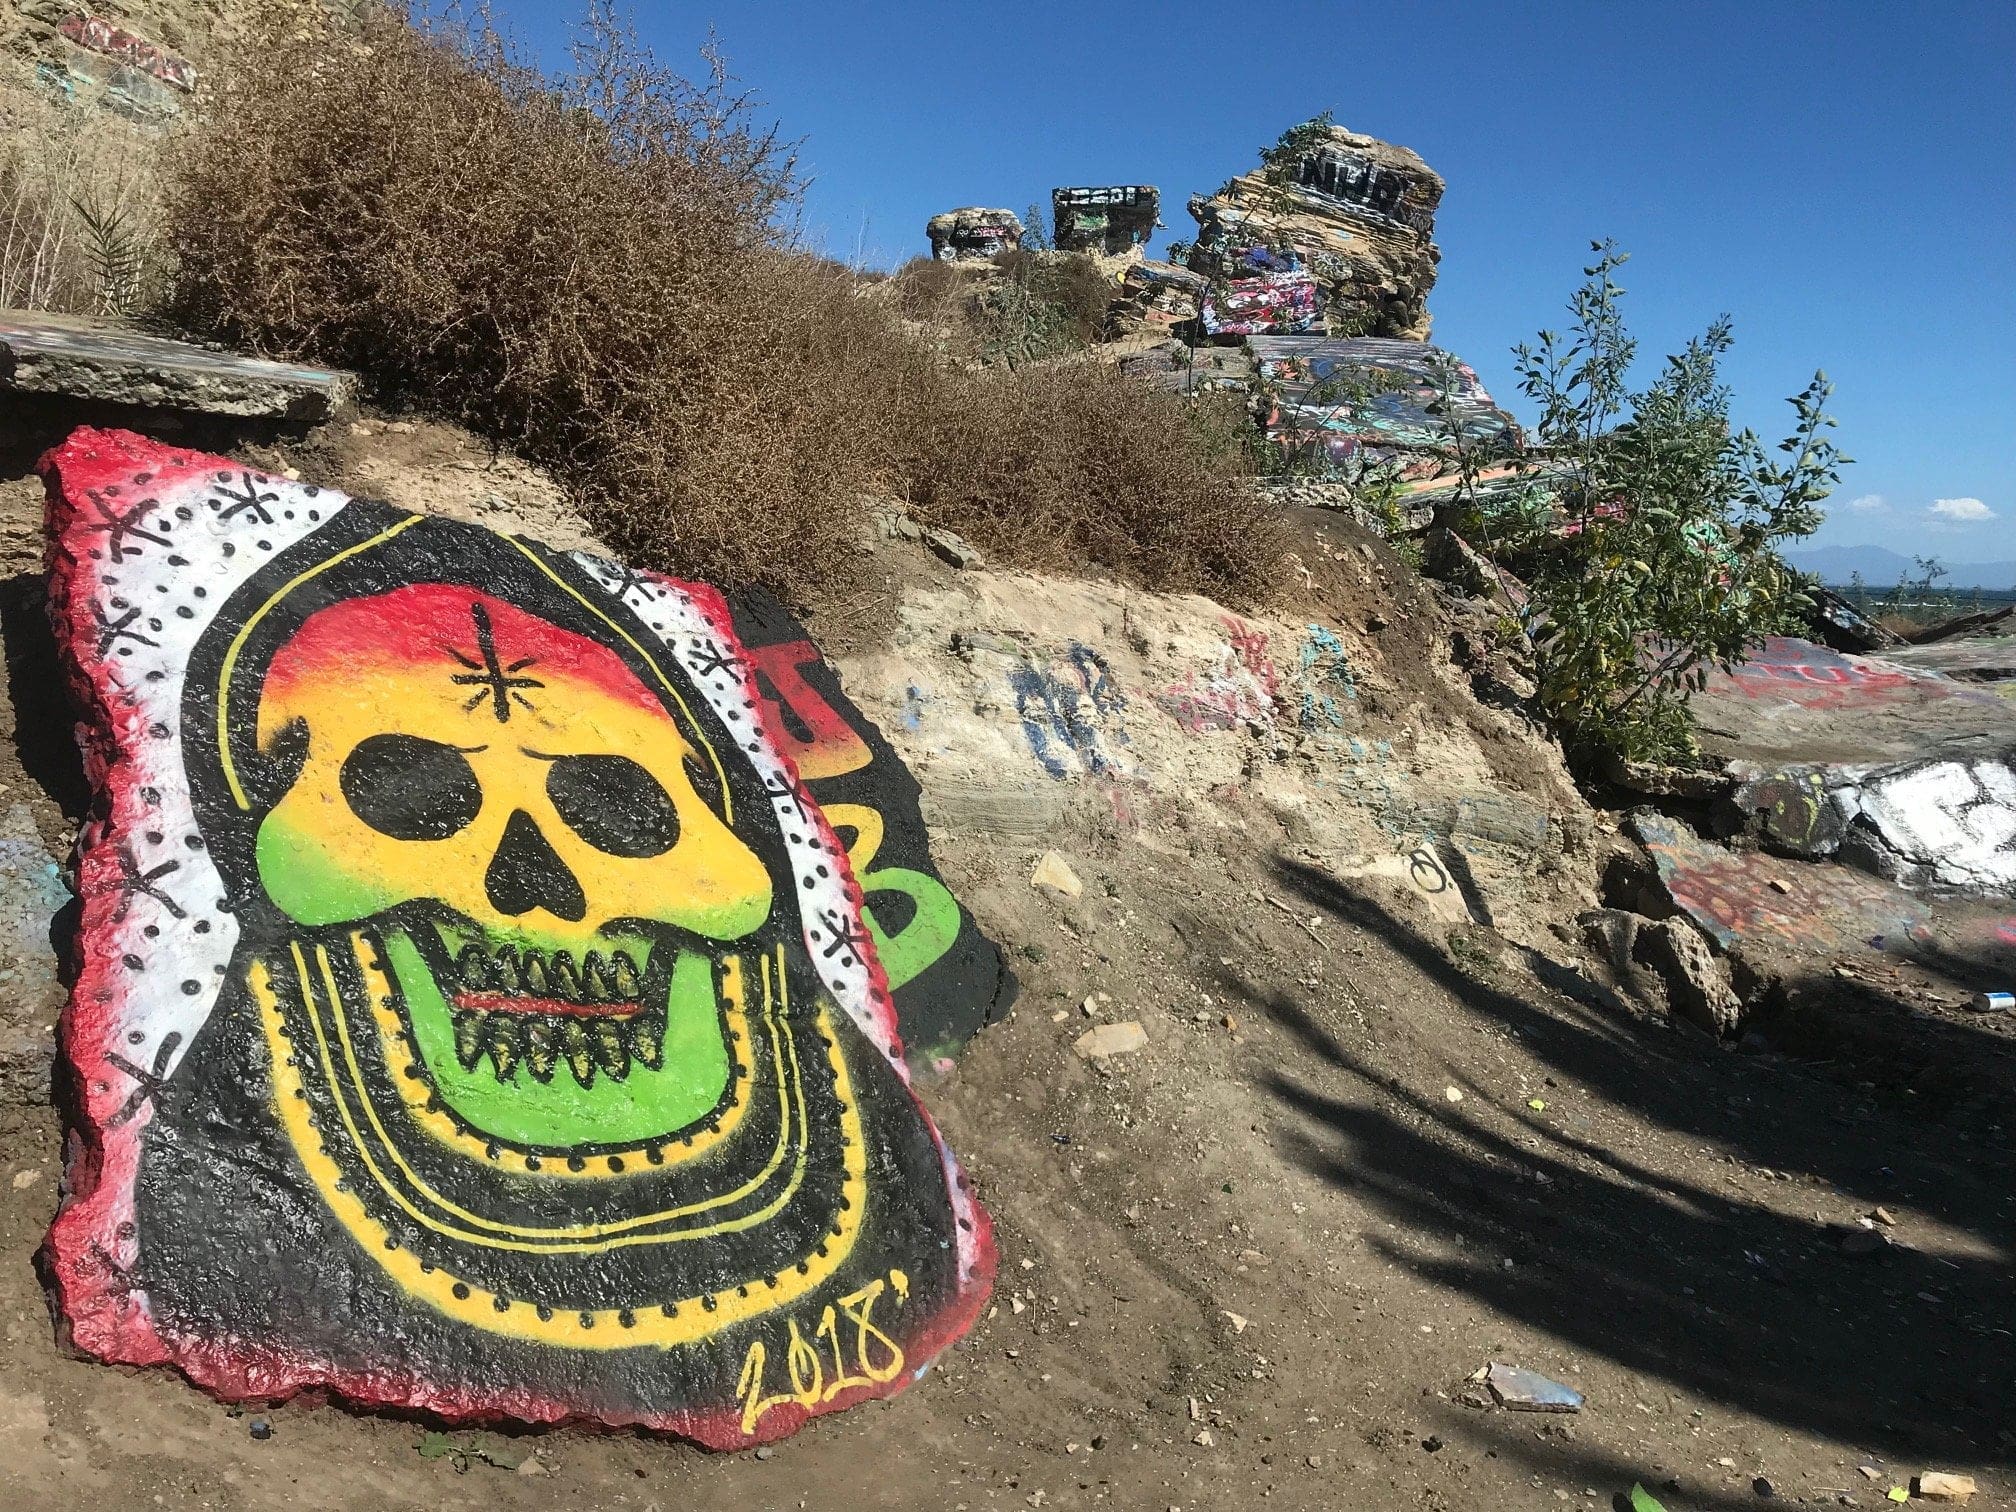
One of my favorite pieces I came across (if only I were this talented with spray paint).
Sharp rocks below; Be very careful when exploring the top of tier 1. Love the colorful graffiti here in San Pedro!
Another non-linear trail through tier 1; Most of the trails fork off throughout the ruins.
The westernmost side of tier 1 as I approach the cliffs.

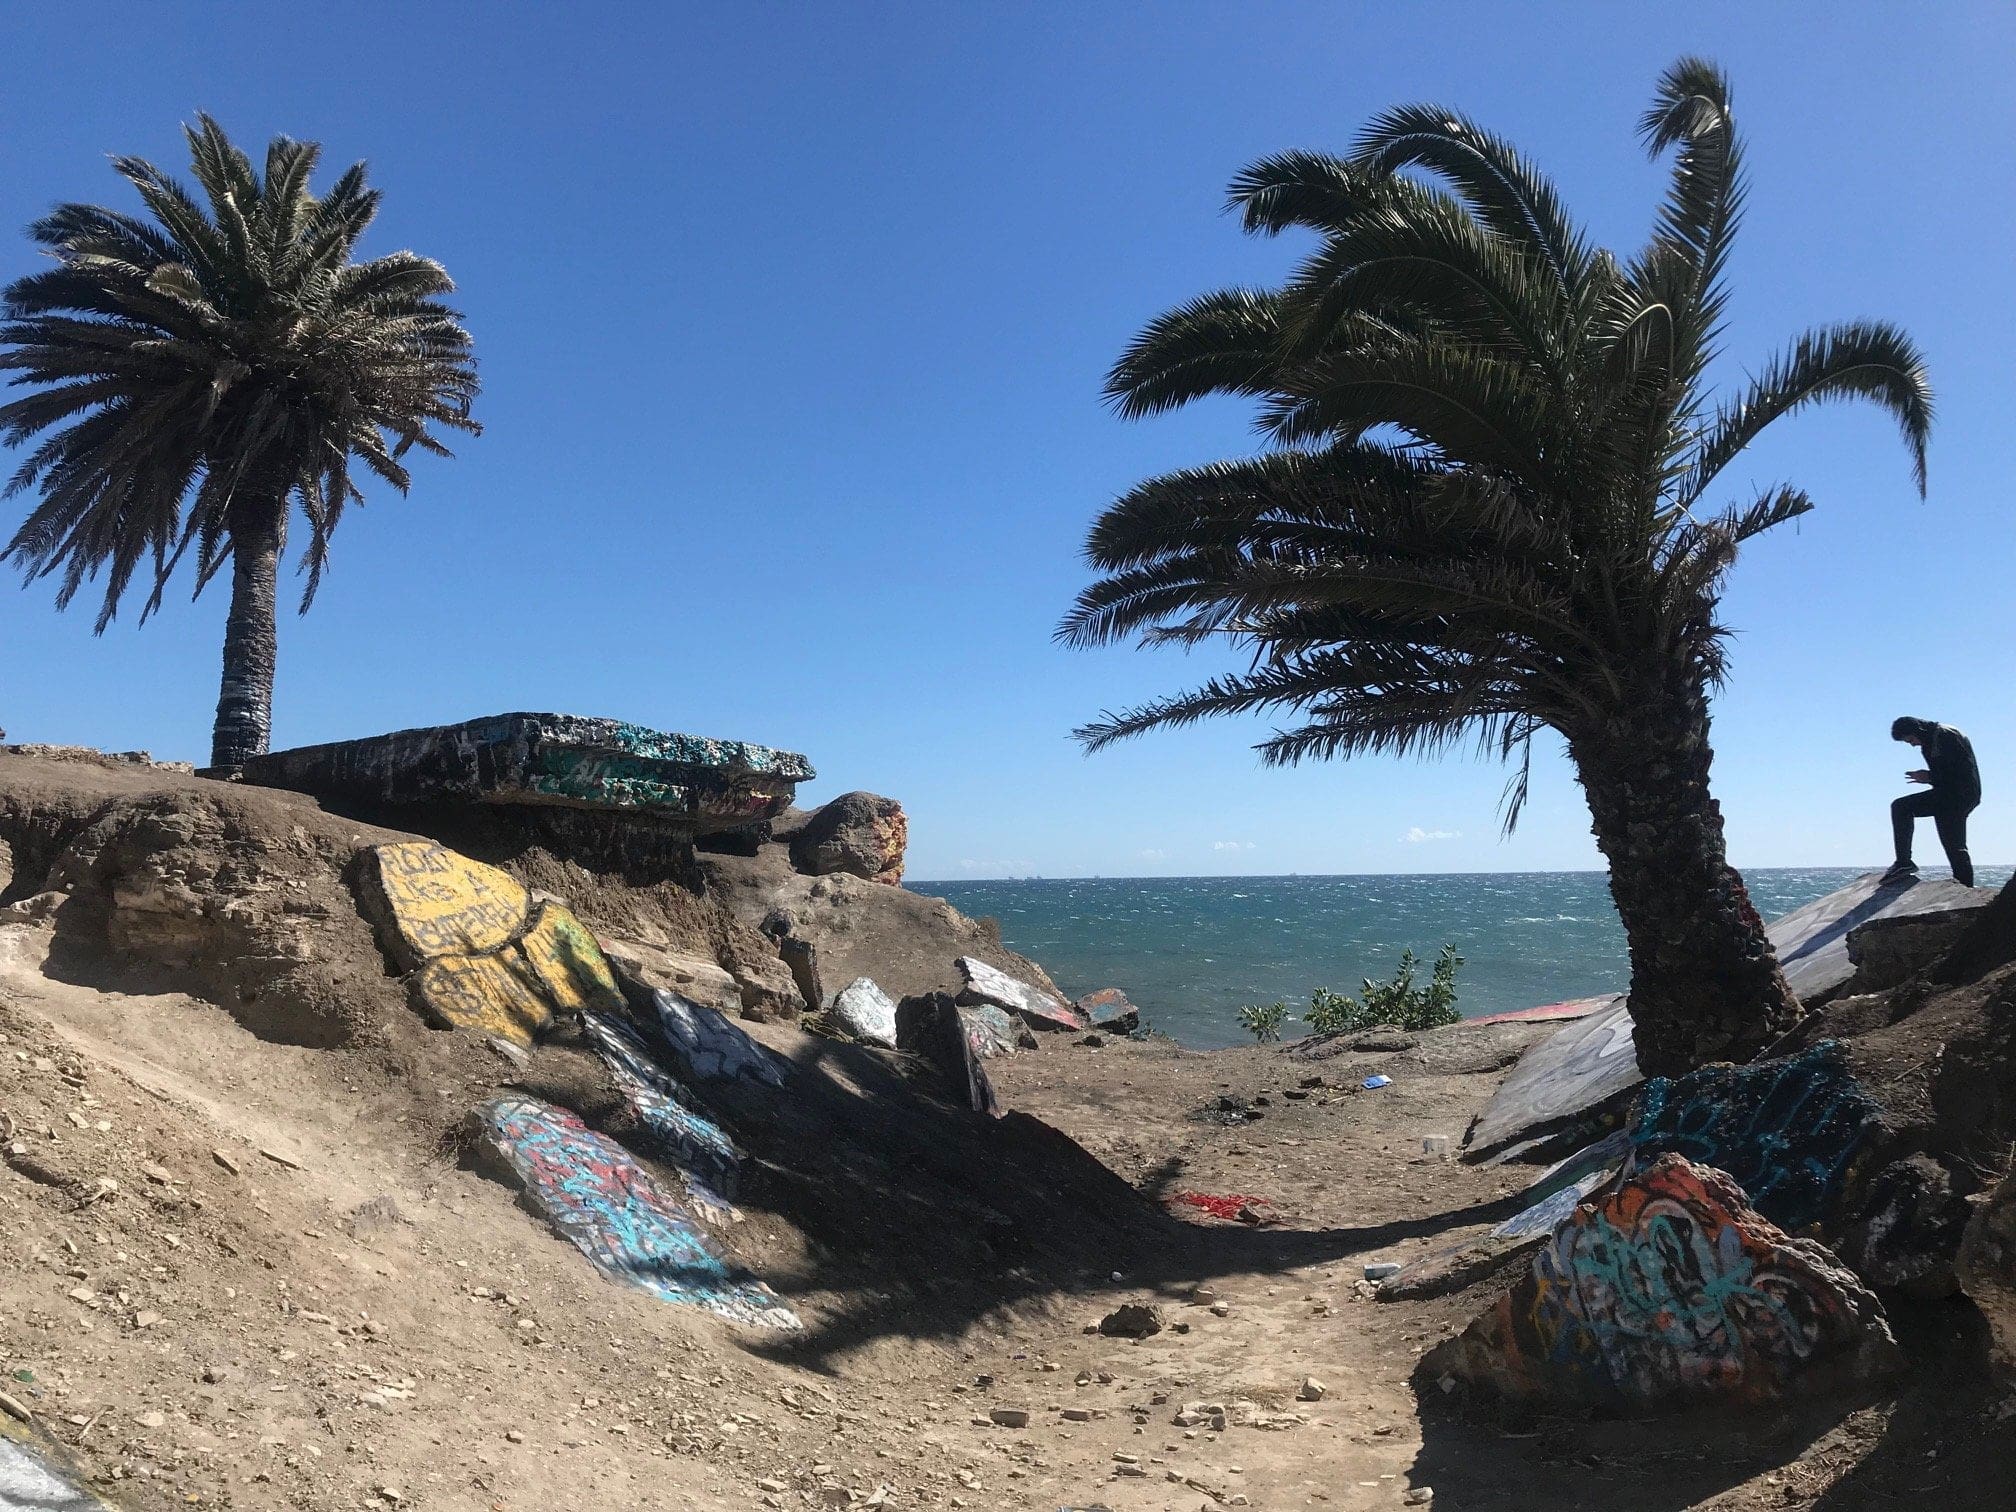
Graffiti-plastered palm trees (because graffiti artists need to spray paint everything).
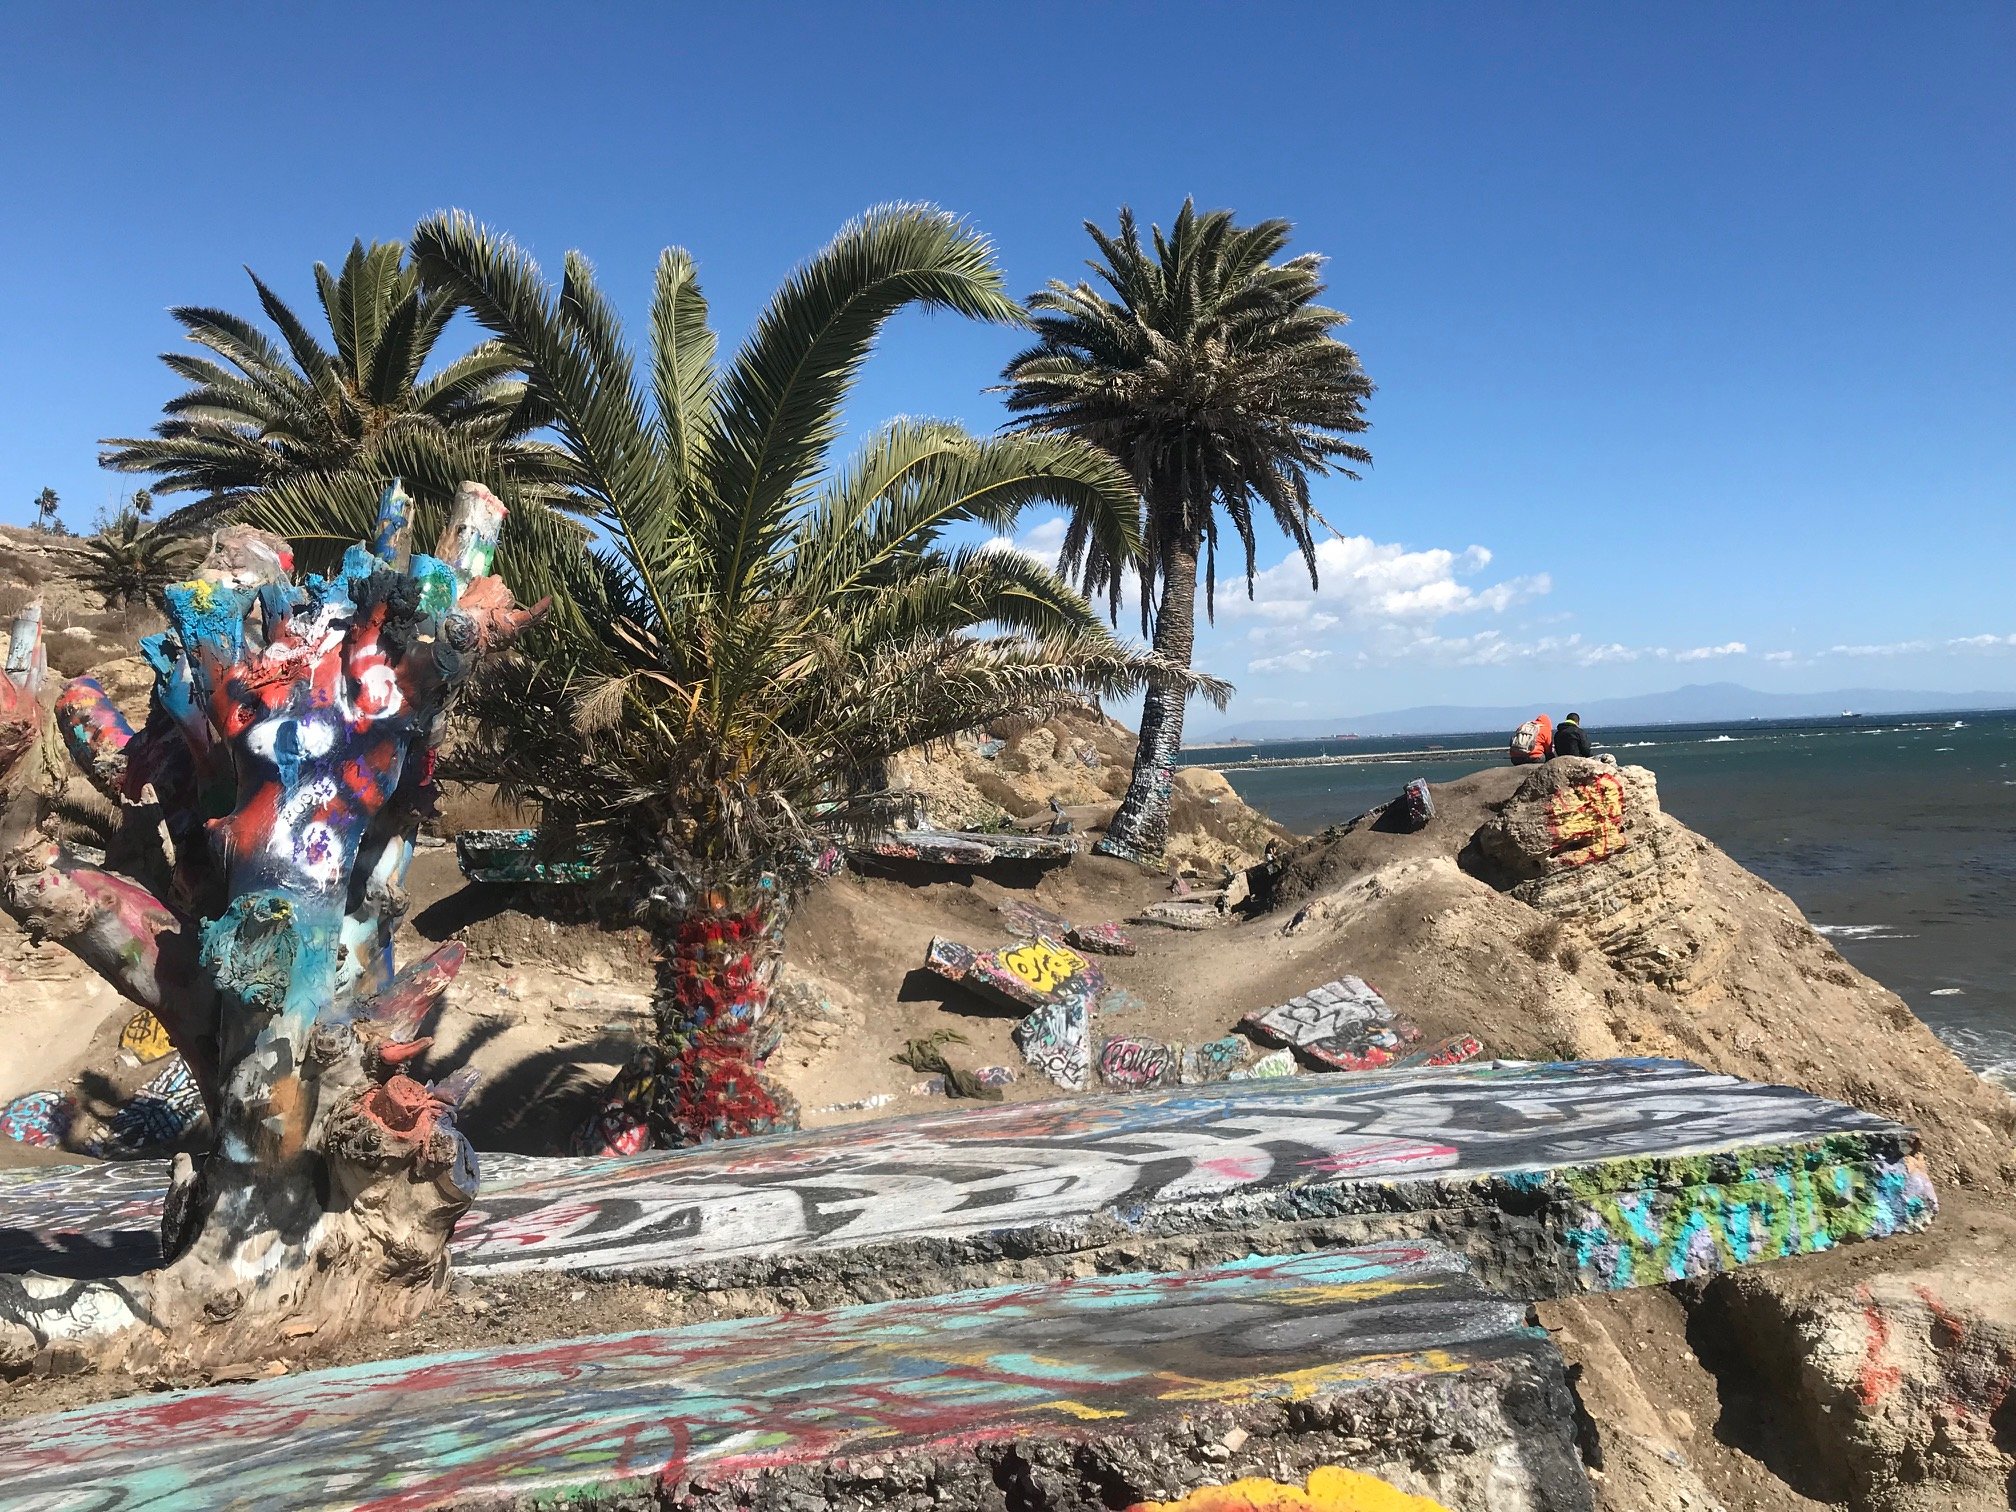
View from the top of another rock slab. It’s a slippery climb up here, but worth the views!
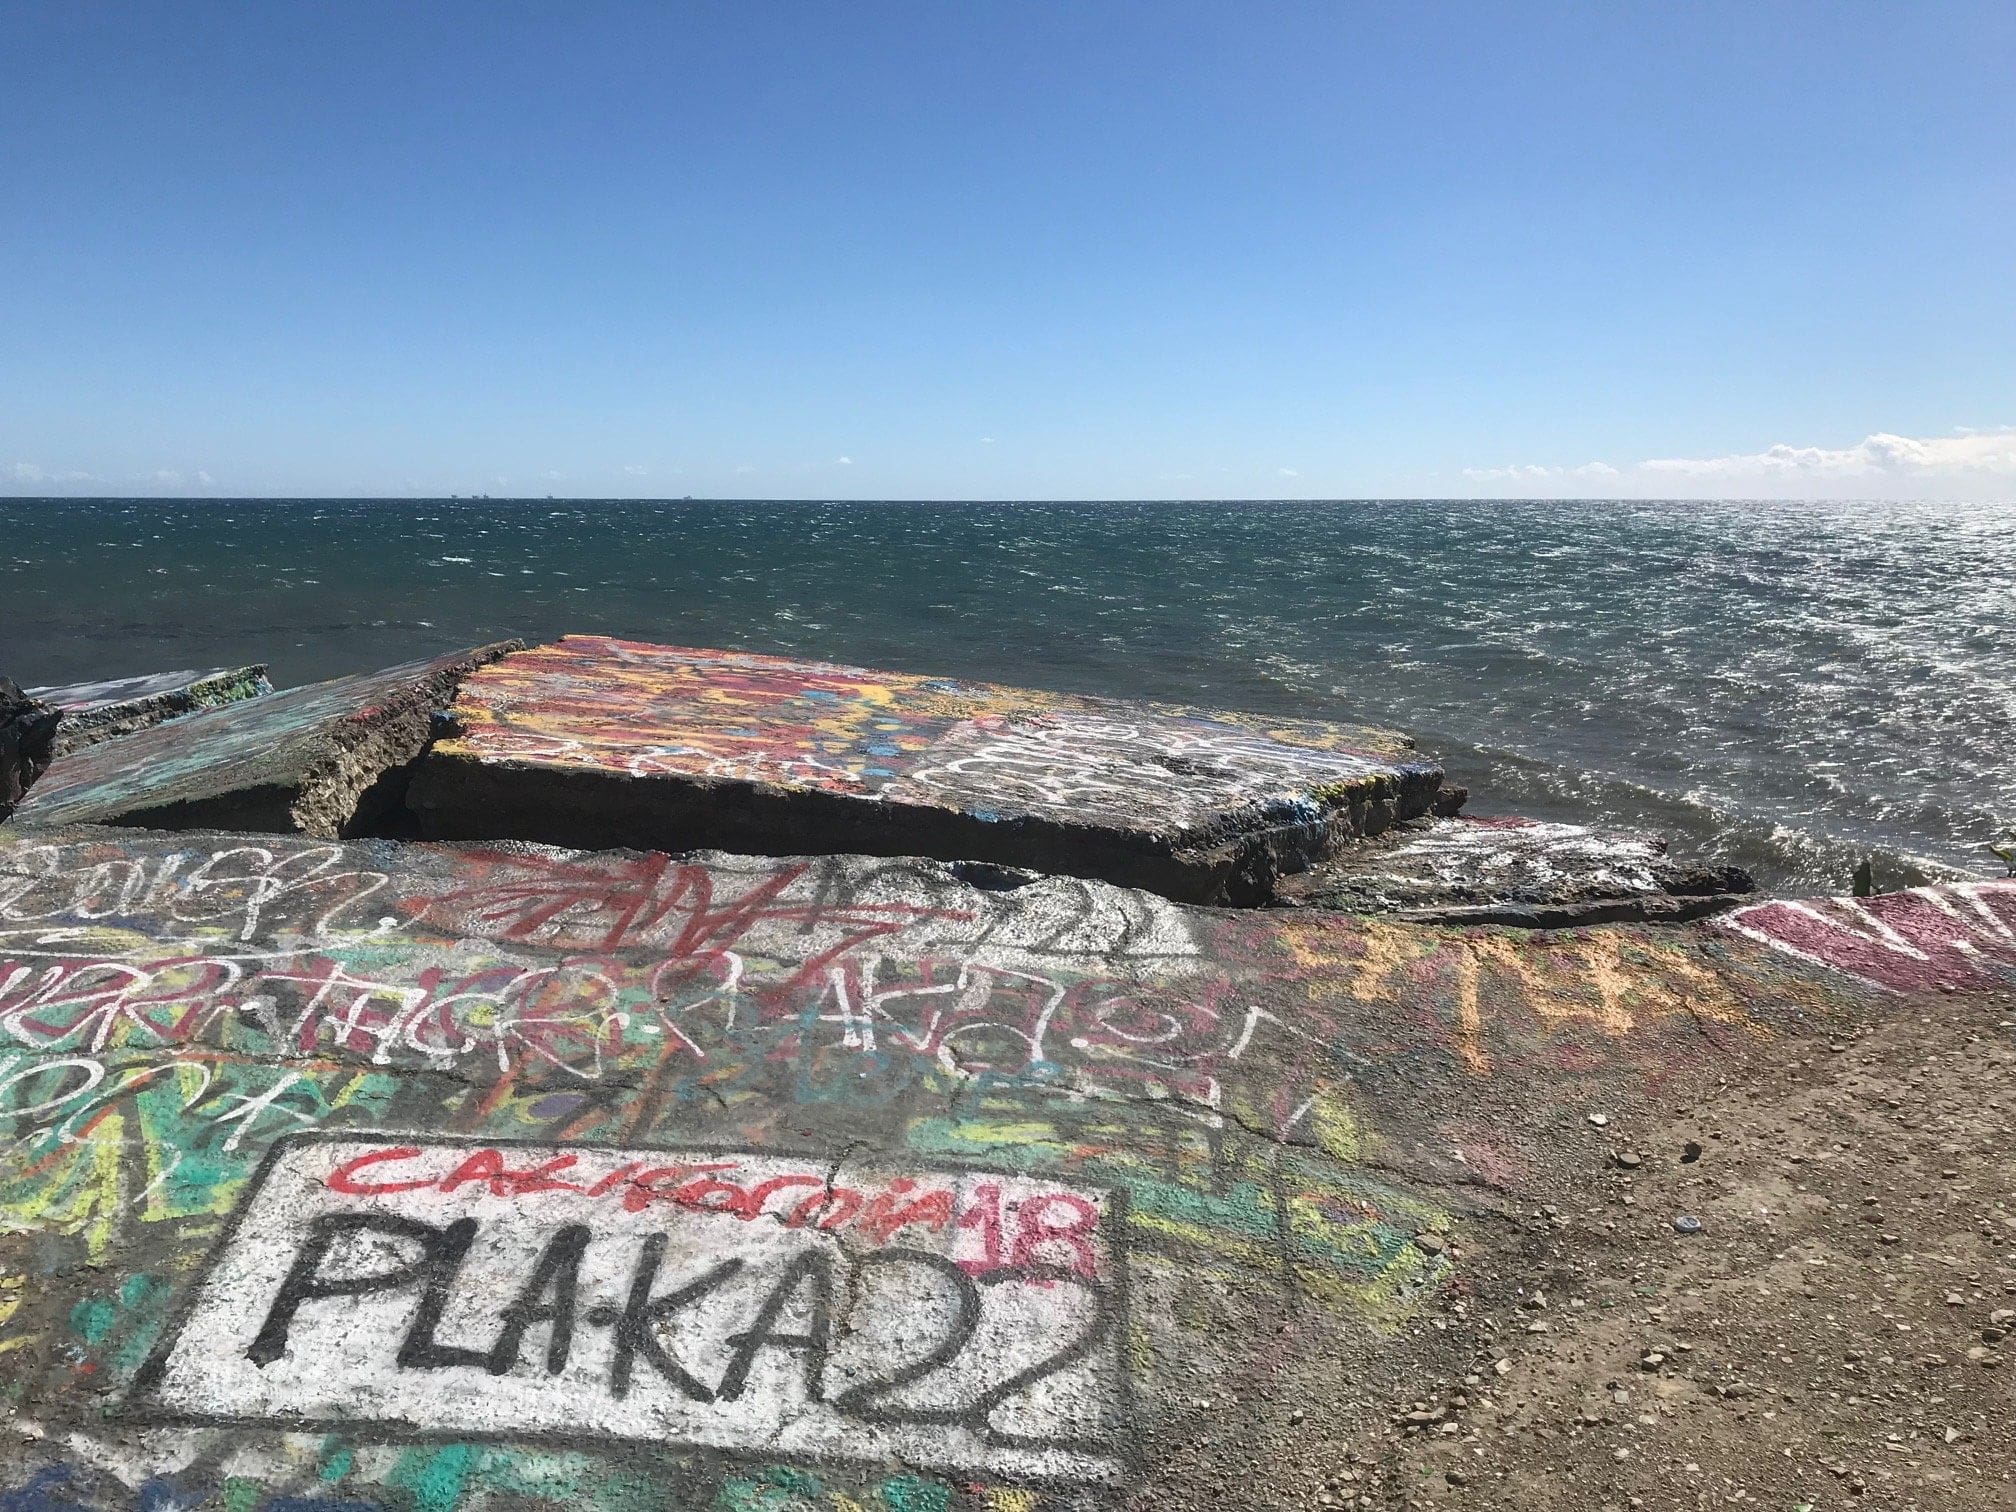
This was interesting. Here you have a very narrow trail that leads to a slippery cliff edge. I managed to get 2 feet away from the edge (and trust me, it’s a pretty scary view from the top).
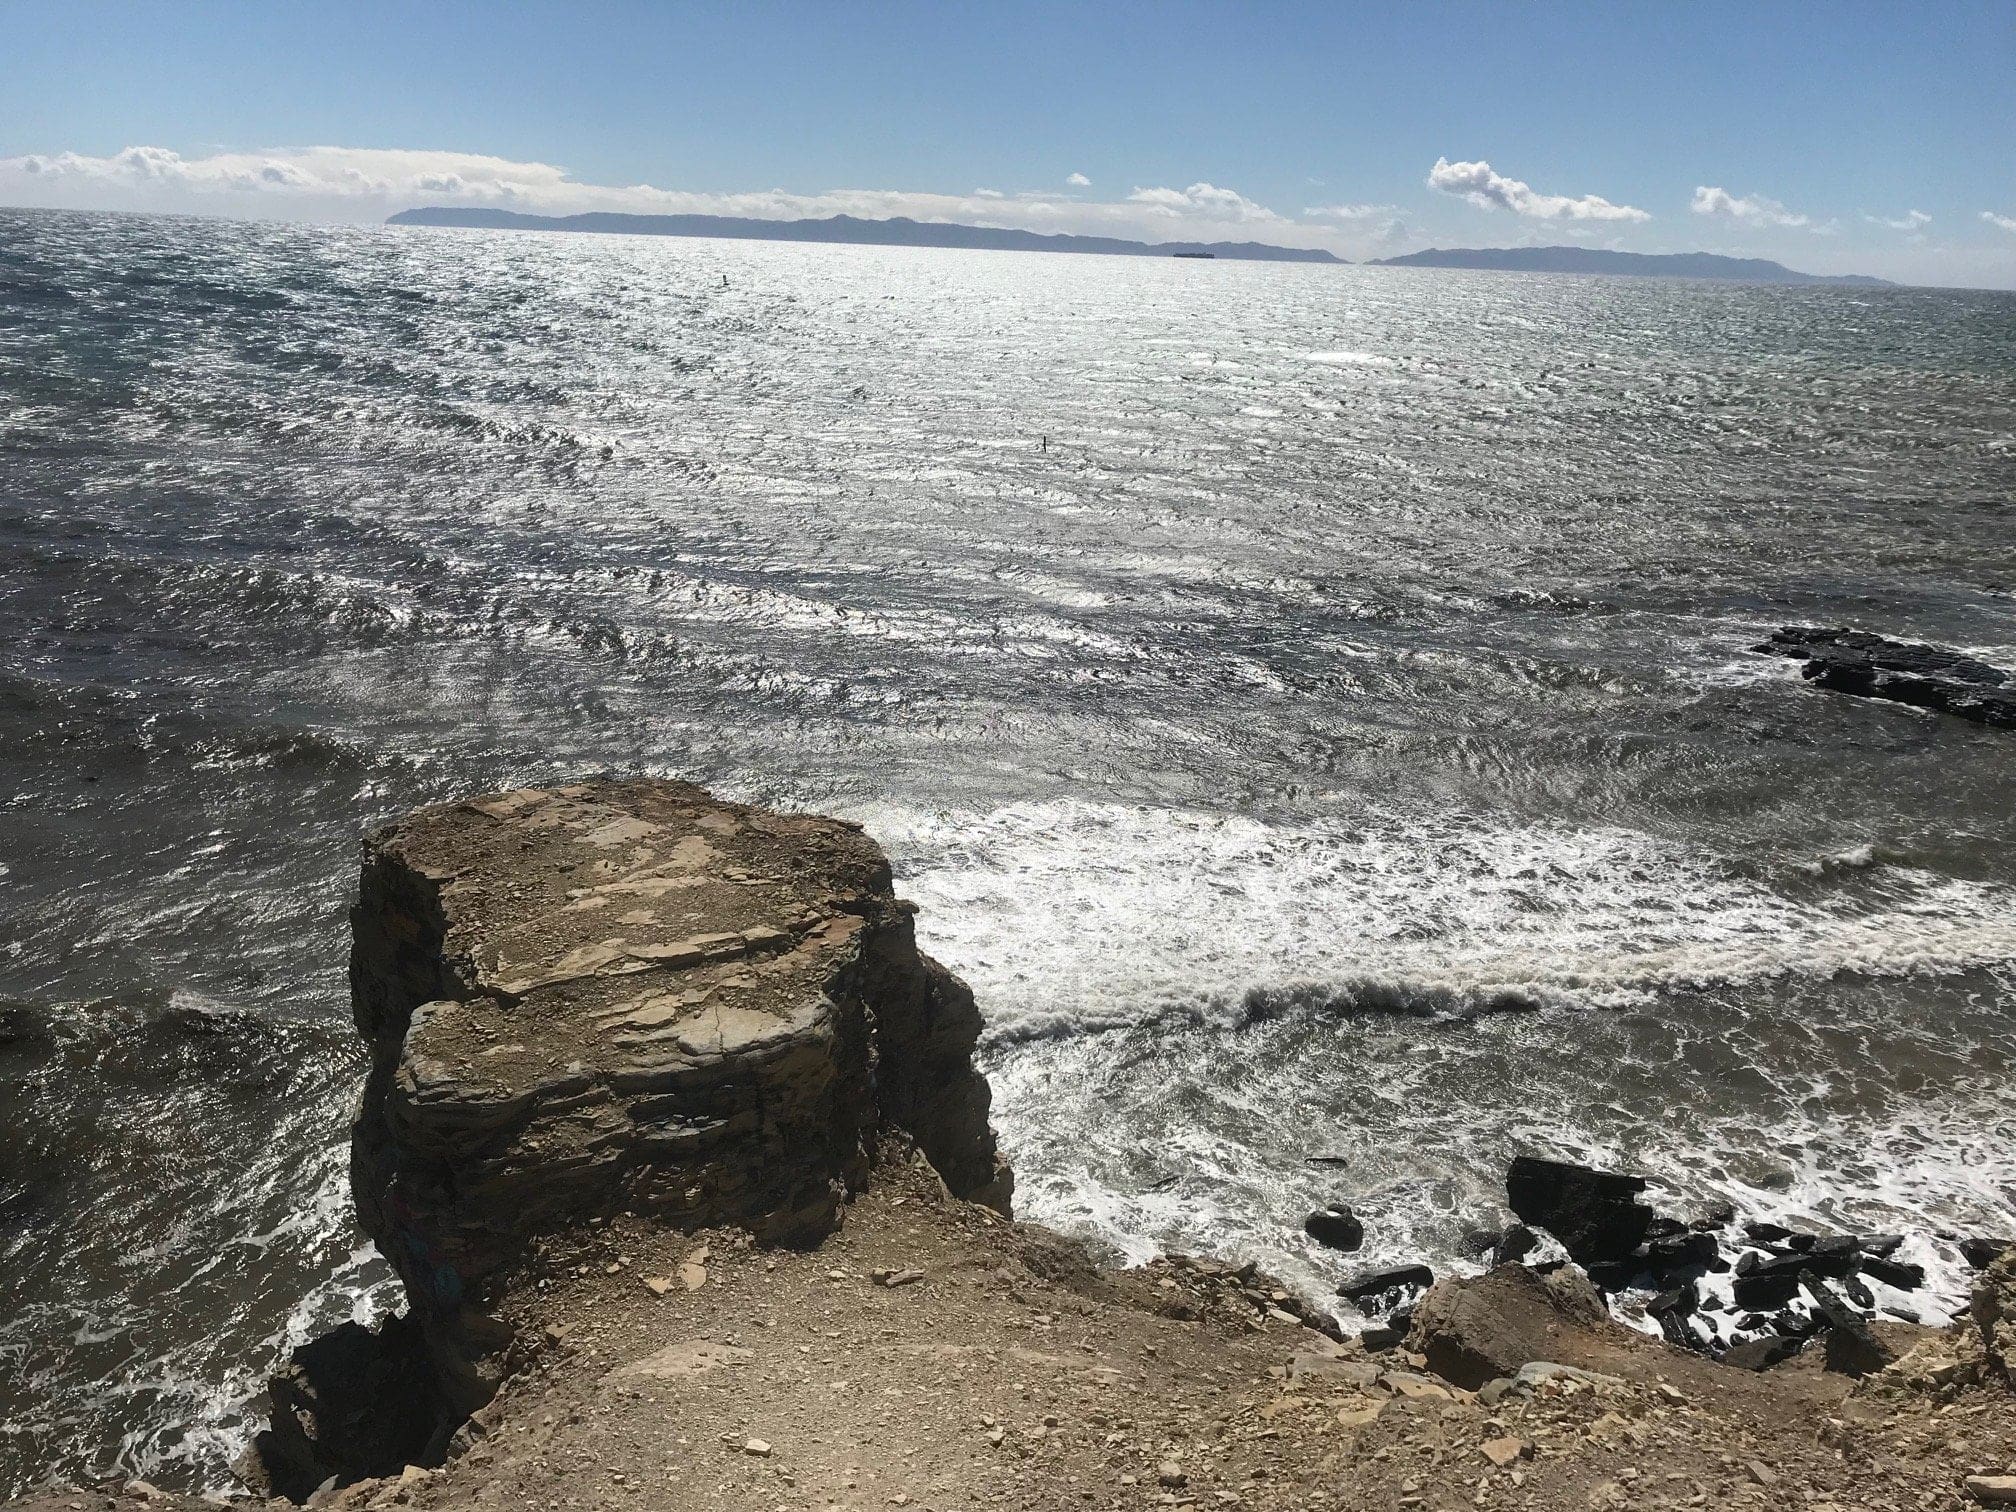
Cliff-diving not recommended. Just enjoy the beautiful San Pedro cliff views!
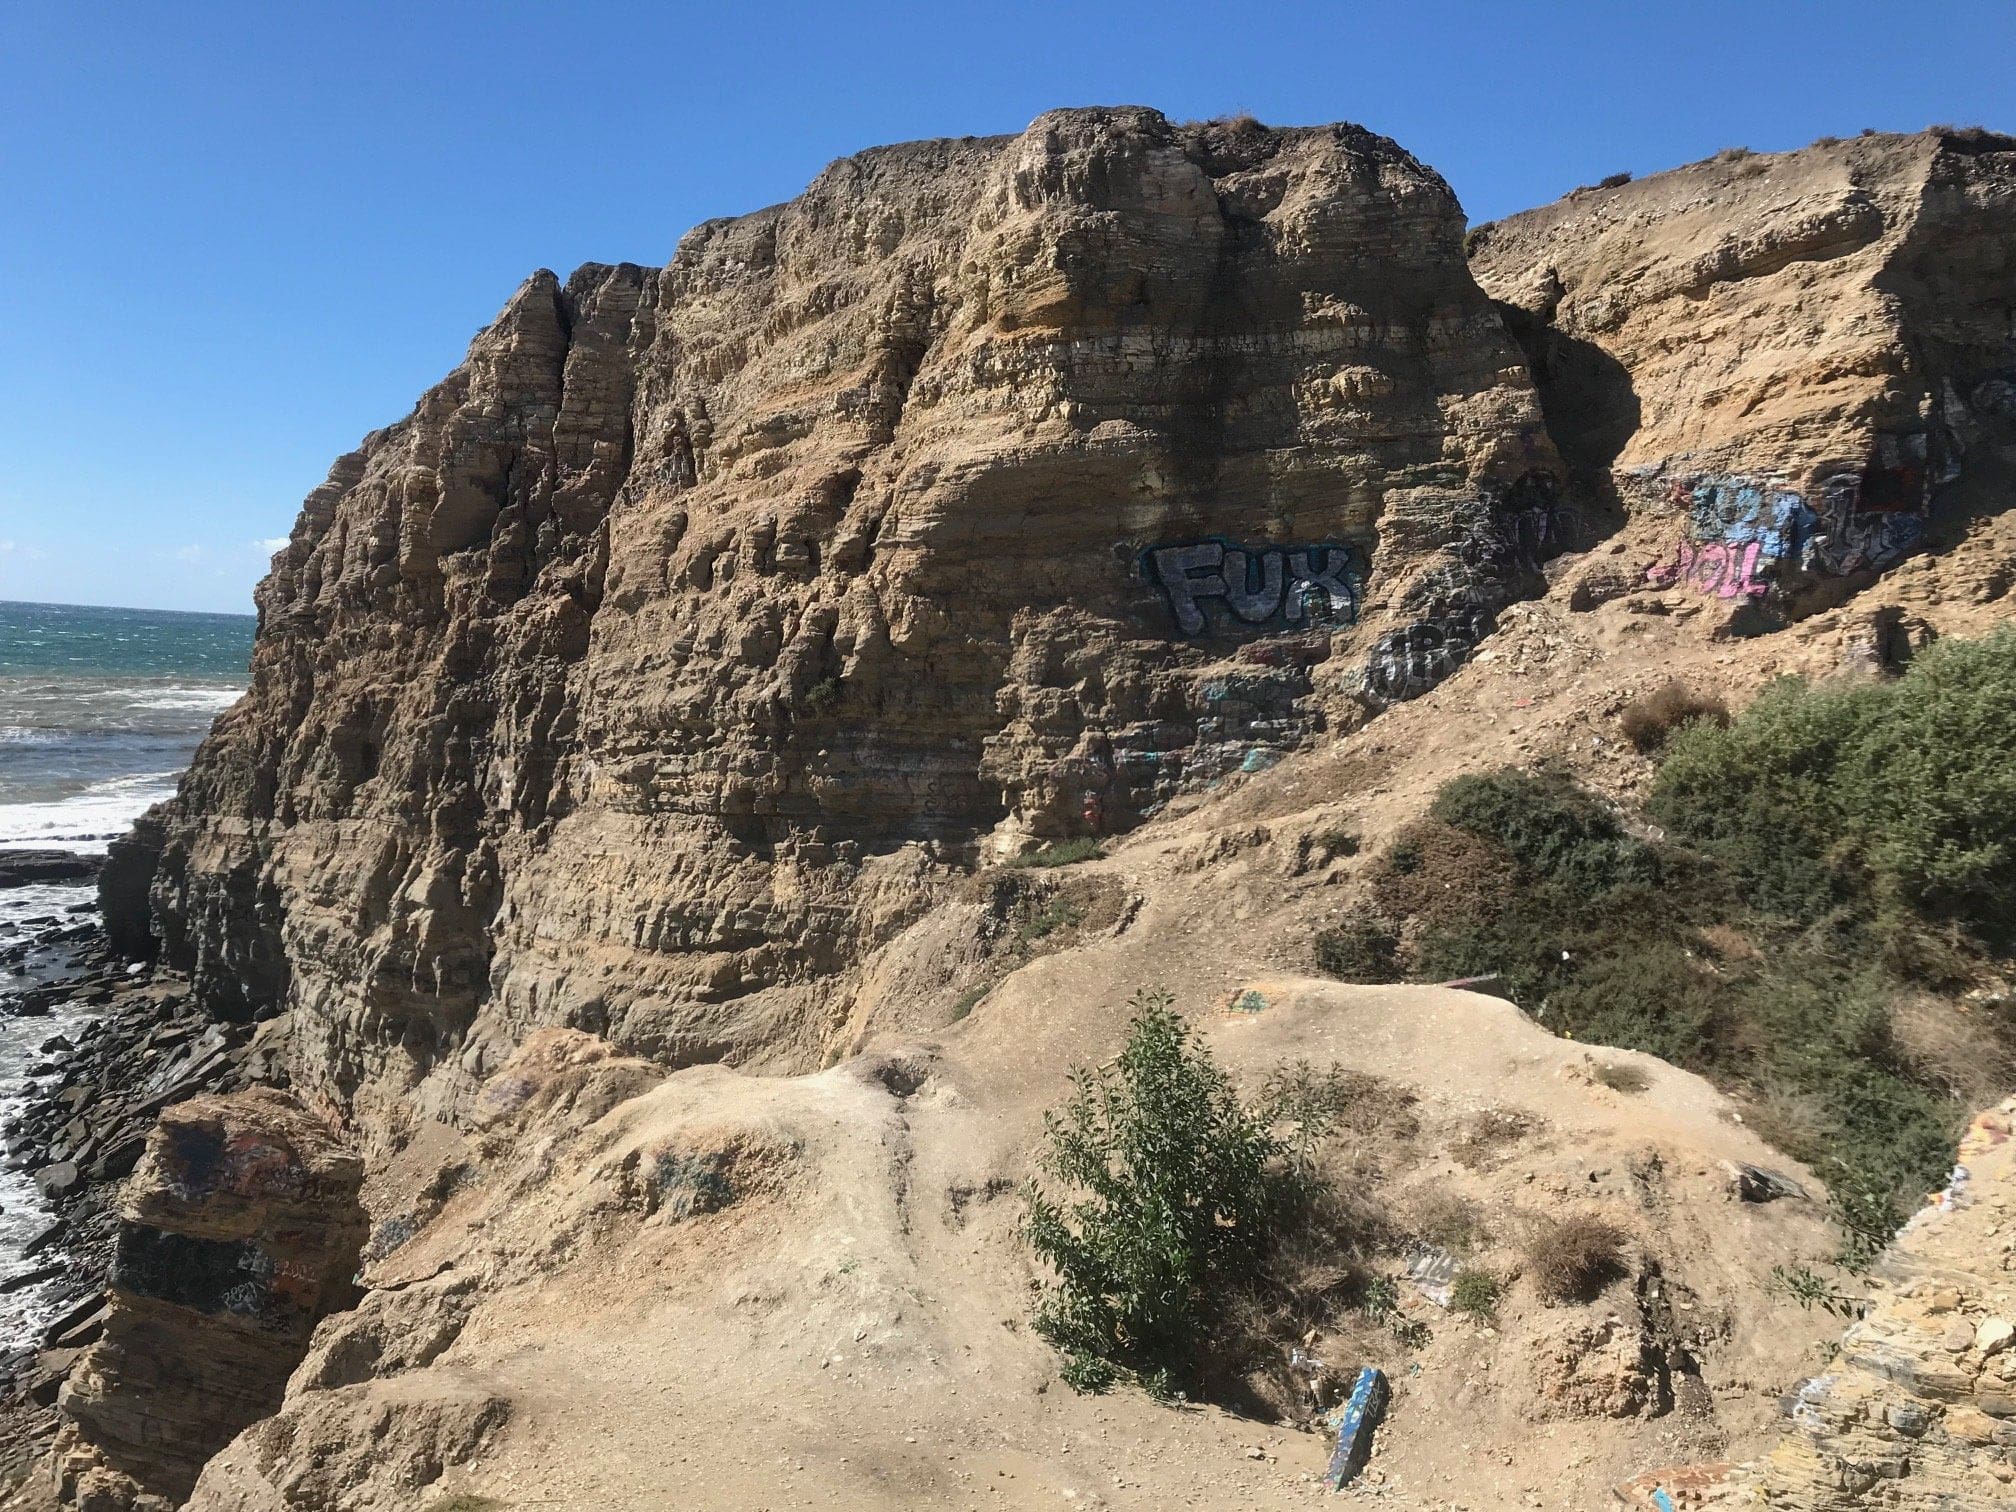
Another narrow trail that leads through more ruins.
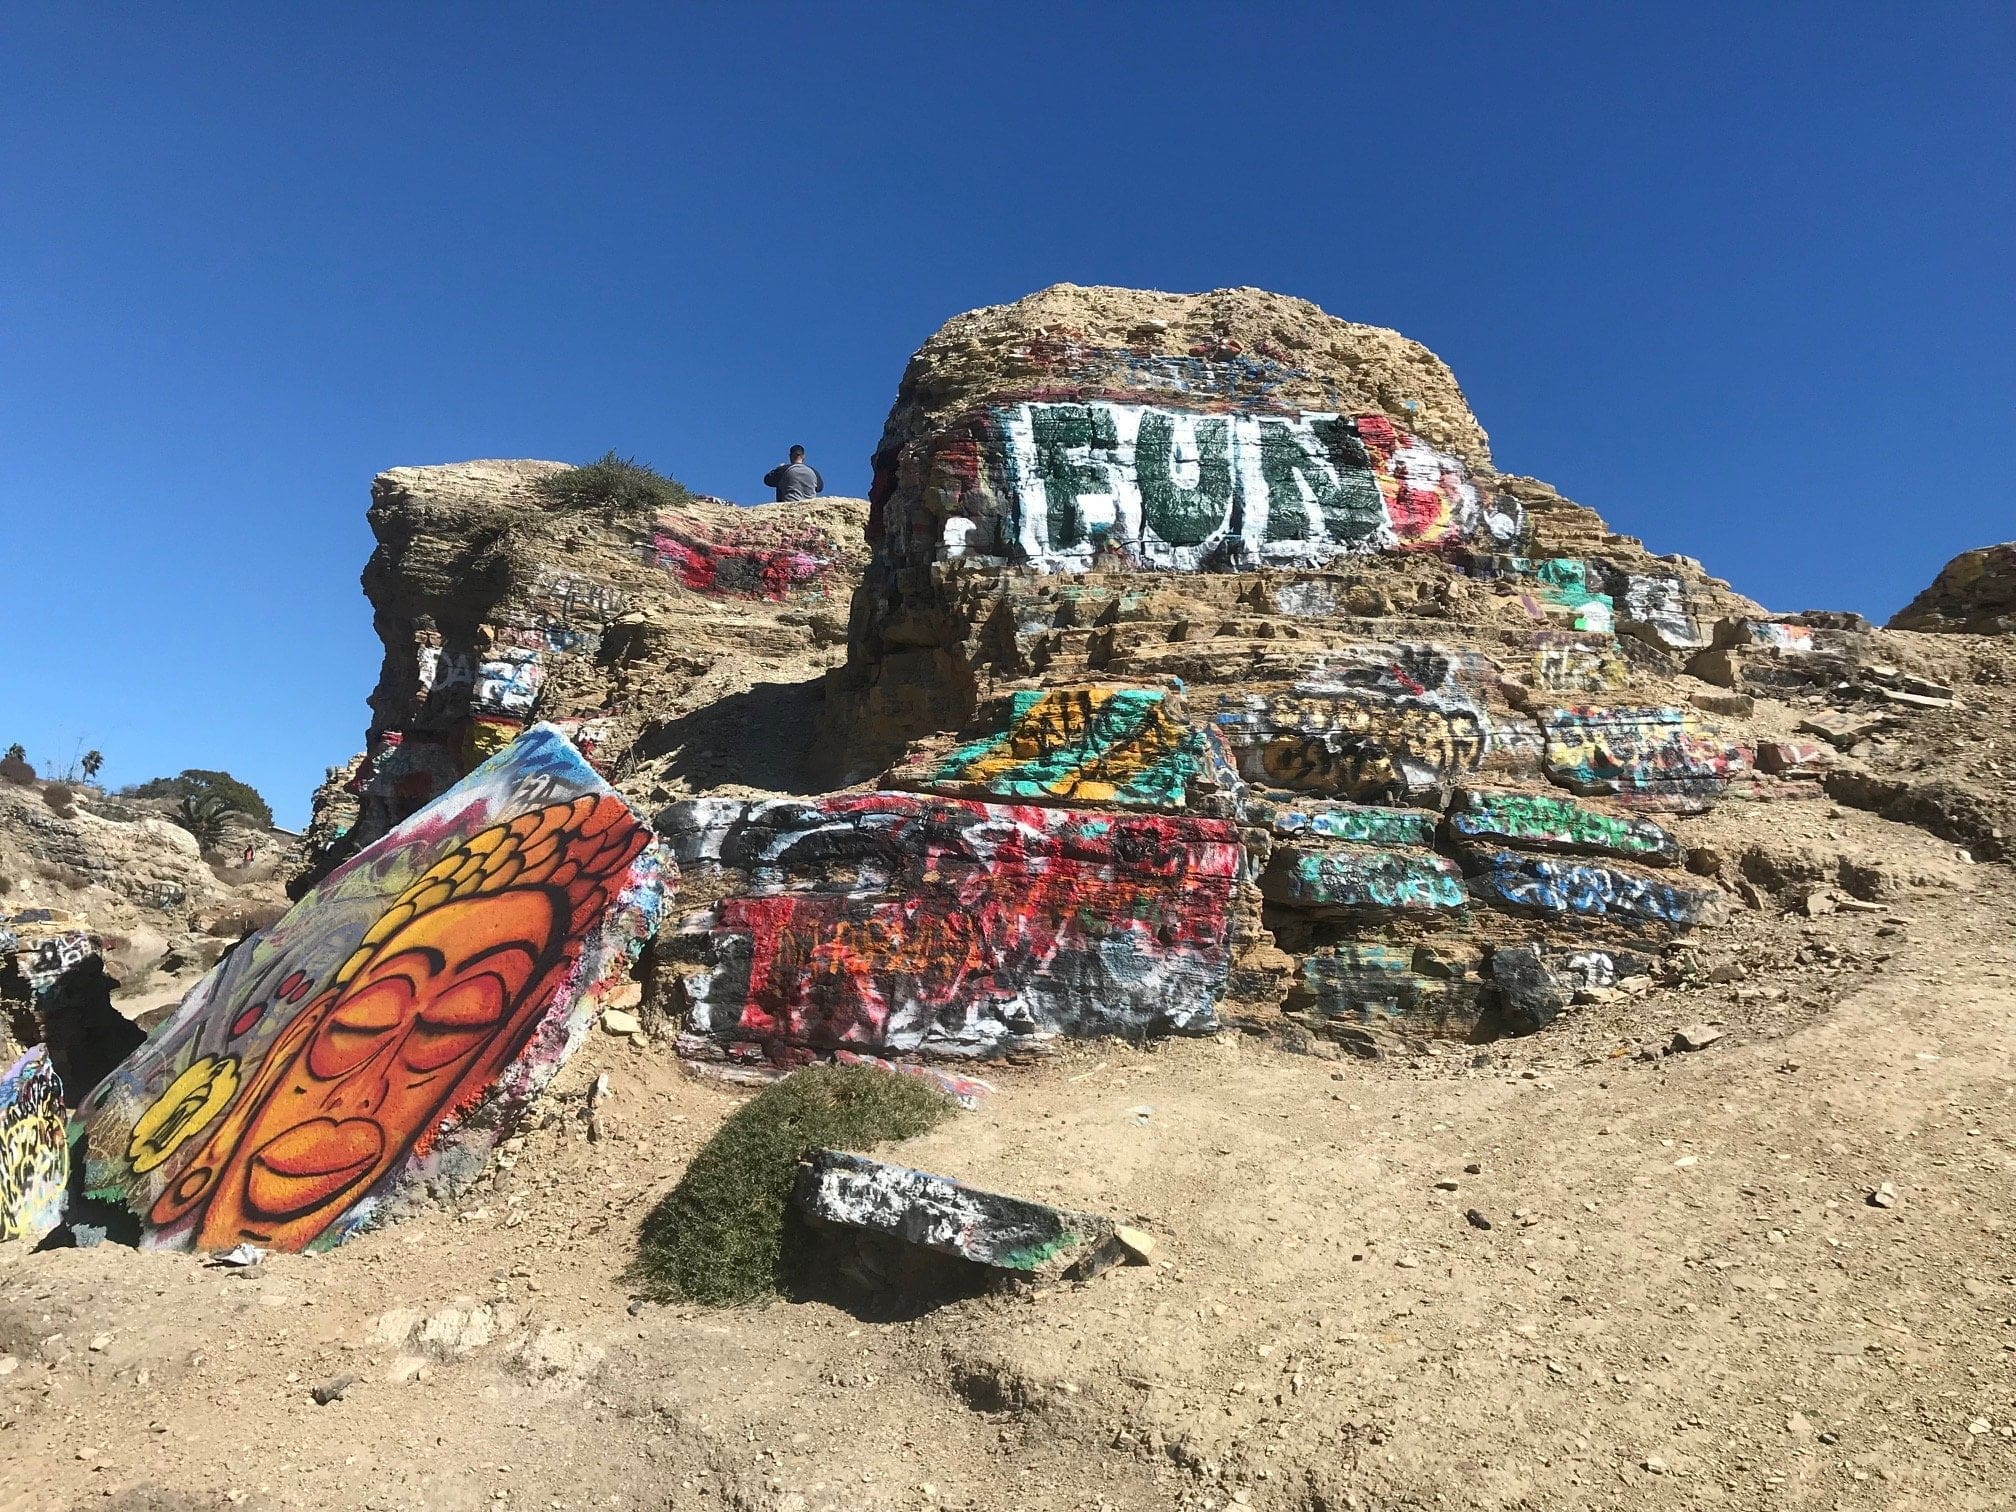
This would be my second favorite piece I stumbled across; The color shading was pretty amazing.
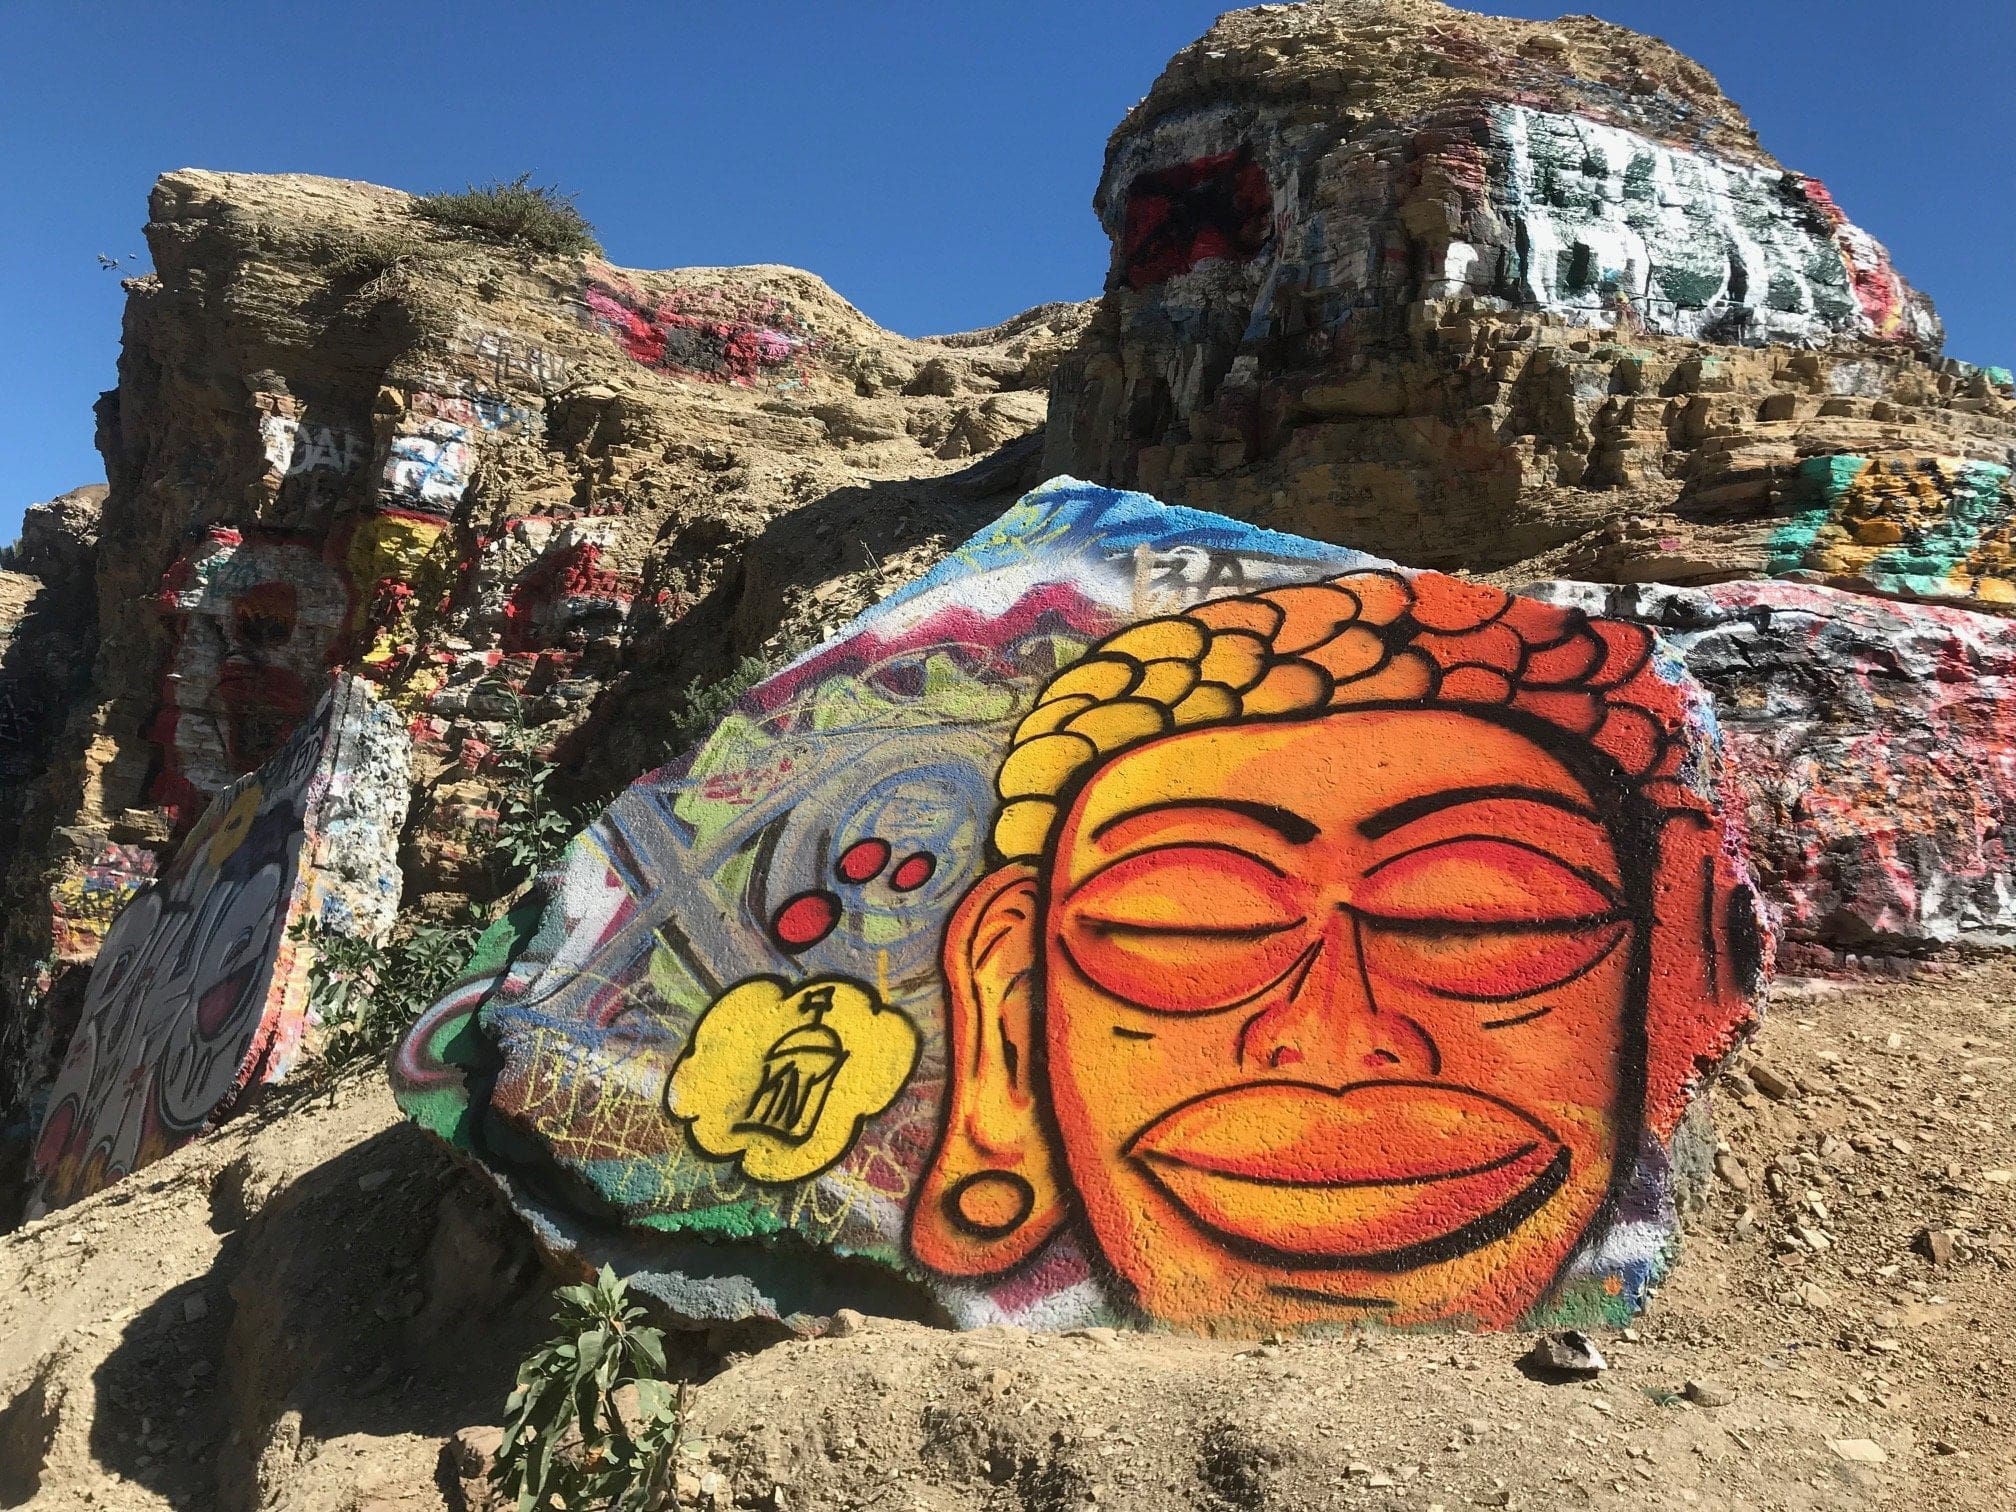
To the left of the orange face from above.
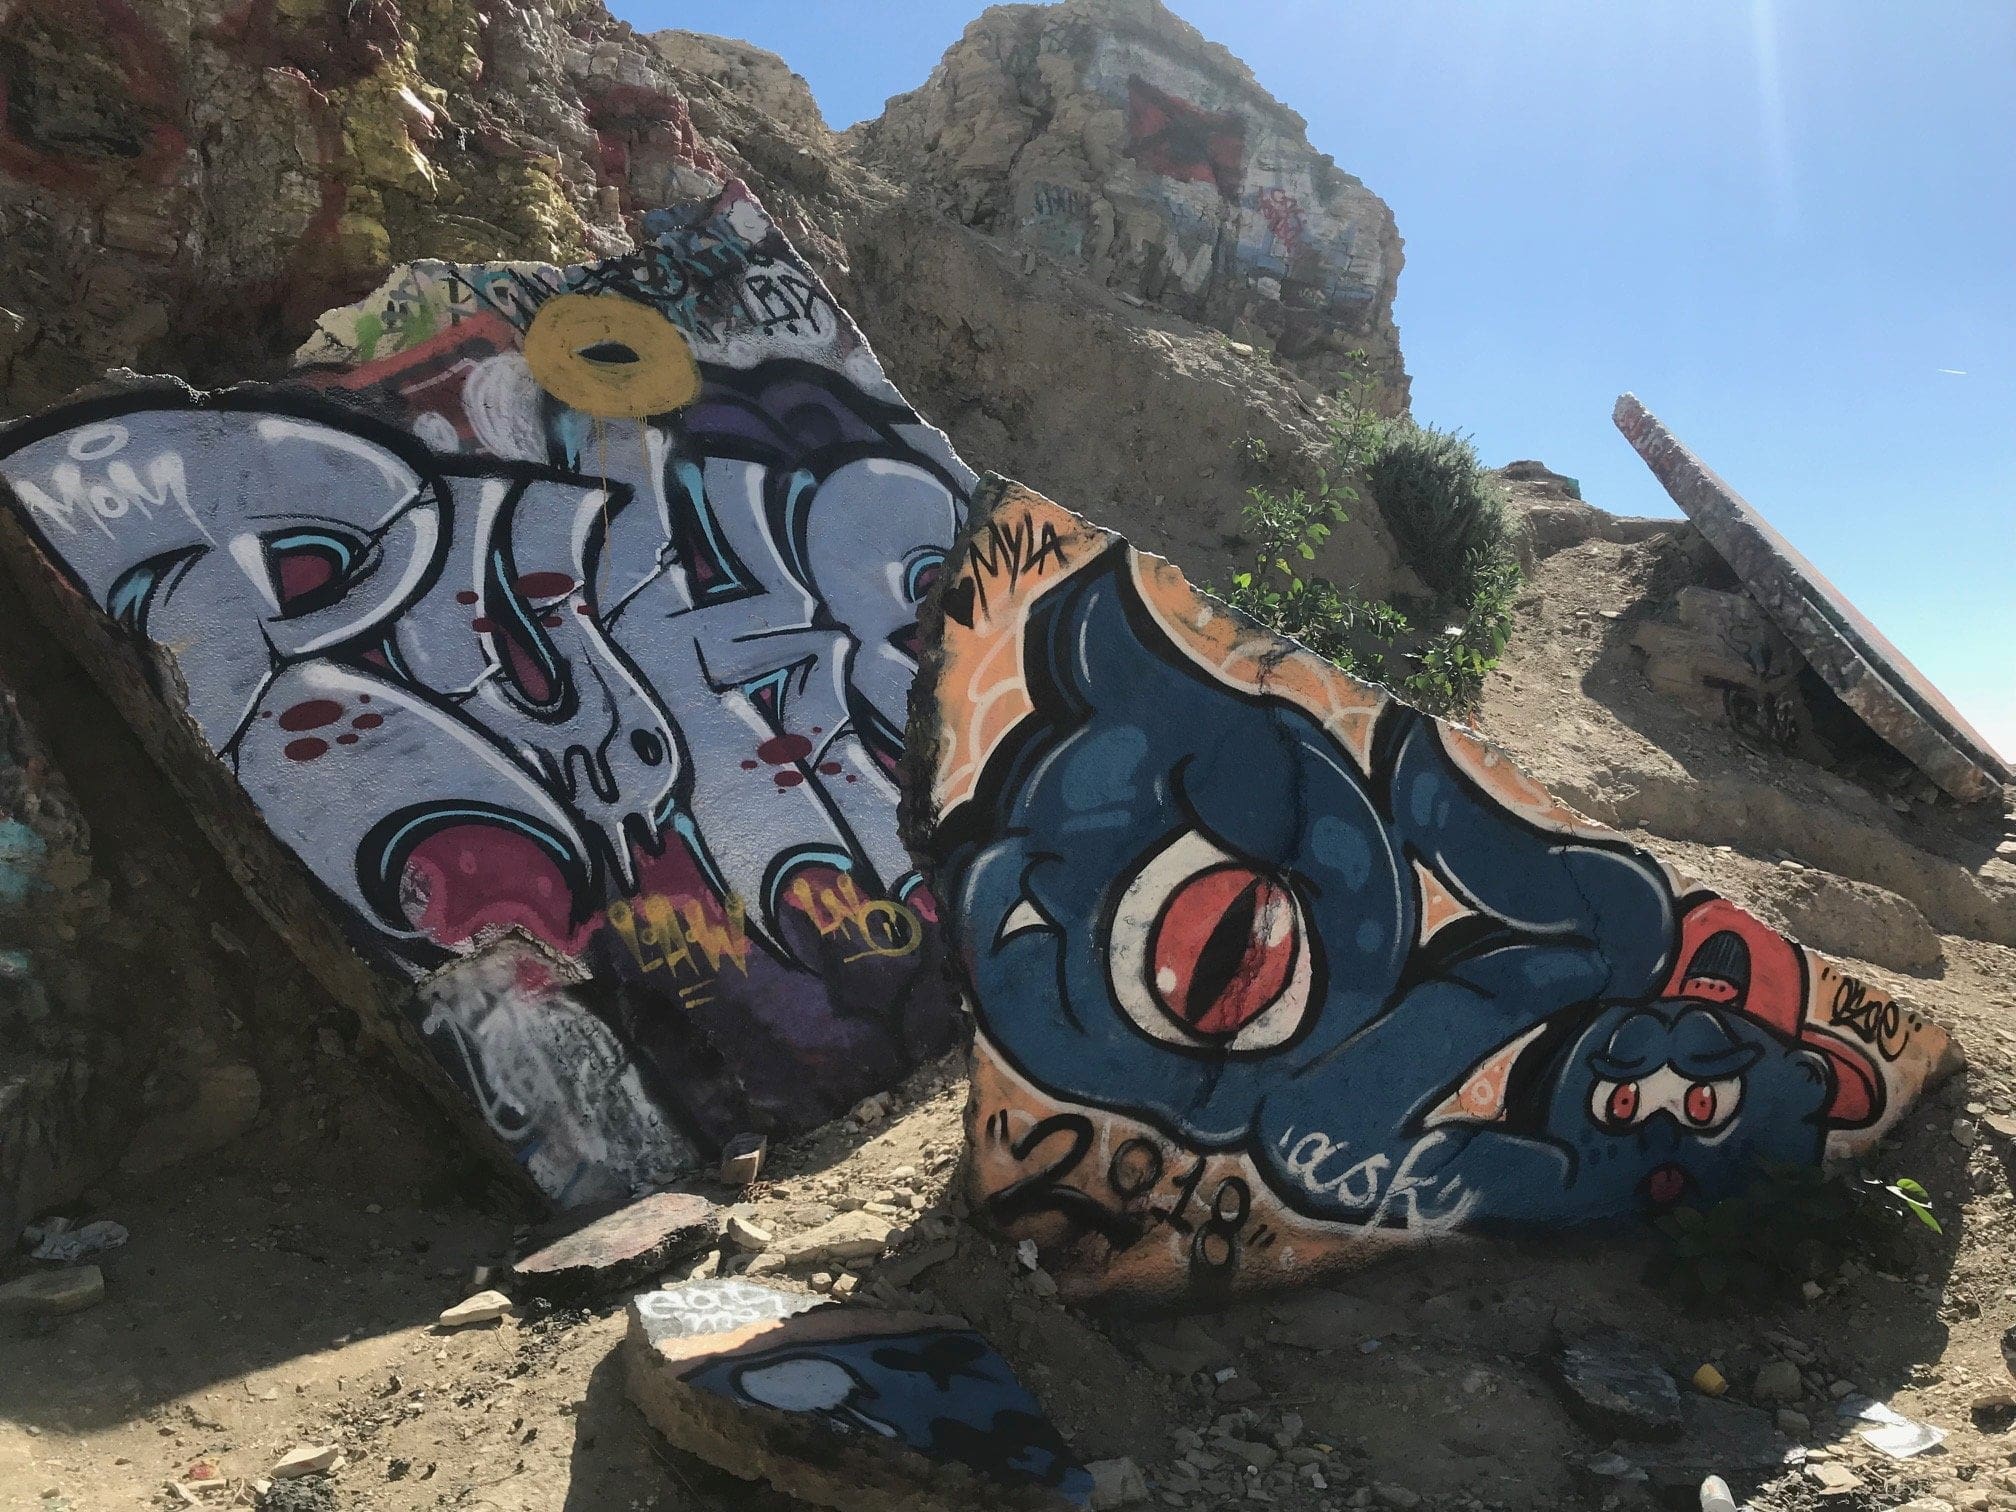
A relatively steep trail up through Sunken City (for those who don’t want to take the “easy walk” down).
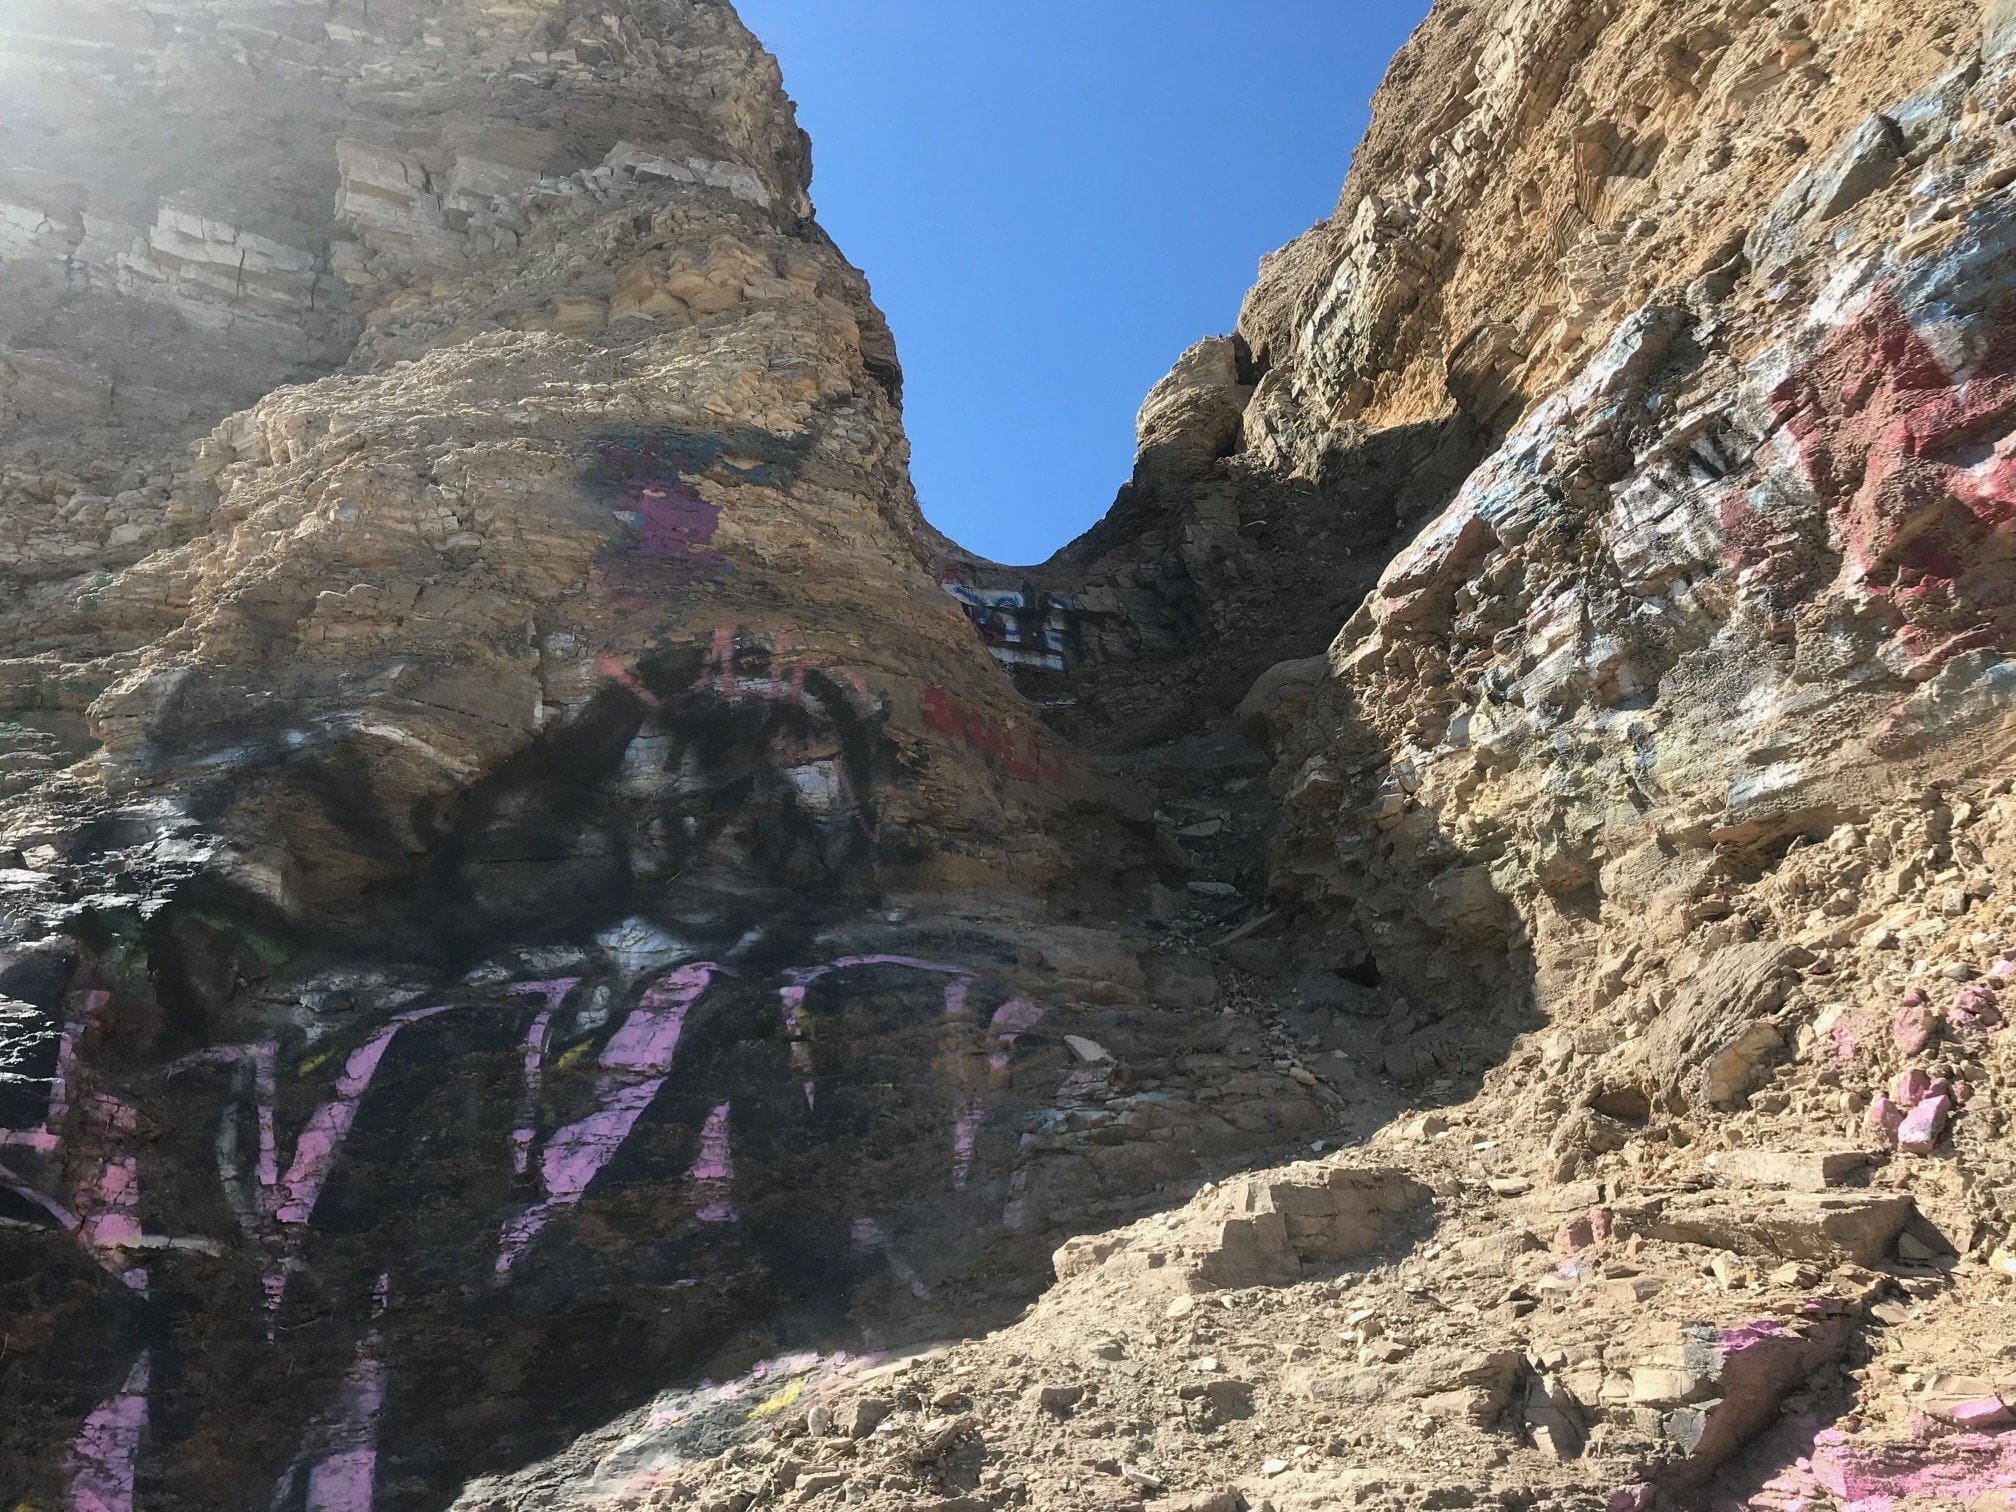
I decide it’s high time to make my way all the way down to tier 3 for some beach fun (in freezing cold water).
Tier 3
The safest way to get to tier 3 is by heading west toward the giant cliffs. There’s a small trail that (somewhat safely) descends down toward the beach area.
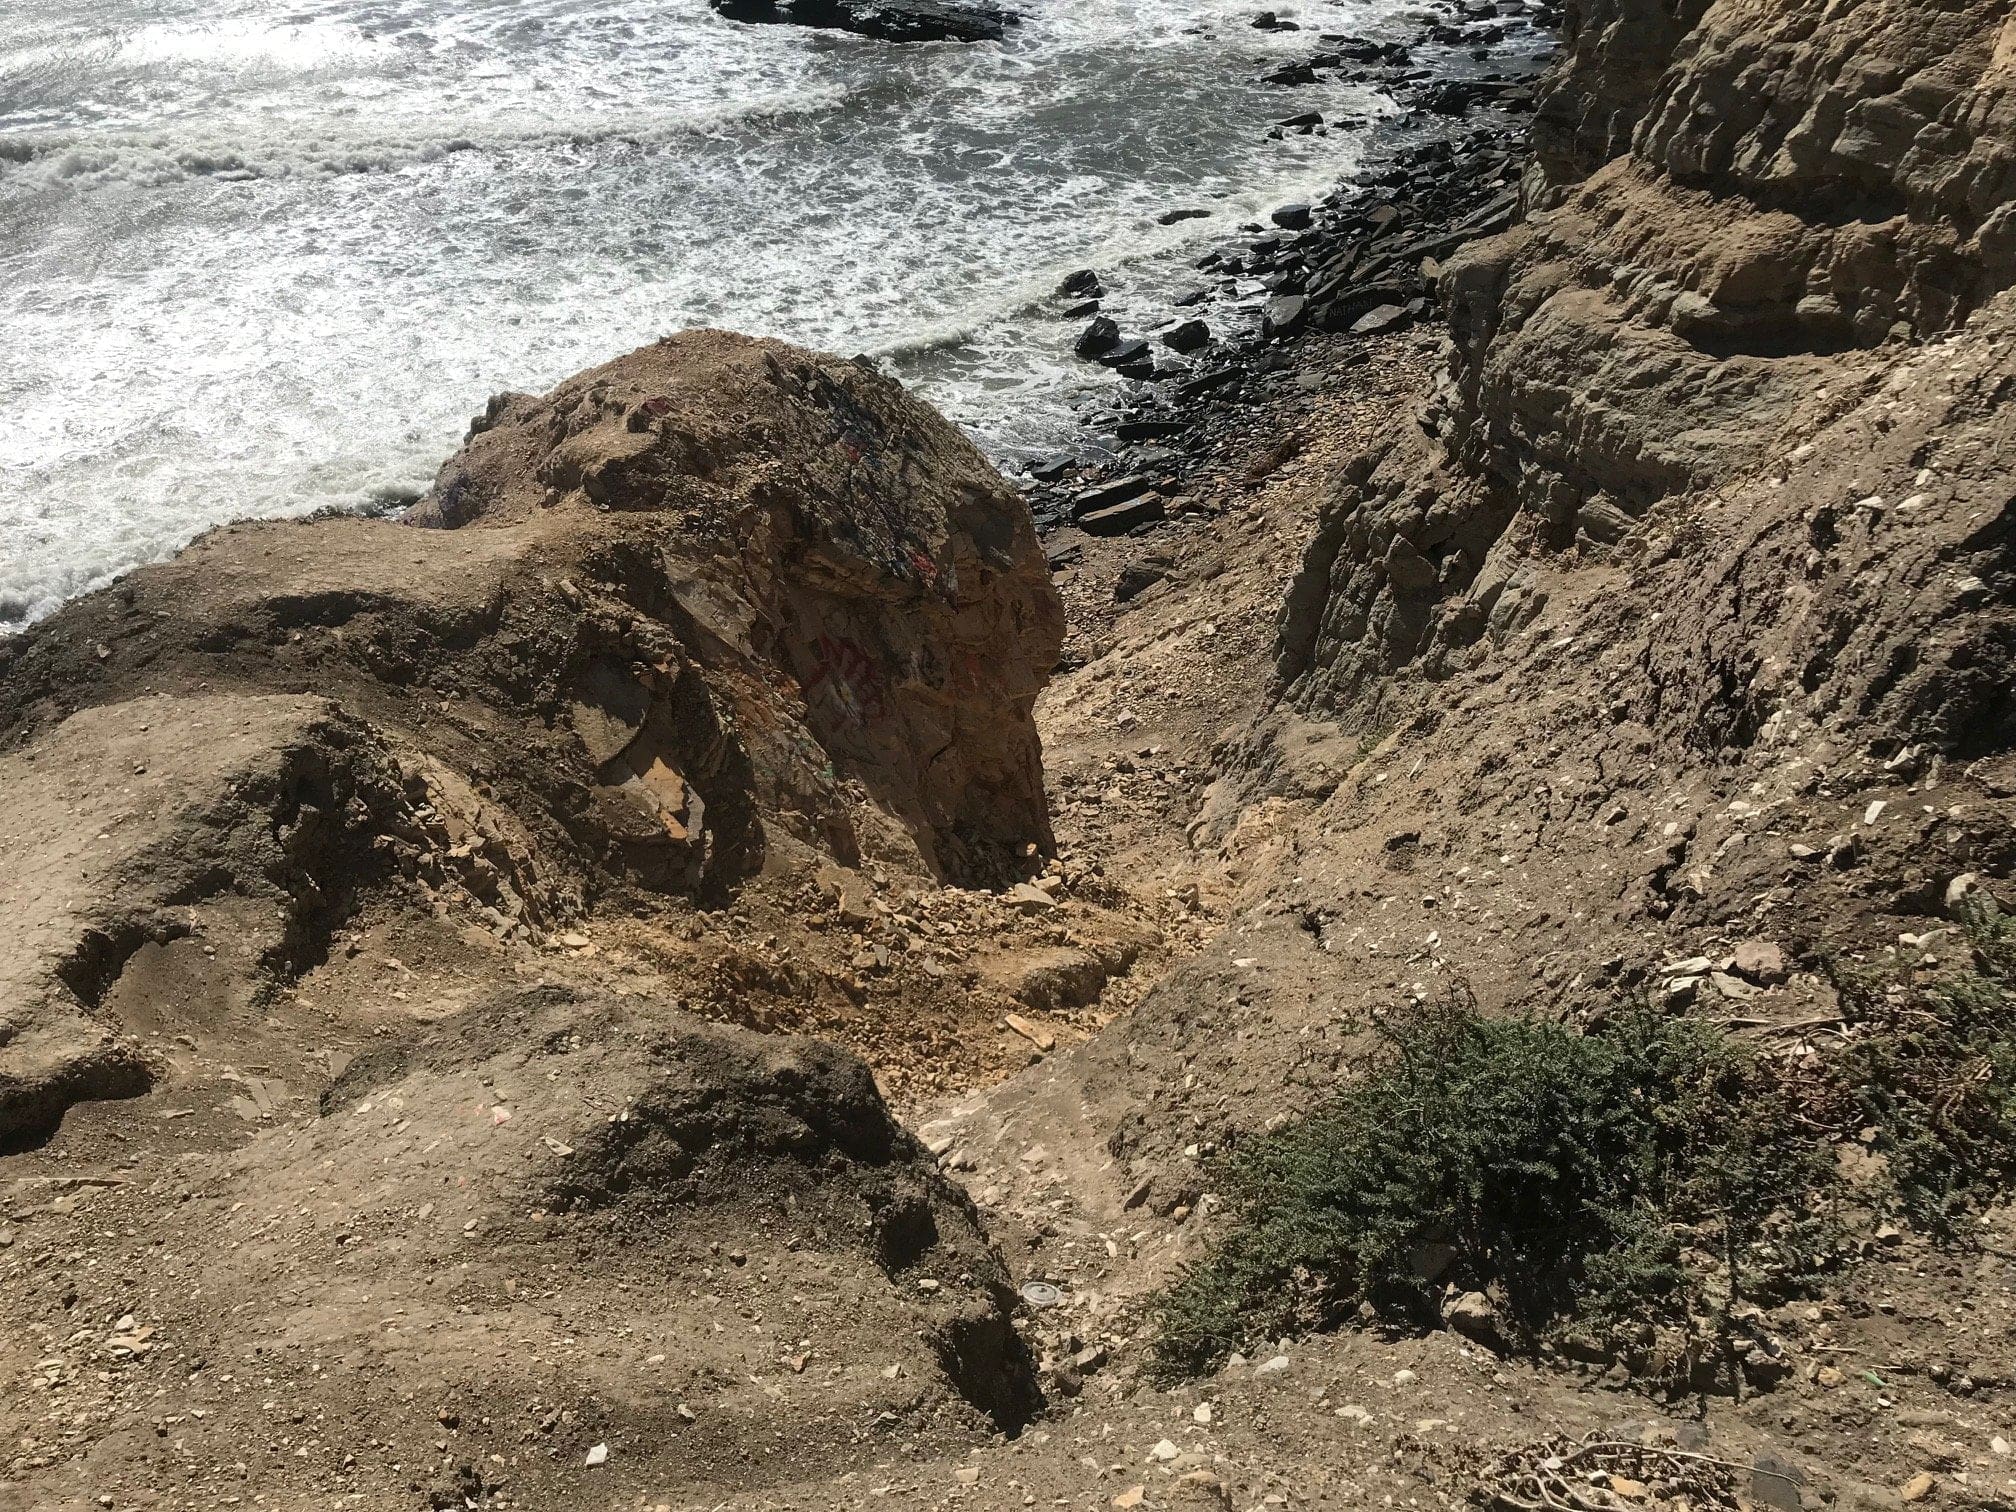
All other trails will not only be steep, but relatively dangerous due to its close proximity to the cliff edges.
The base of tier 3.
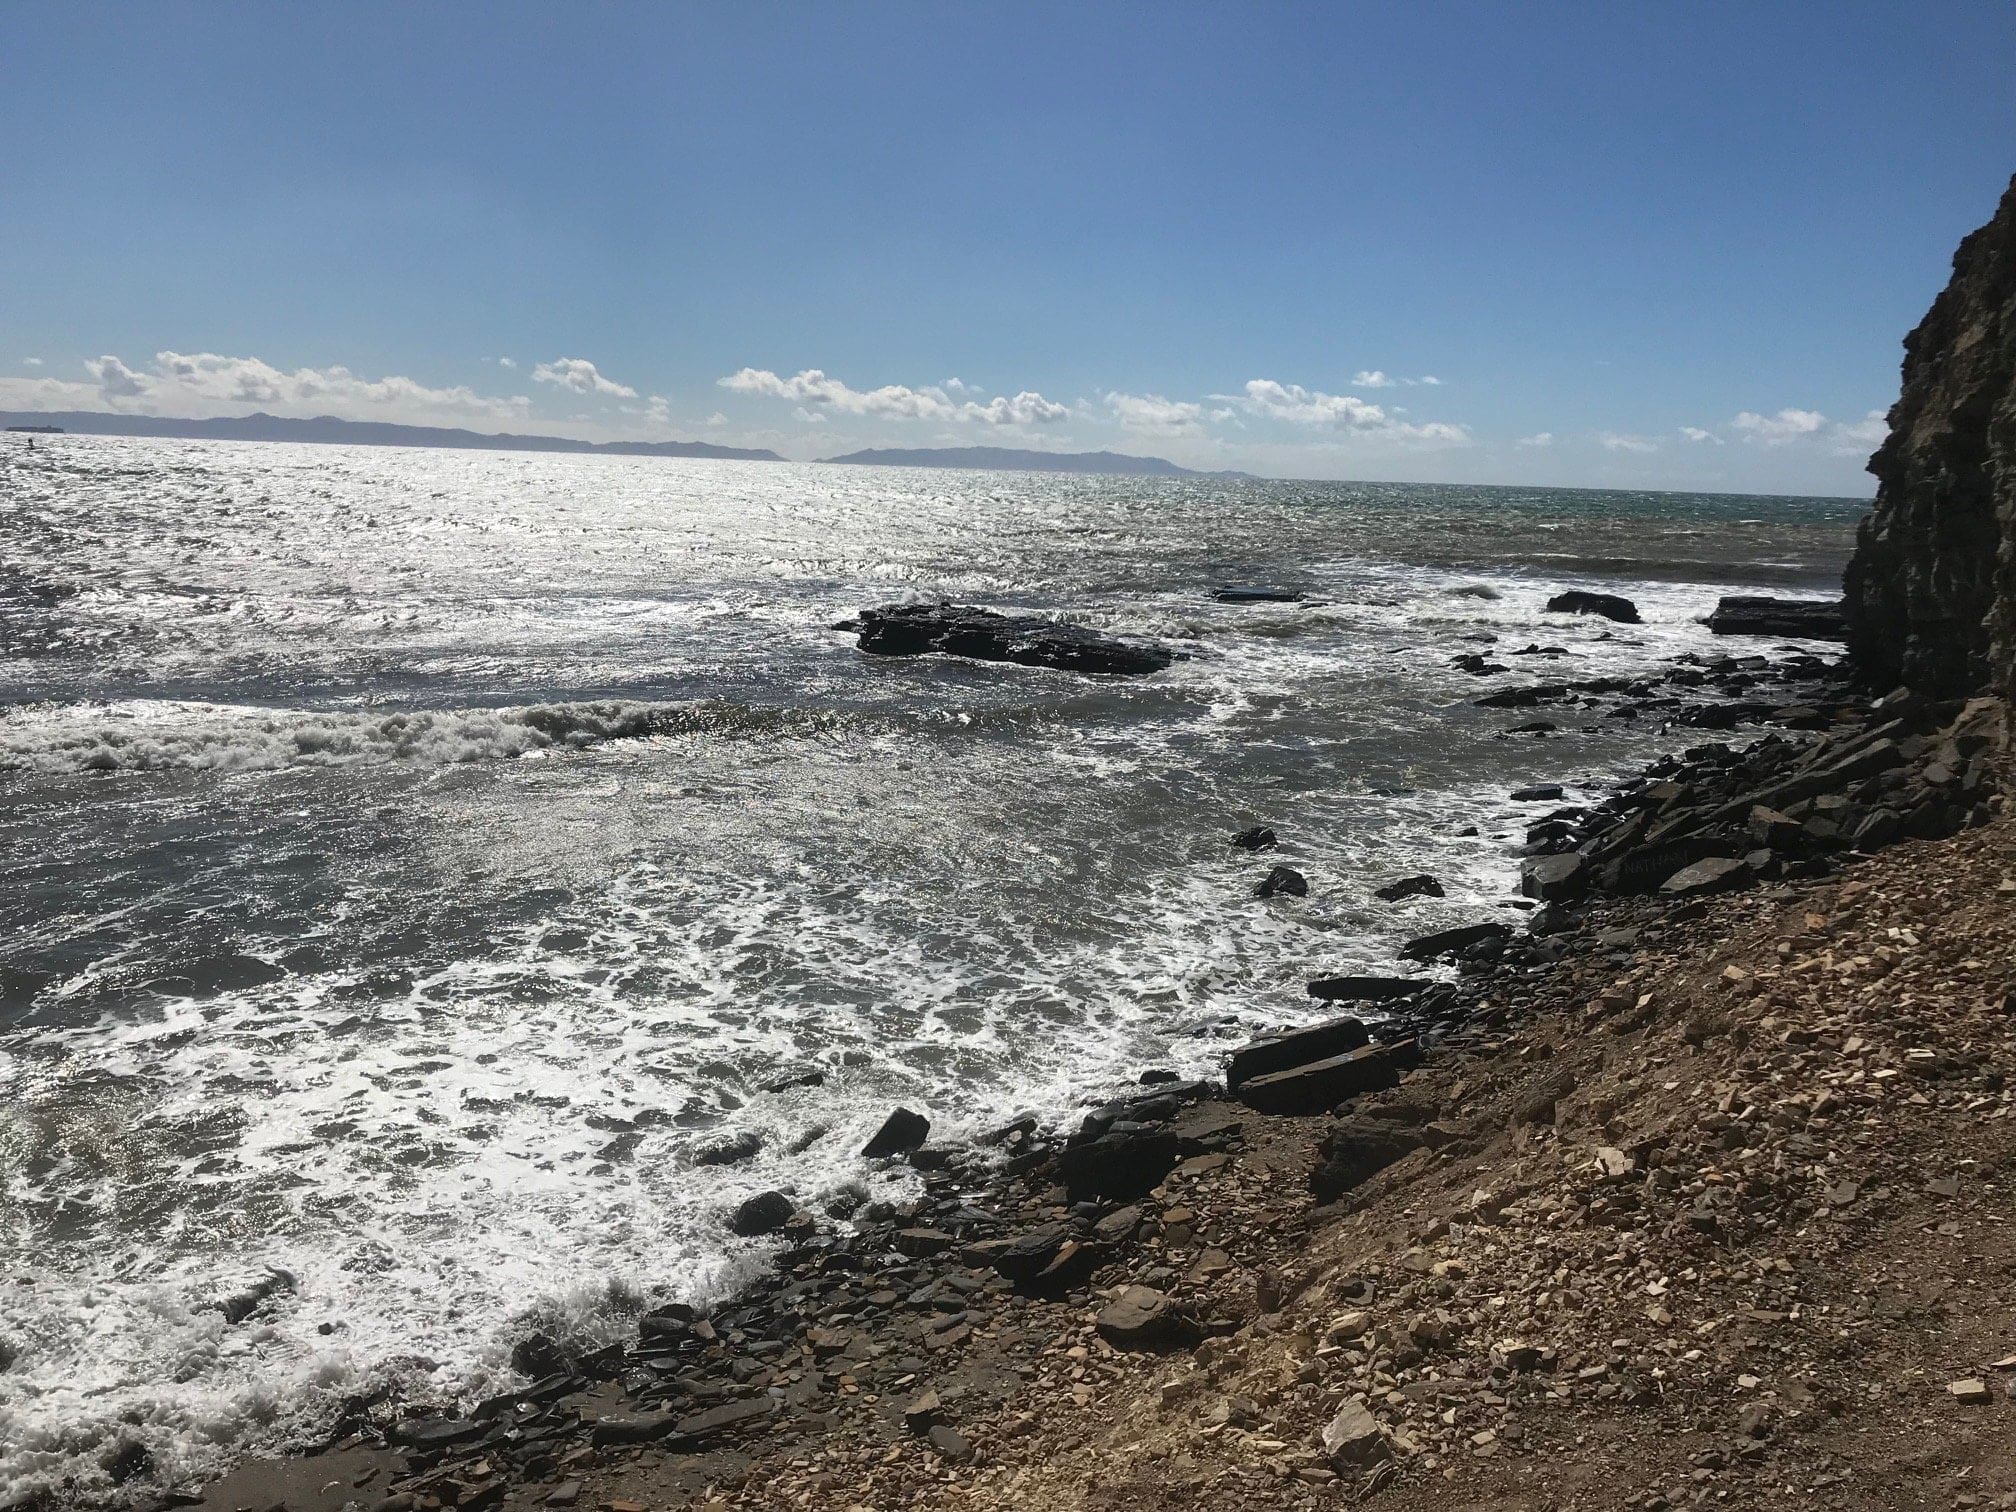
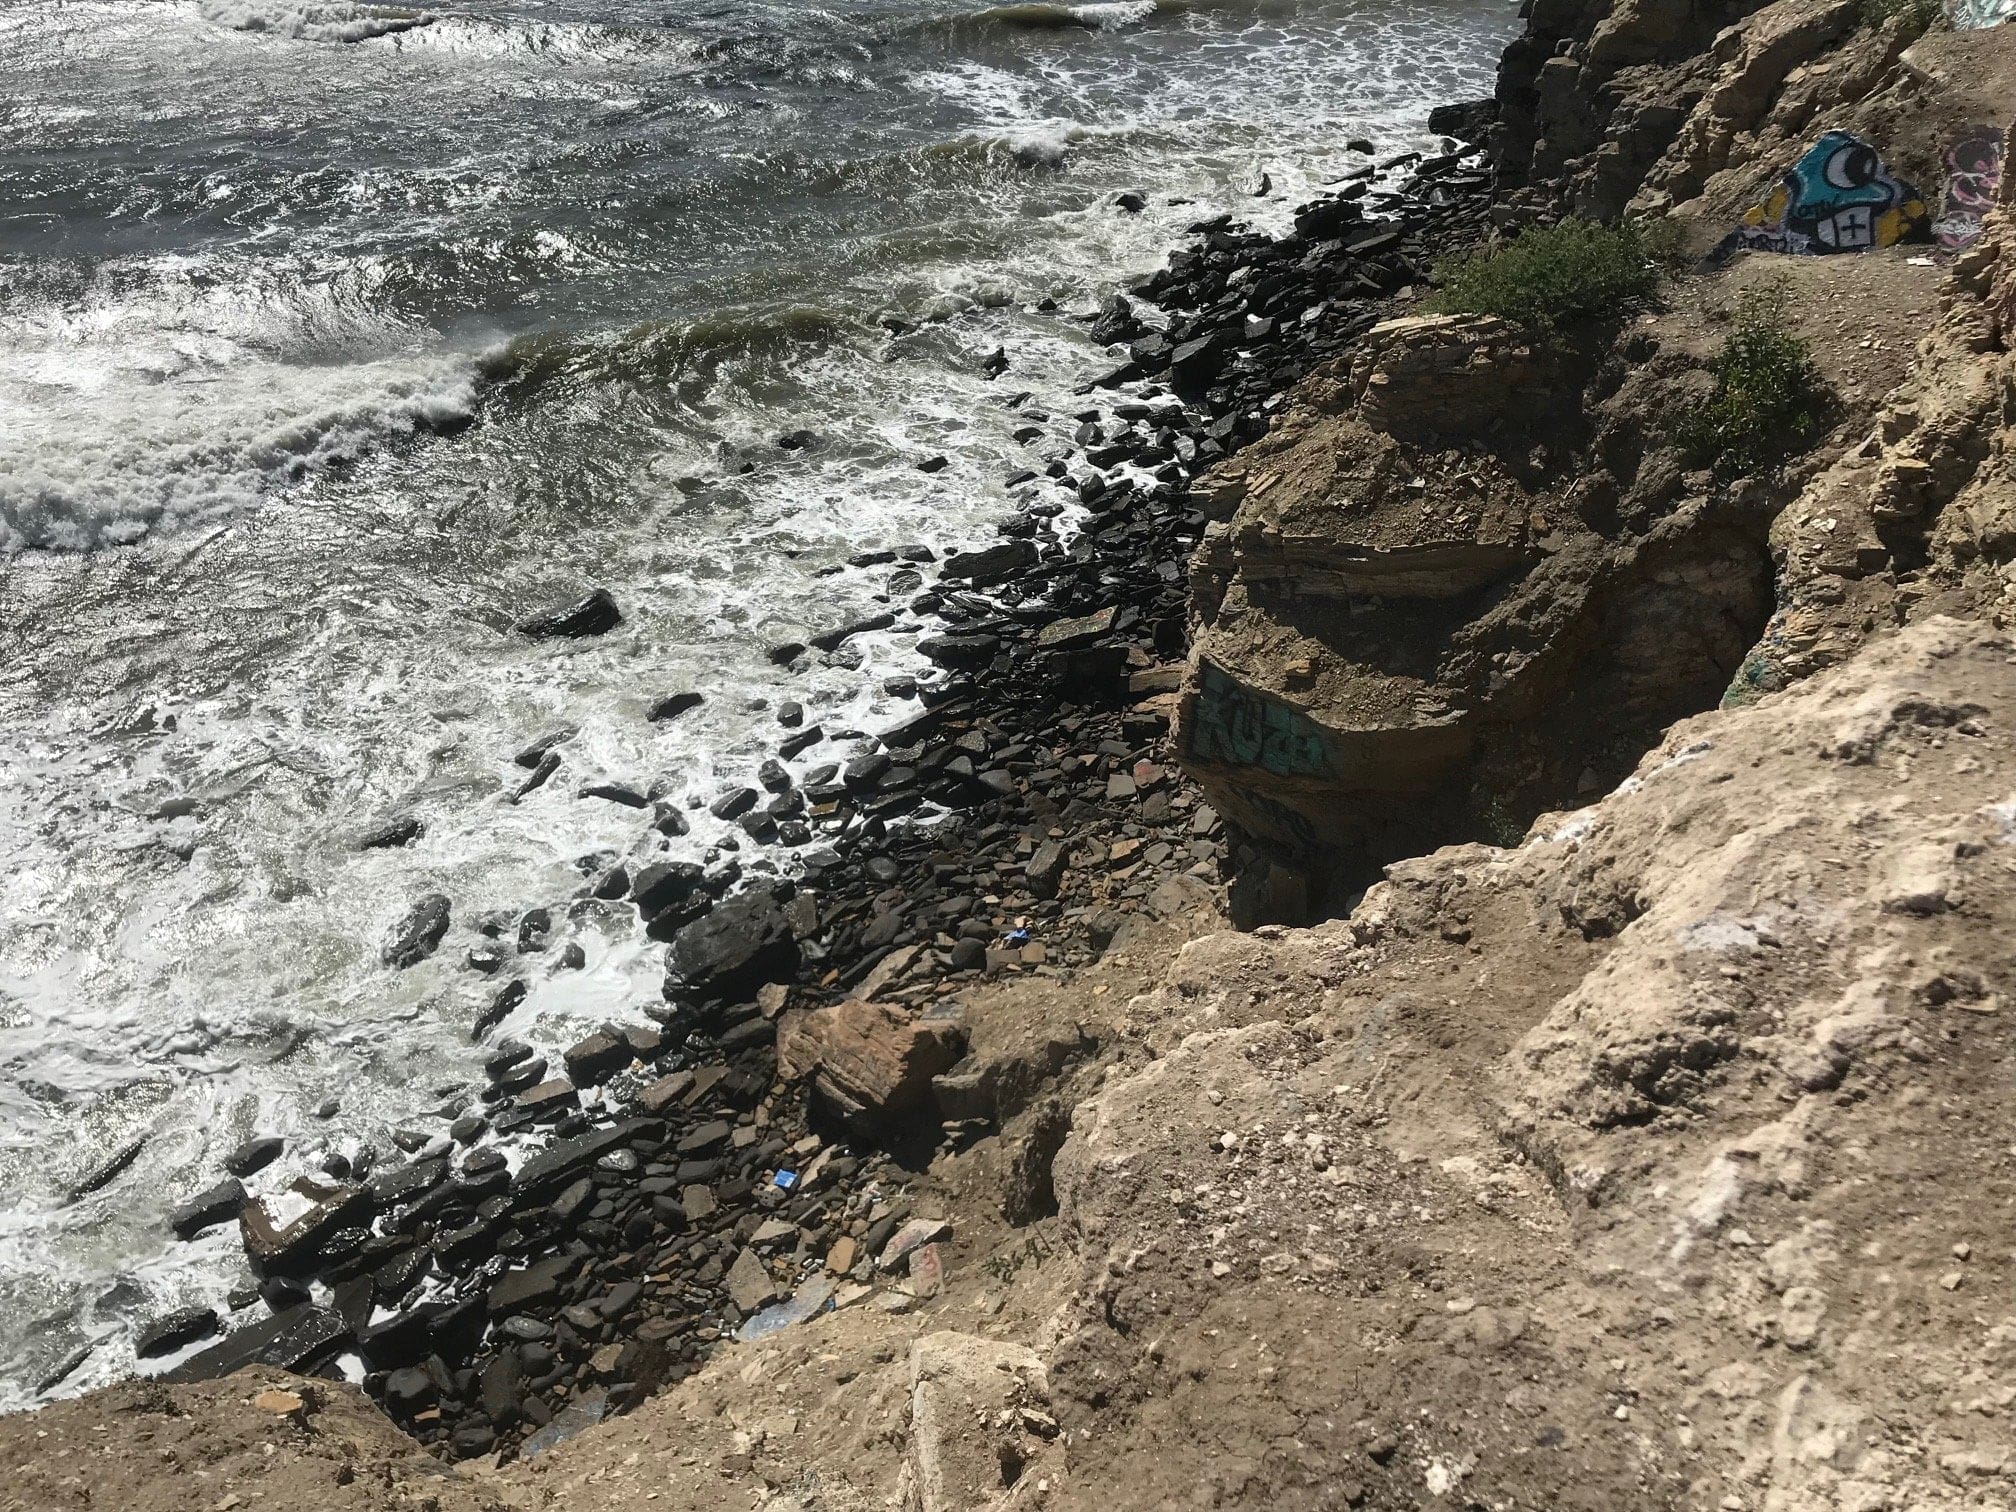
Notice how sharp the rocks are.
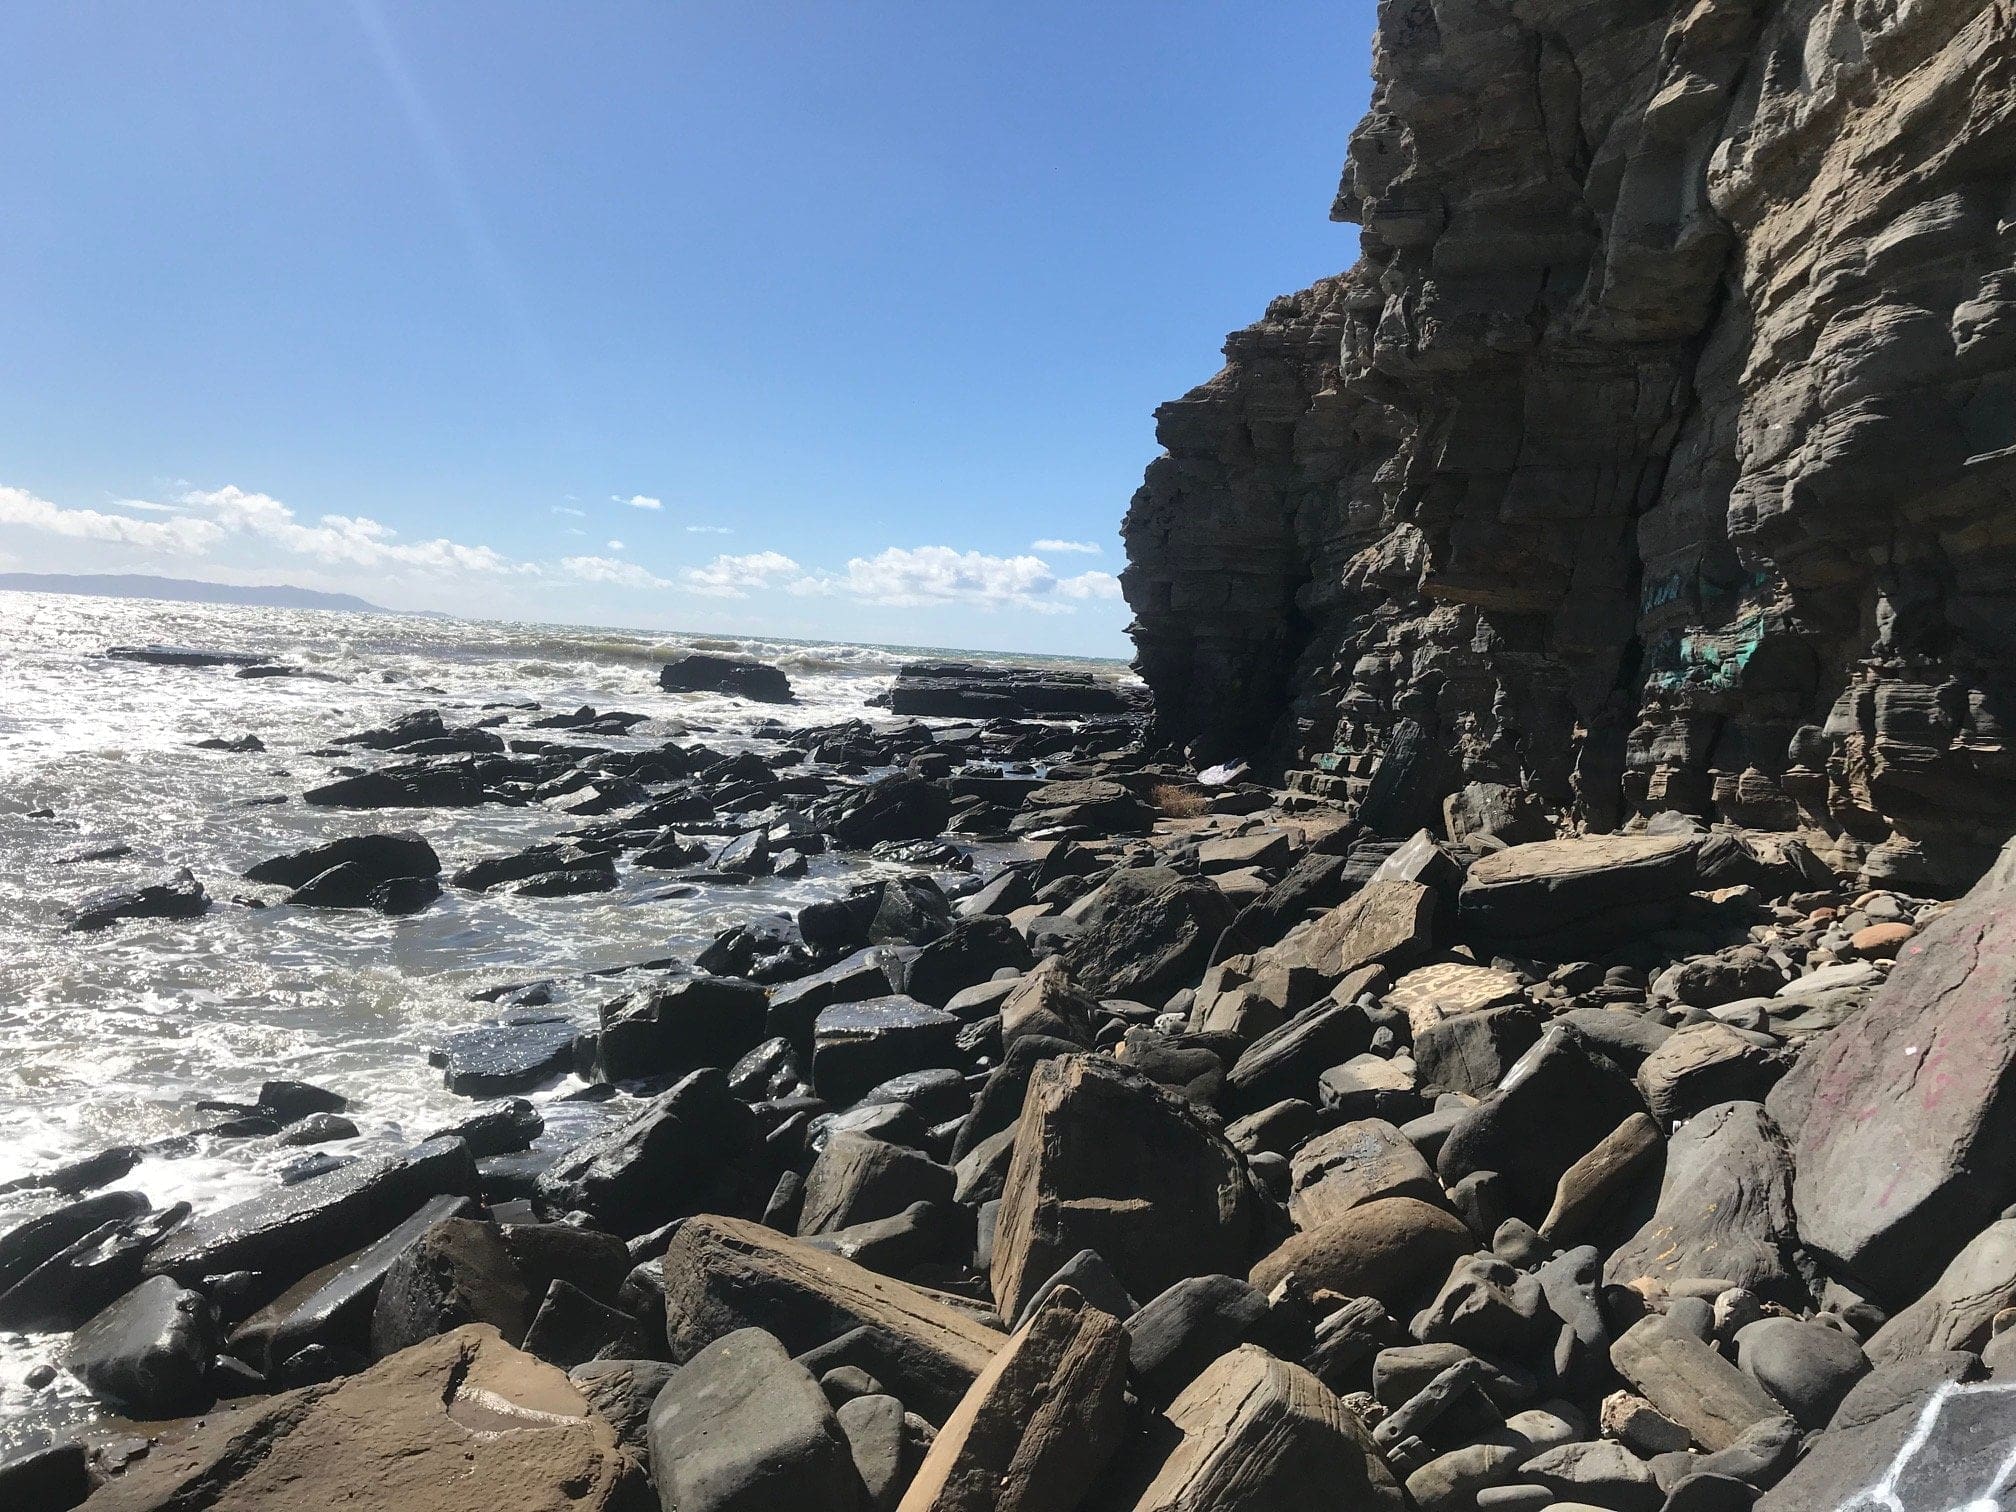
To the right of tier 3 (facing west) lies a dead end.
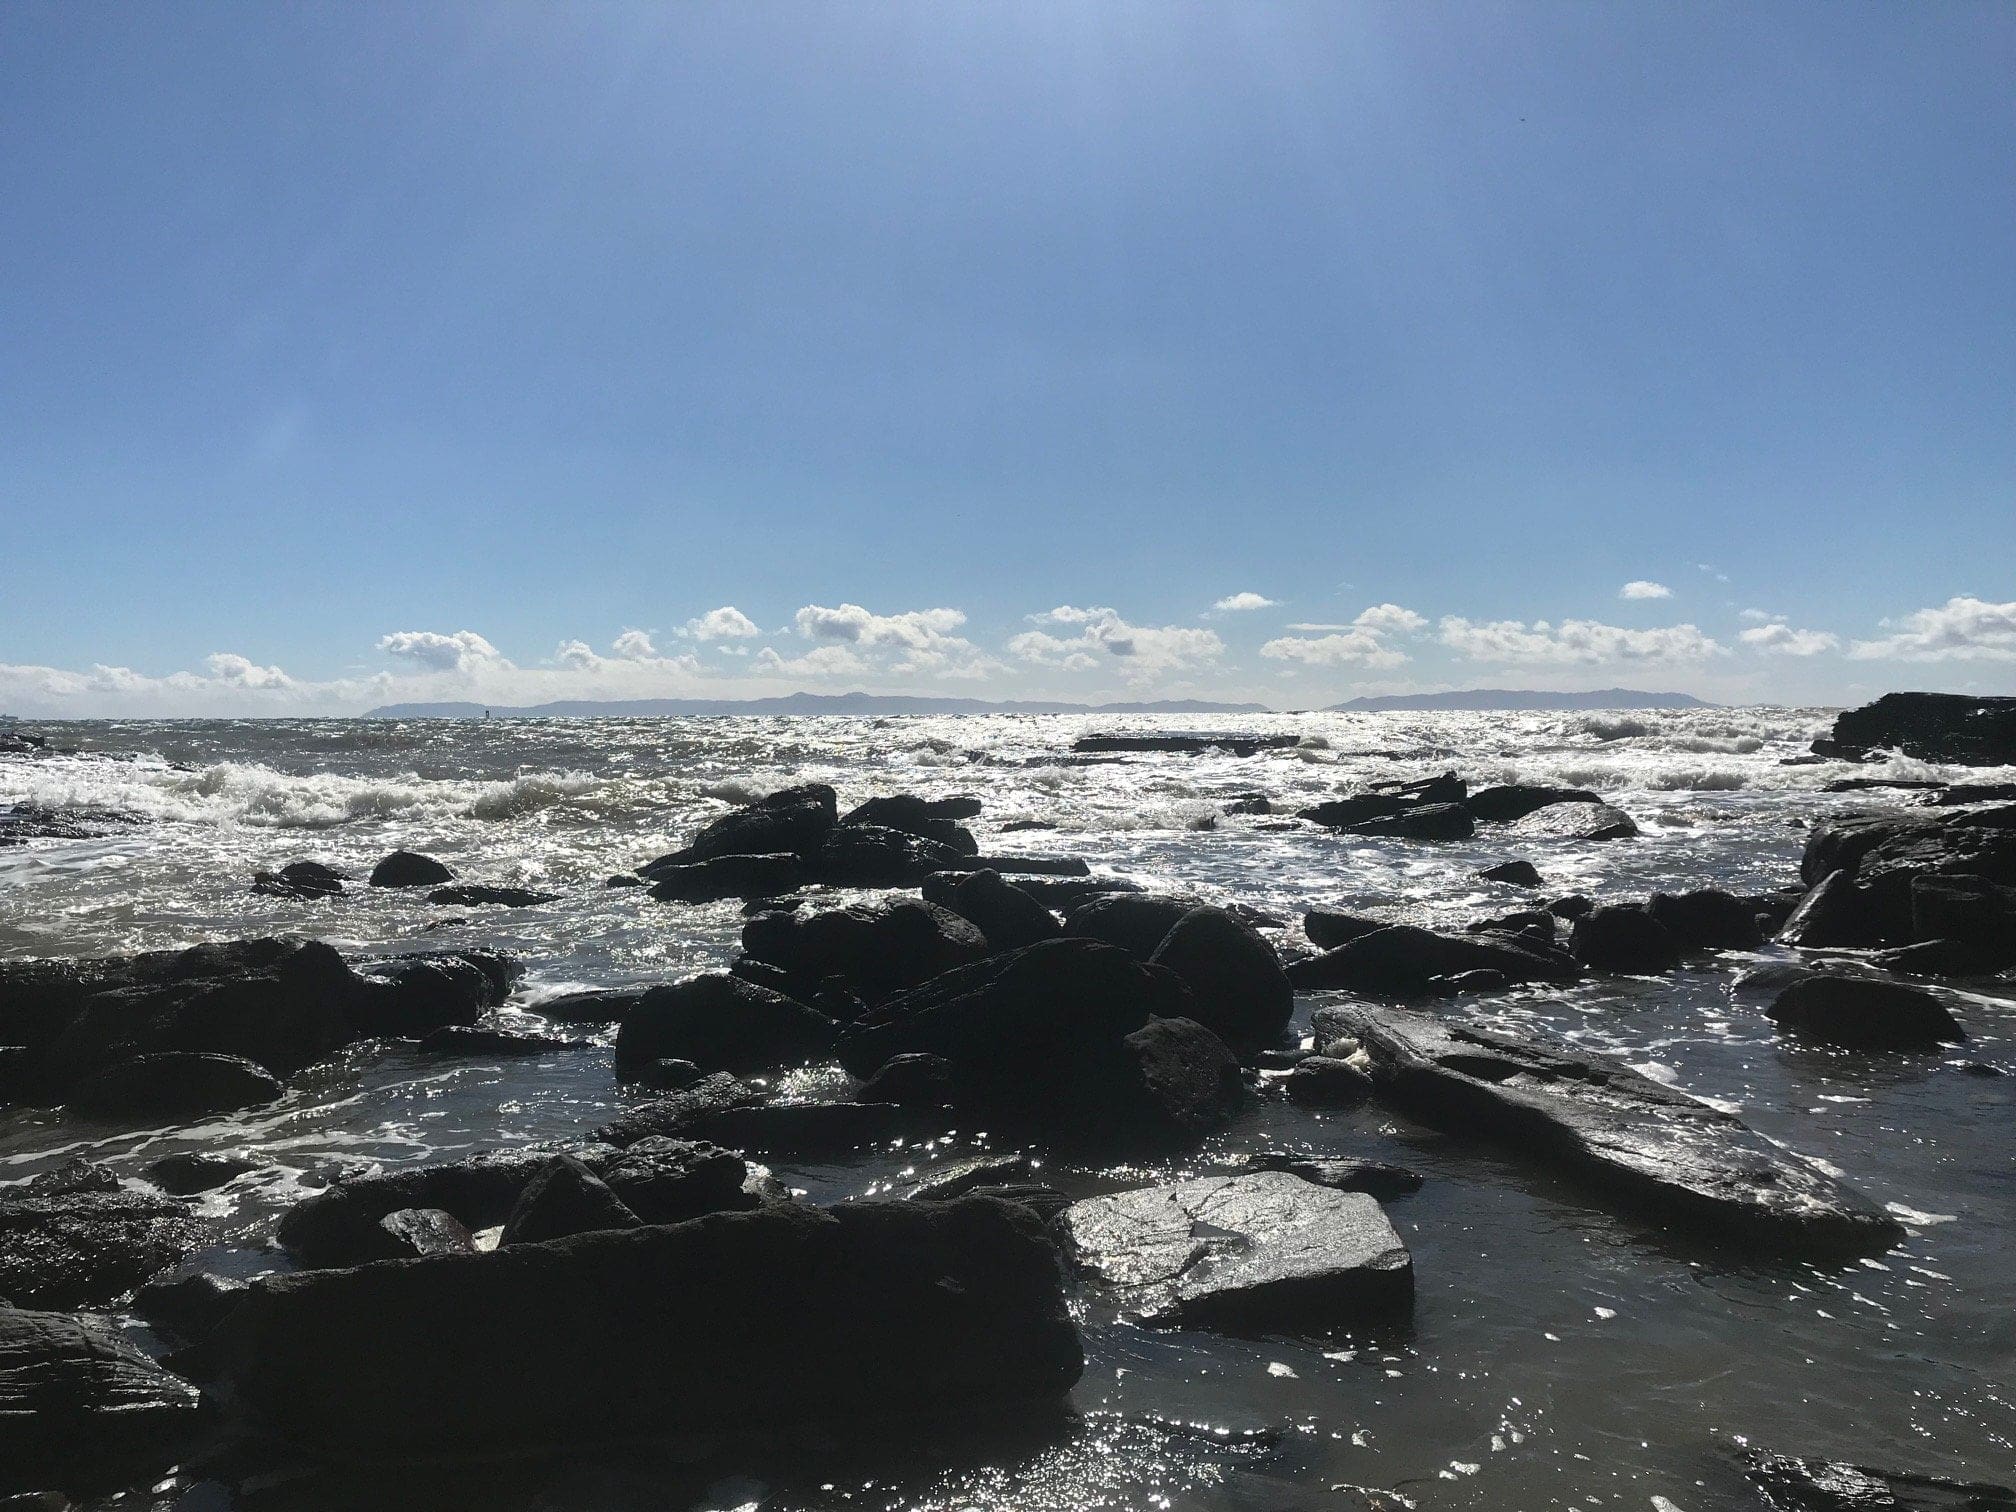
The left-most side (facing east) leads to more graffiti-ruins along the shorelines of Sunken City.
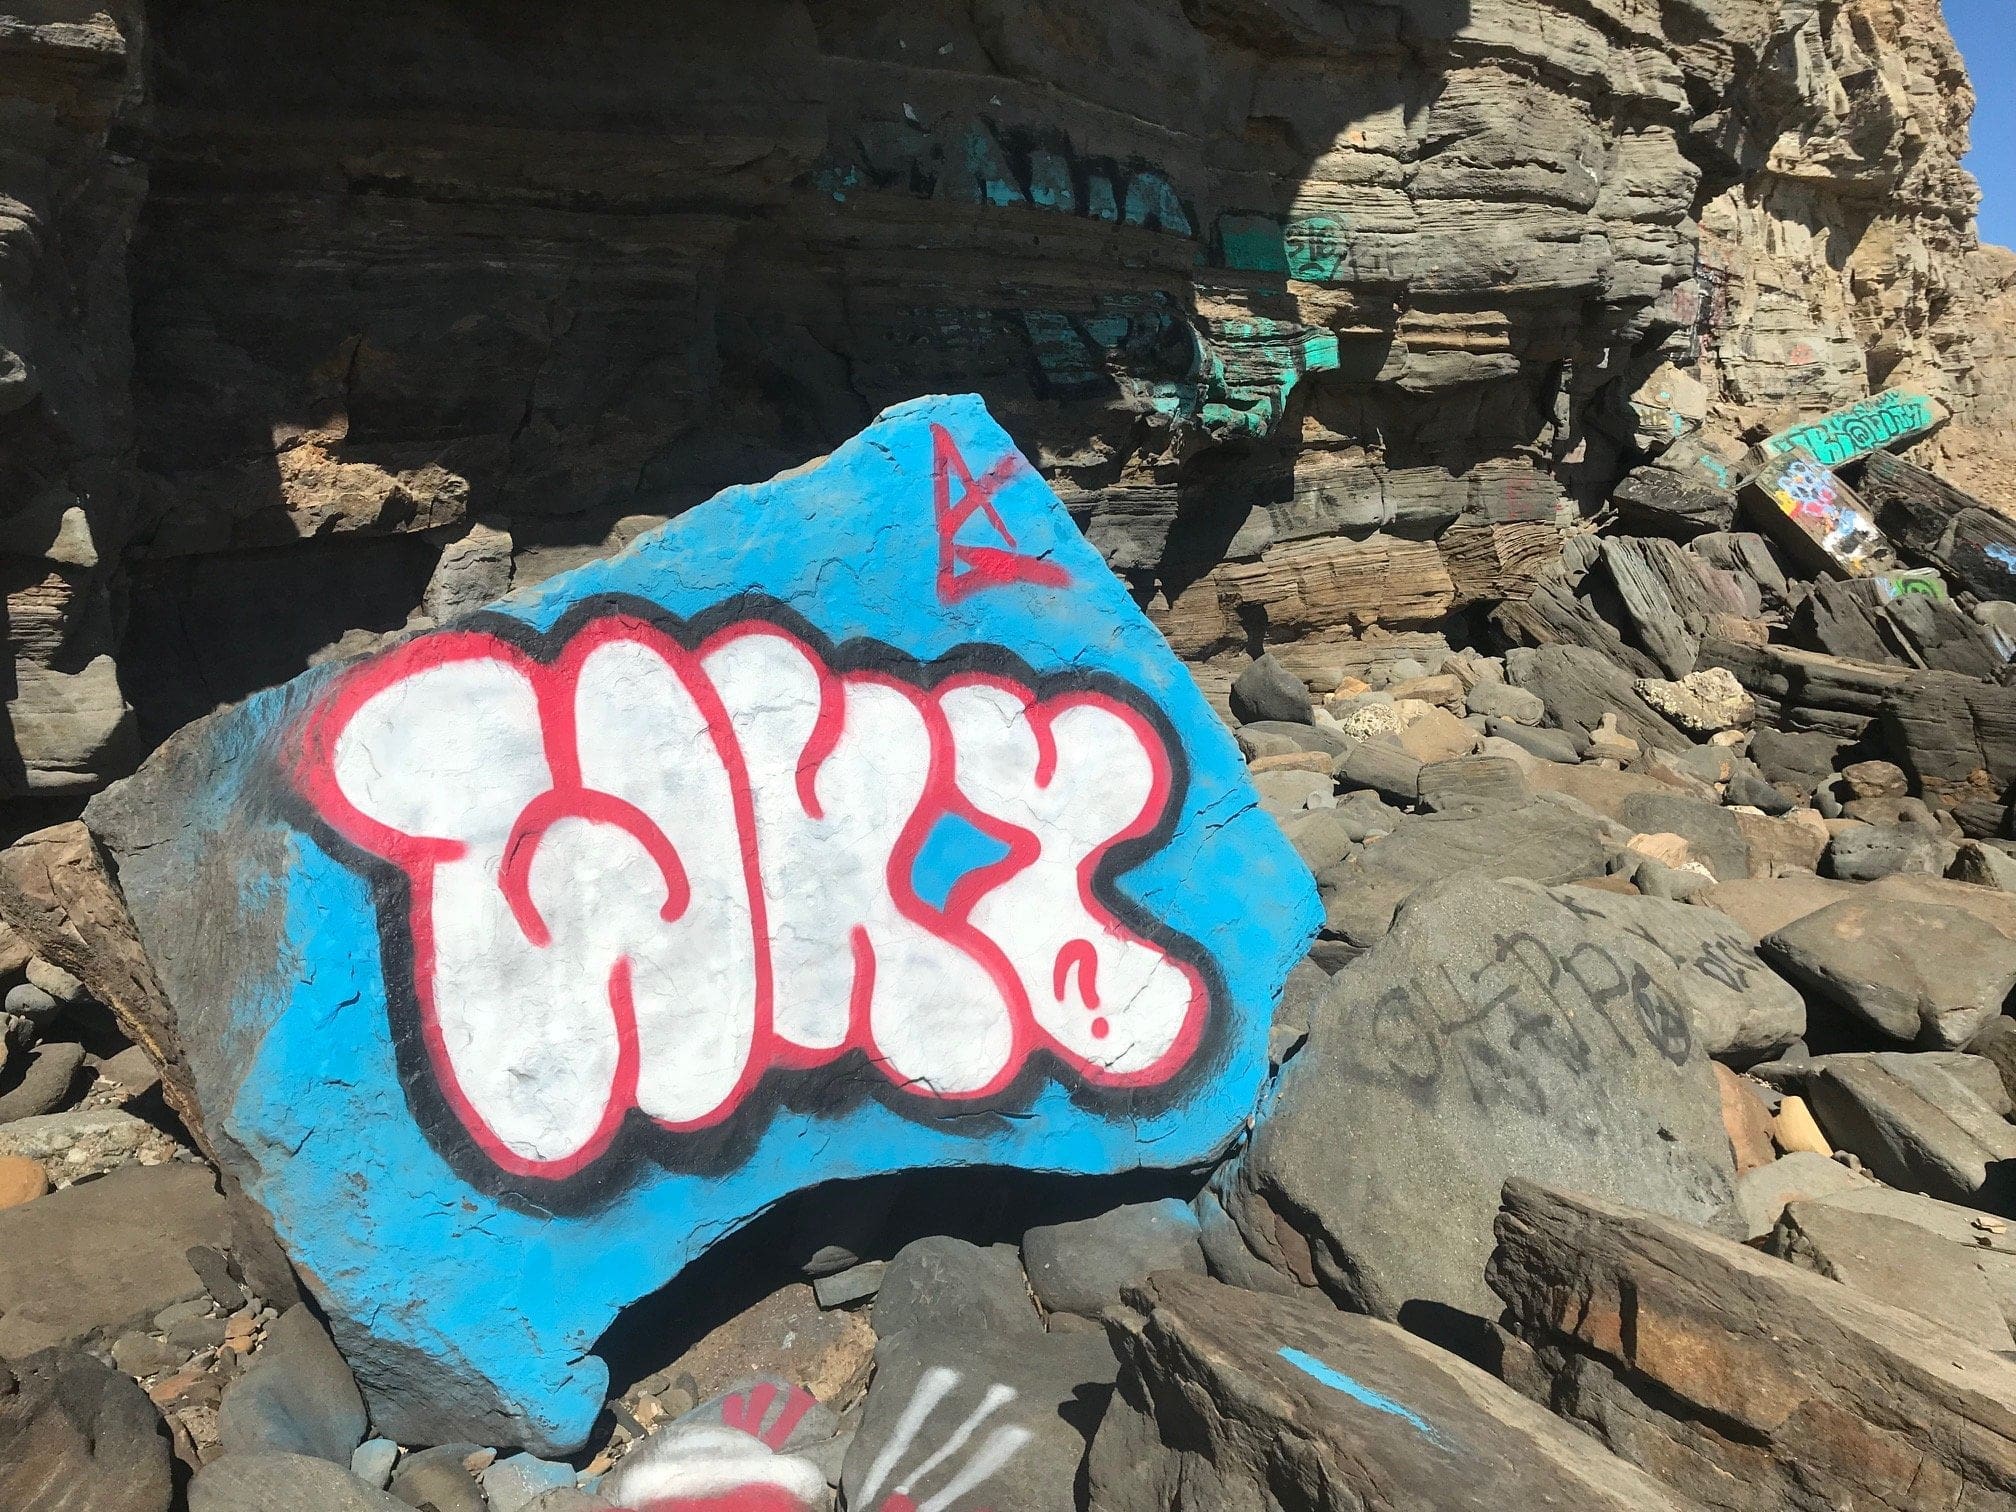
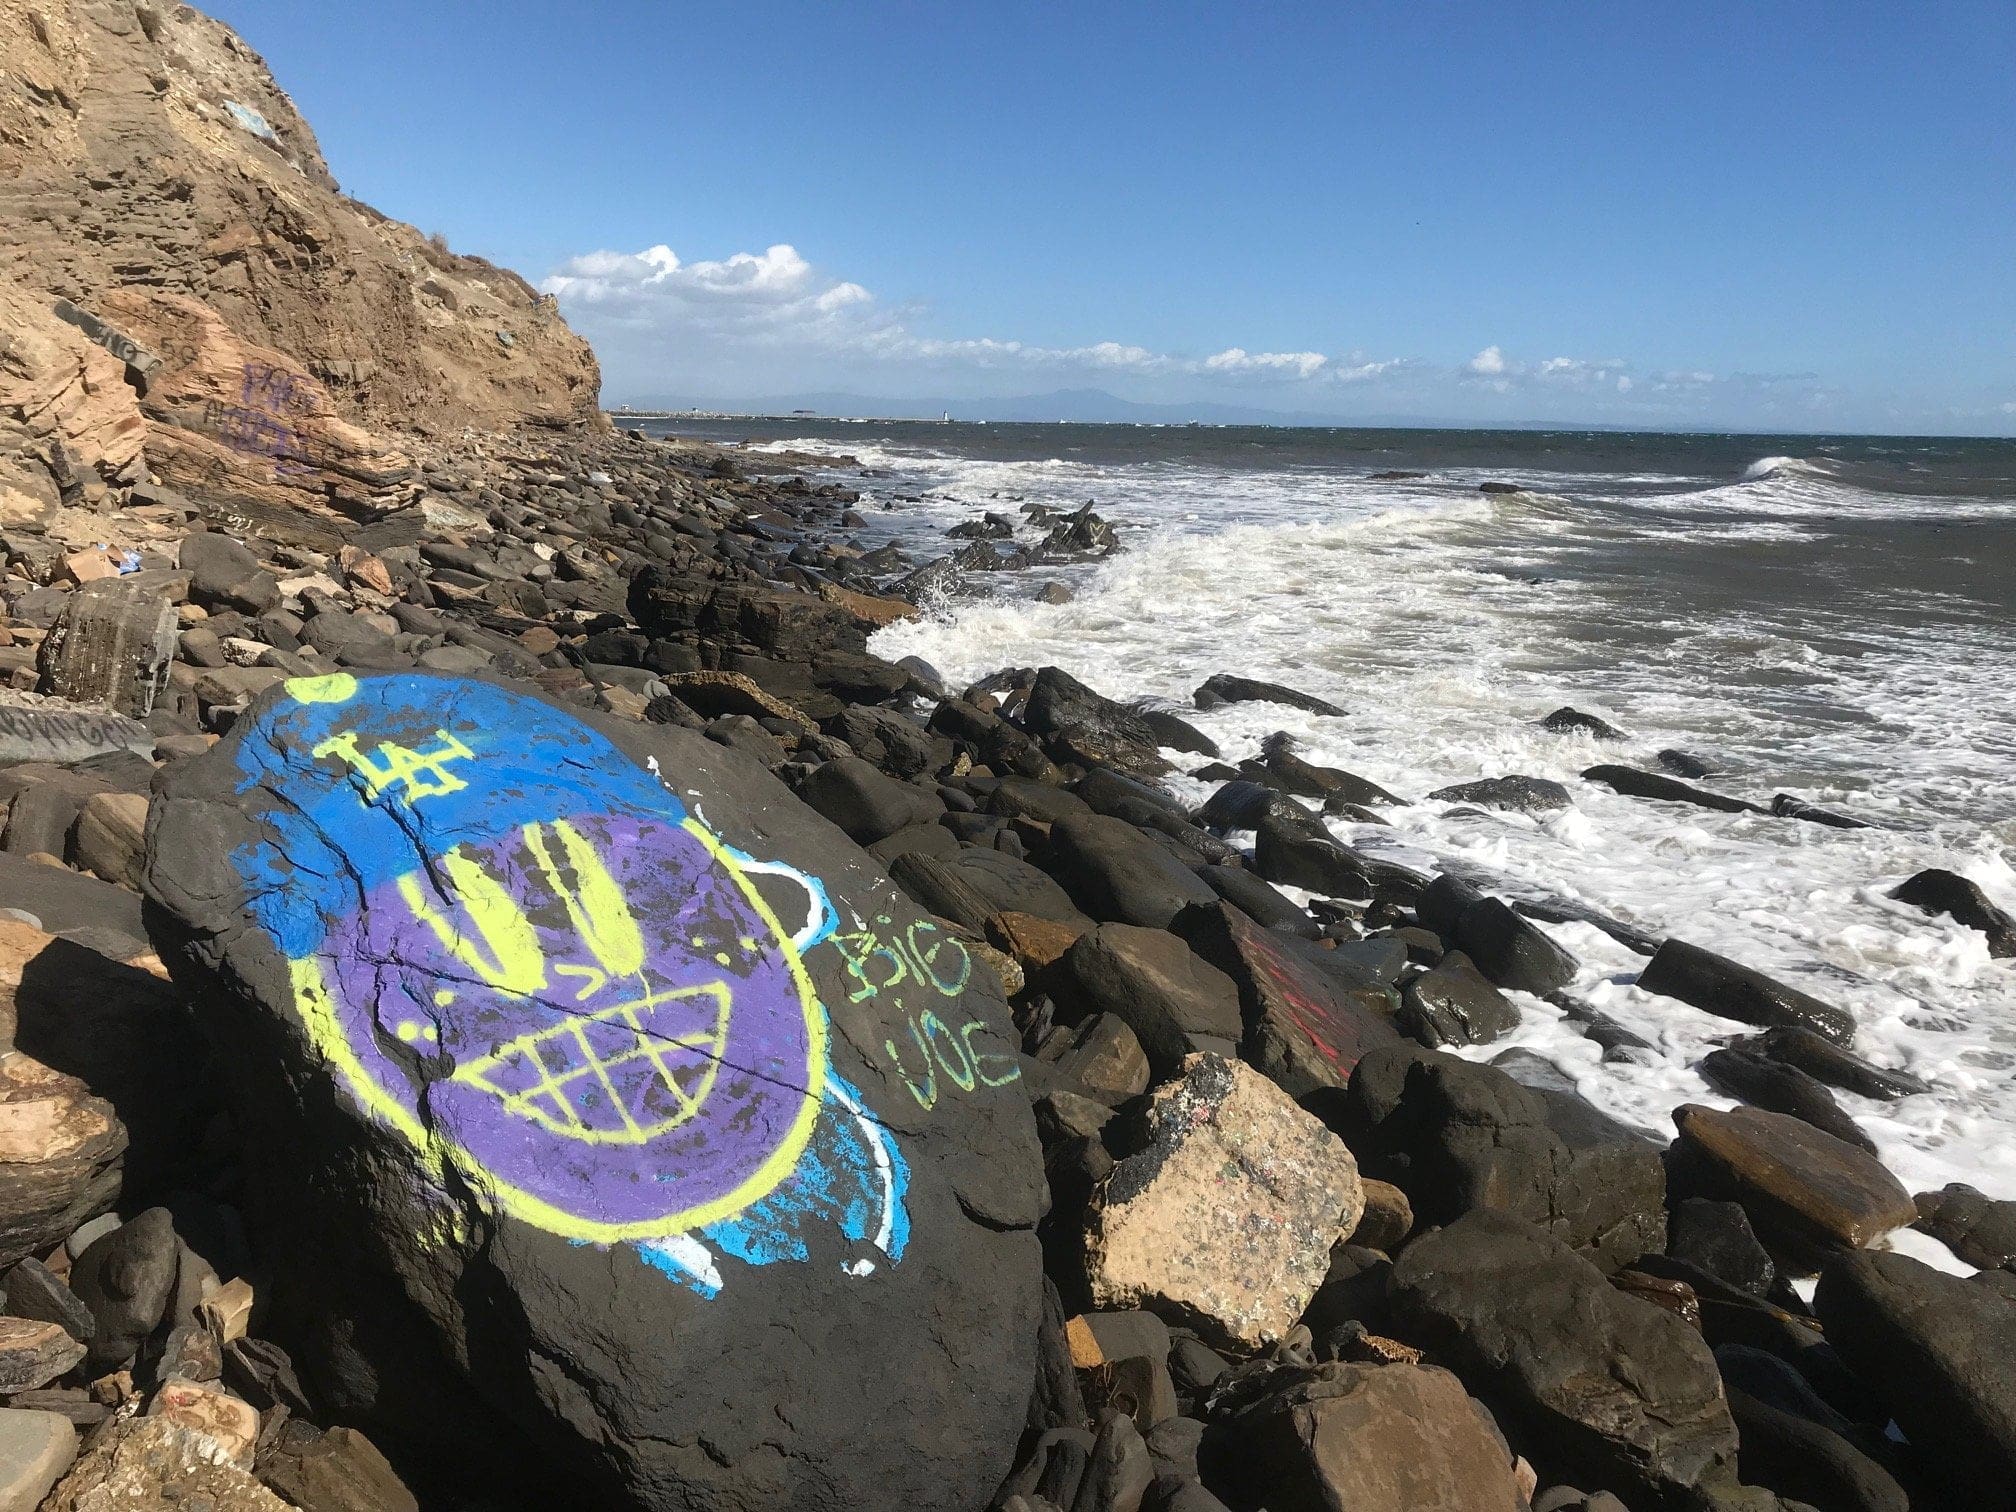
Yes, “why” indeed.
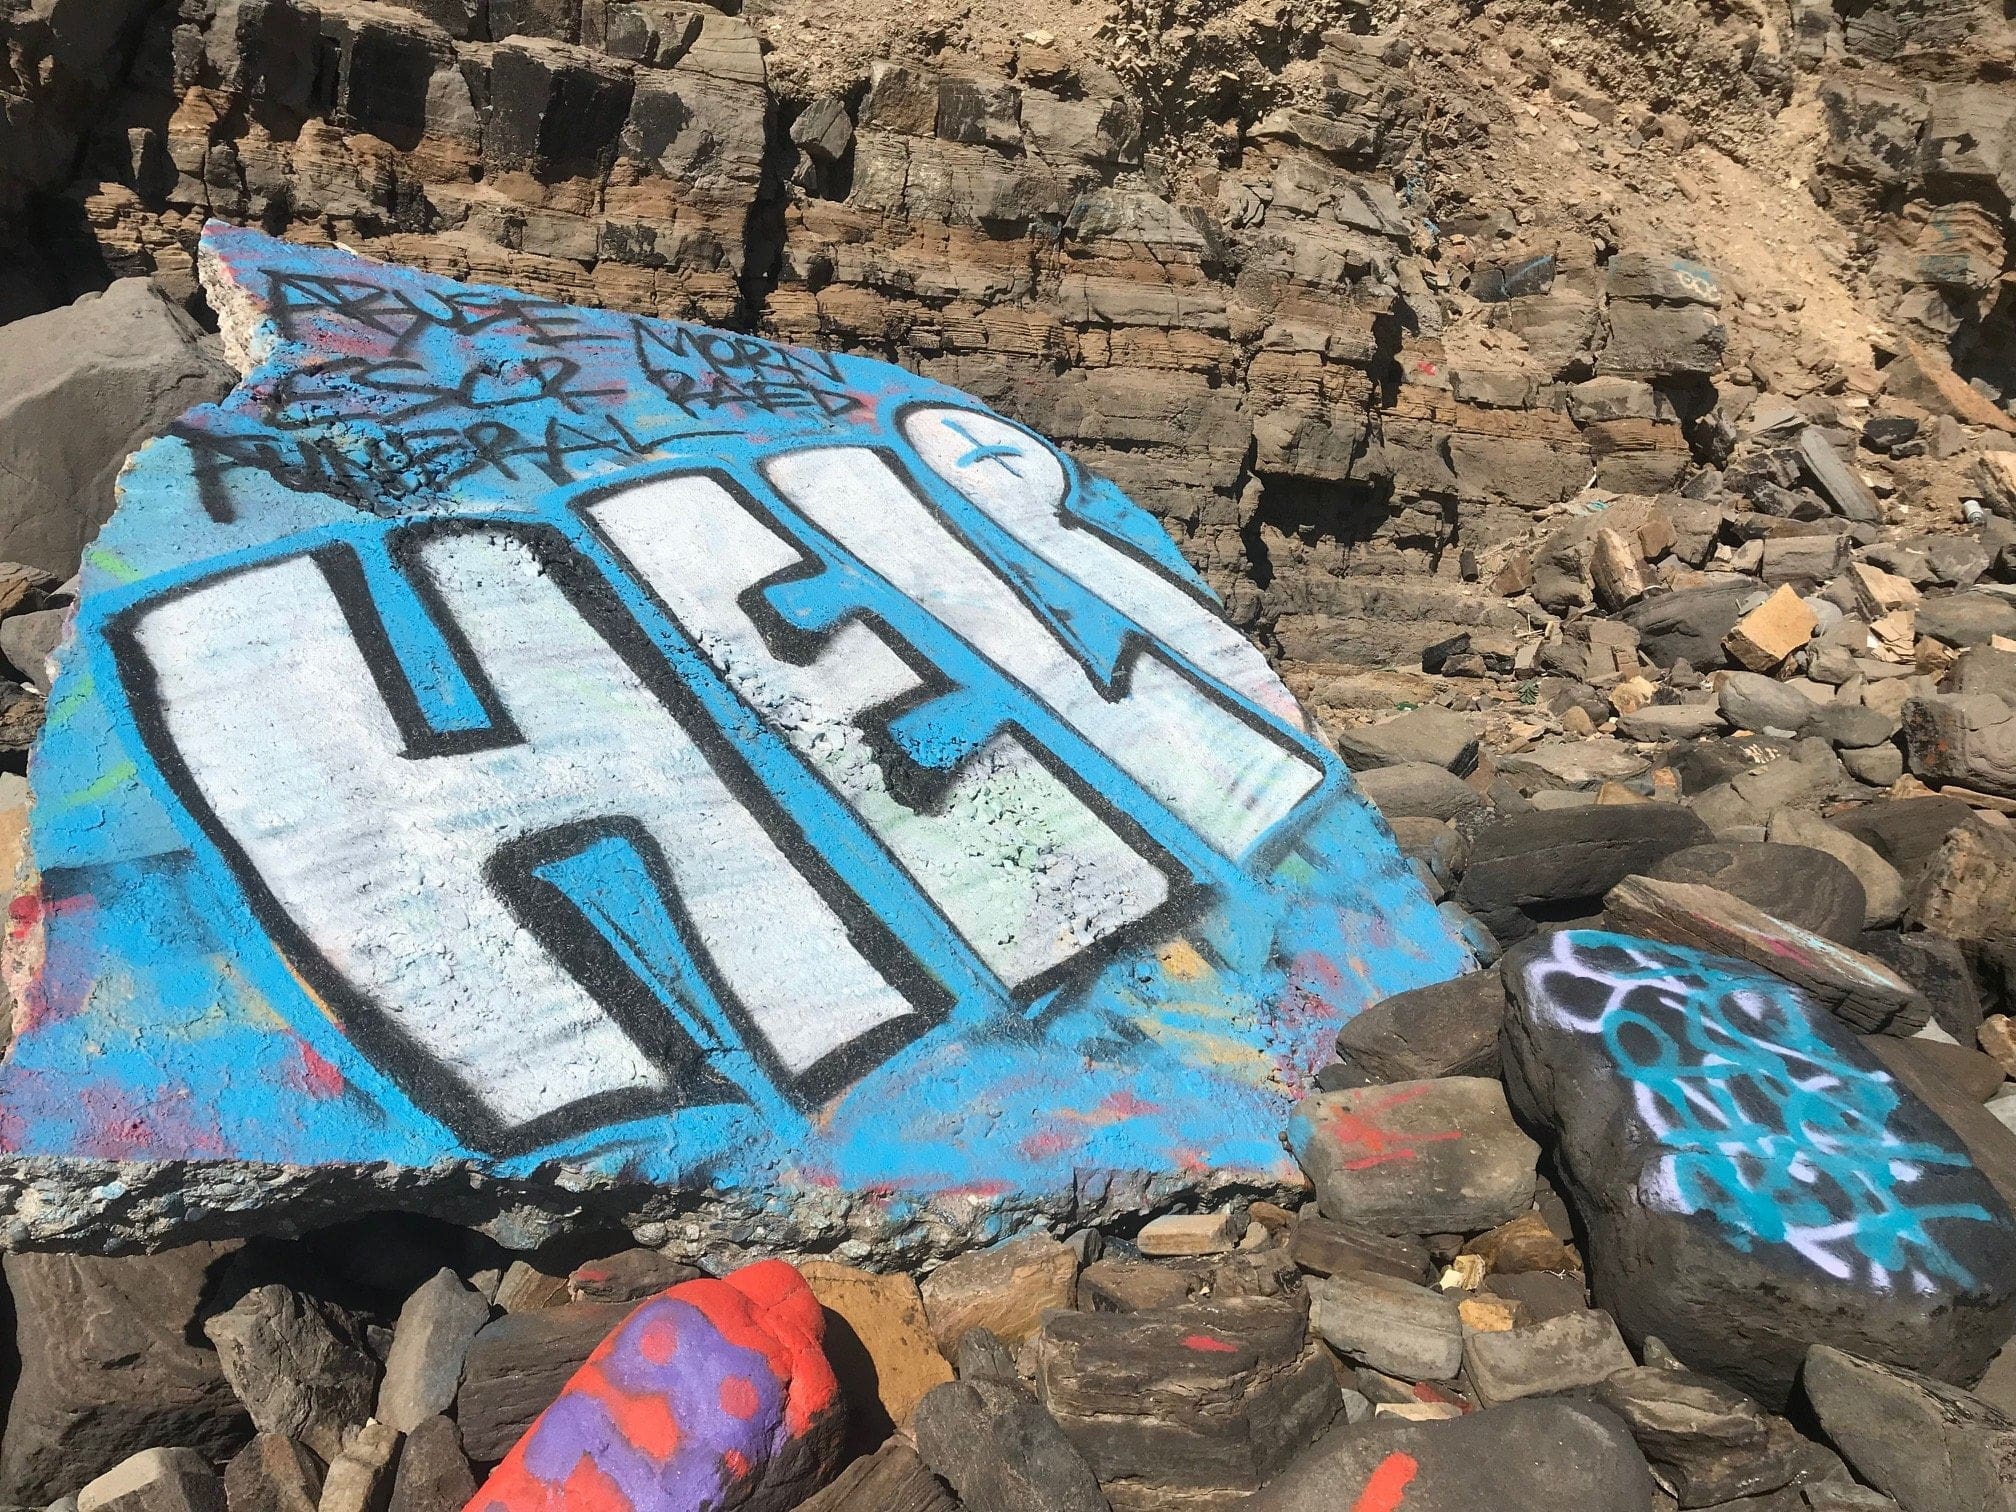
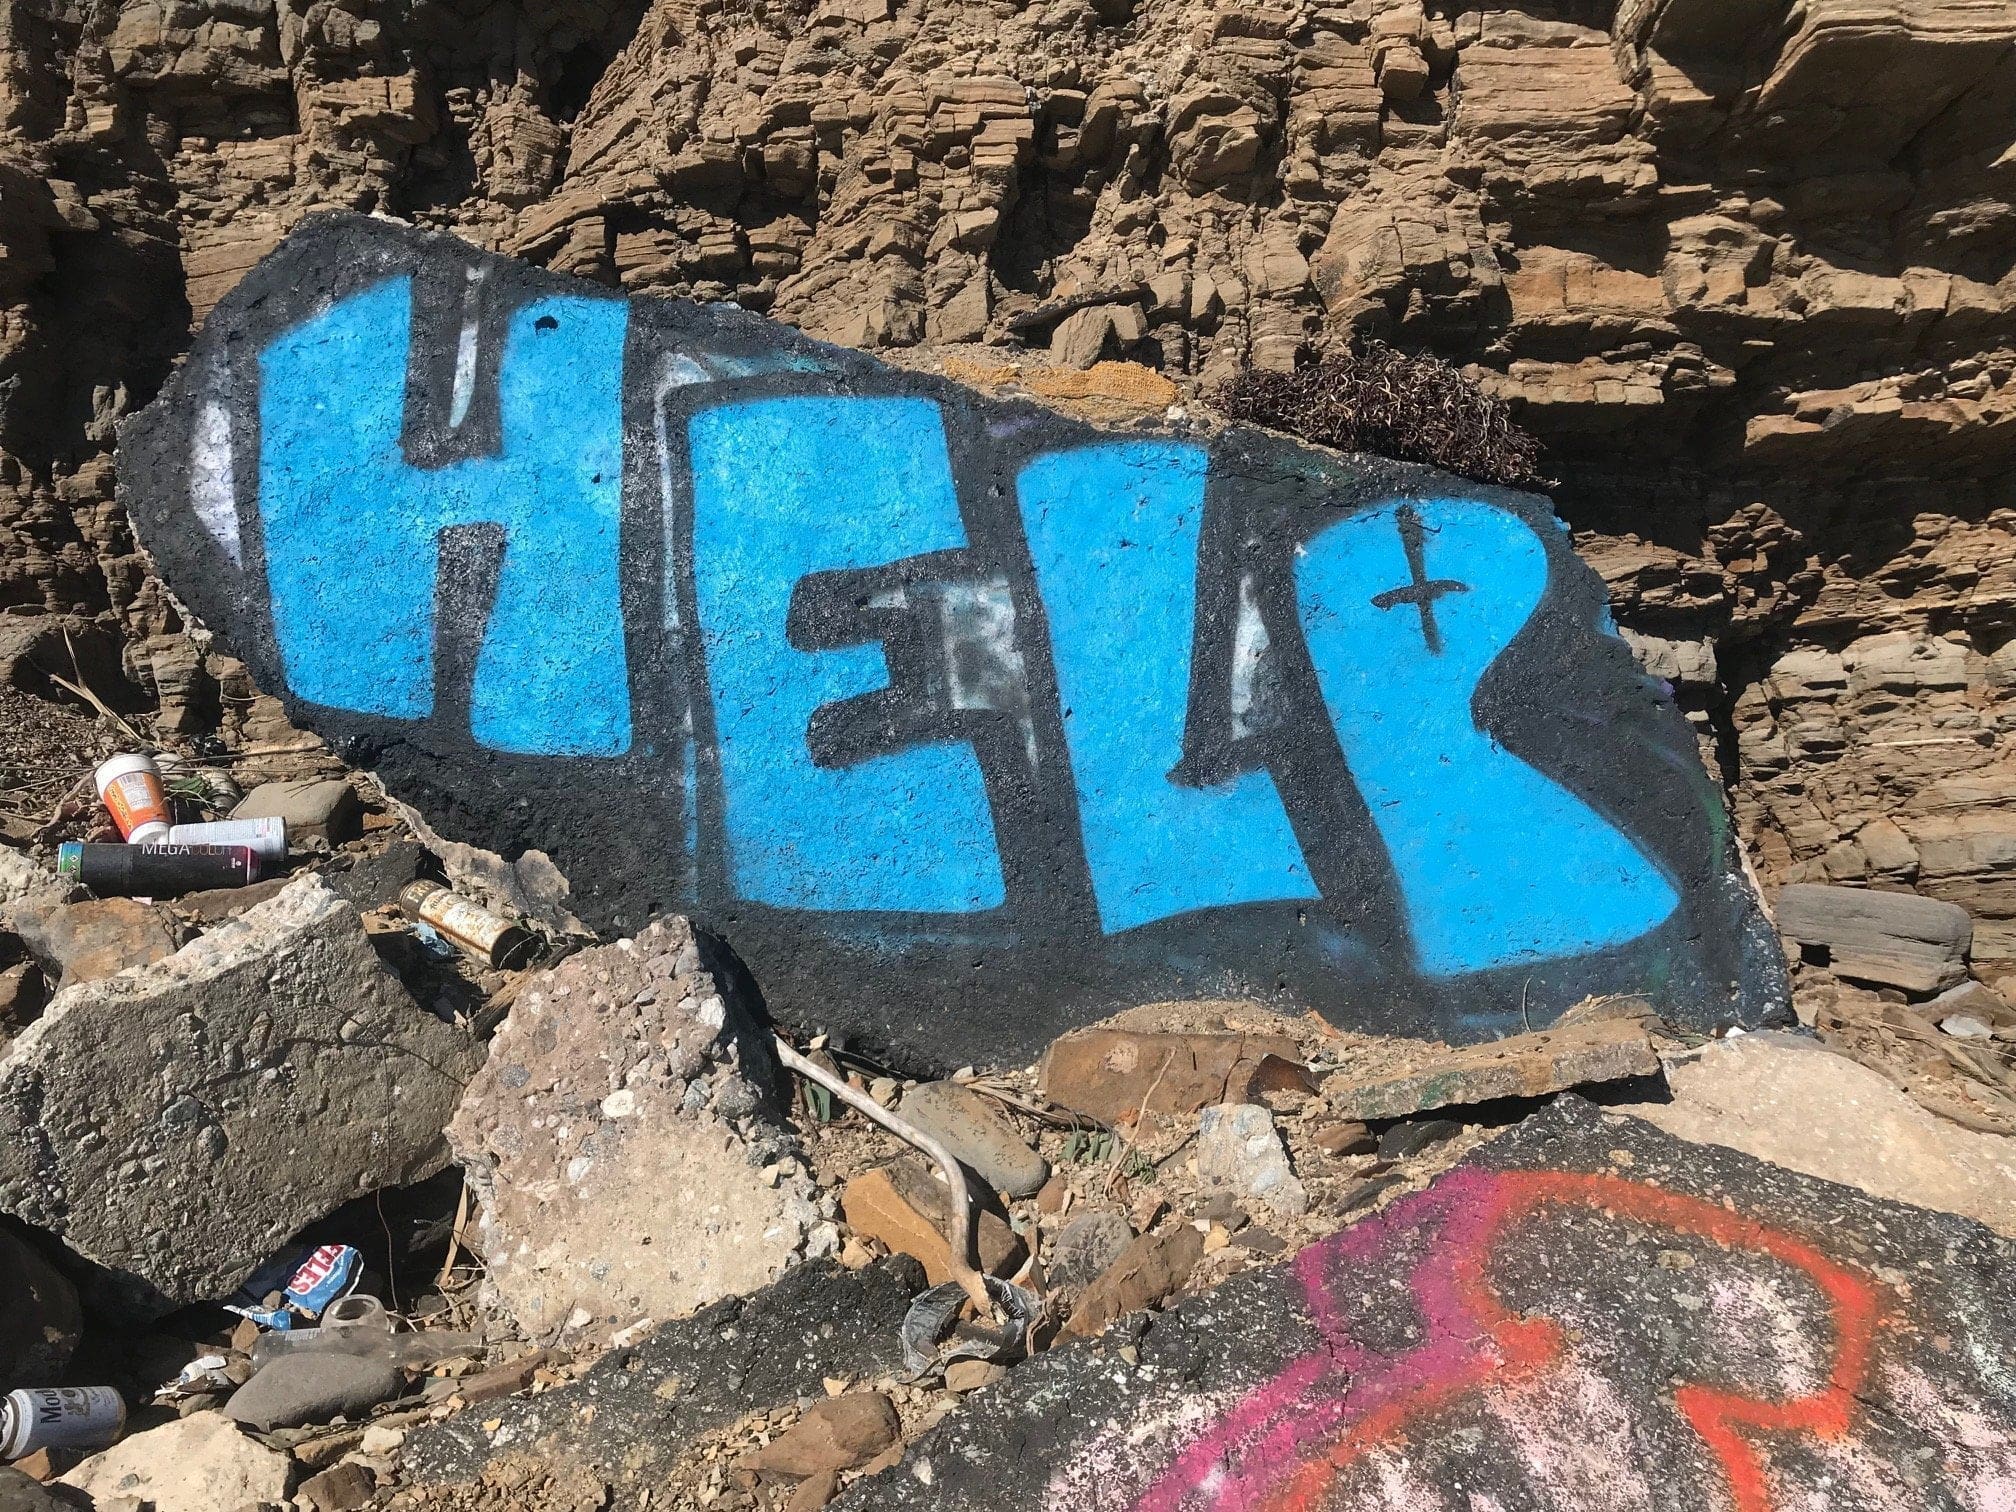
I guess somebody needed help?
If you keep heading this way, you’ll eventually hit a pier, but that’s not for another 2-3 miles (and it’s certainly not part of Sunken City).
Another cry for help perhaps?
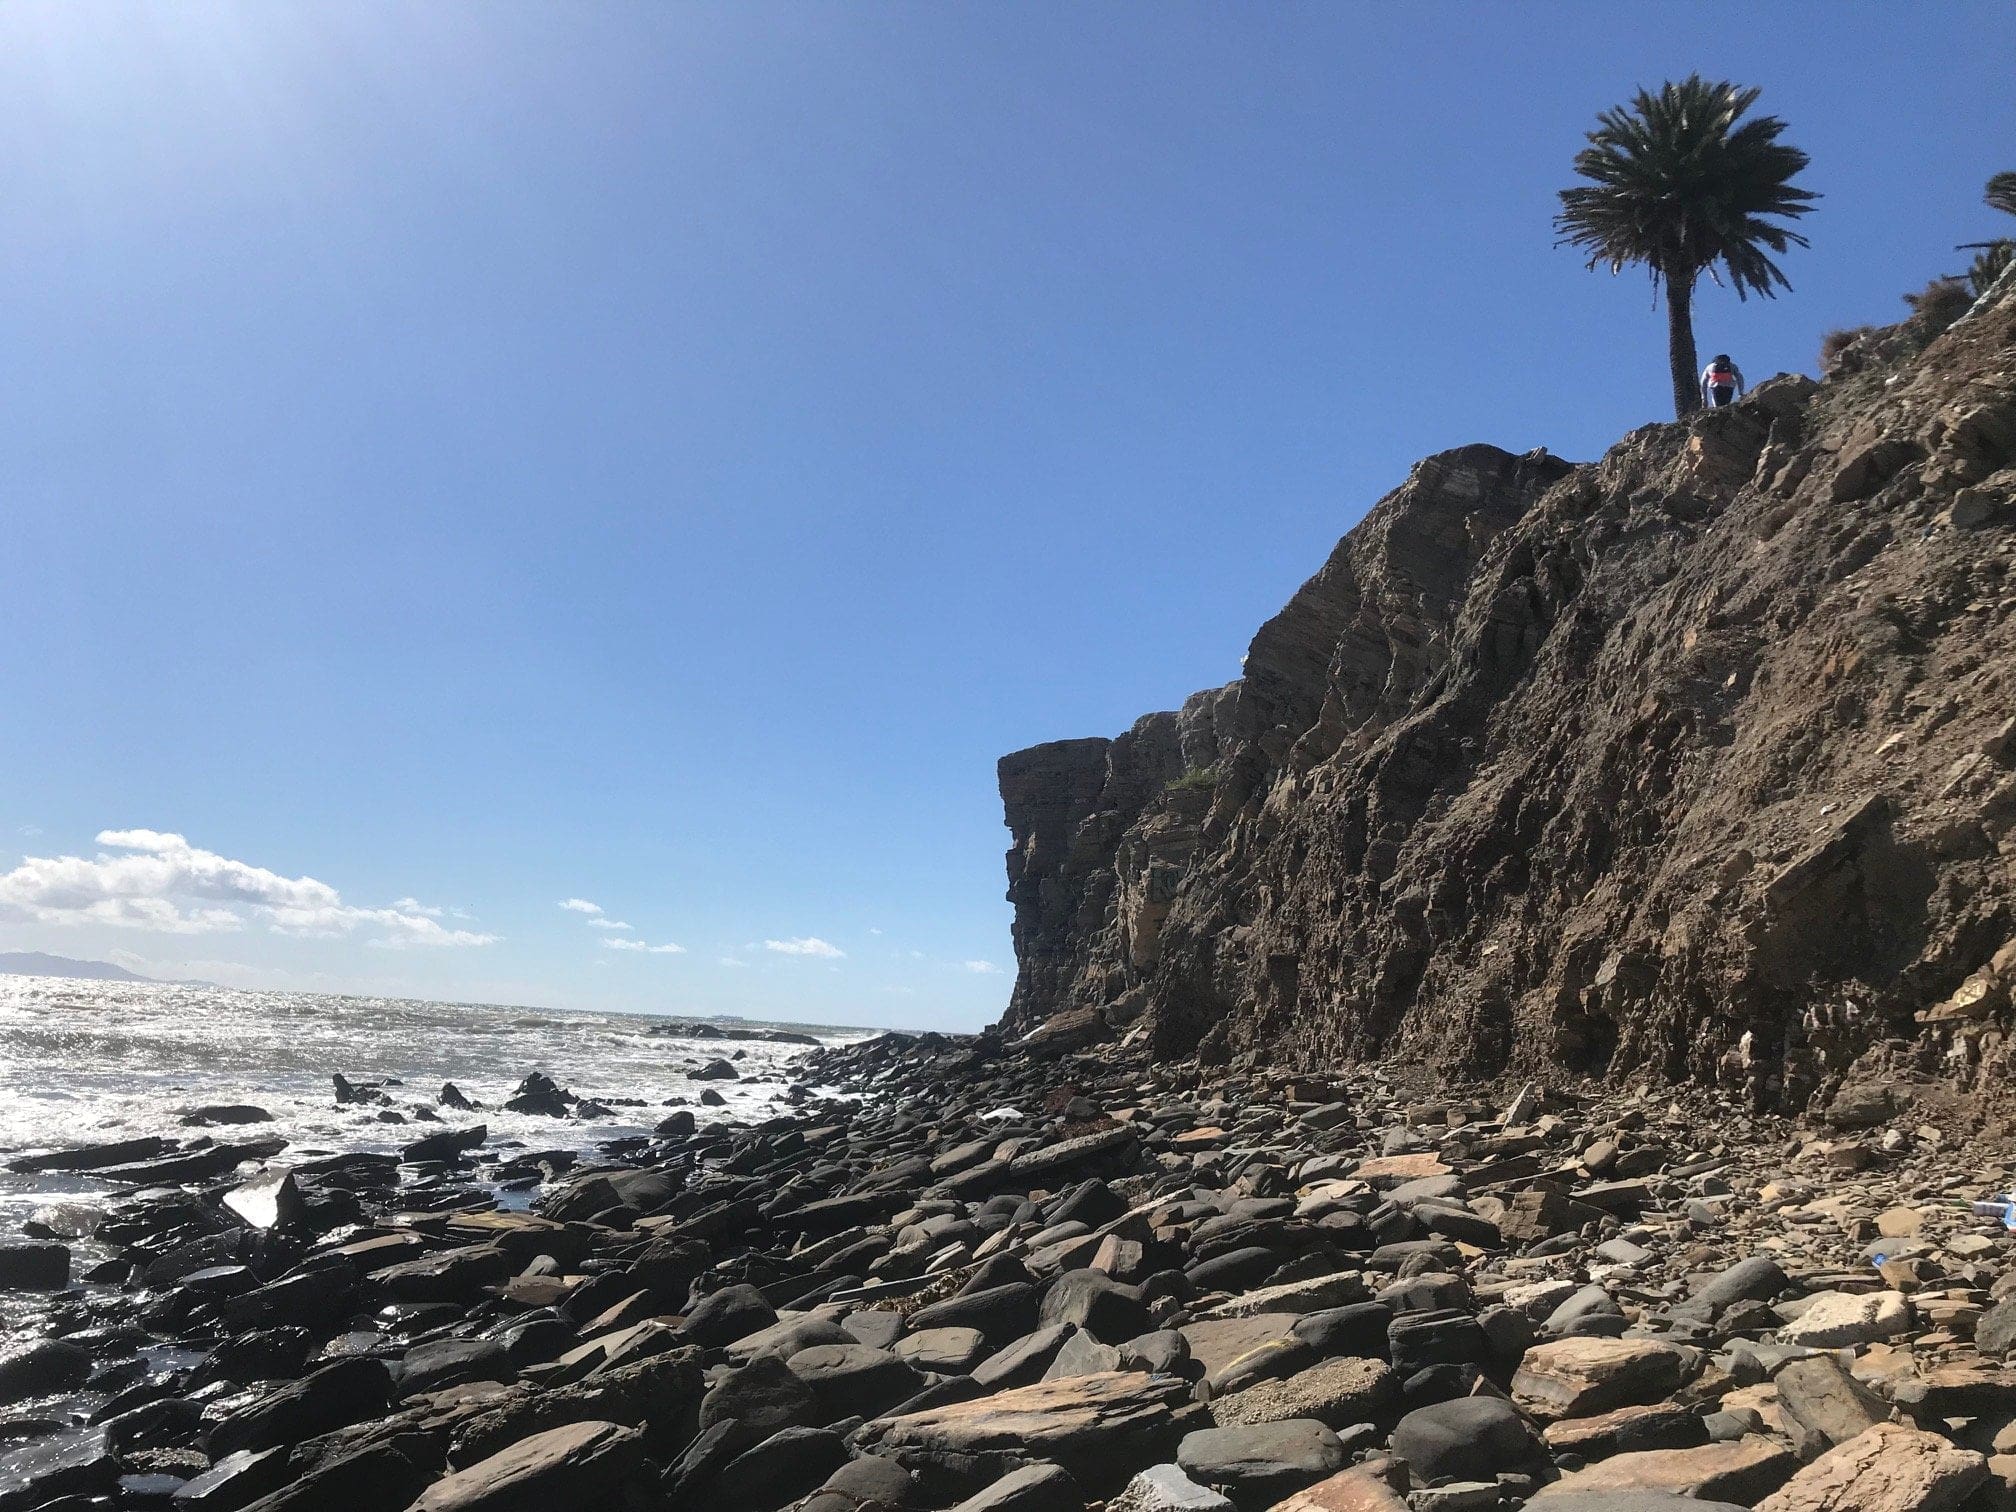
Stats so far:
- Total miles “climbed:” Between 3/4-1 mile
- Total time spent: 1 hour
- Approximate temperature: Freezing
View from behind, heading away from Sunken City.
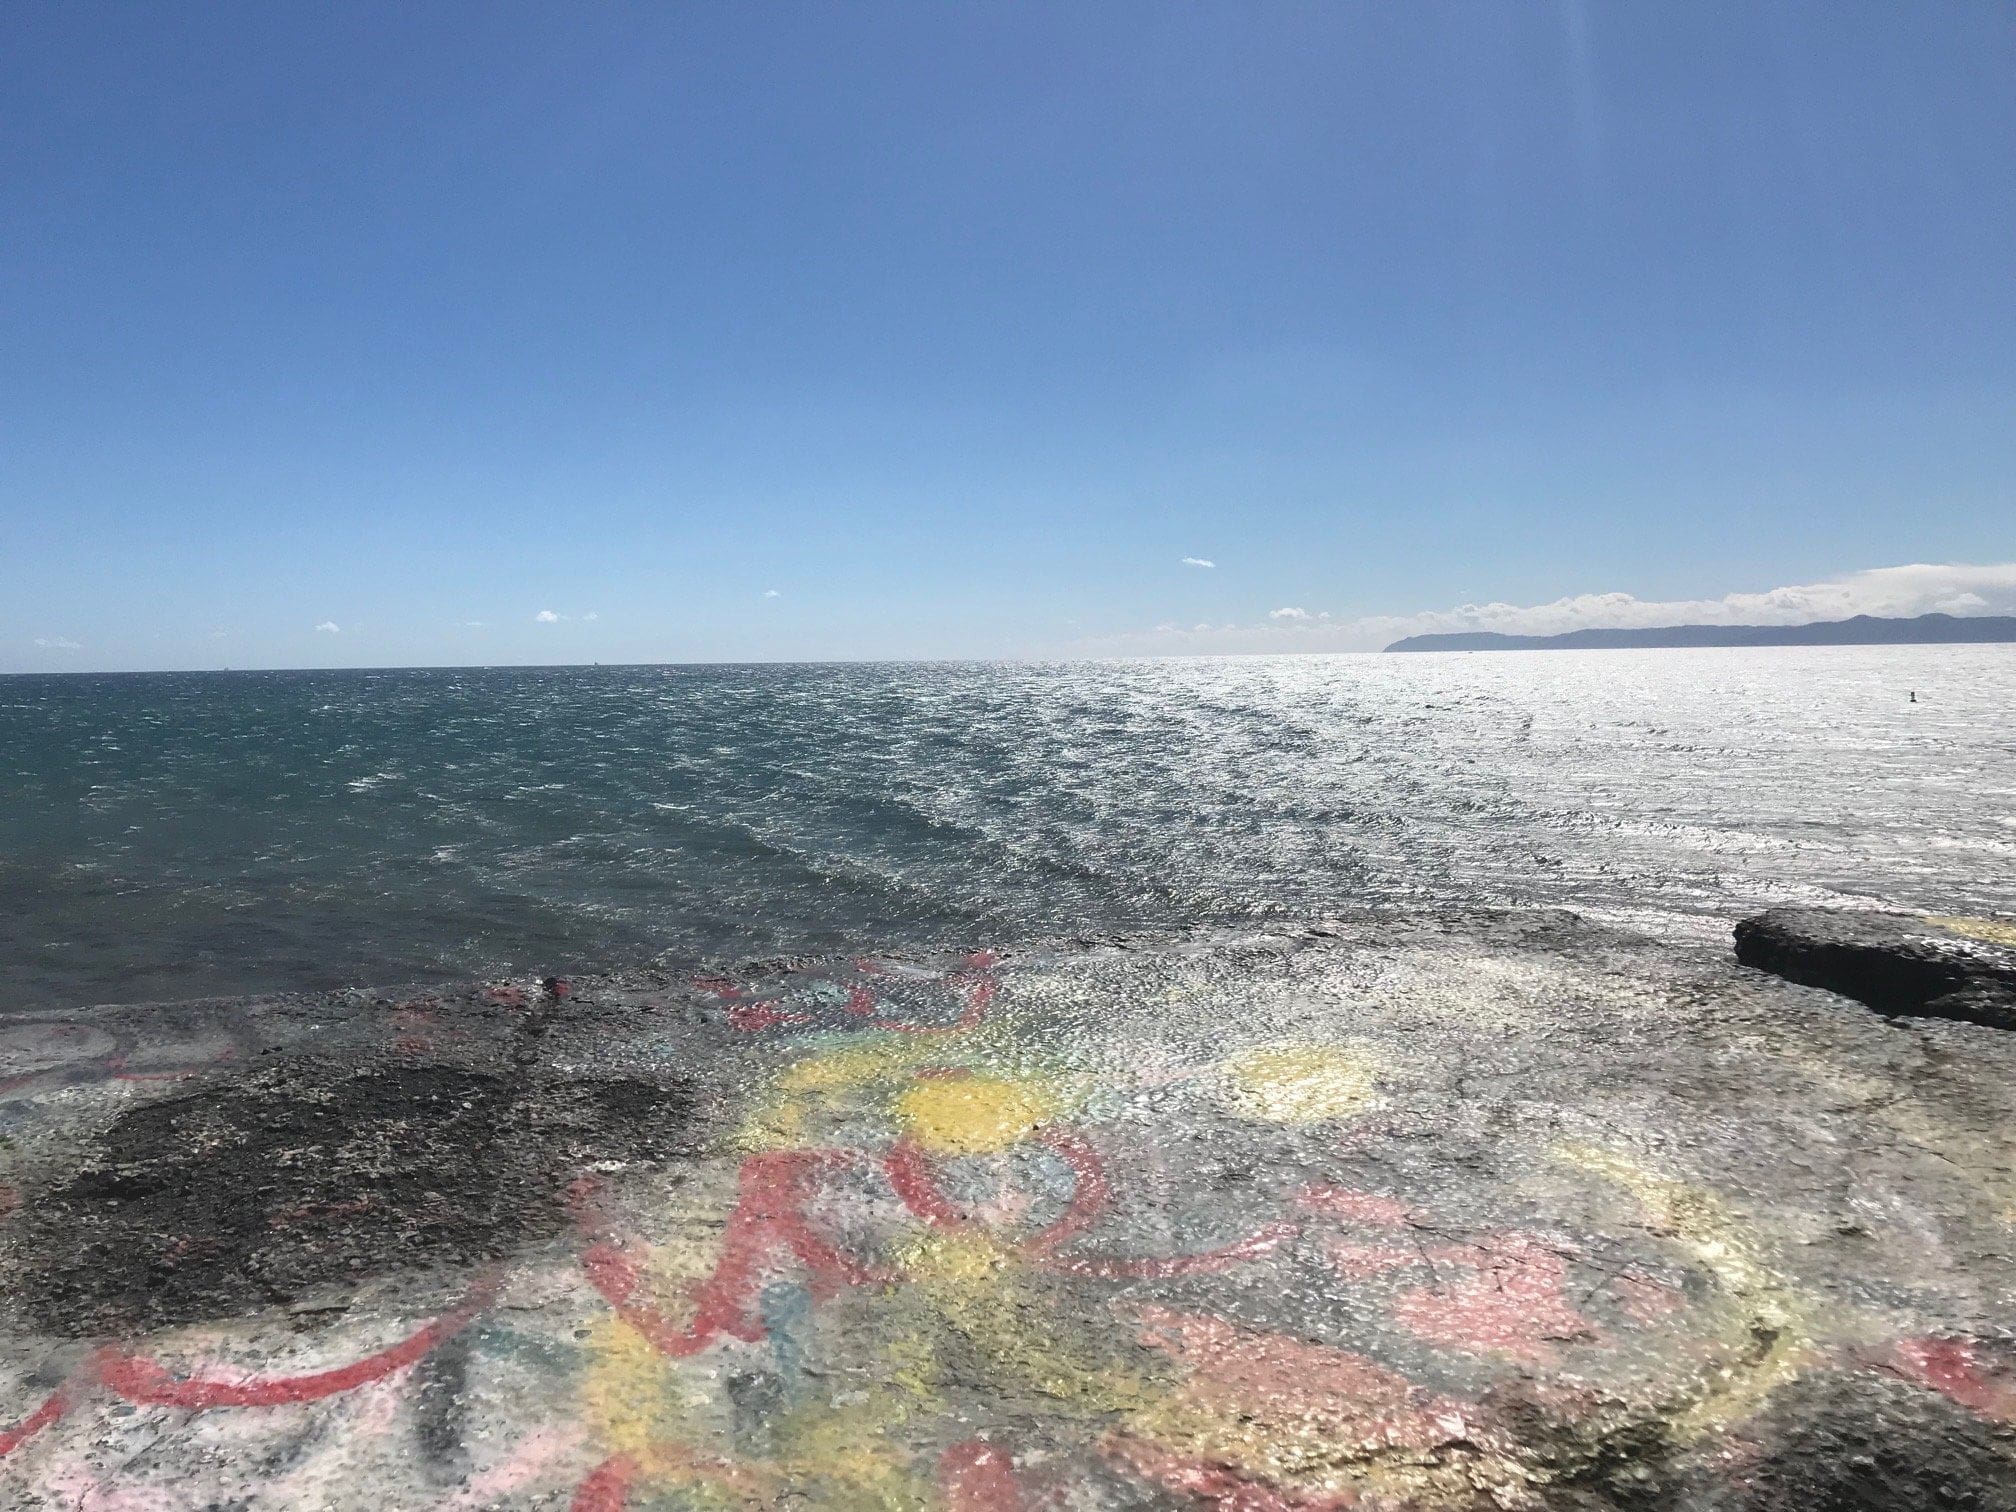
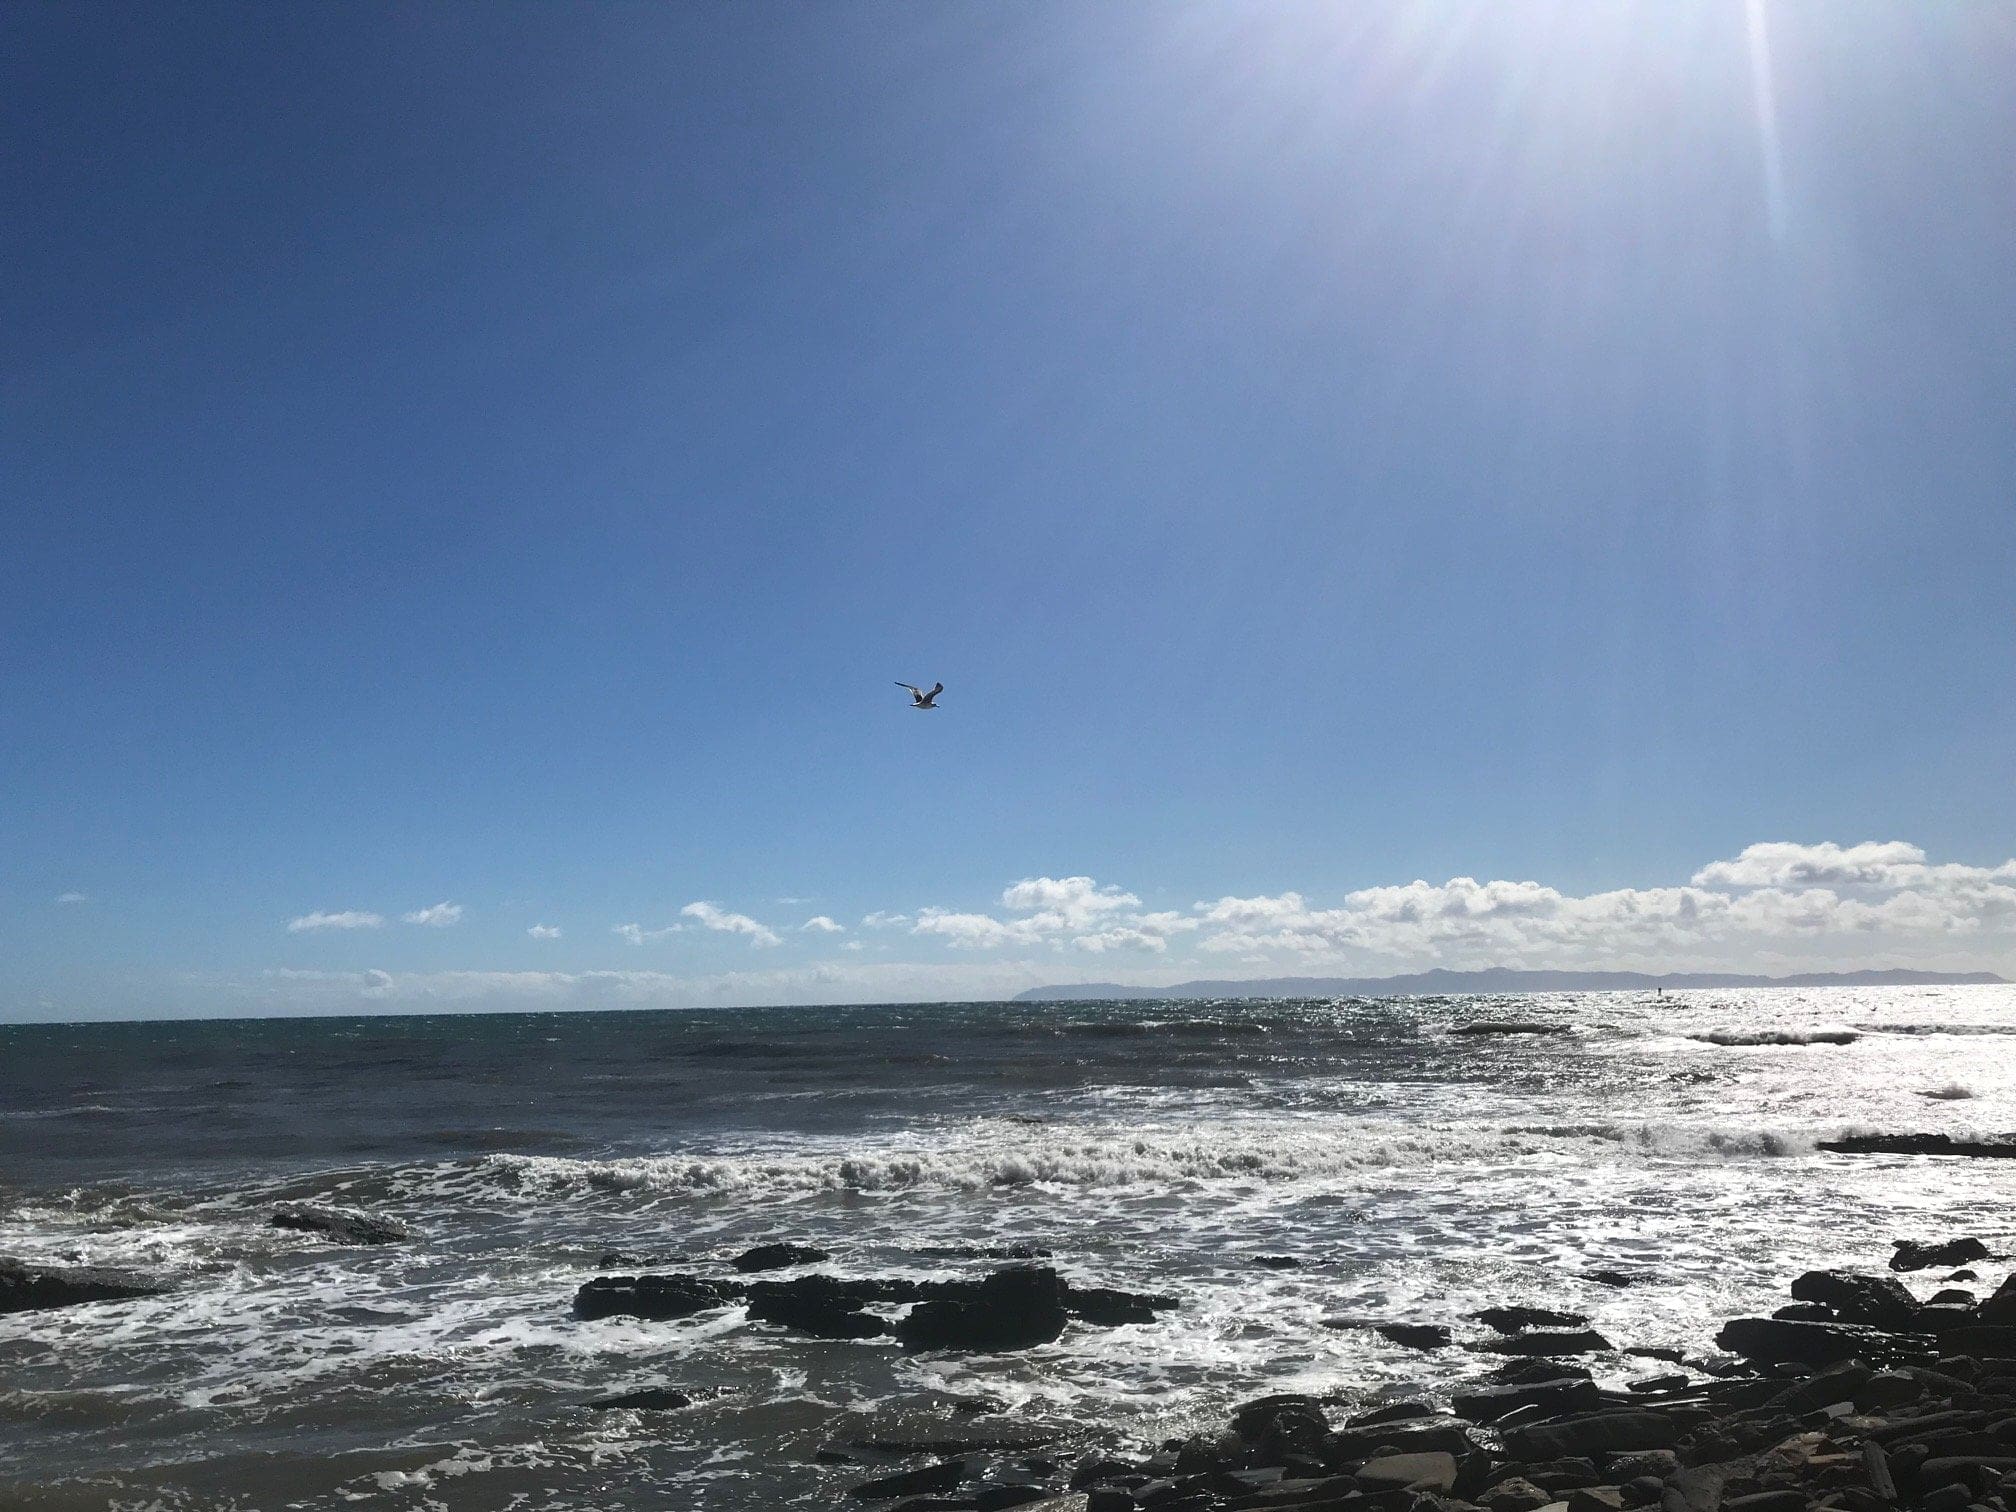
The Pacific Ocean; Beautiful but windy as hell. The tides were pretty high during the afternoon.
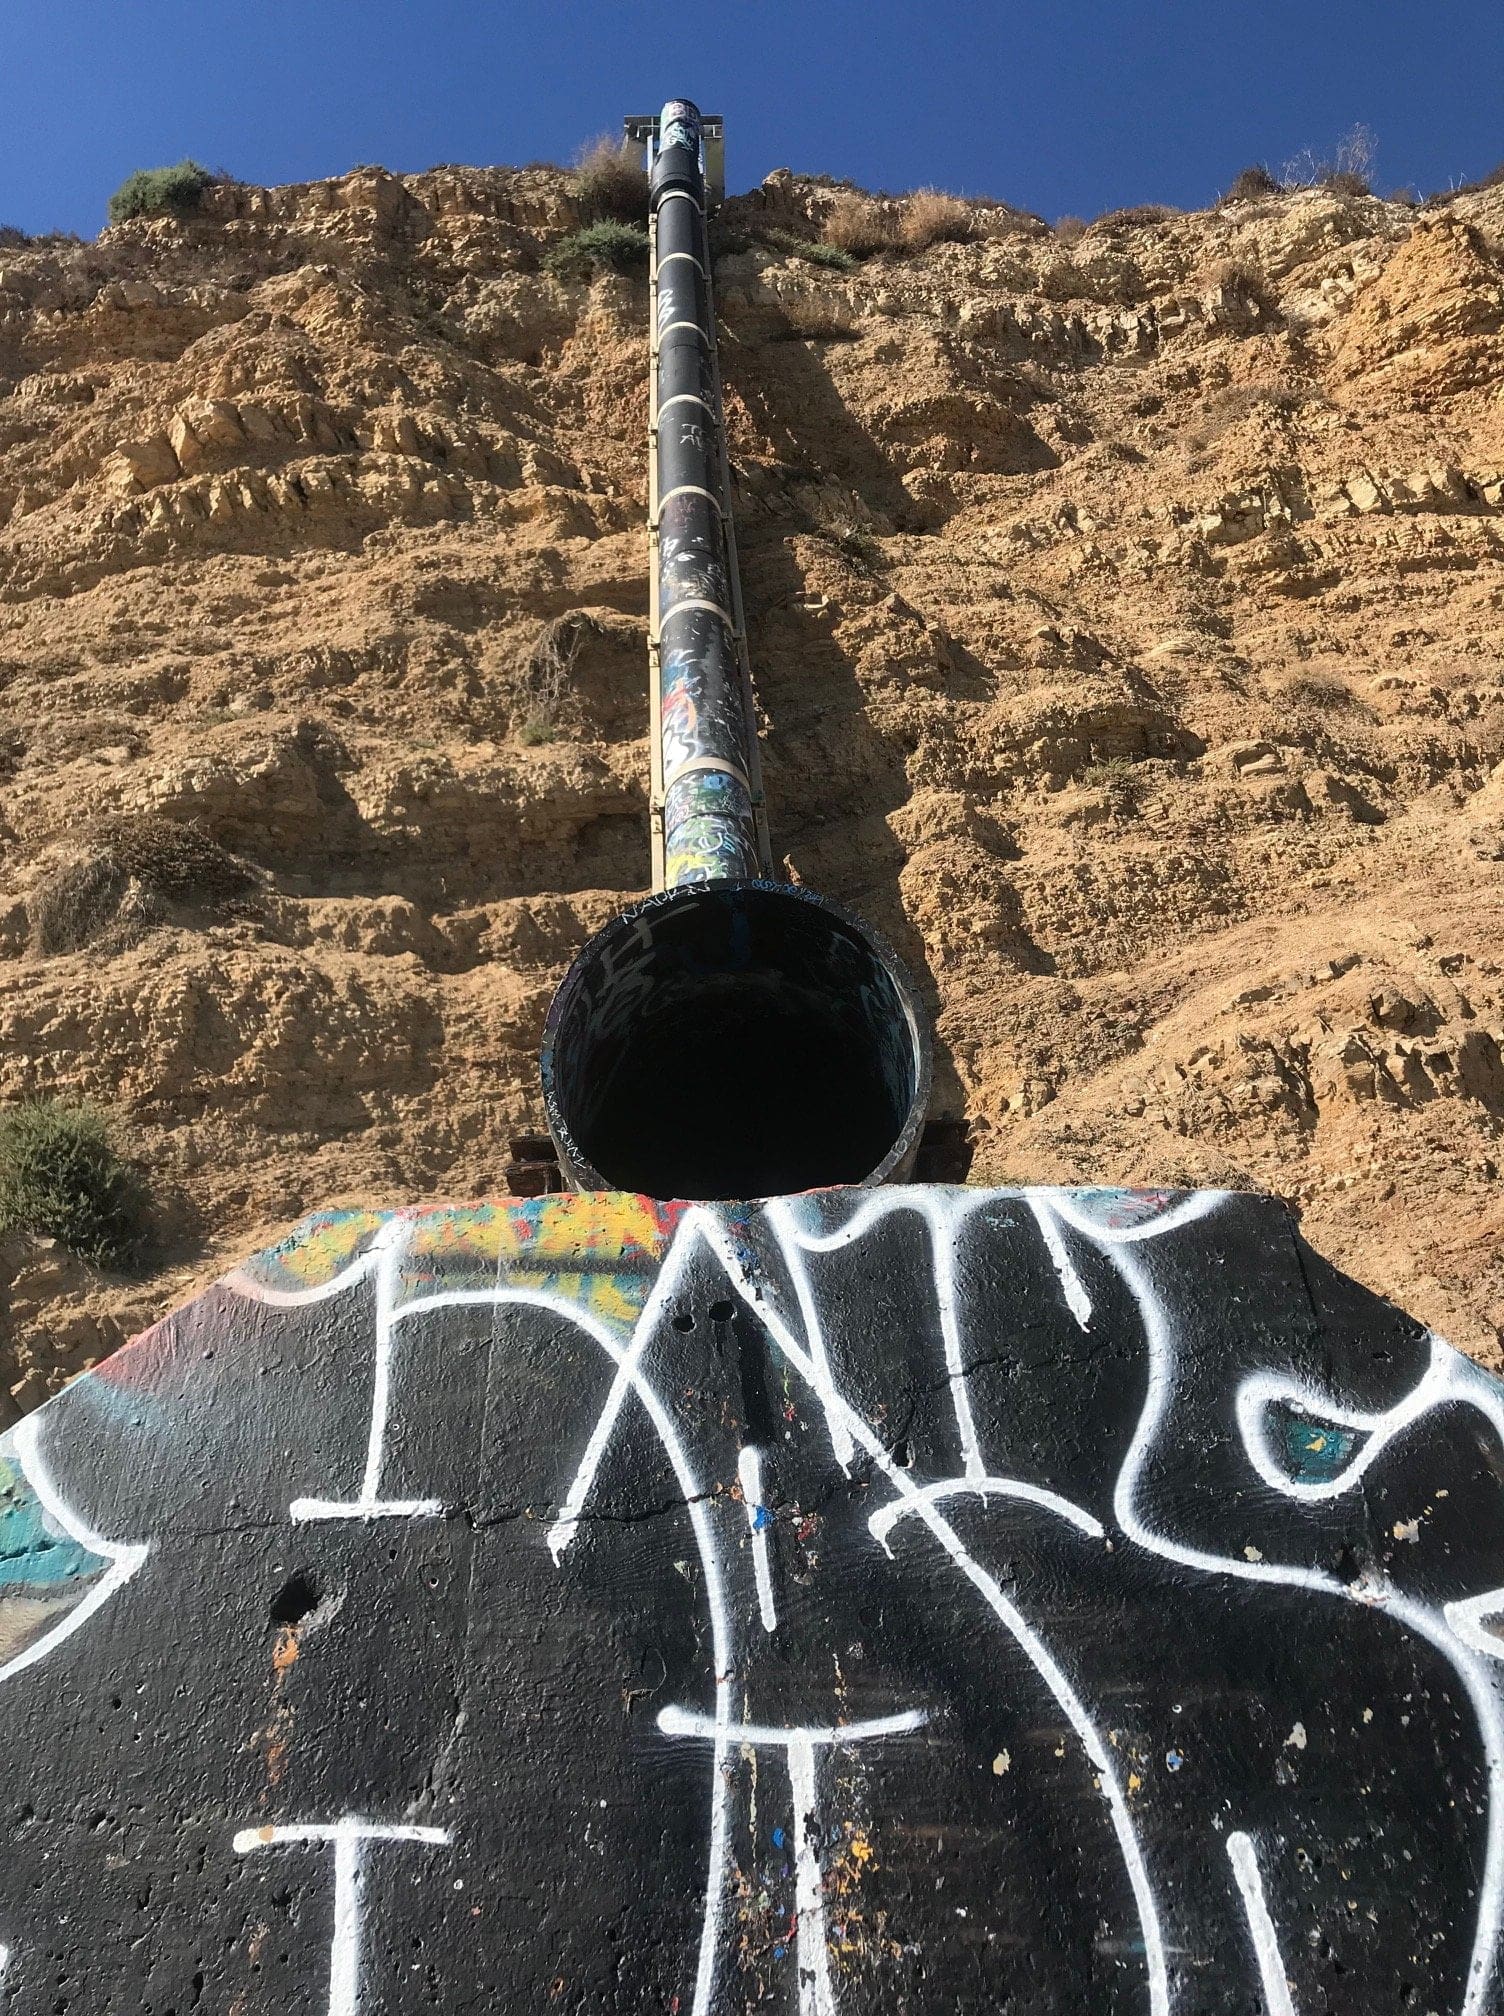
Towards the end of Tier 3; A metal pipe that extends from the base to the top of a cliff.
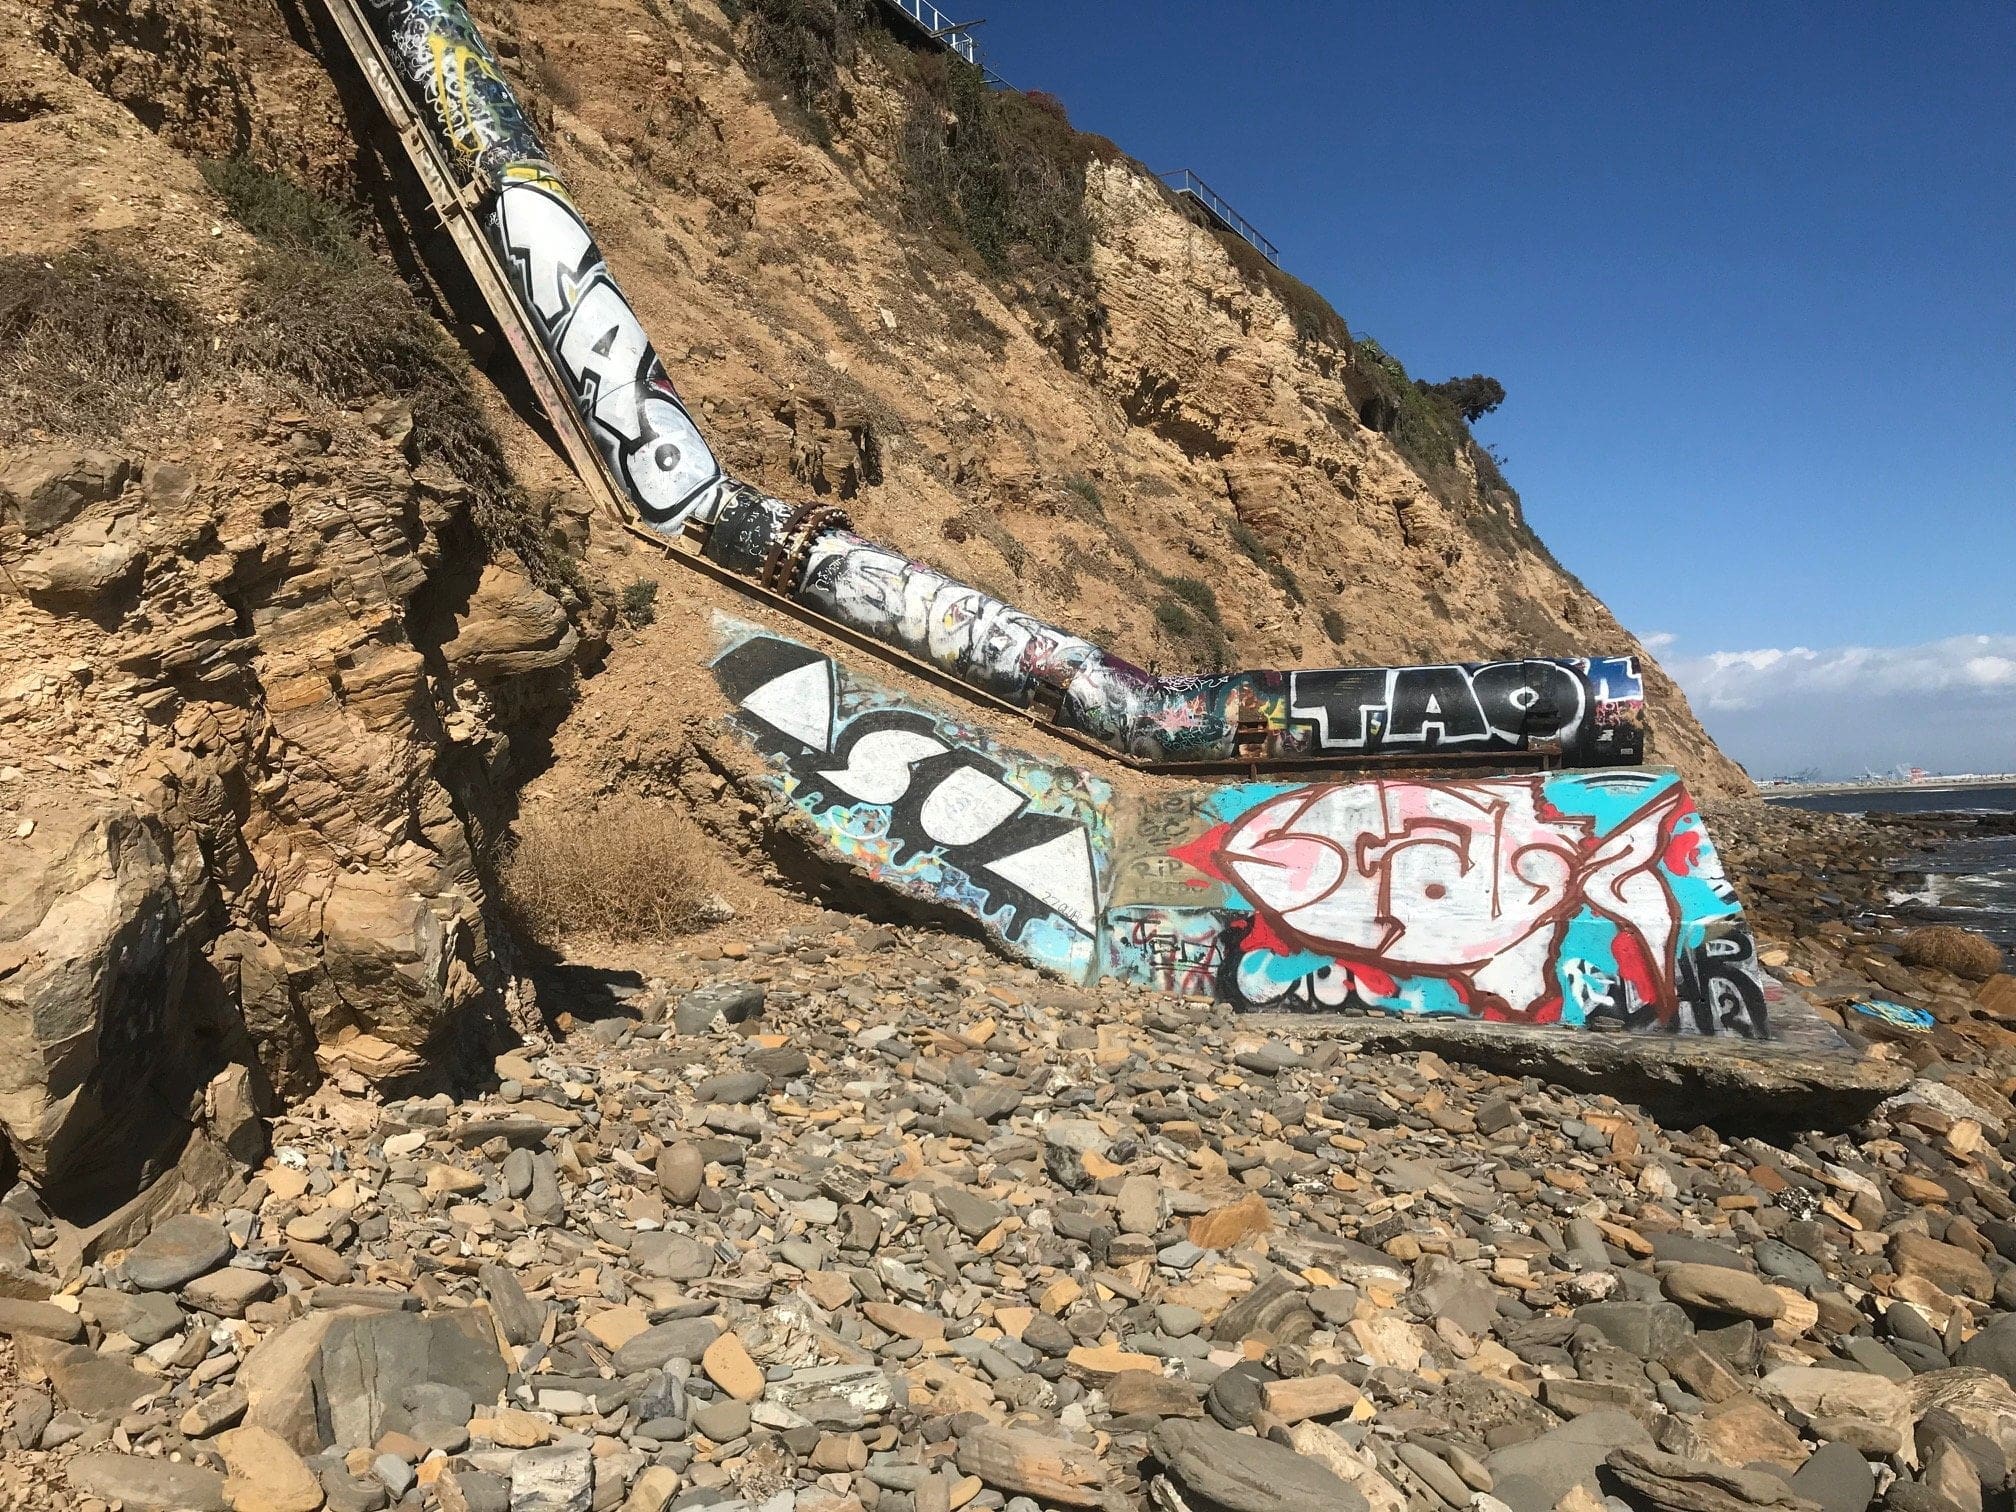
How people have managed to graffiti the top of this pipe is beyond me.
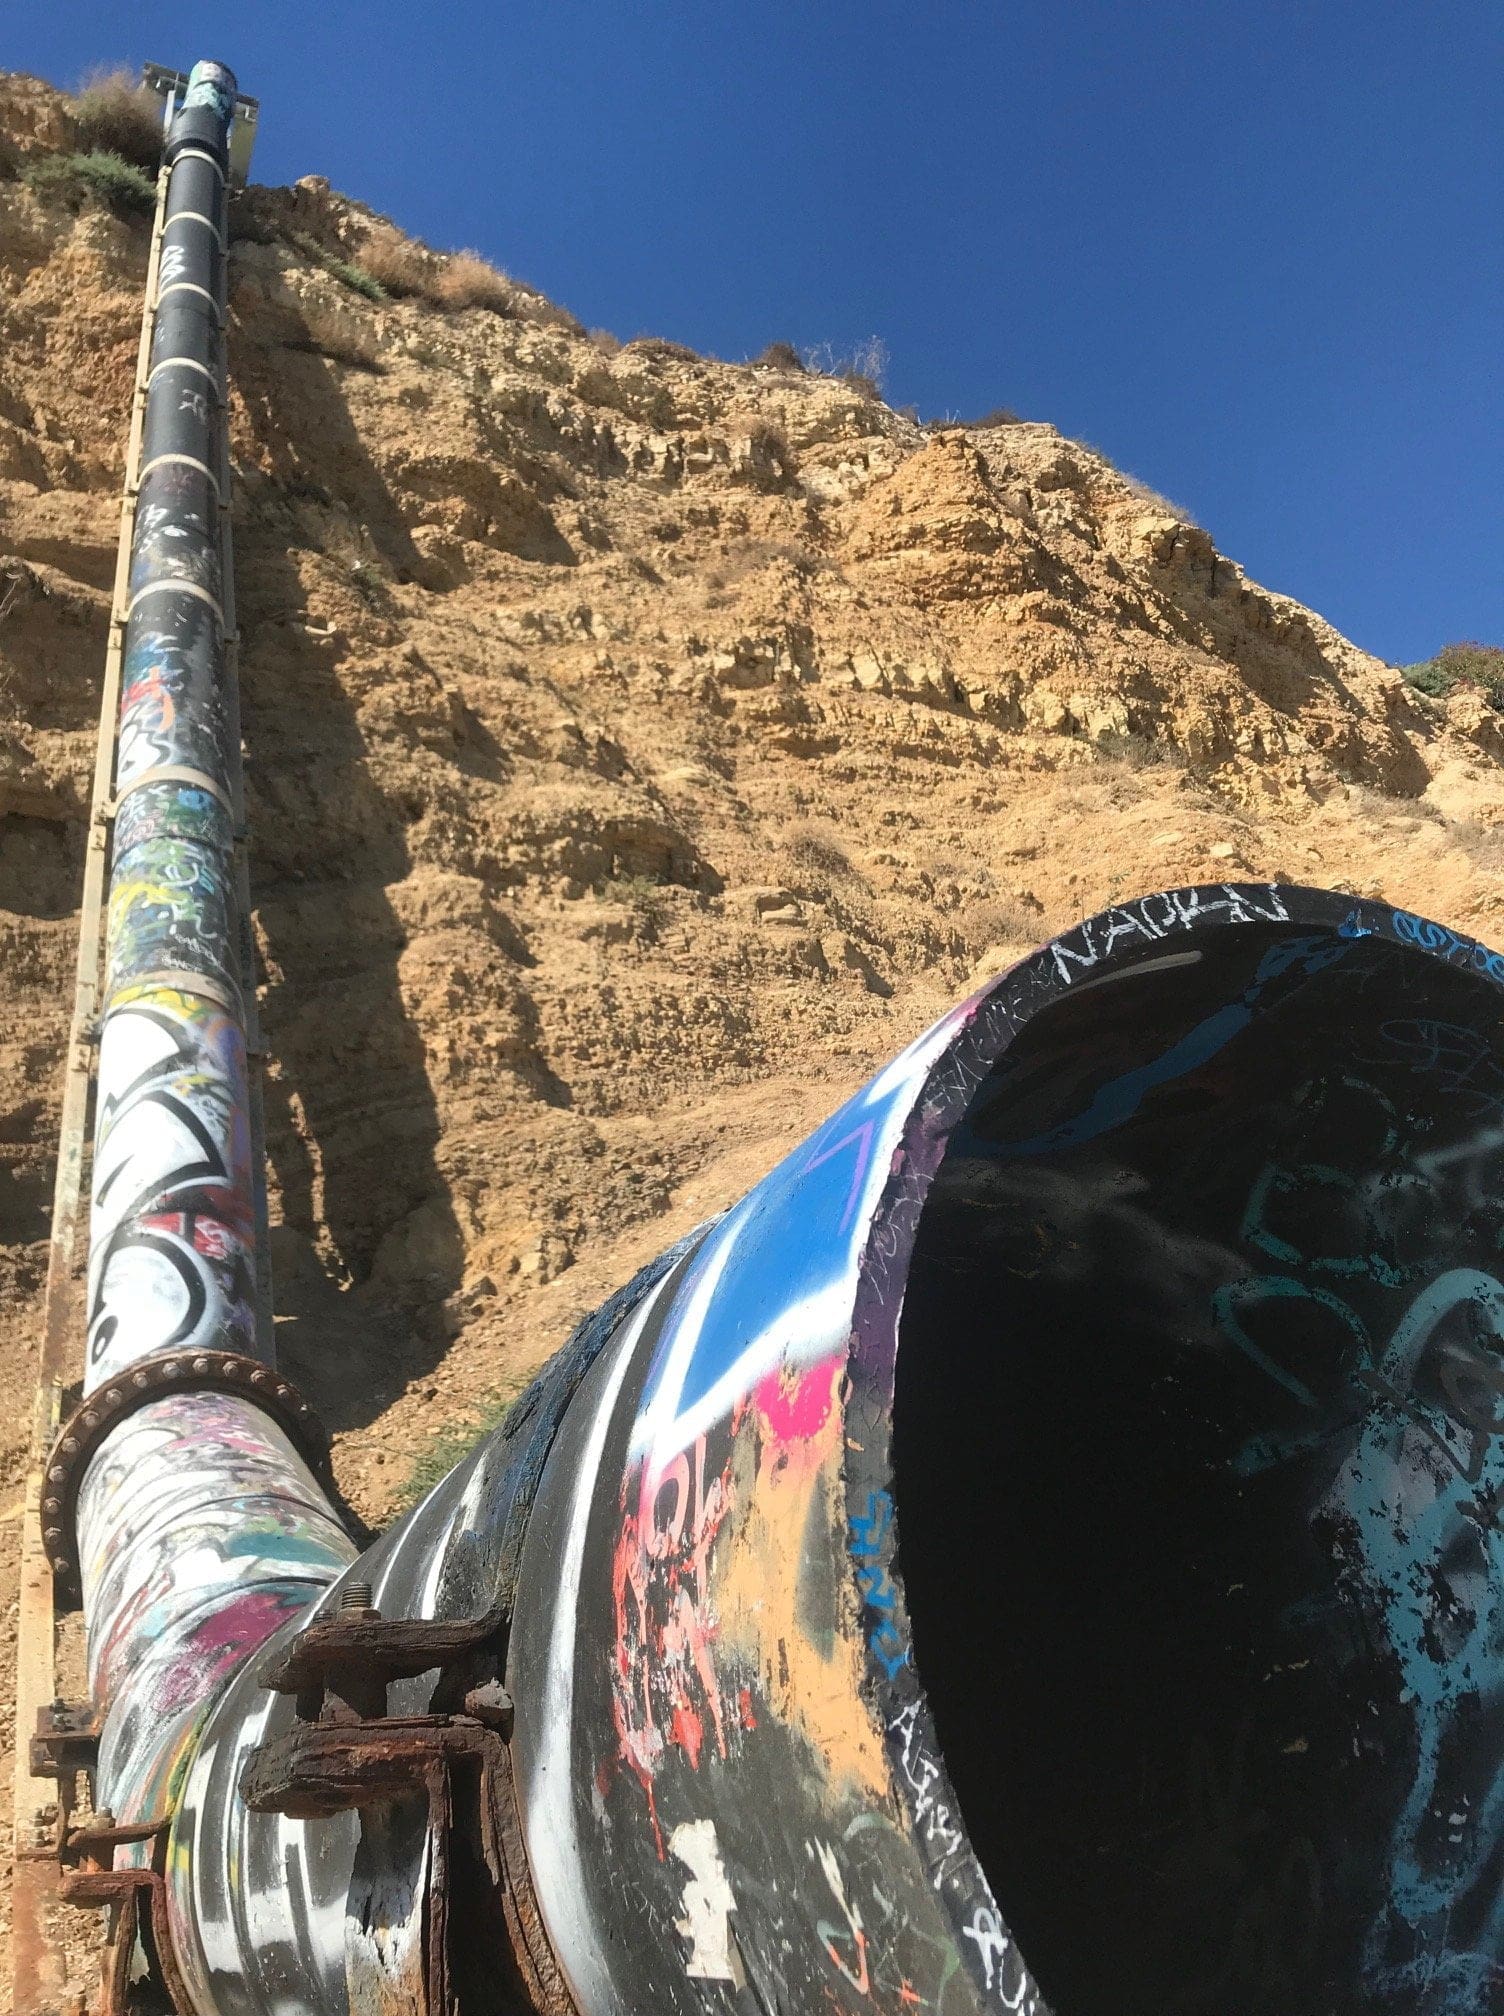
I guess you could theoretically climb up here to the top of the cliff if you have nothing else to lose in life…
I find a small trail up to tier 2 that I decided to embark on.
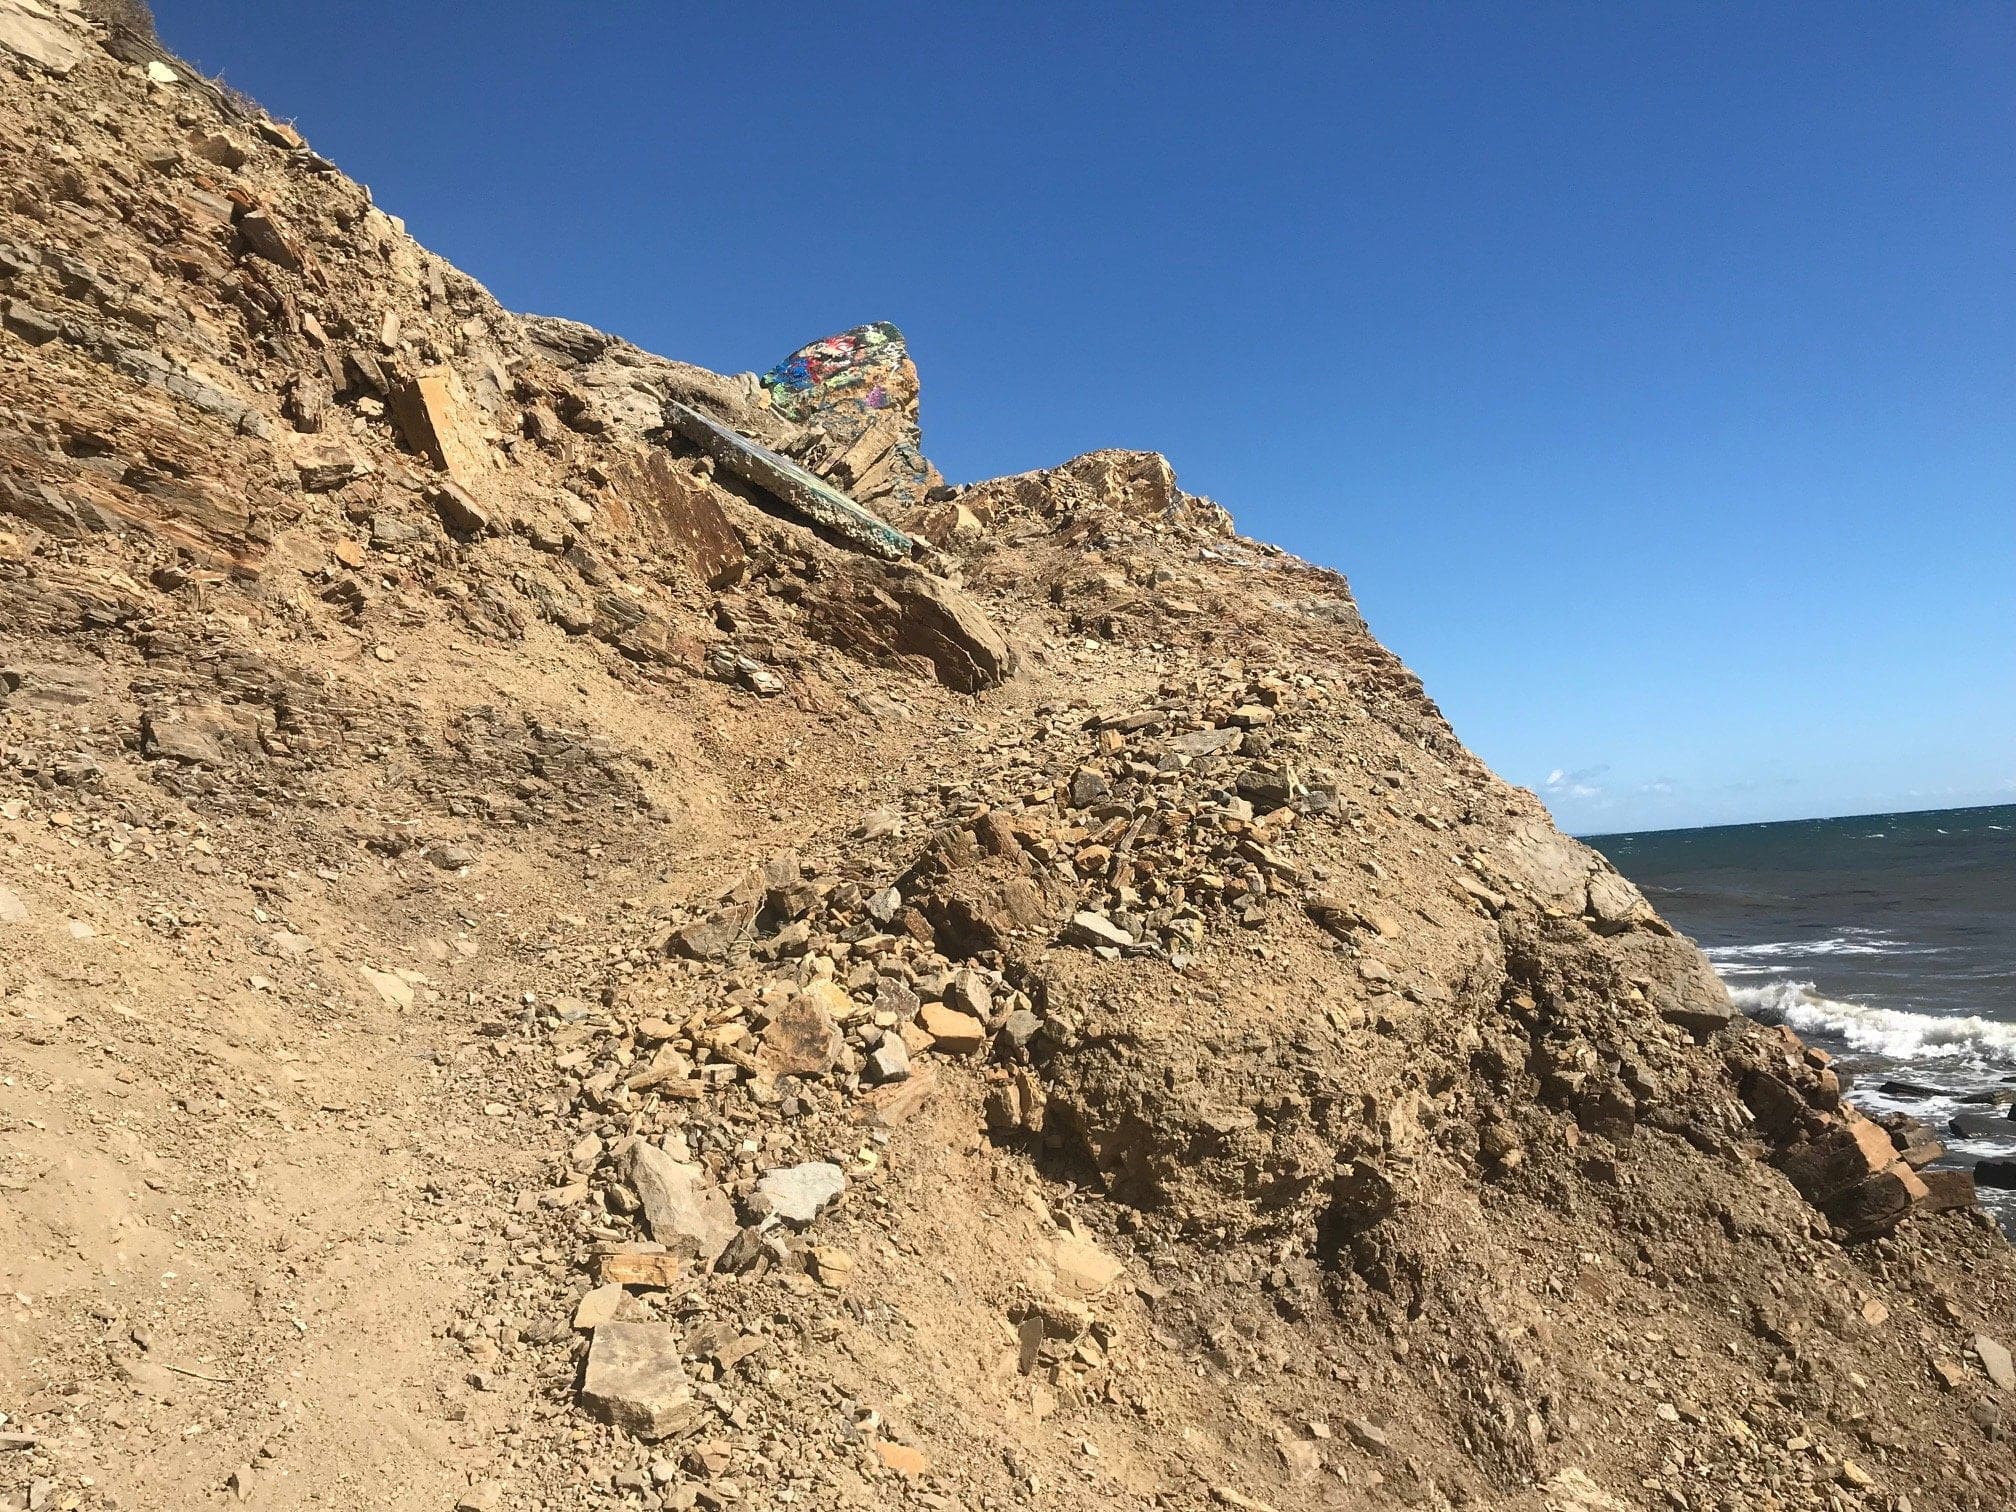
I should also mention that throughout the tier 3 walk were some steep, uneven trails leading back up. You can either take these routes, double back toward the westernmost cliffs, or take the “safe” trail that I went on (which is on the easternmost part of tier 3).
Tier 2 in all of its holy glory.
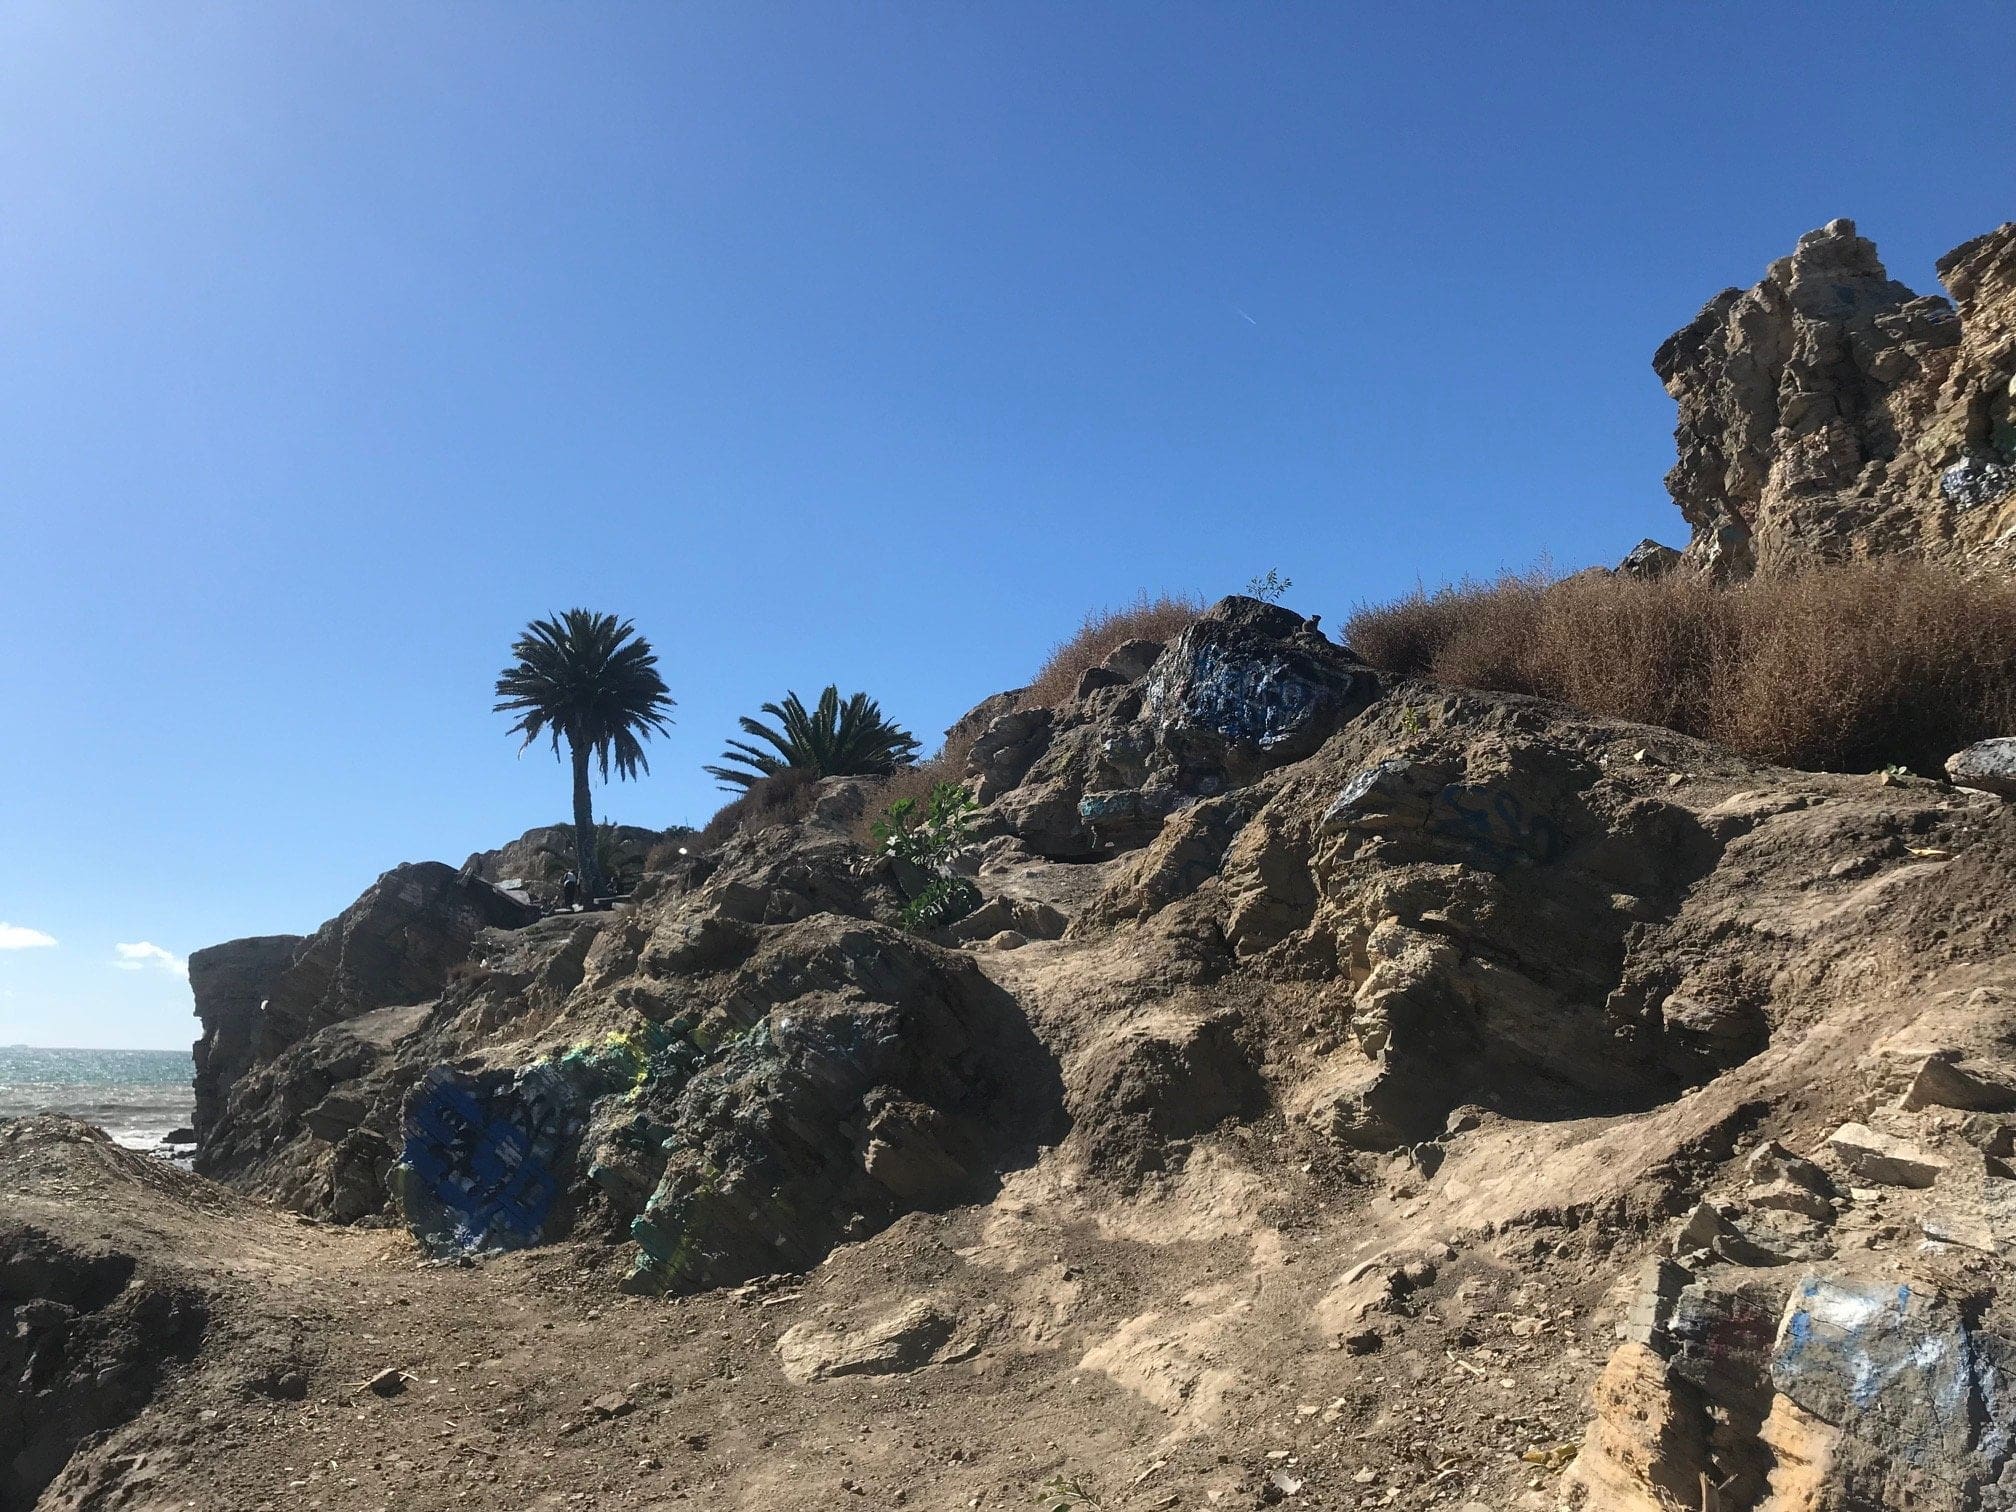
Tier 2
I would consider tier 2 to be the most dangerous part of Sunken City since it’s much closer to the cliff edges than tier 3, even though it’s at a slightly lower level.
There aren’t as many large ruins, but there are quite a few semi-rigorous (but short) trails throughout tier 2.
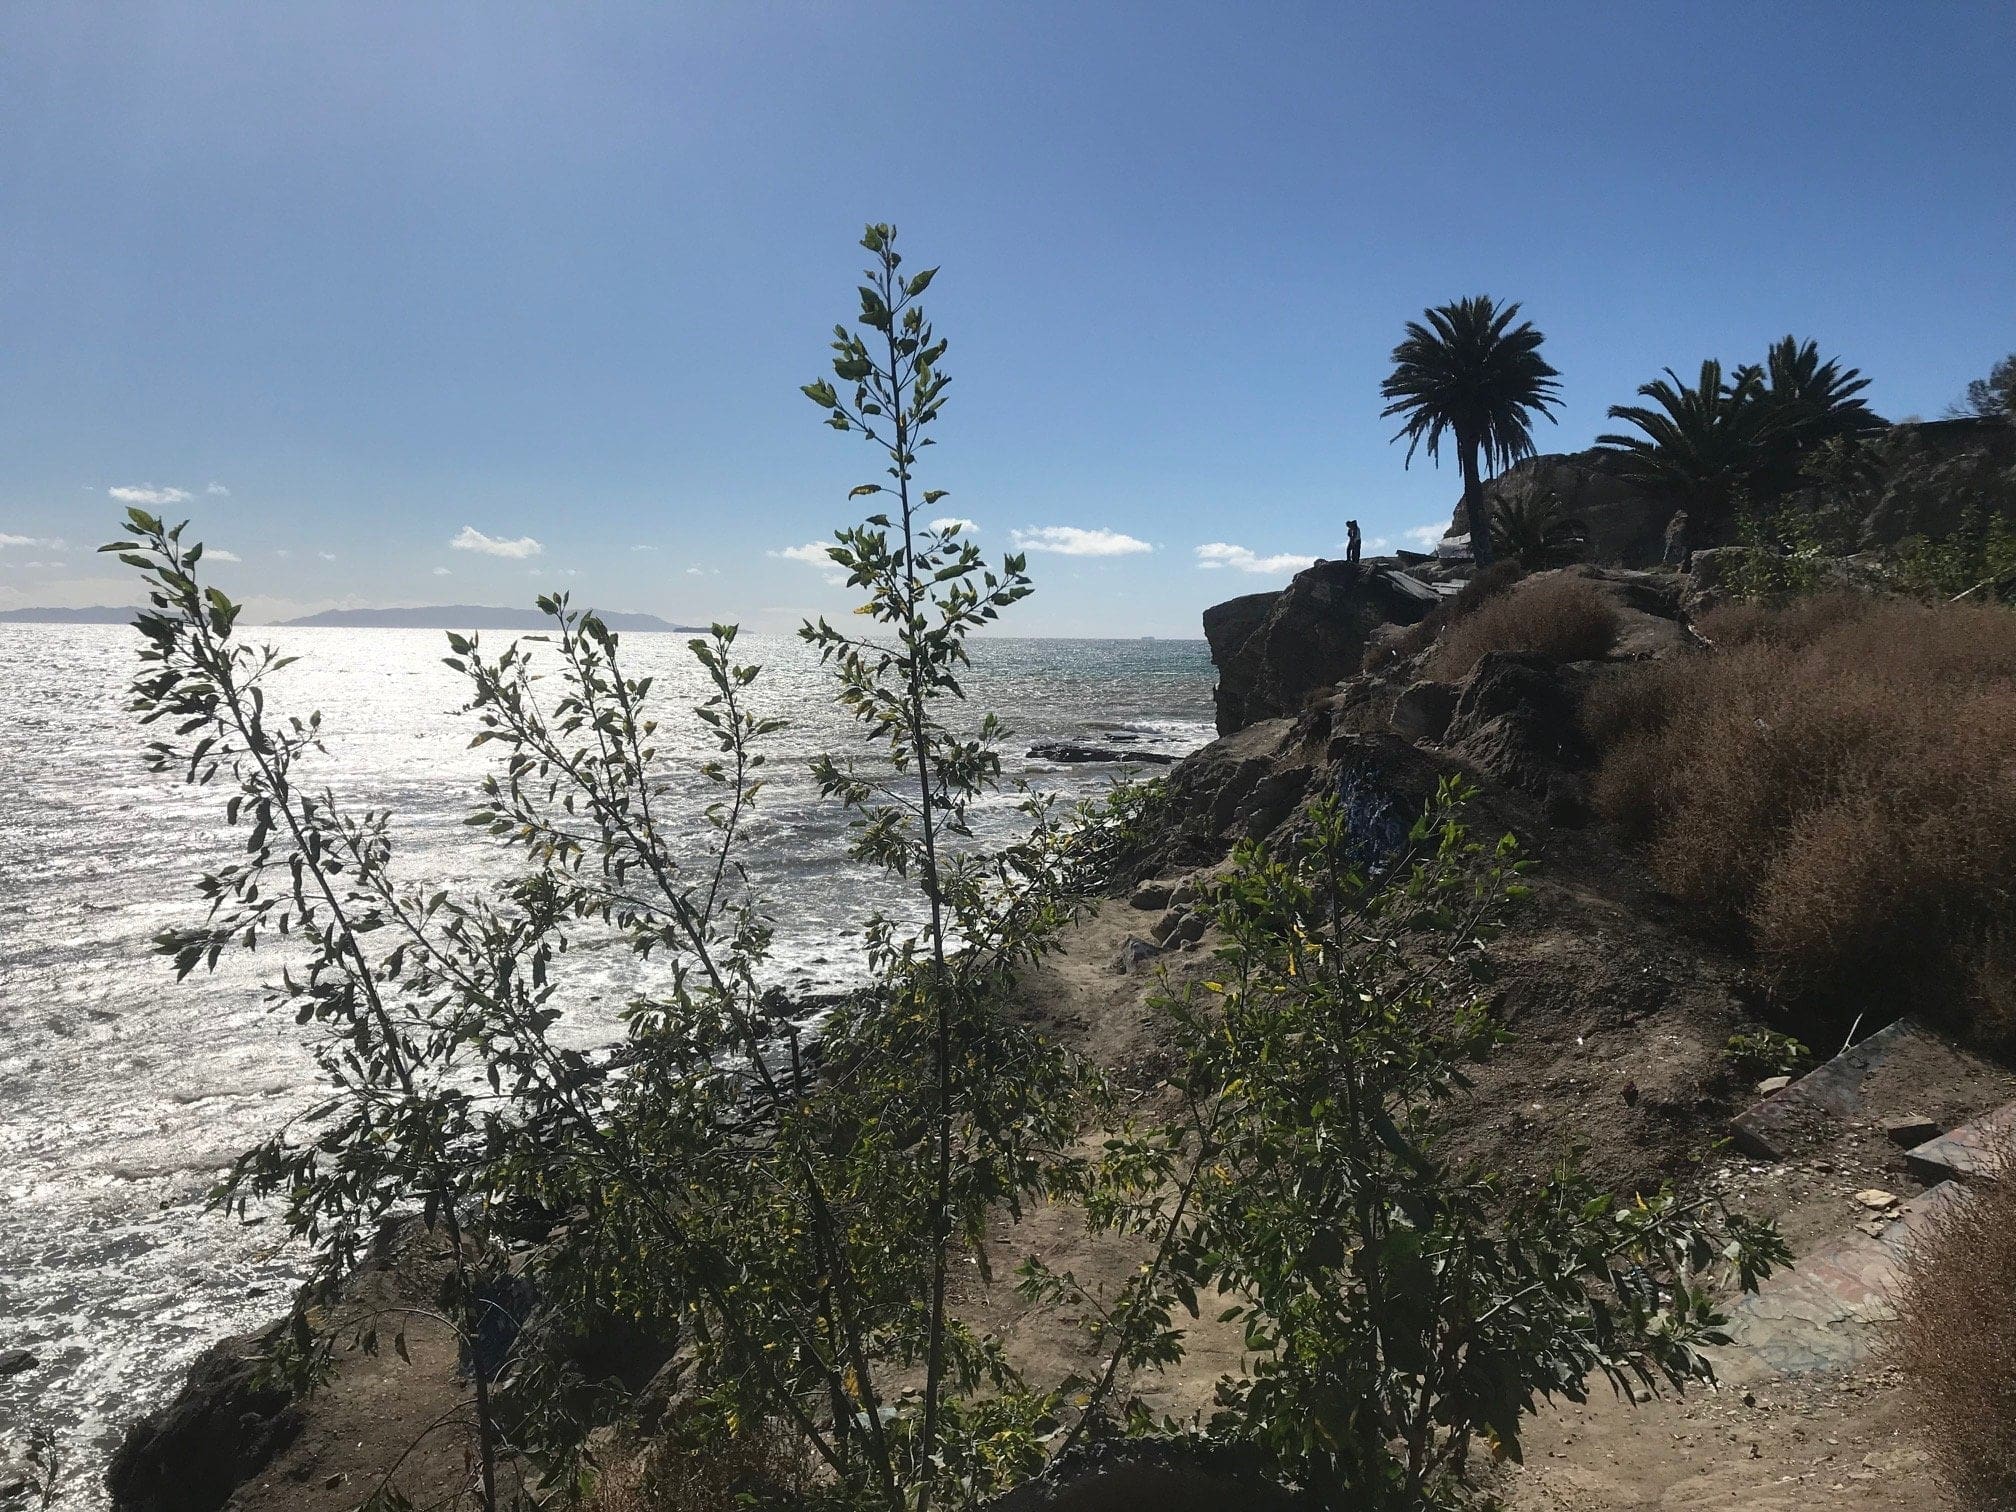
A den of some sorts on one of the trails (with nothing but disappointment inside).
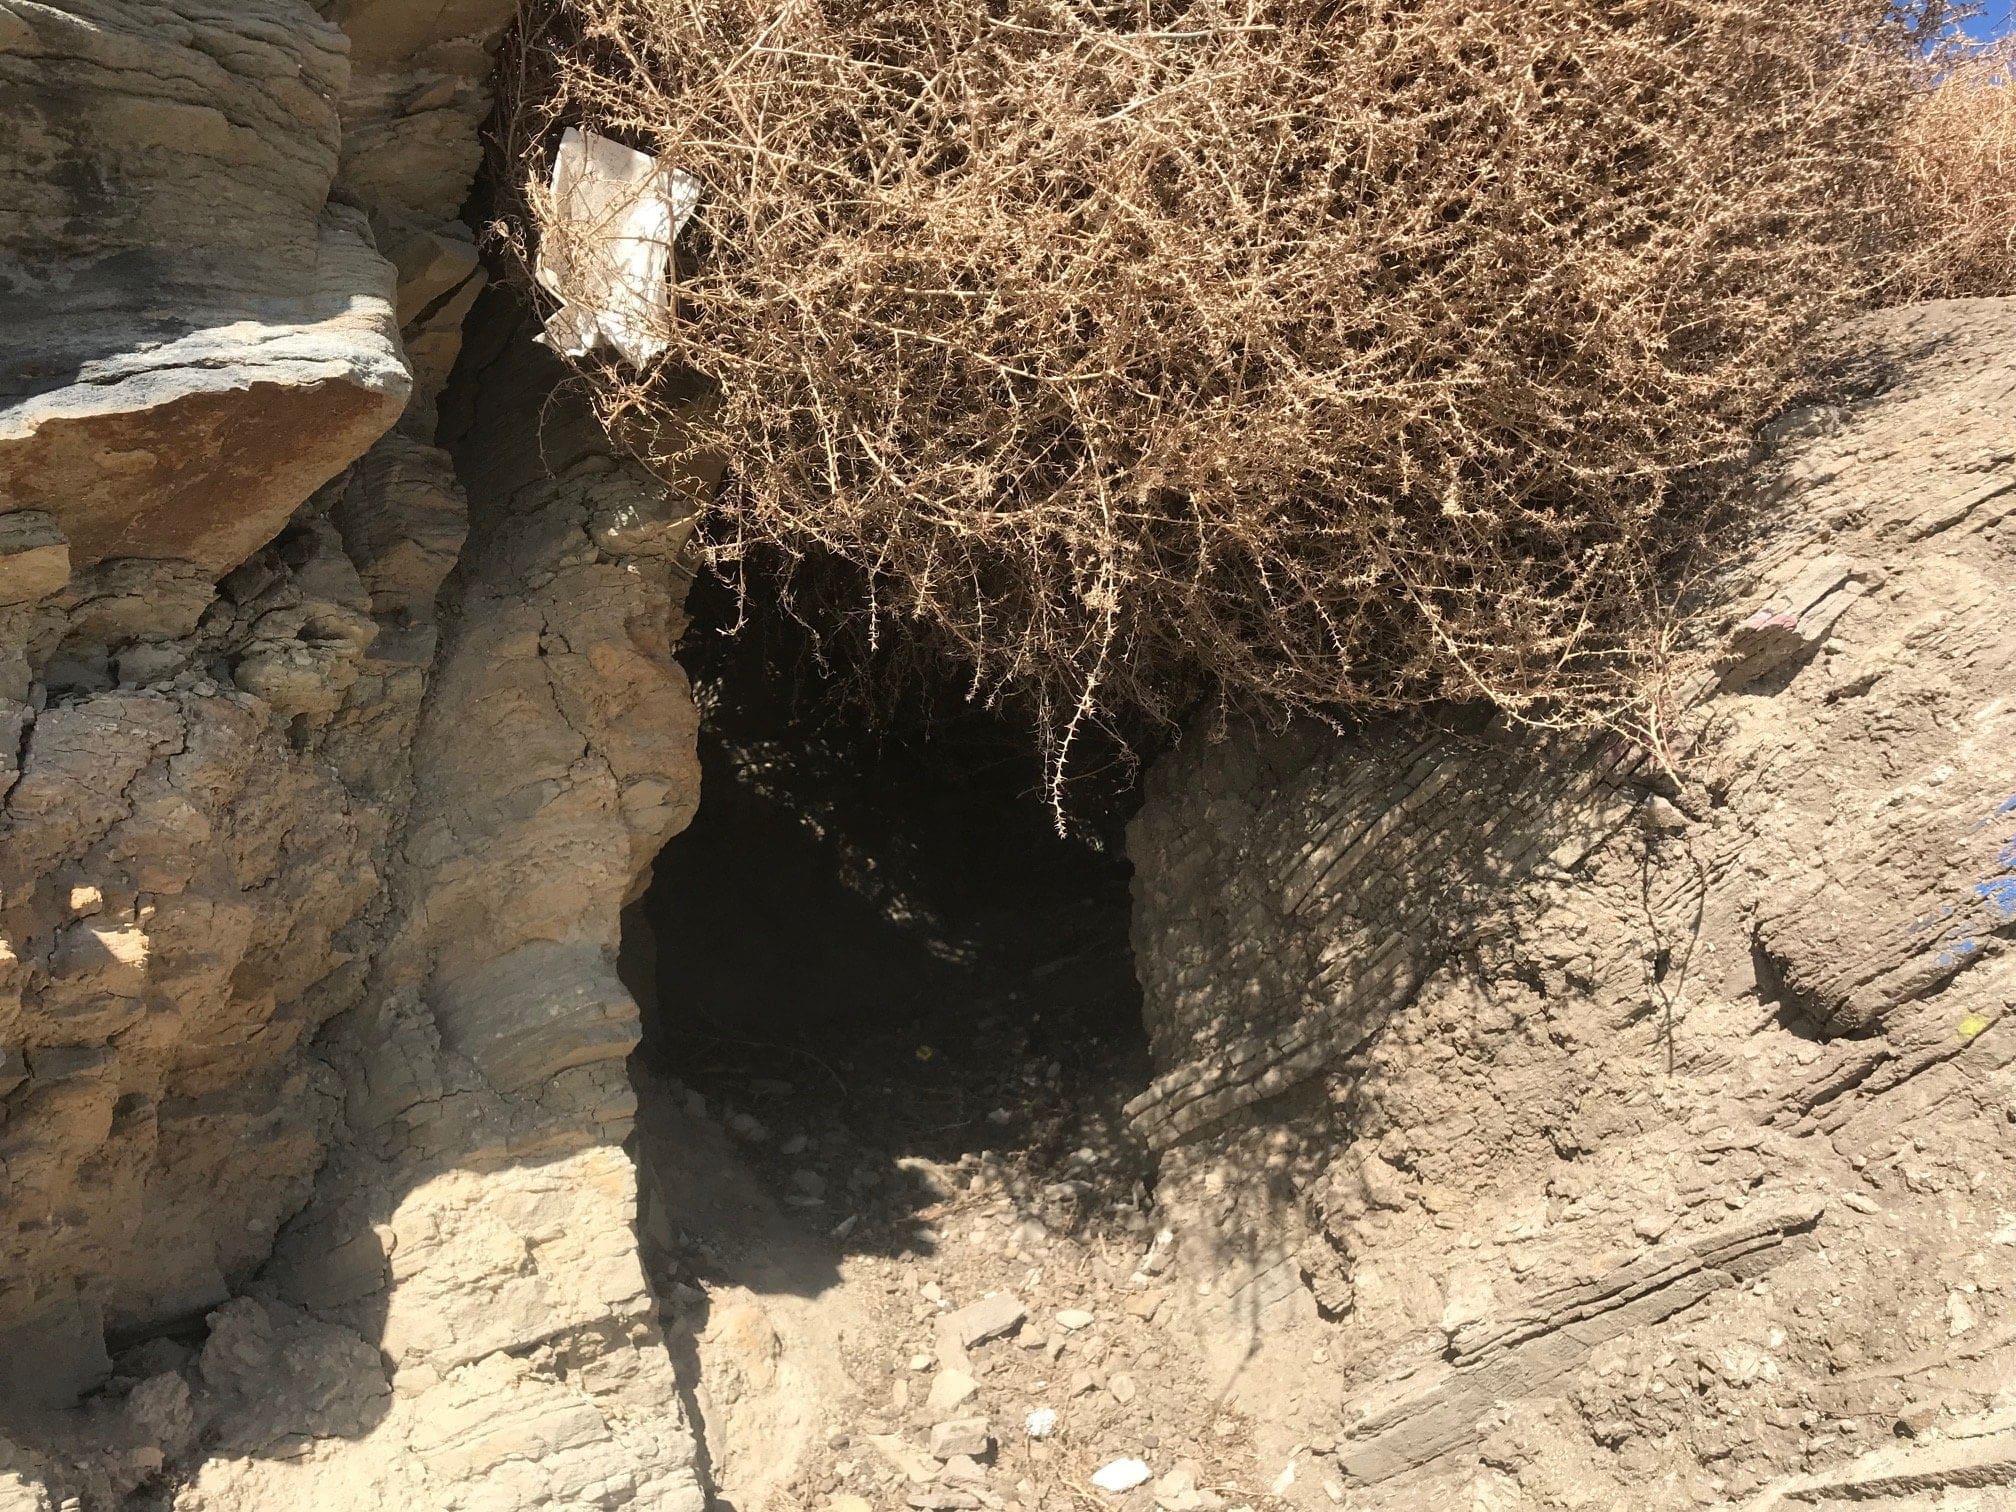
A tiny little pipe that you crawl through to get back up to tier 1.
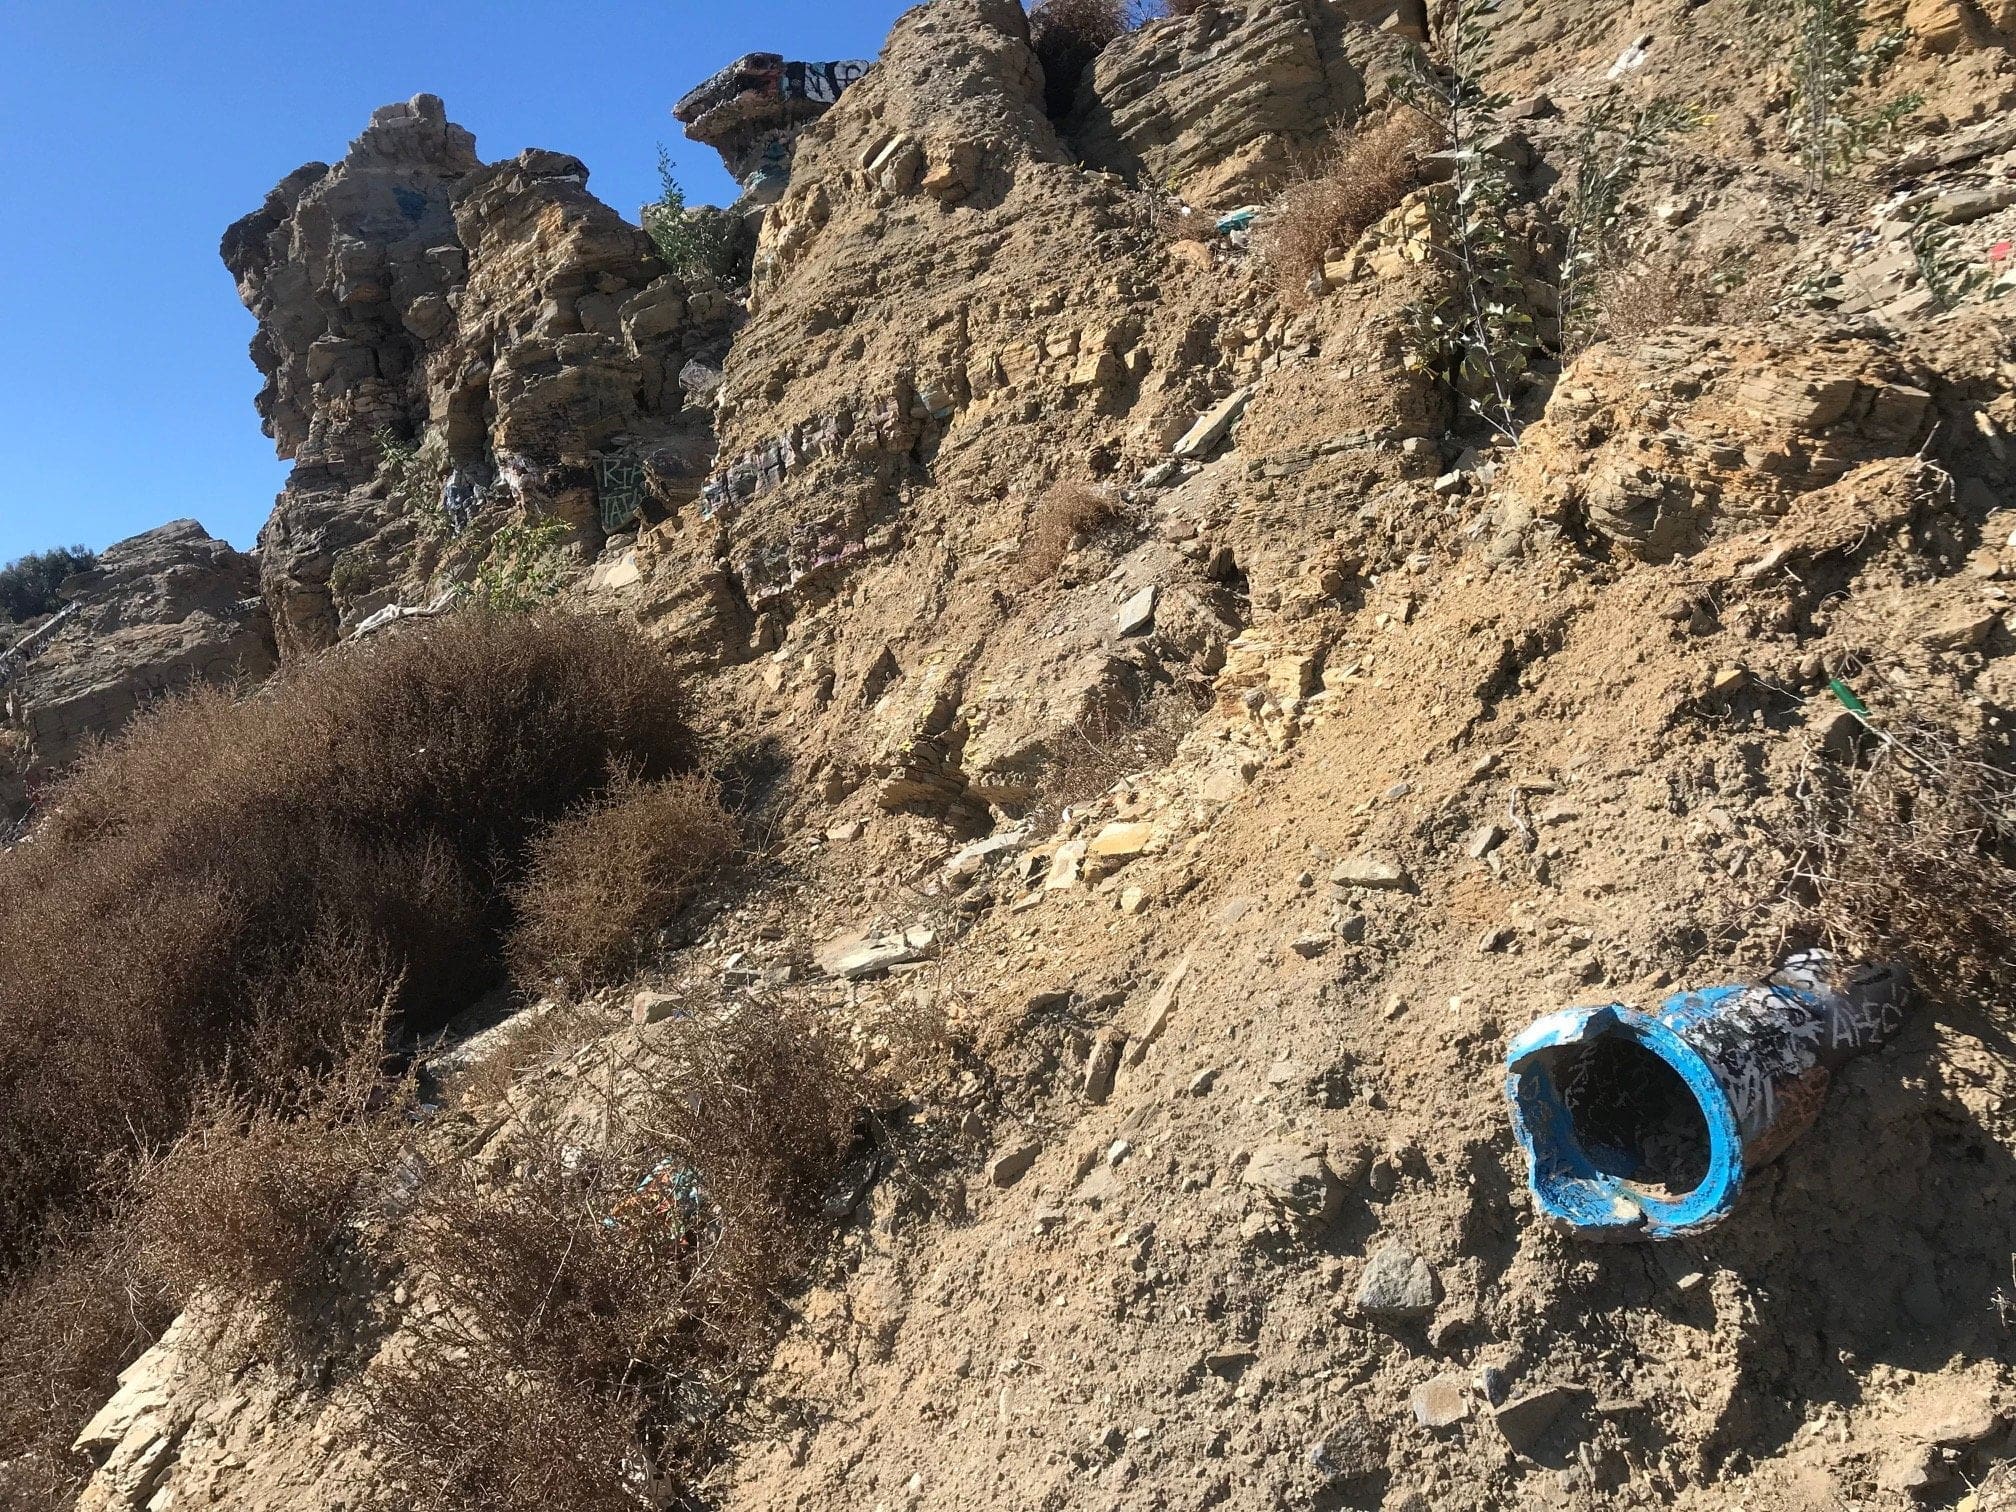
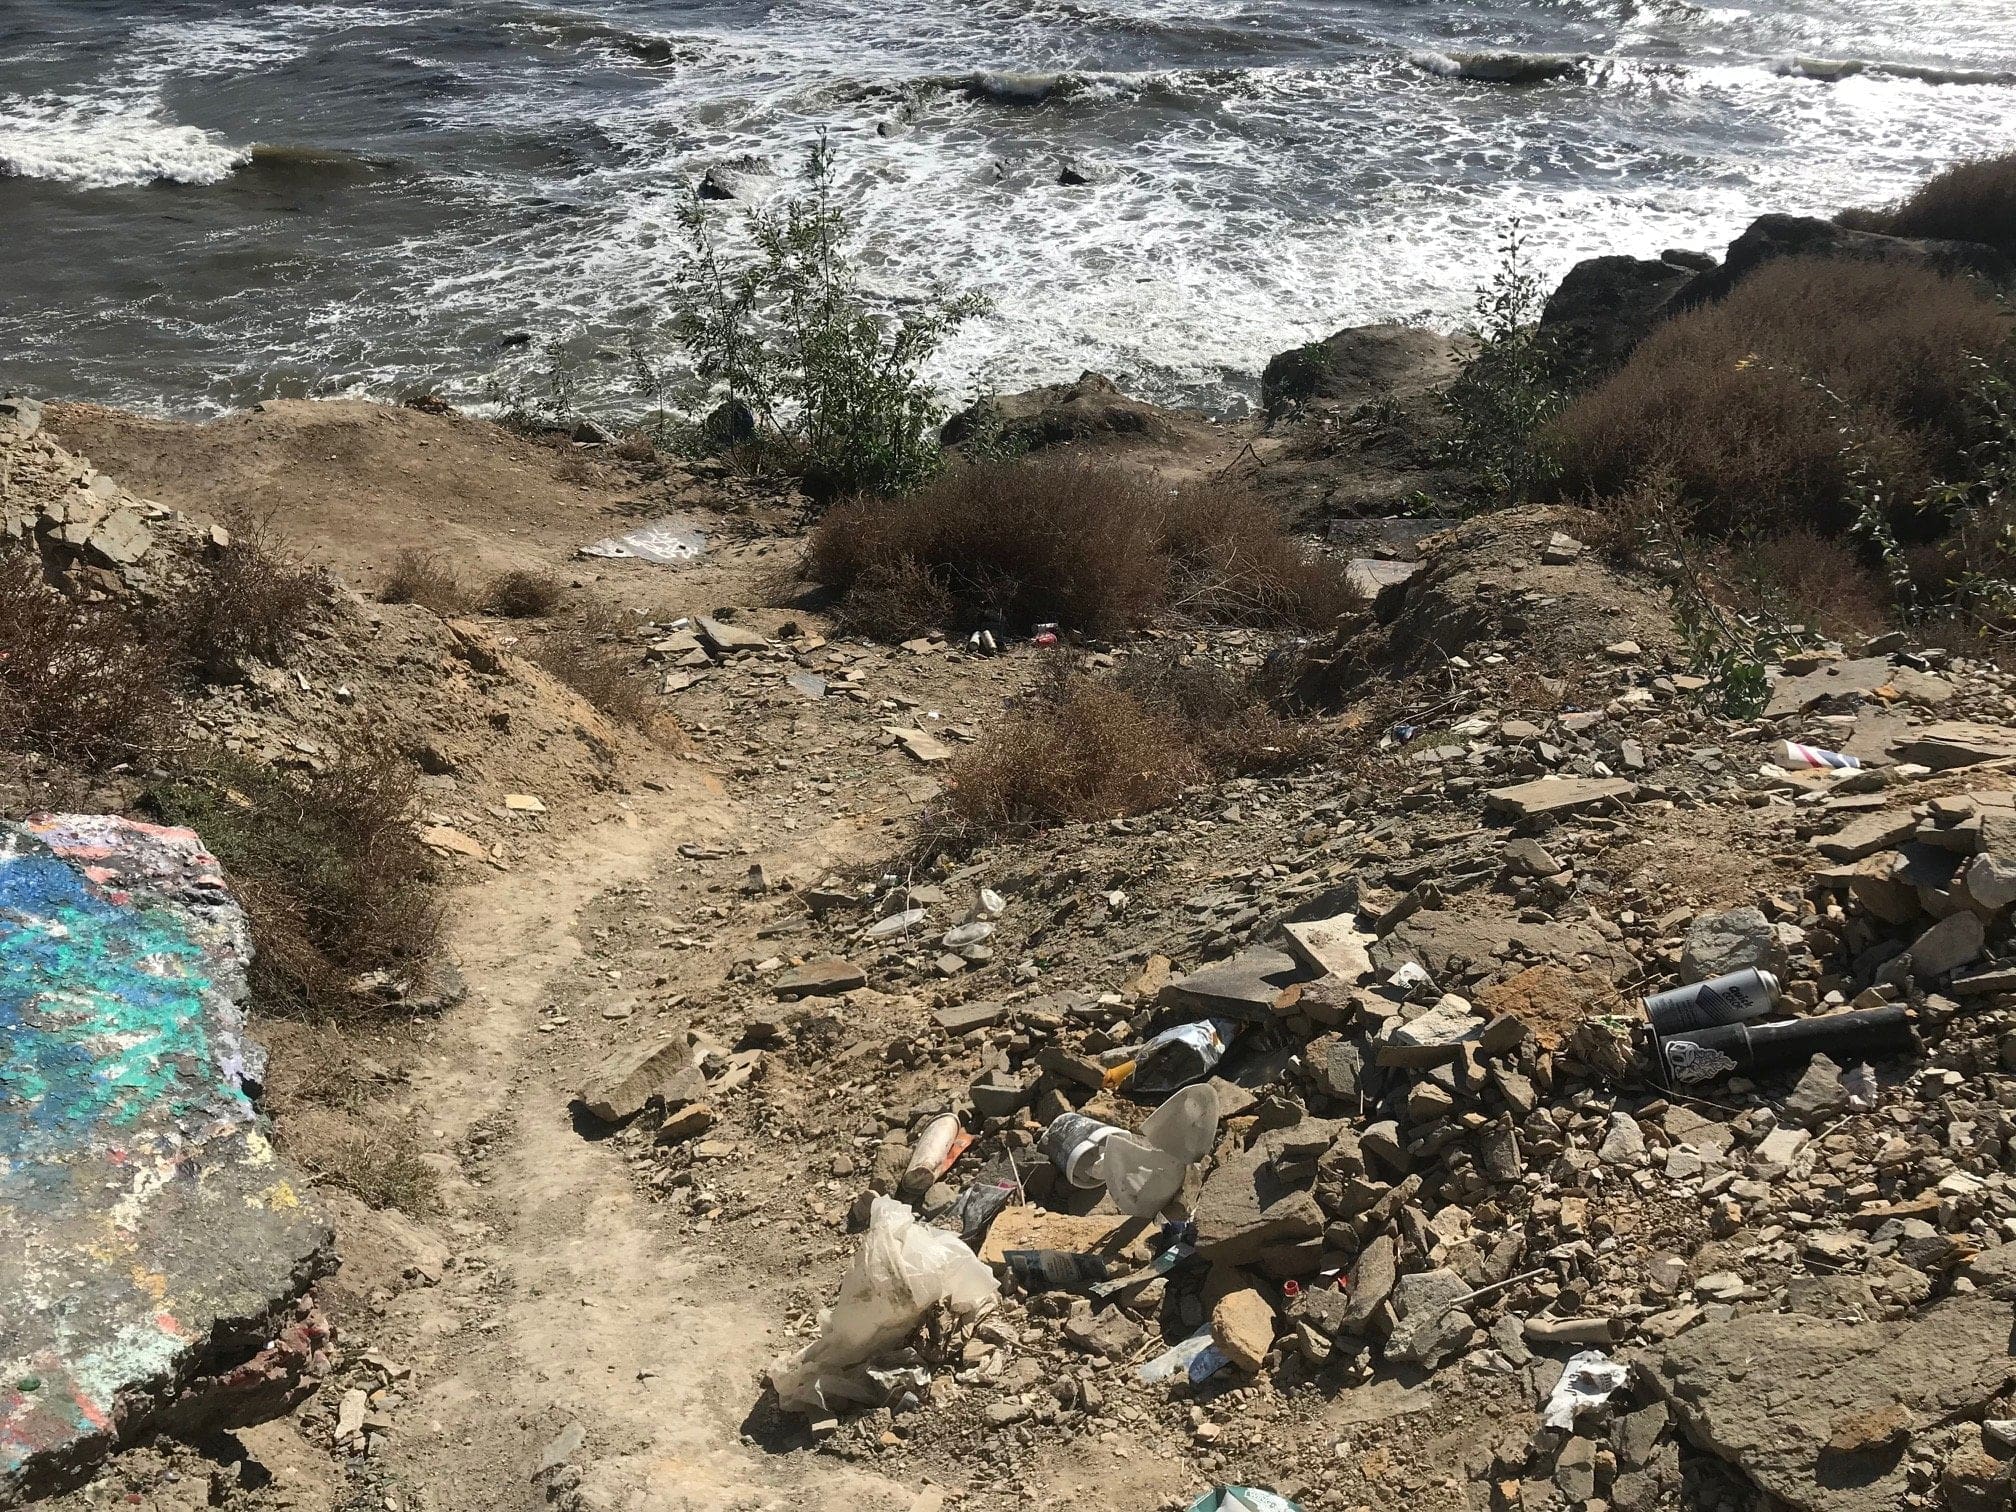
Looking down to the steep trail that descends to the beach.
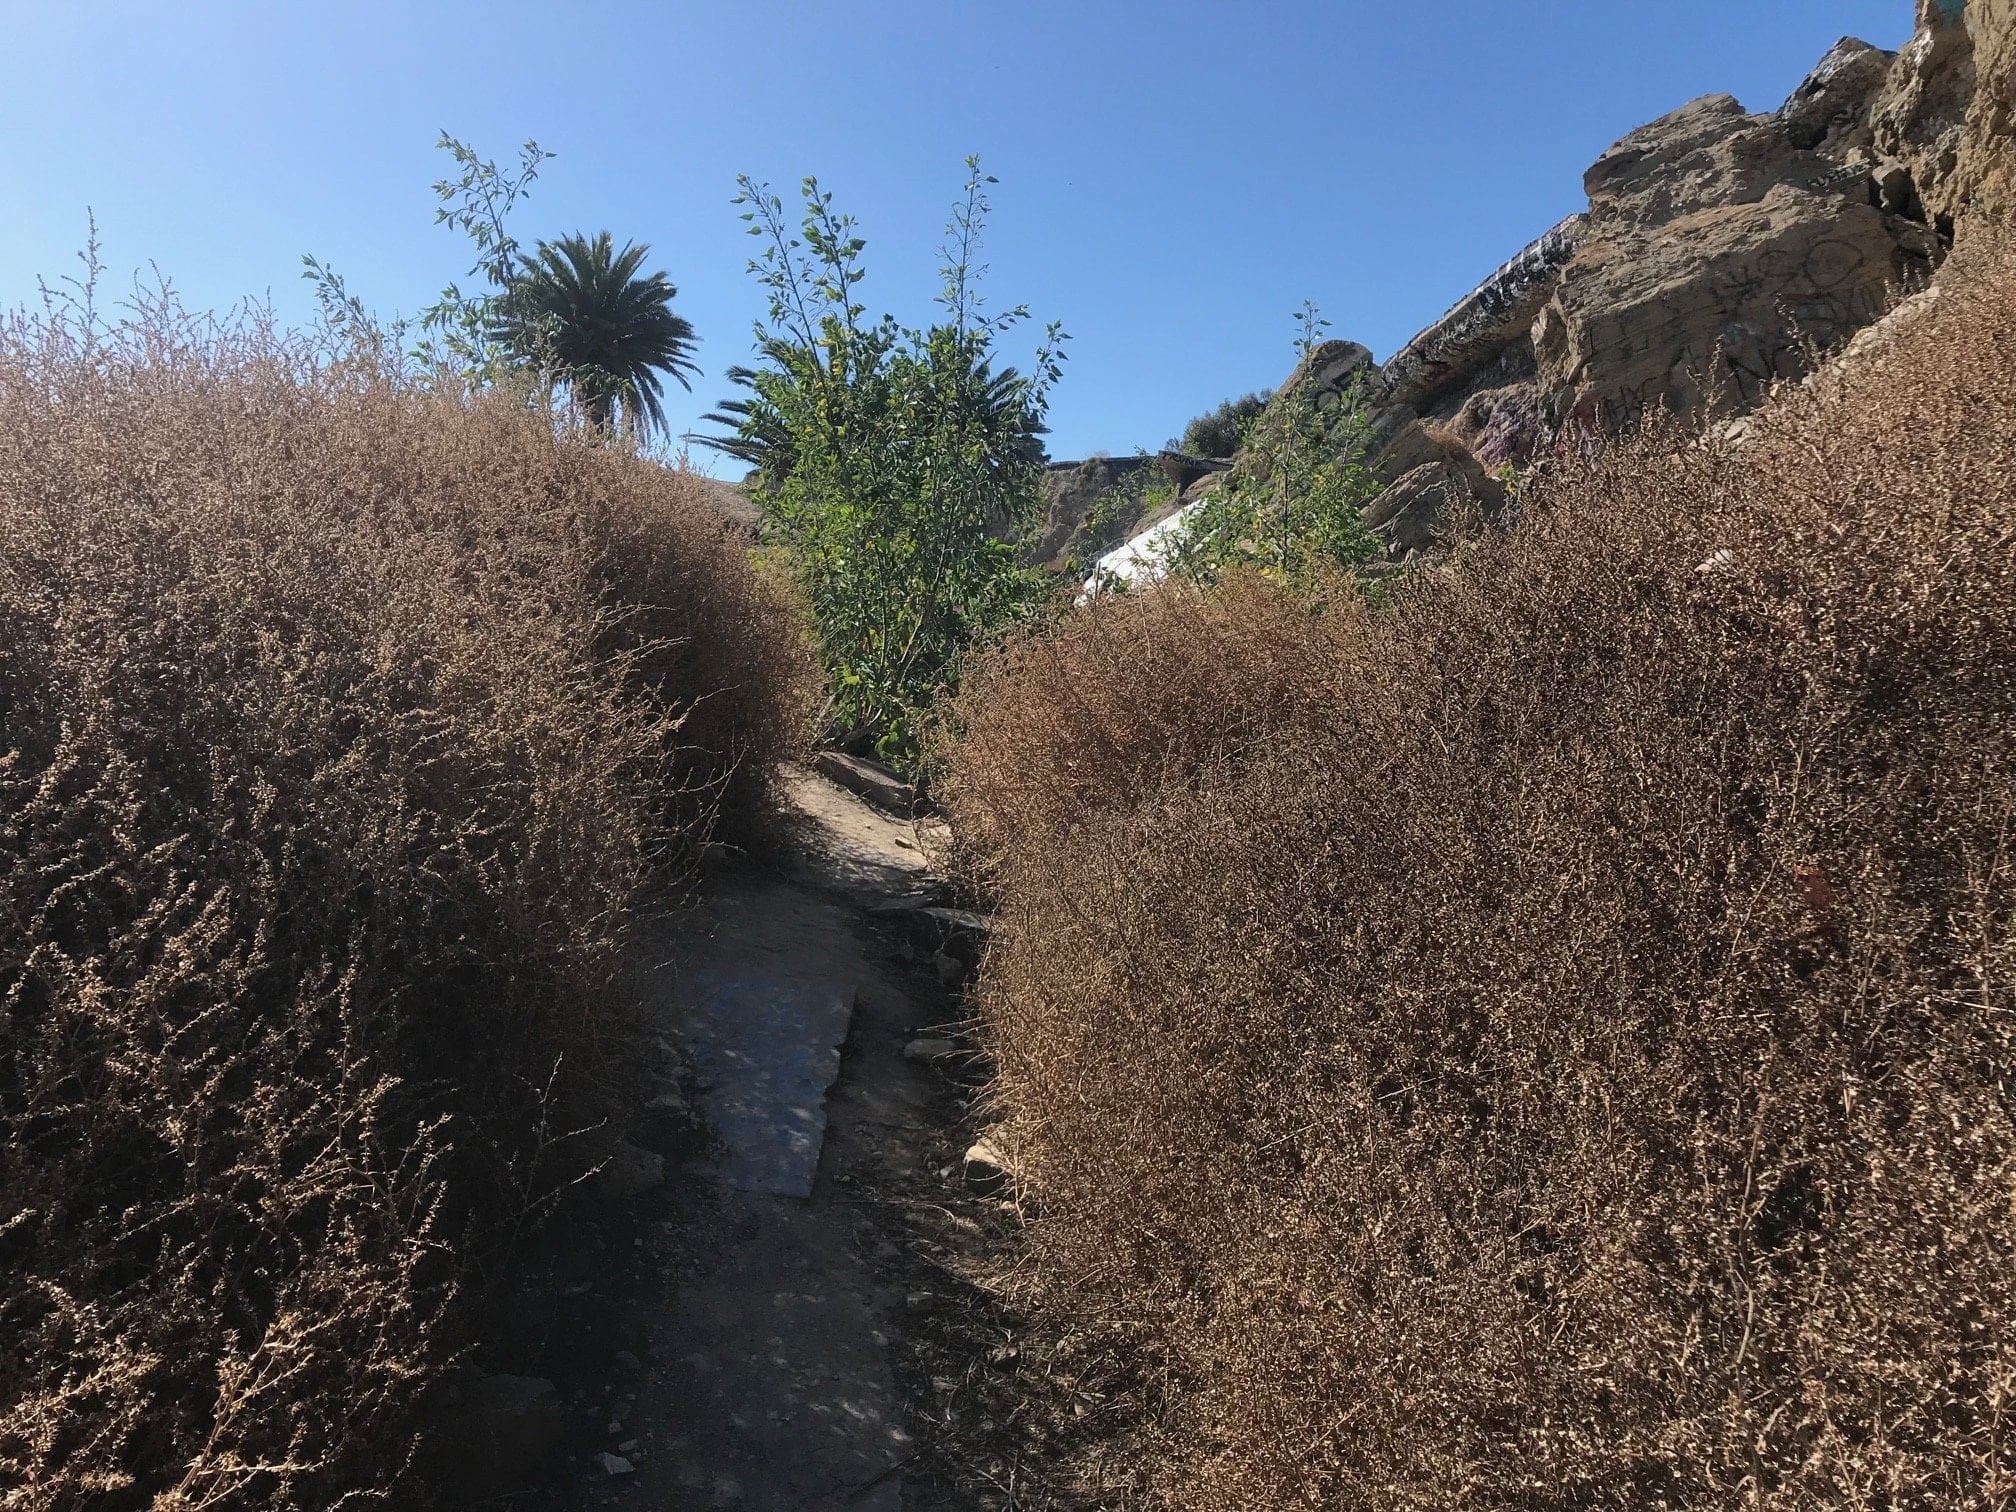
One of the trails that leads back to the westernmost cliffs, engulfed by quite a few thorny bushes.
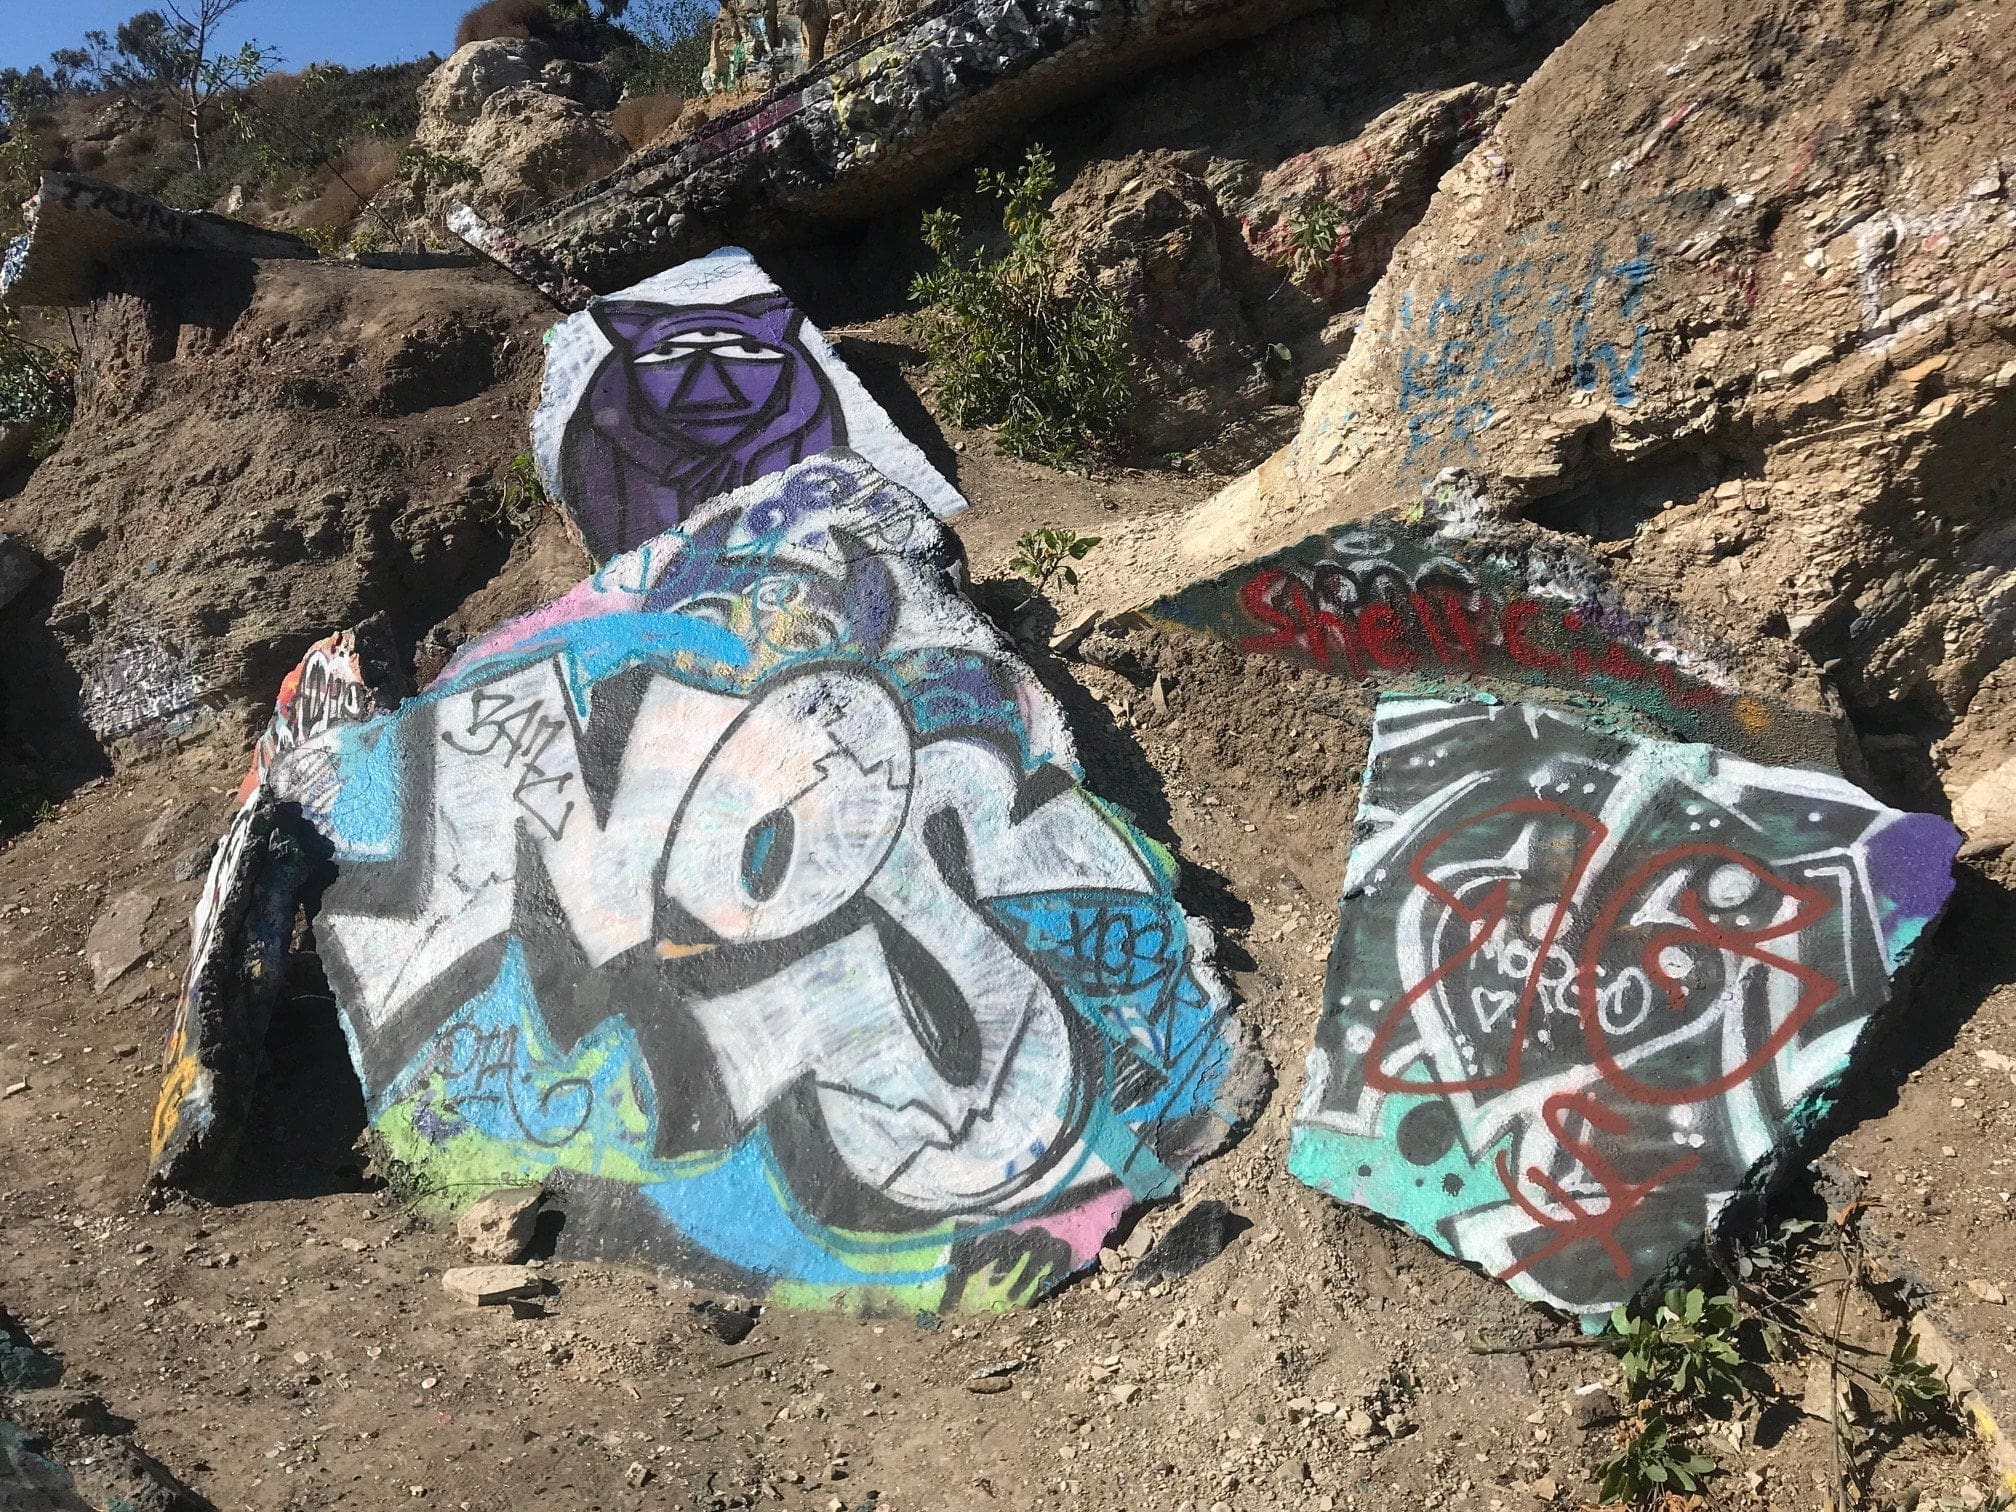
“Nos” is actually the name of an energy drink (fun fact) which I guess deserves to be plastered on a rock slab.
Another favorite of mine, a realistic looking manly face of some sort.
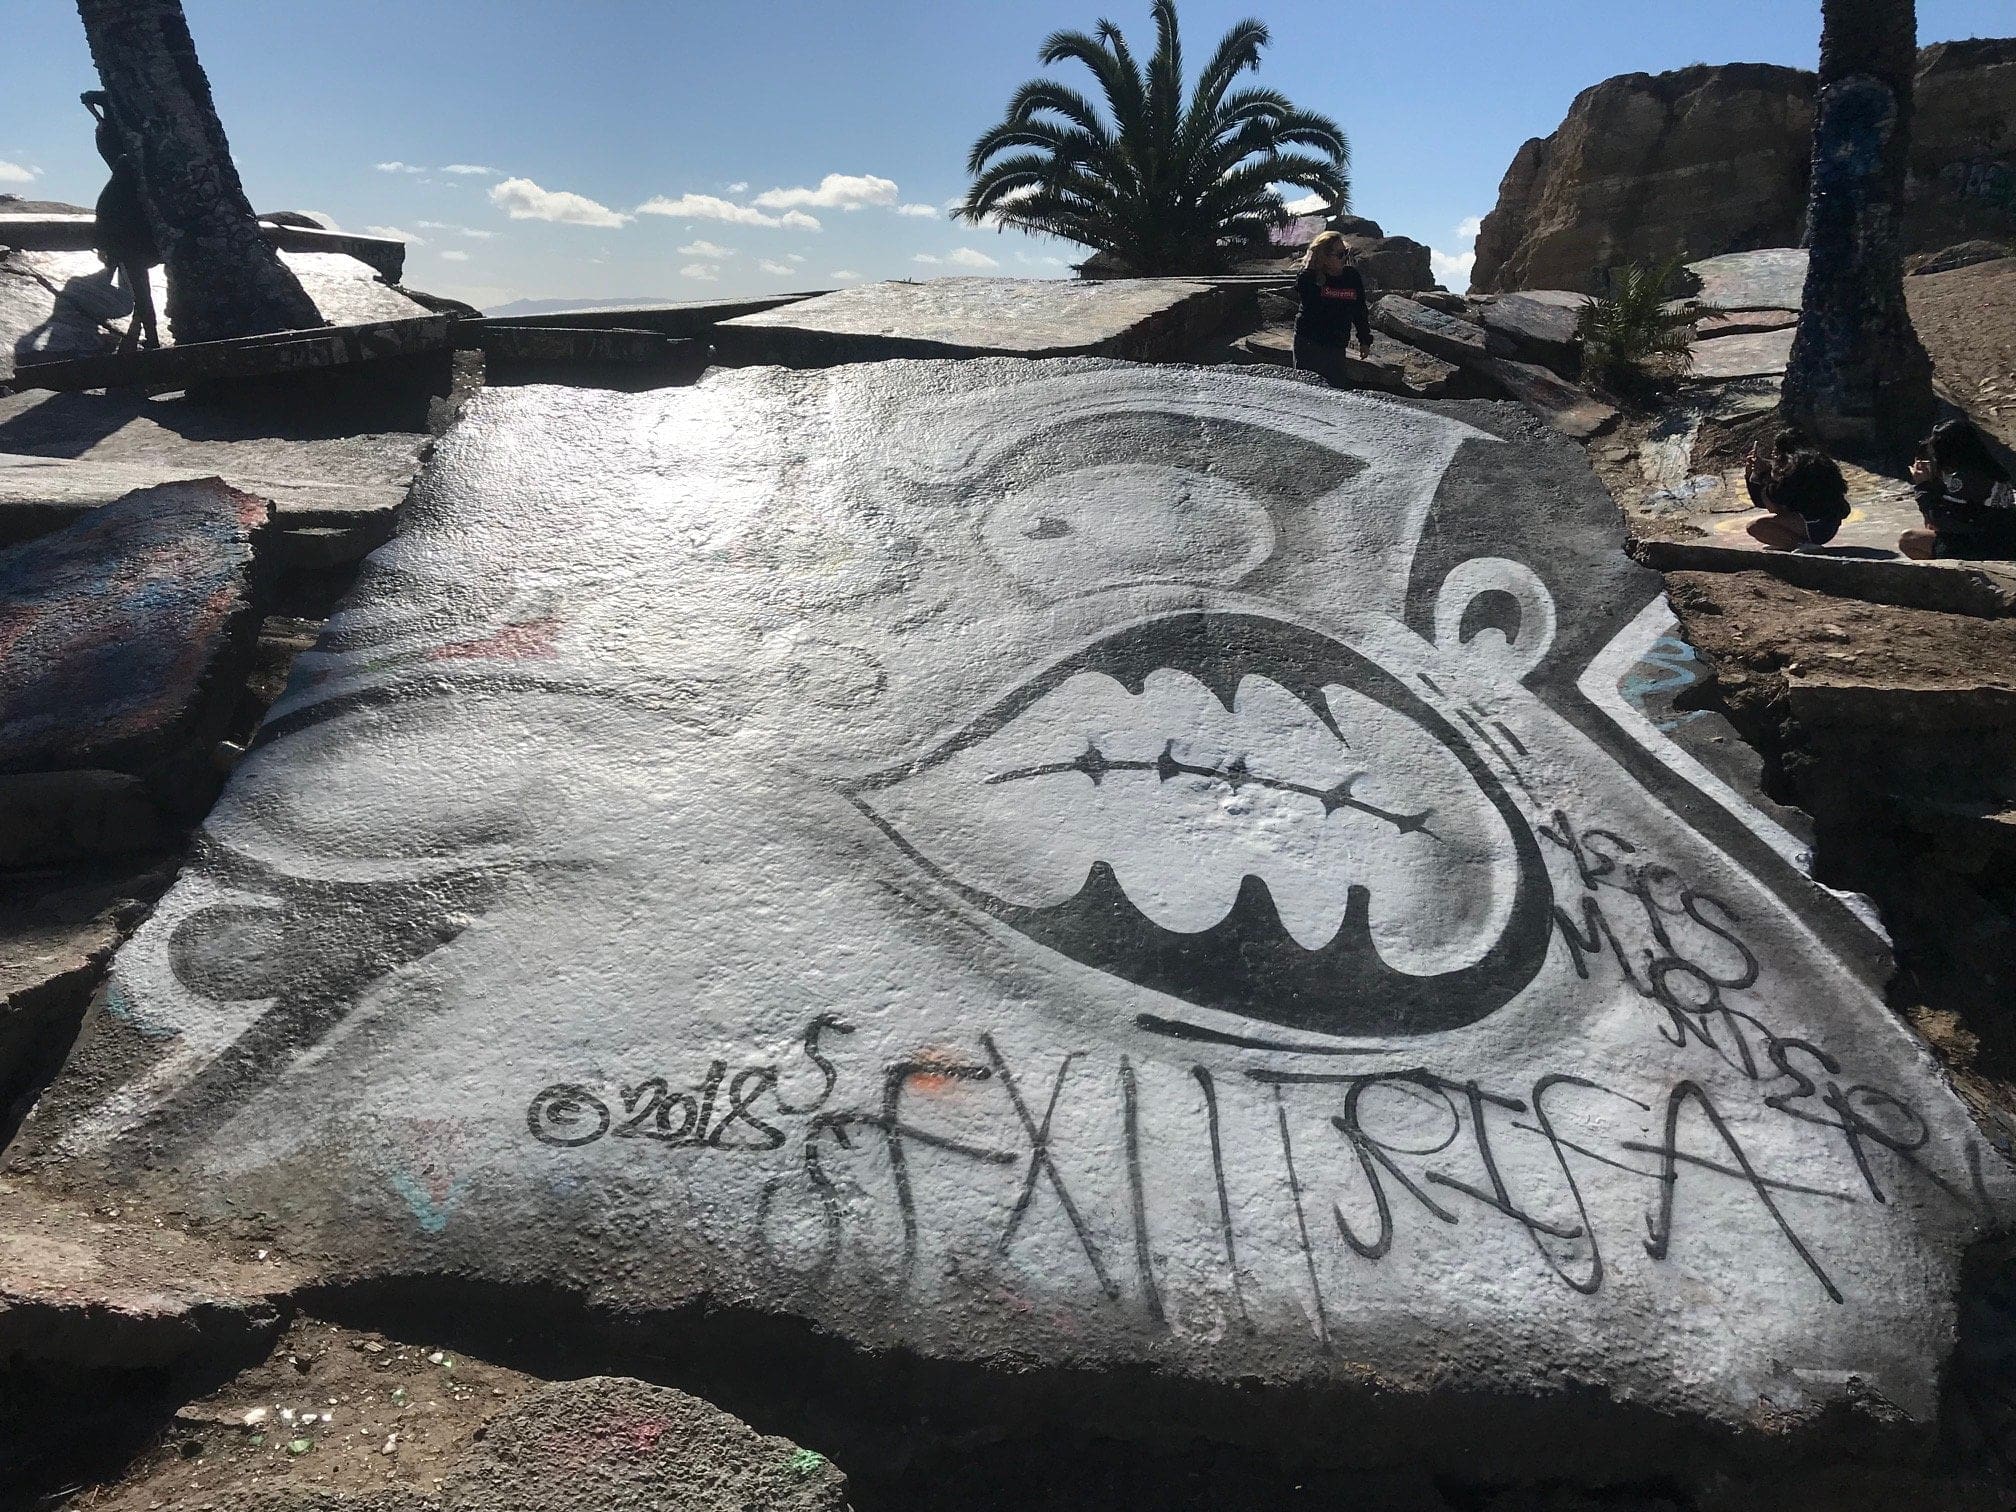
A Scooby doo-looking creature toward the edge of the cliff.

A trail that leads back up to tier 3.
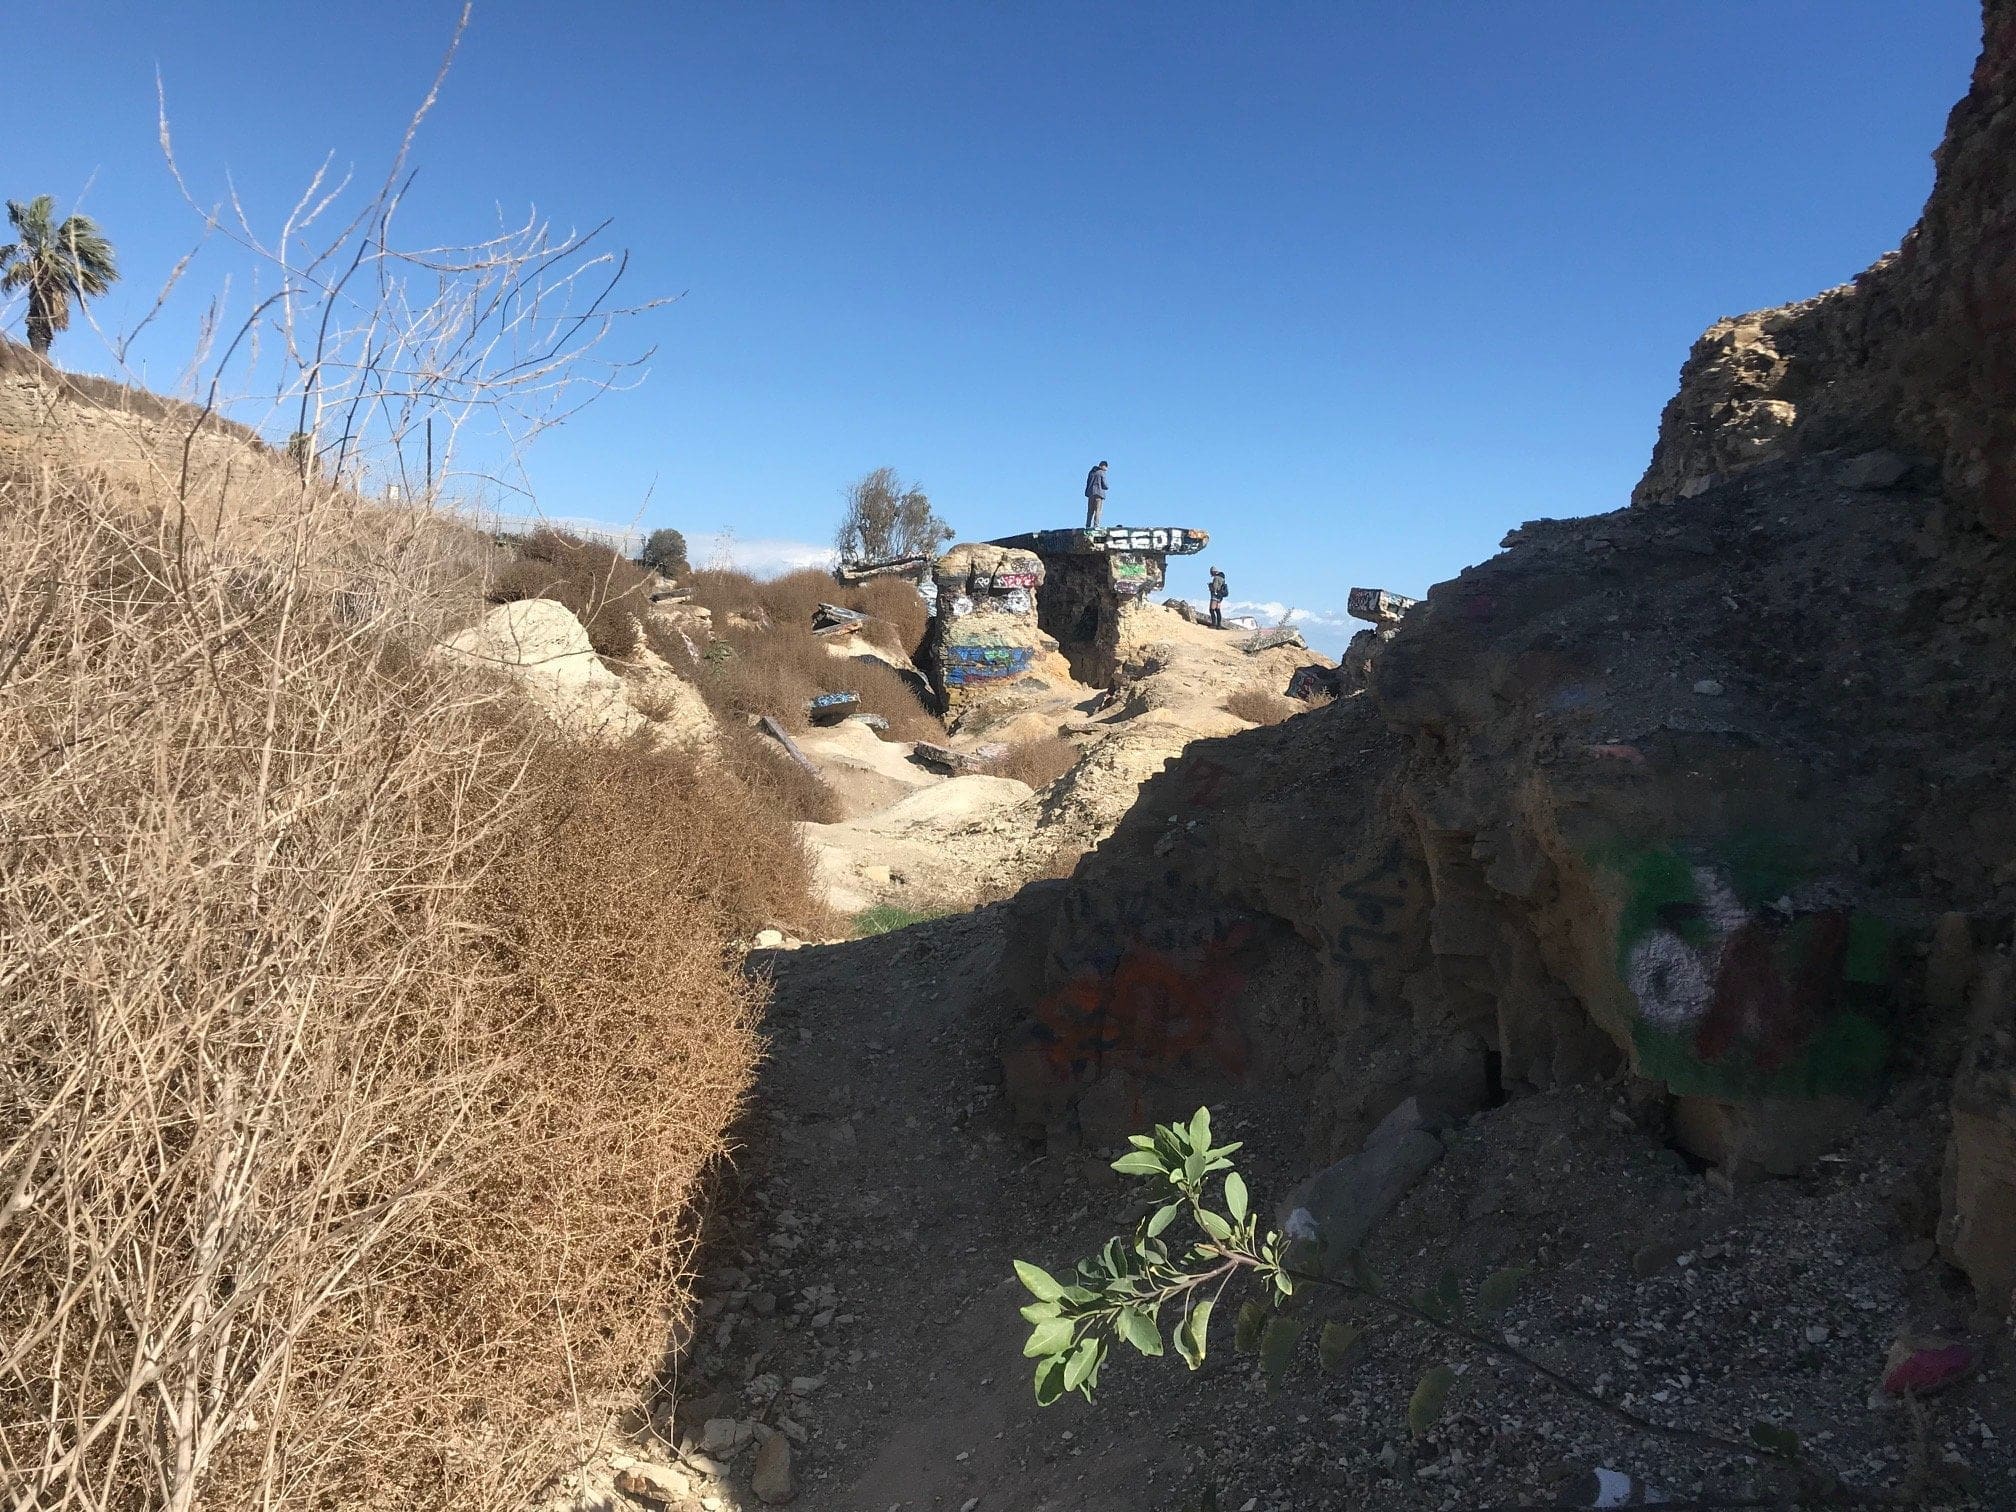
Back Toward the Entrance…
After spending a full 2 hours in the bitter cold, I decide it’s high time to head back to my car (LA folks are not used to 60-degree weather).
The vantage point of tier 3 and a few rock slabs to climb up to.
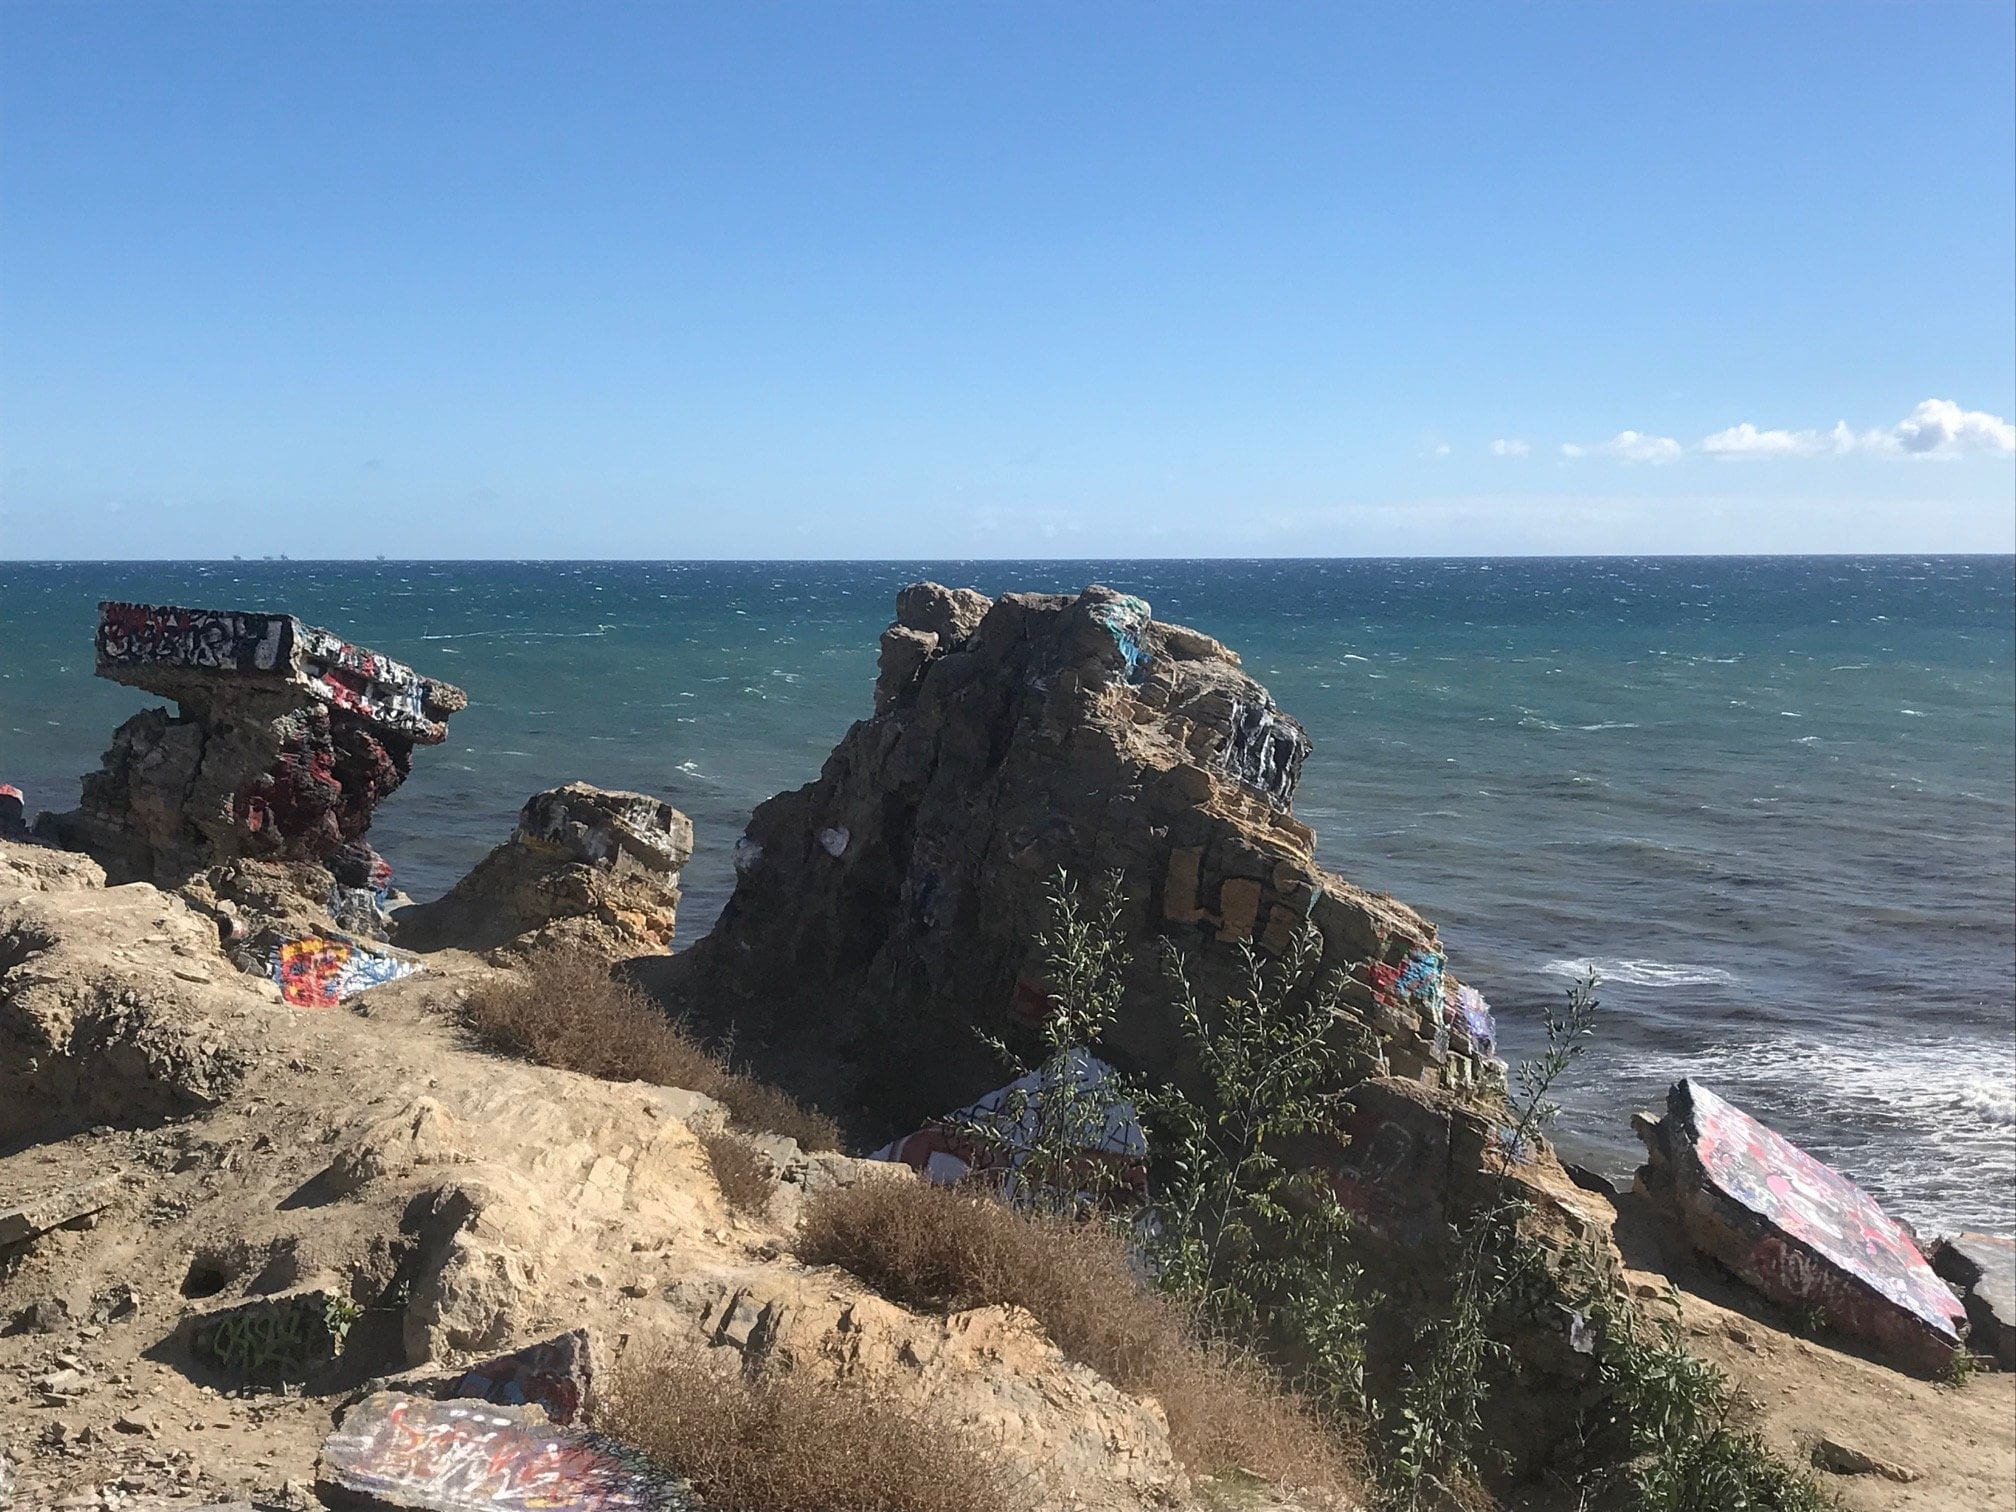
A close-up of one of the rock slabs.
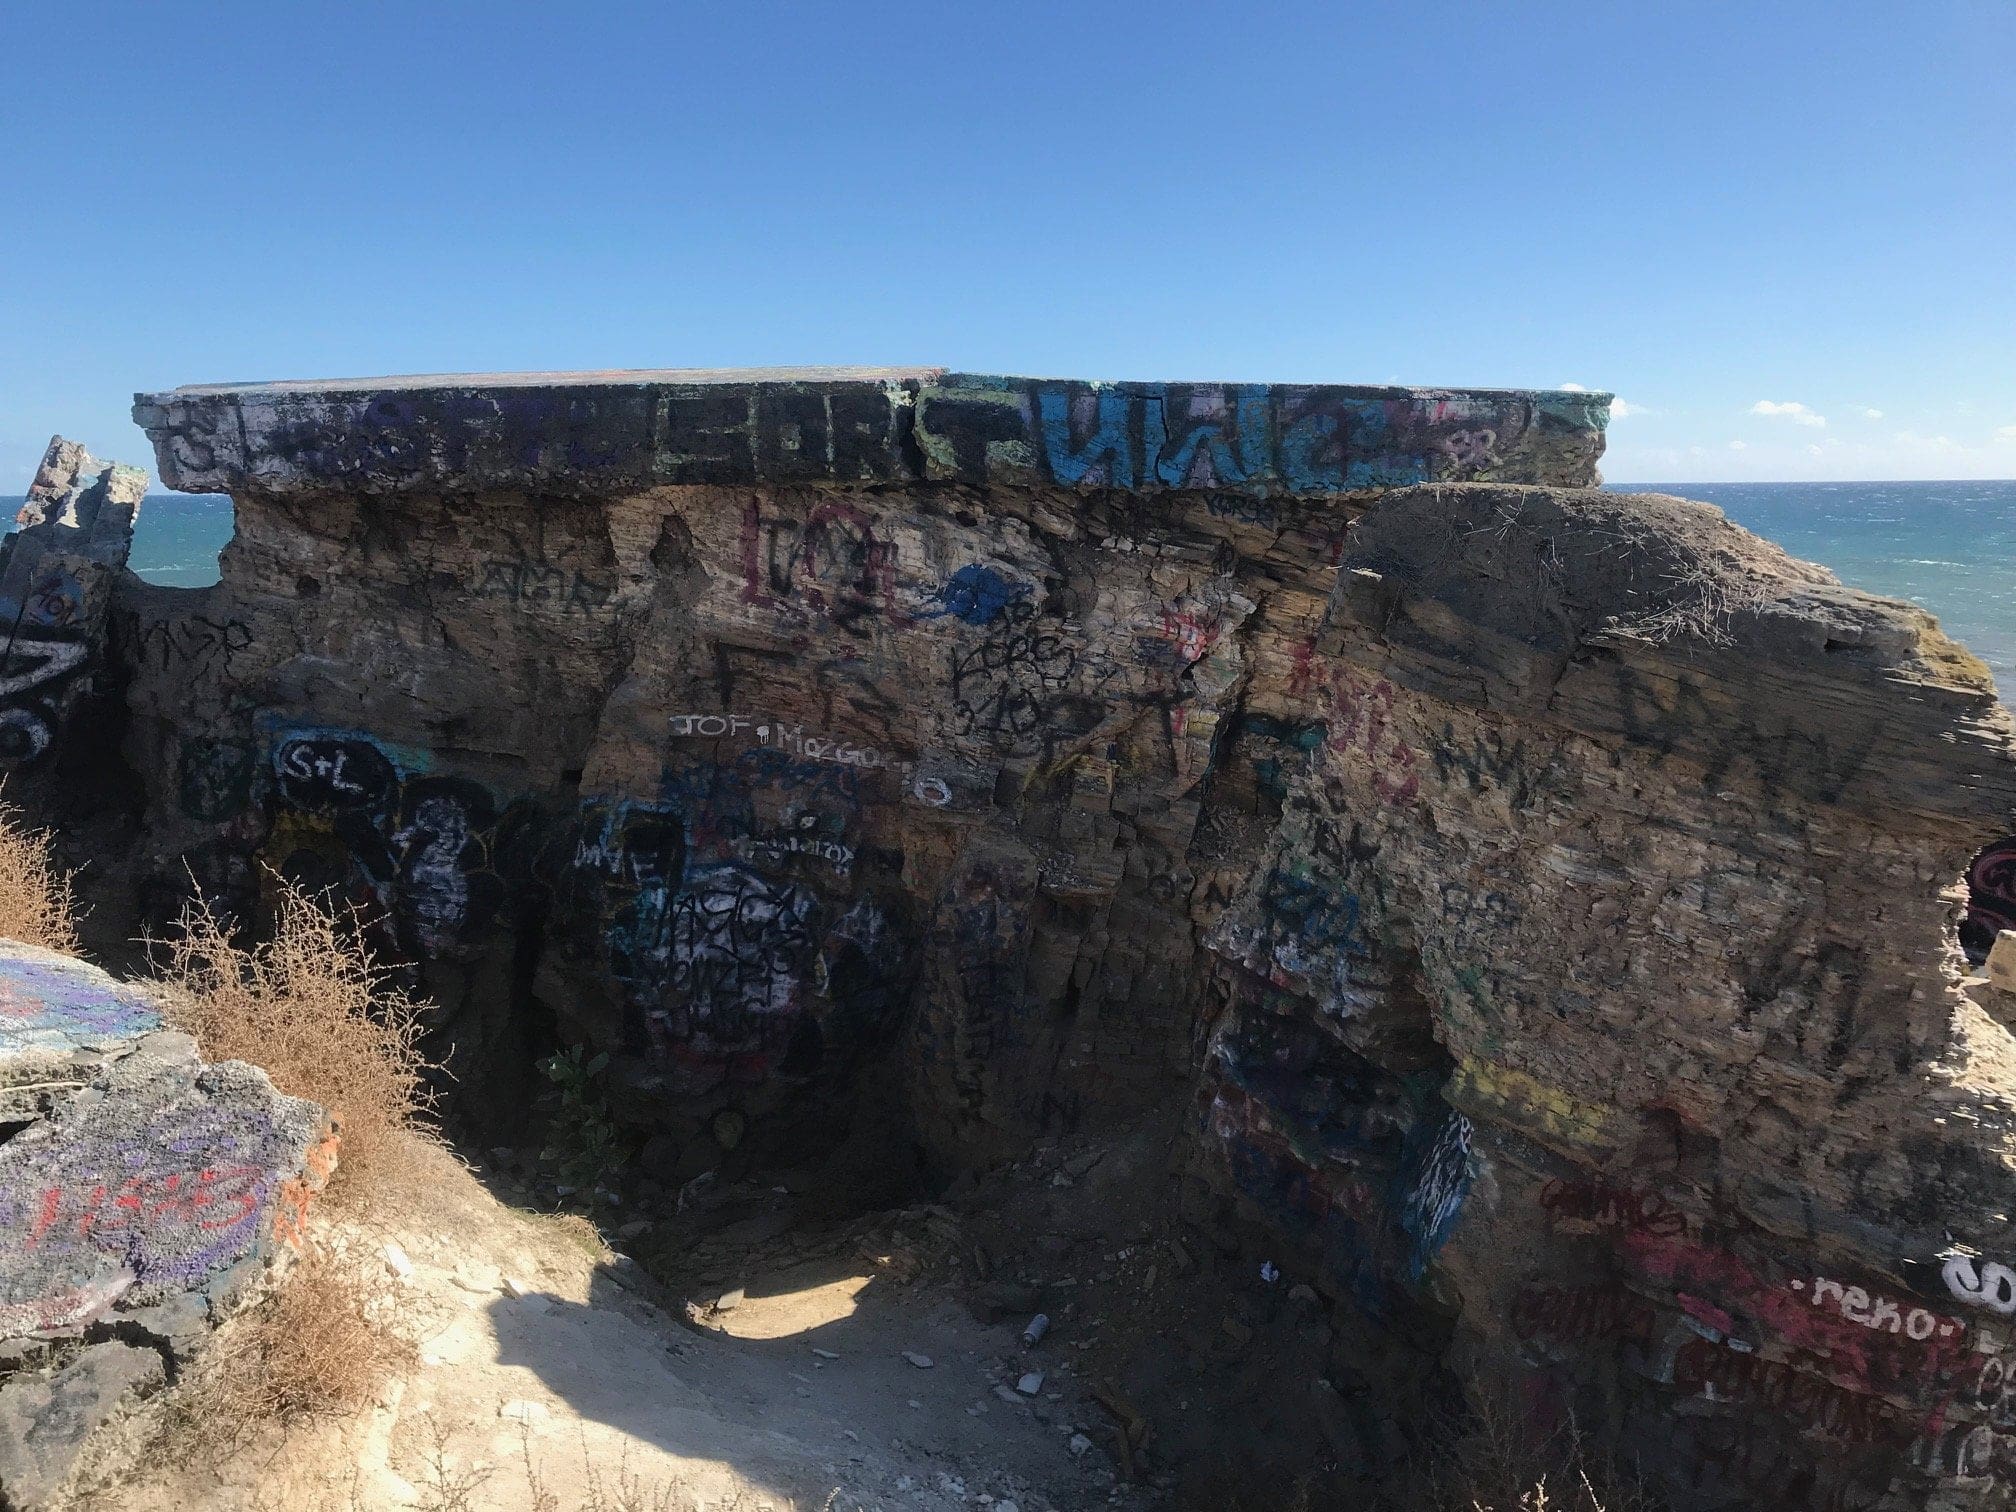
Some of the rocks you hop through to get to a higher vantage point.
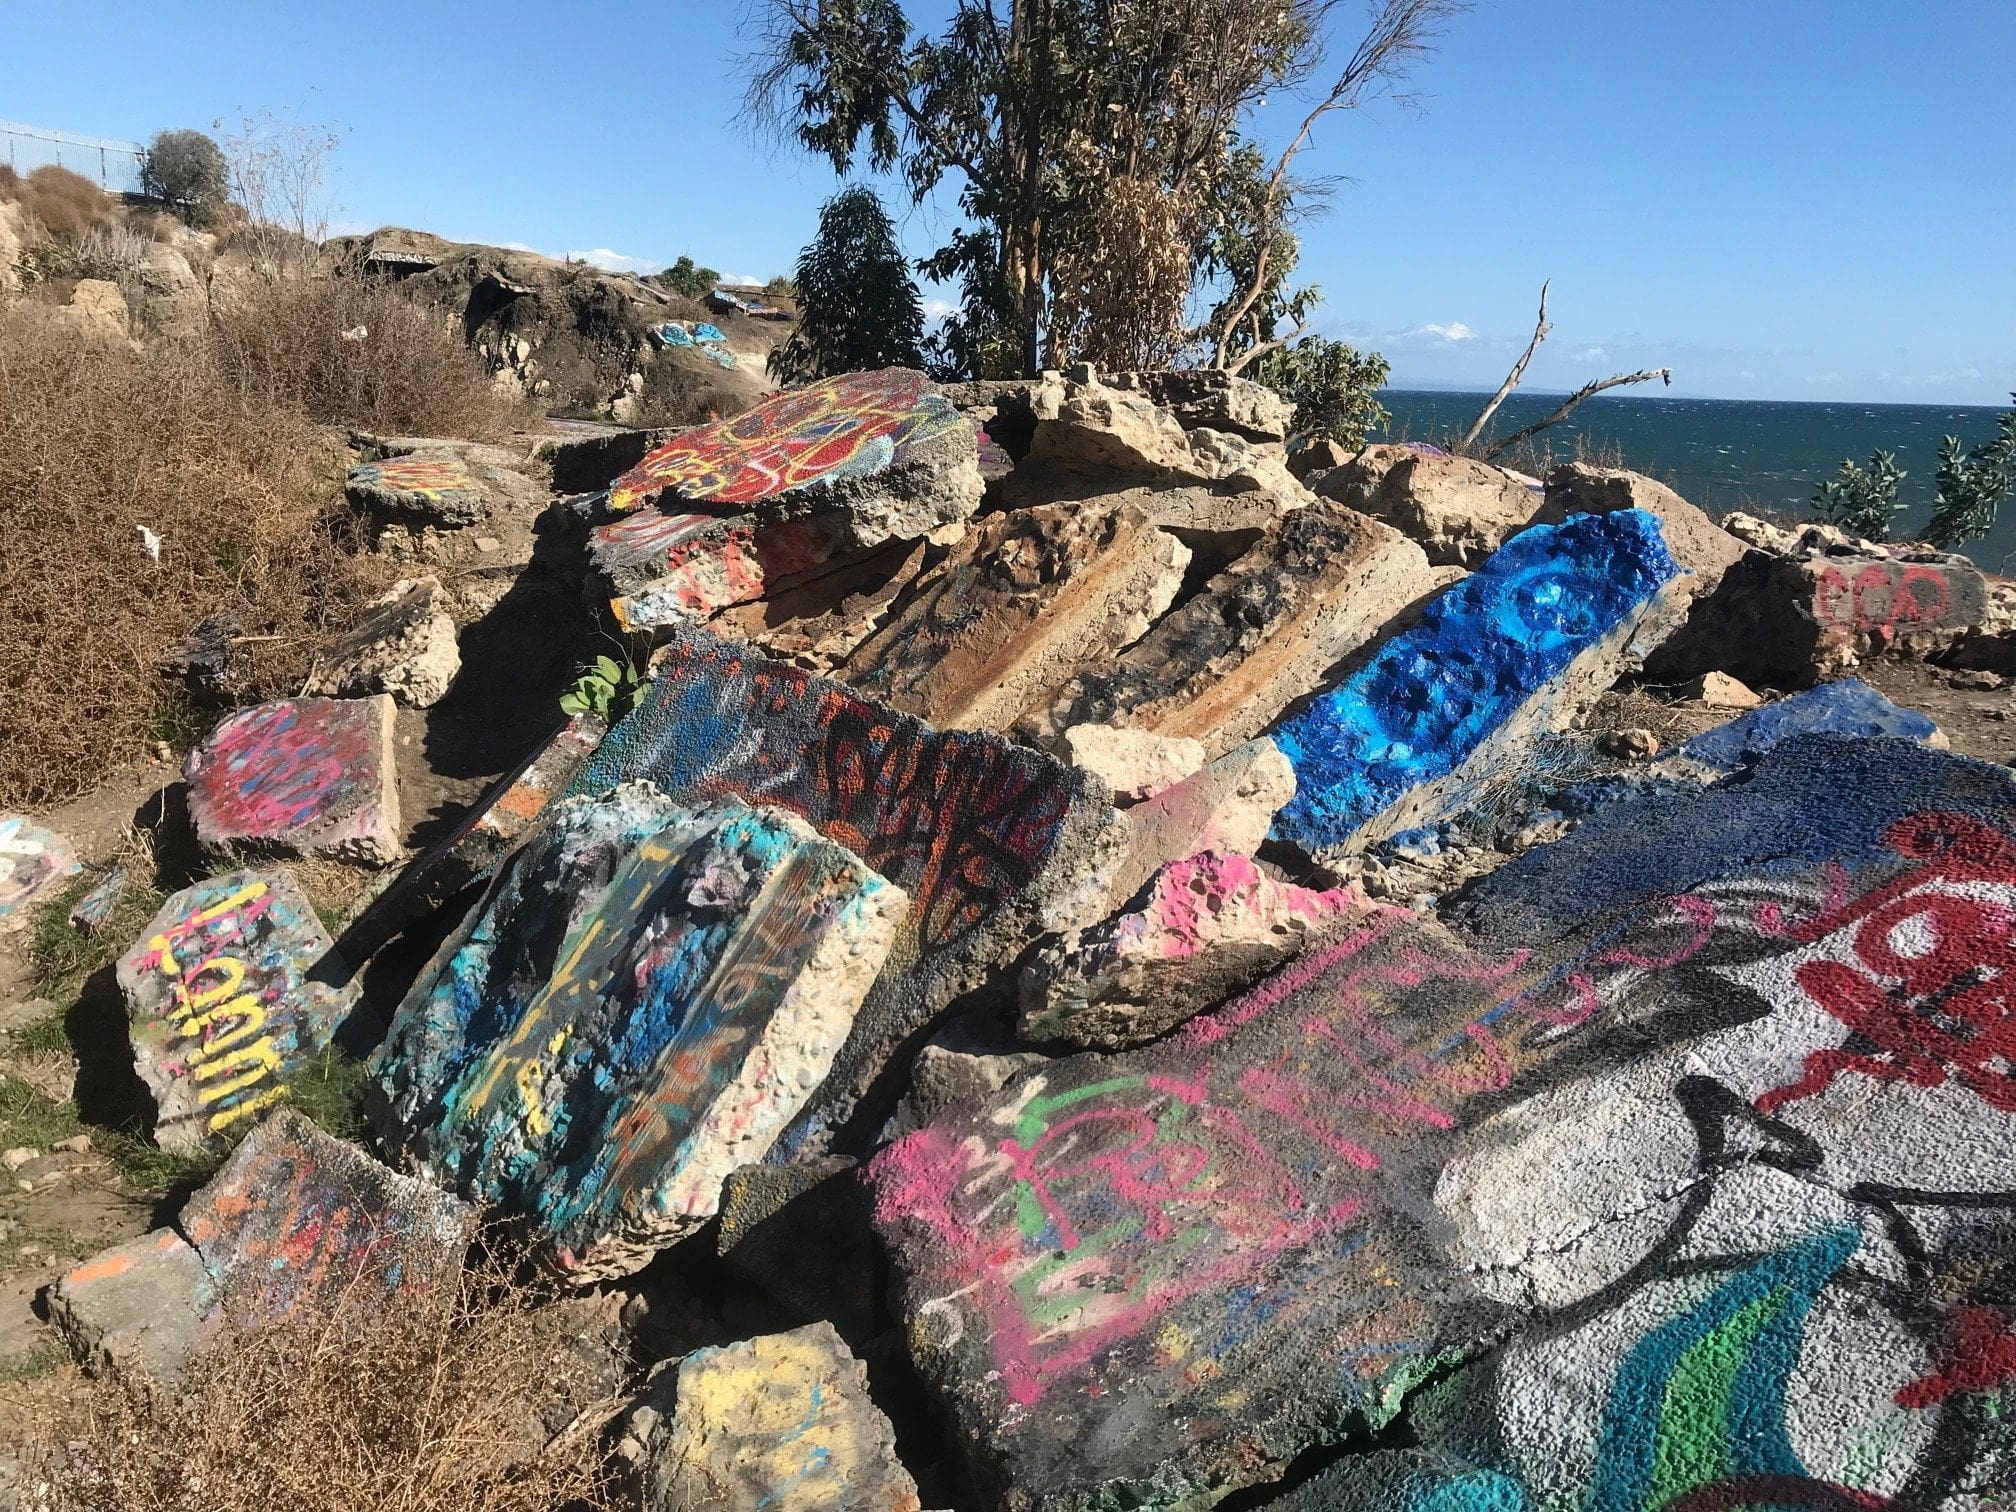
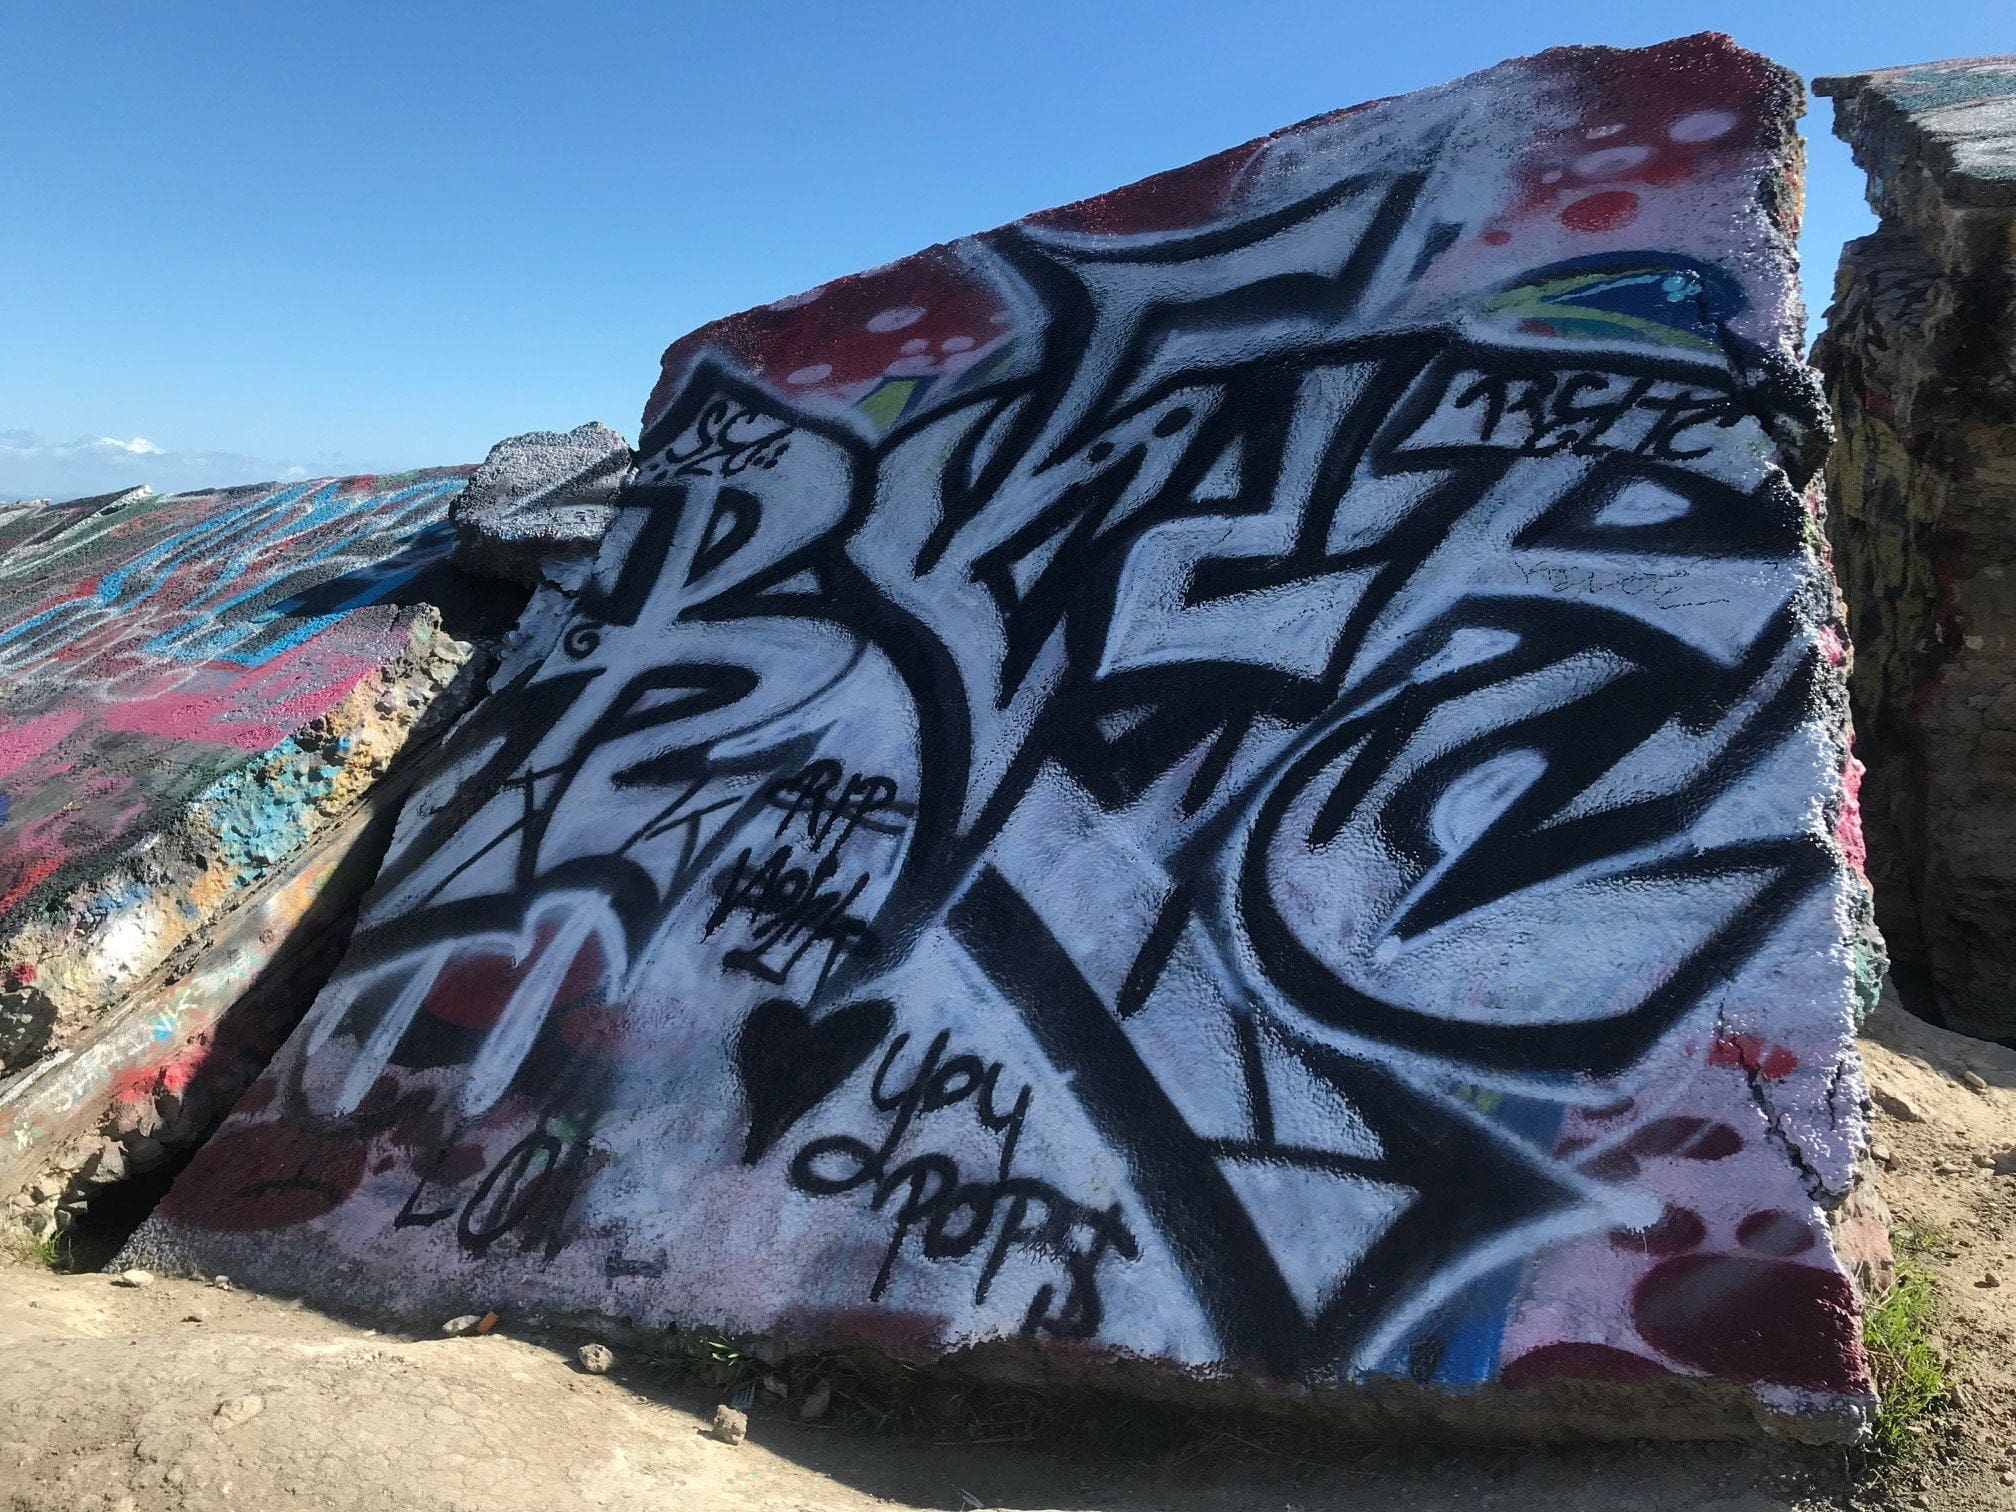
The trail back toward the easternmost part of Sunken City.
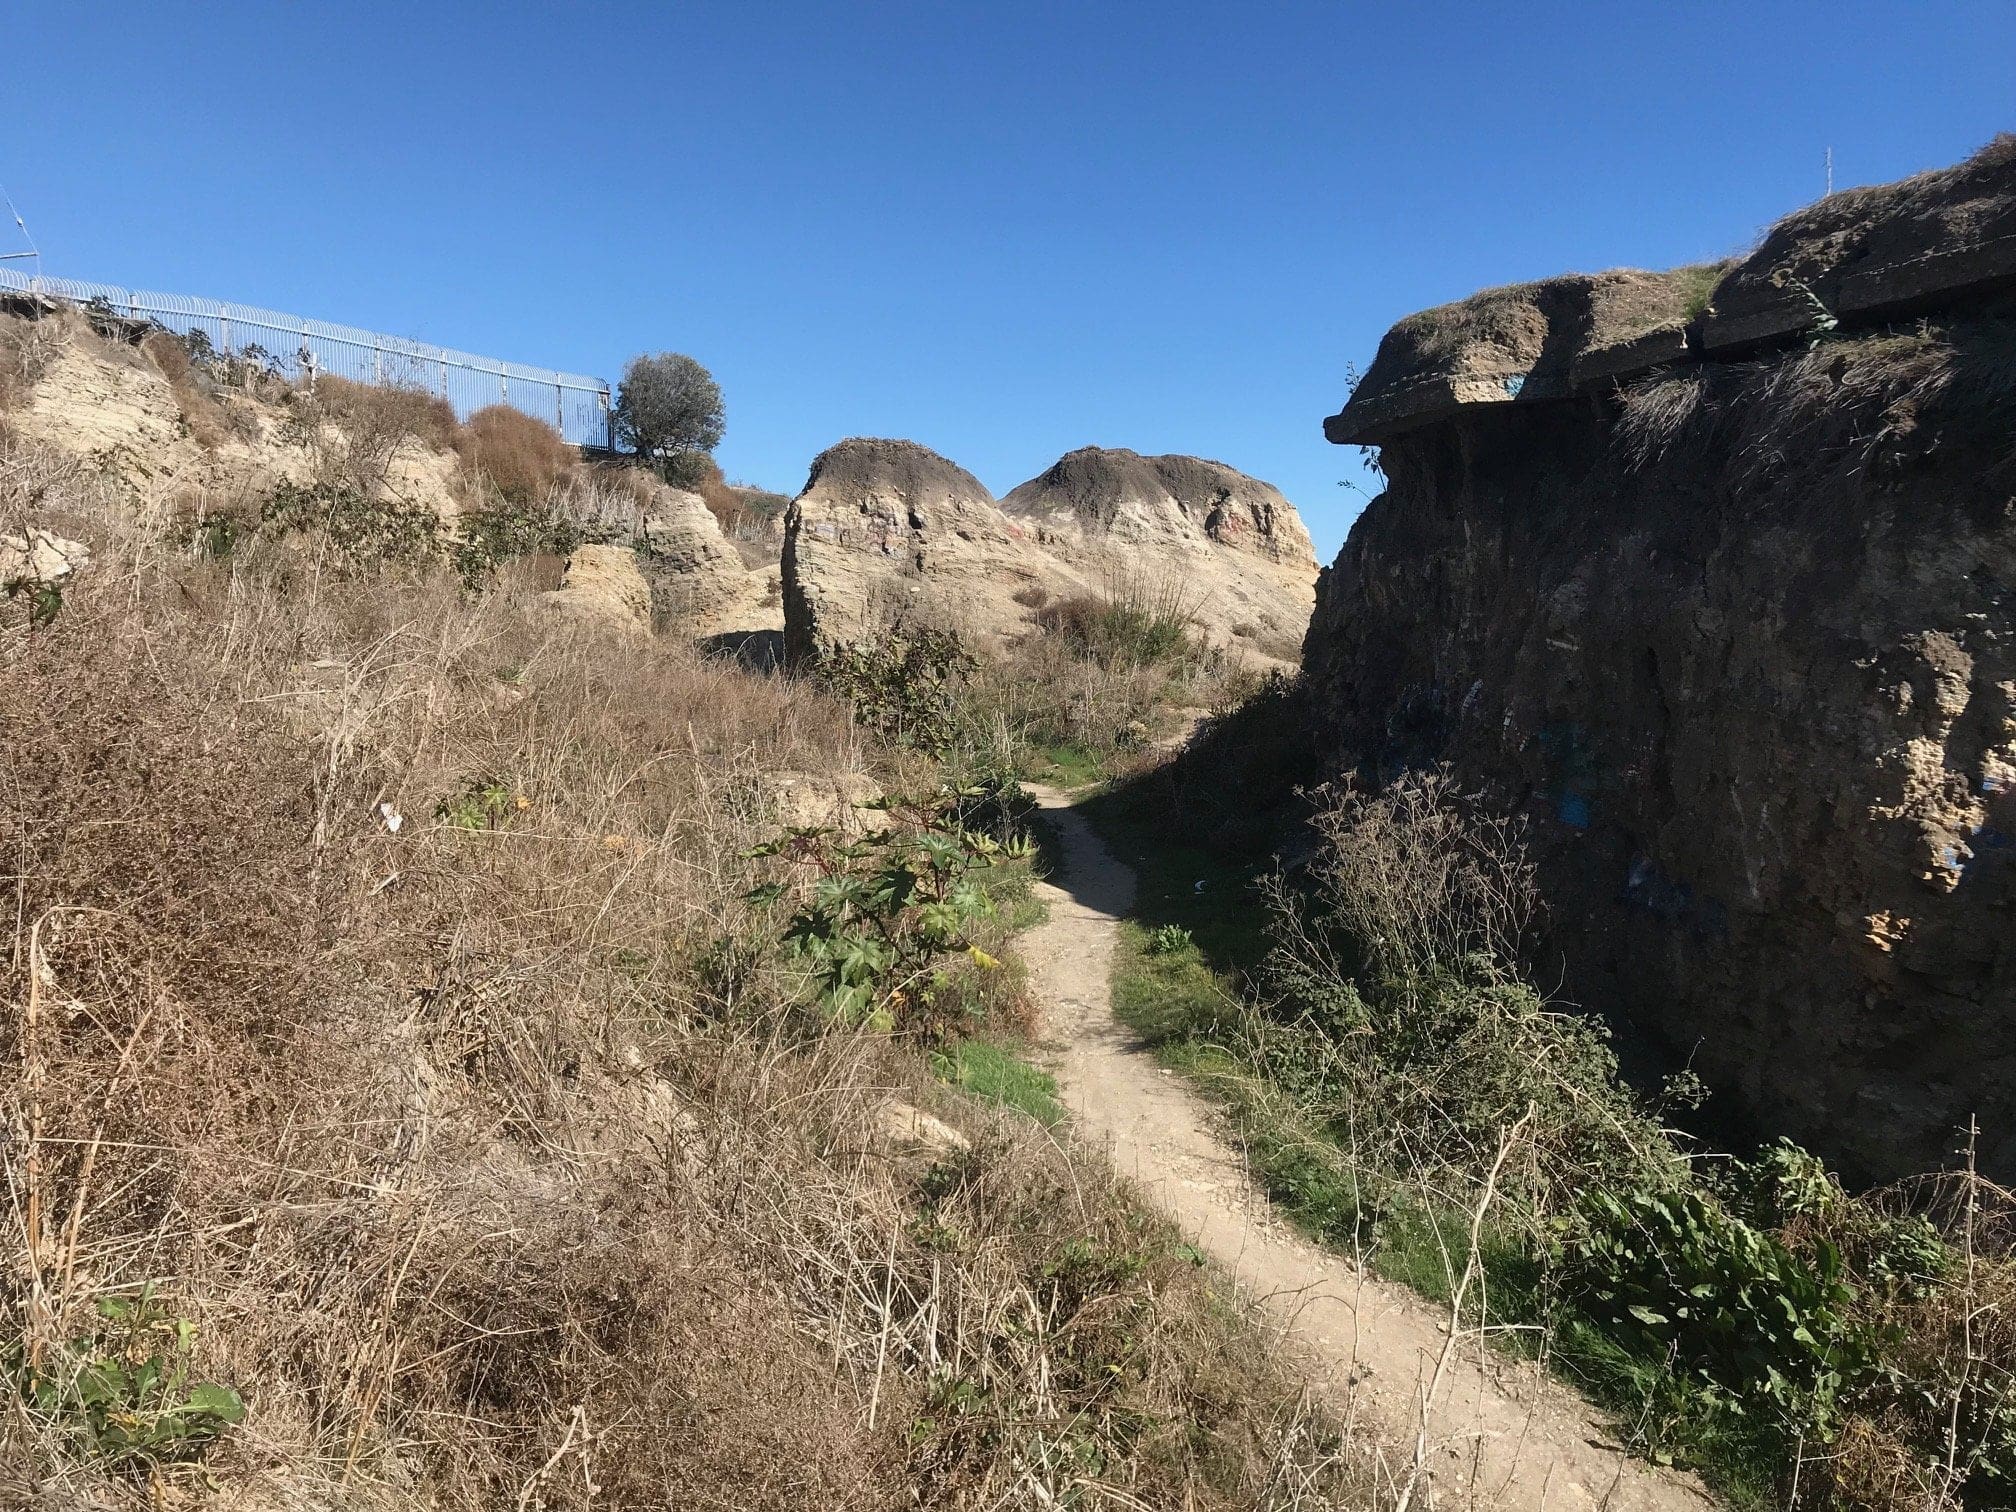
The trail loops up and back toward a fenced area (actually the entire area is fenced off).
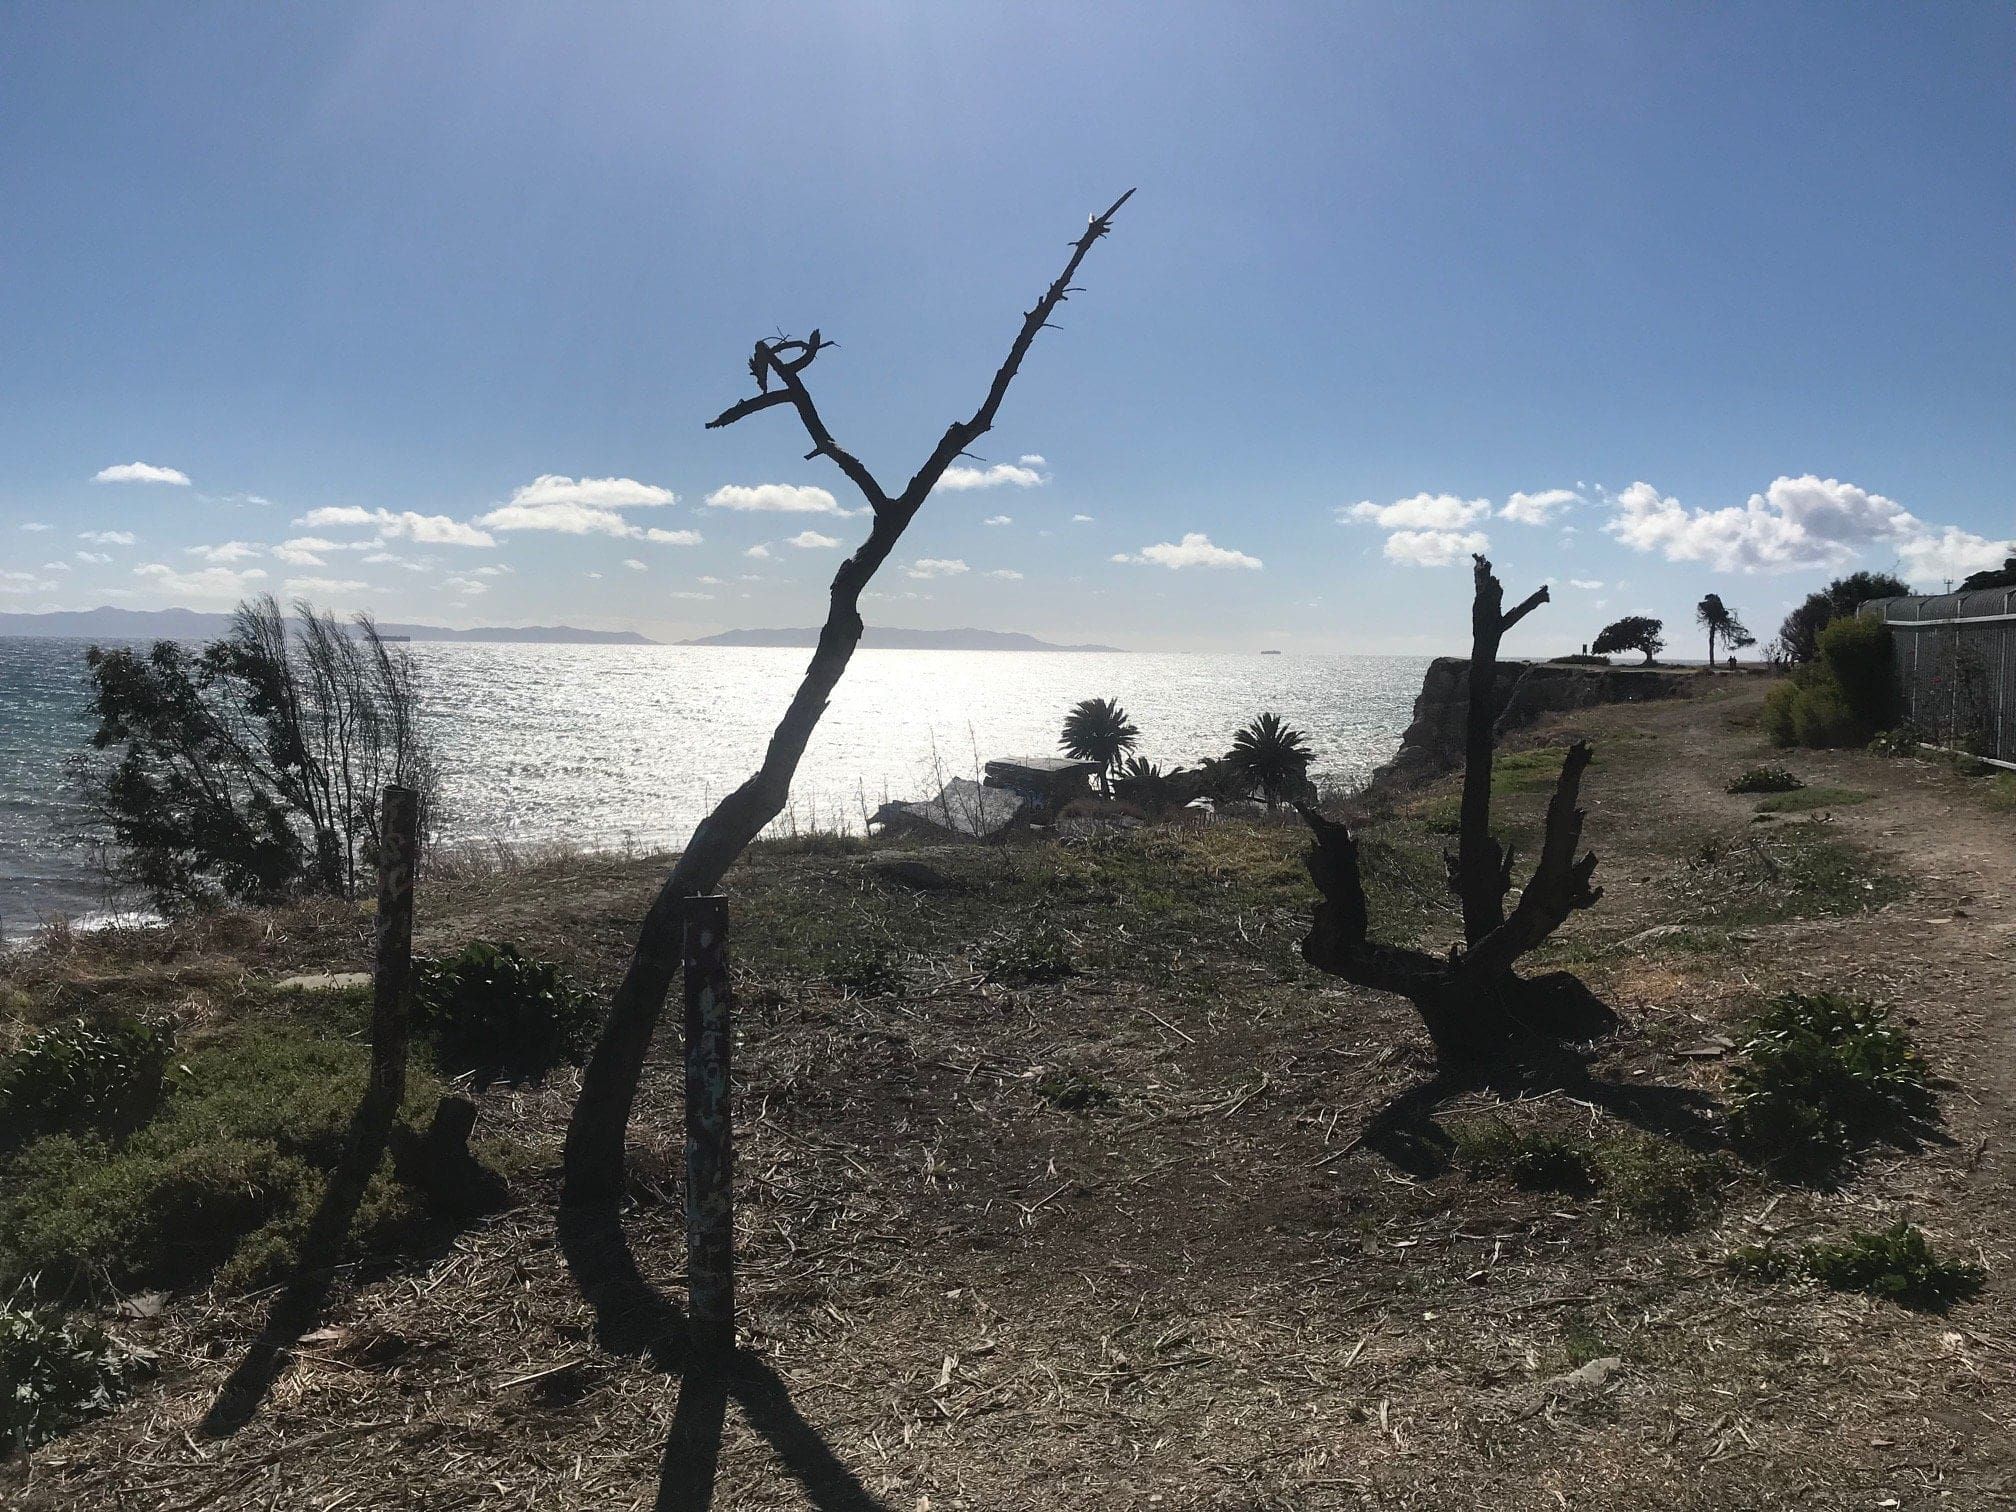
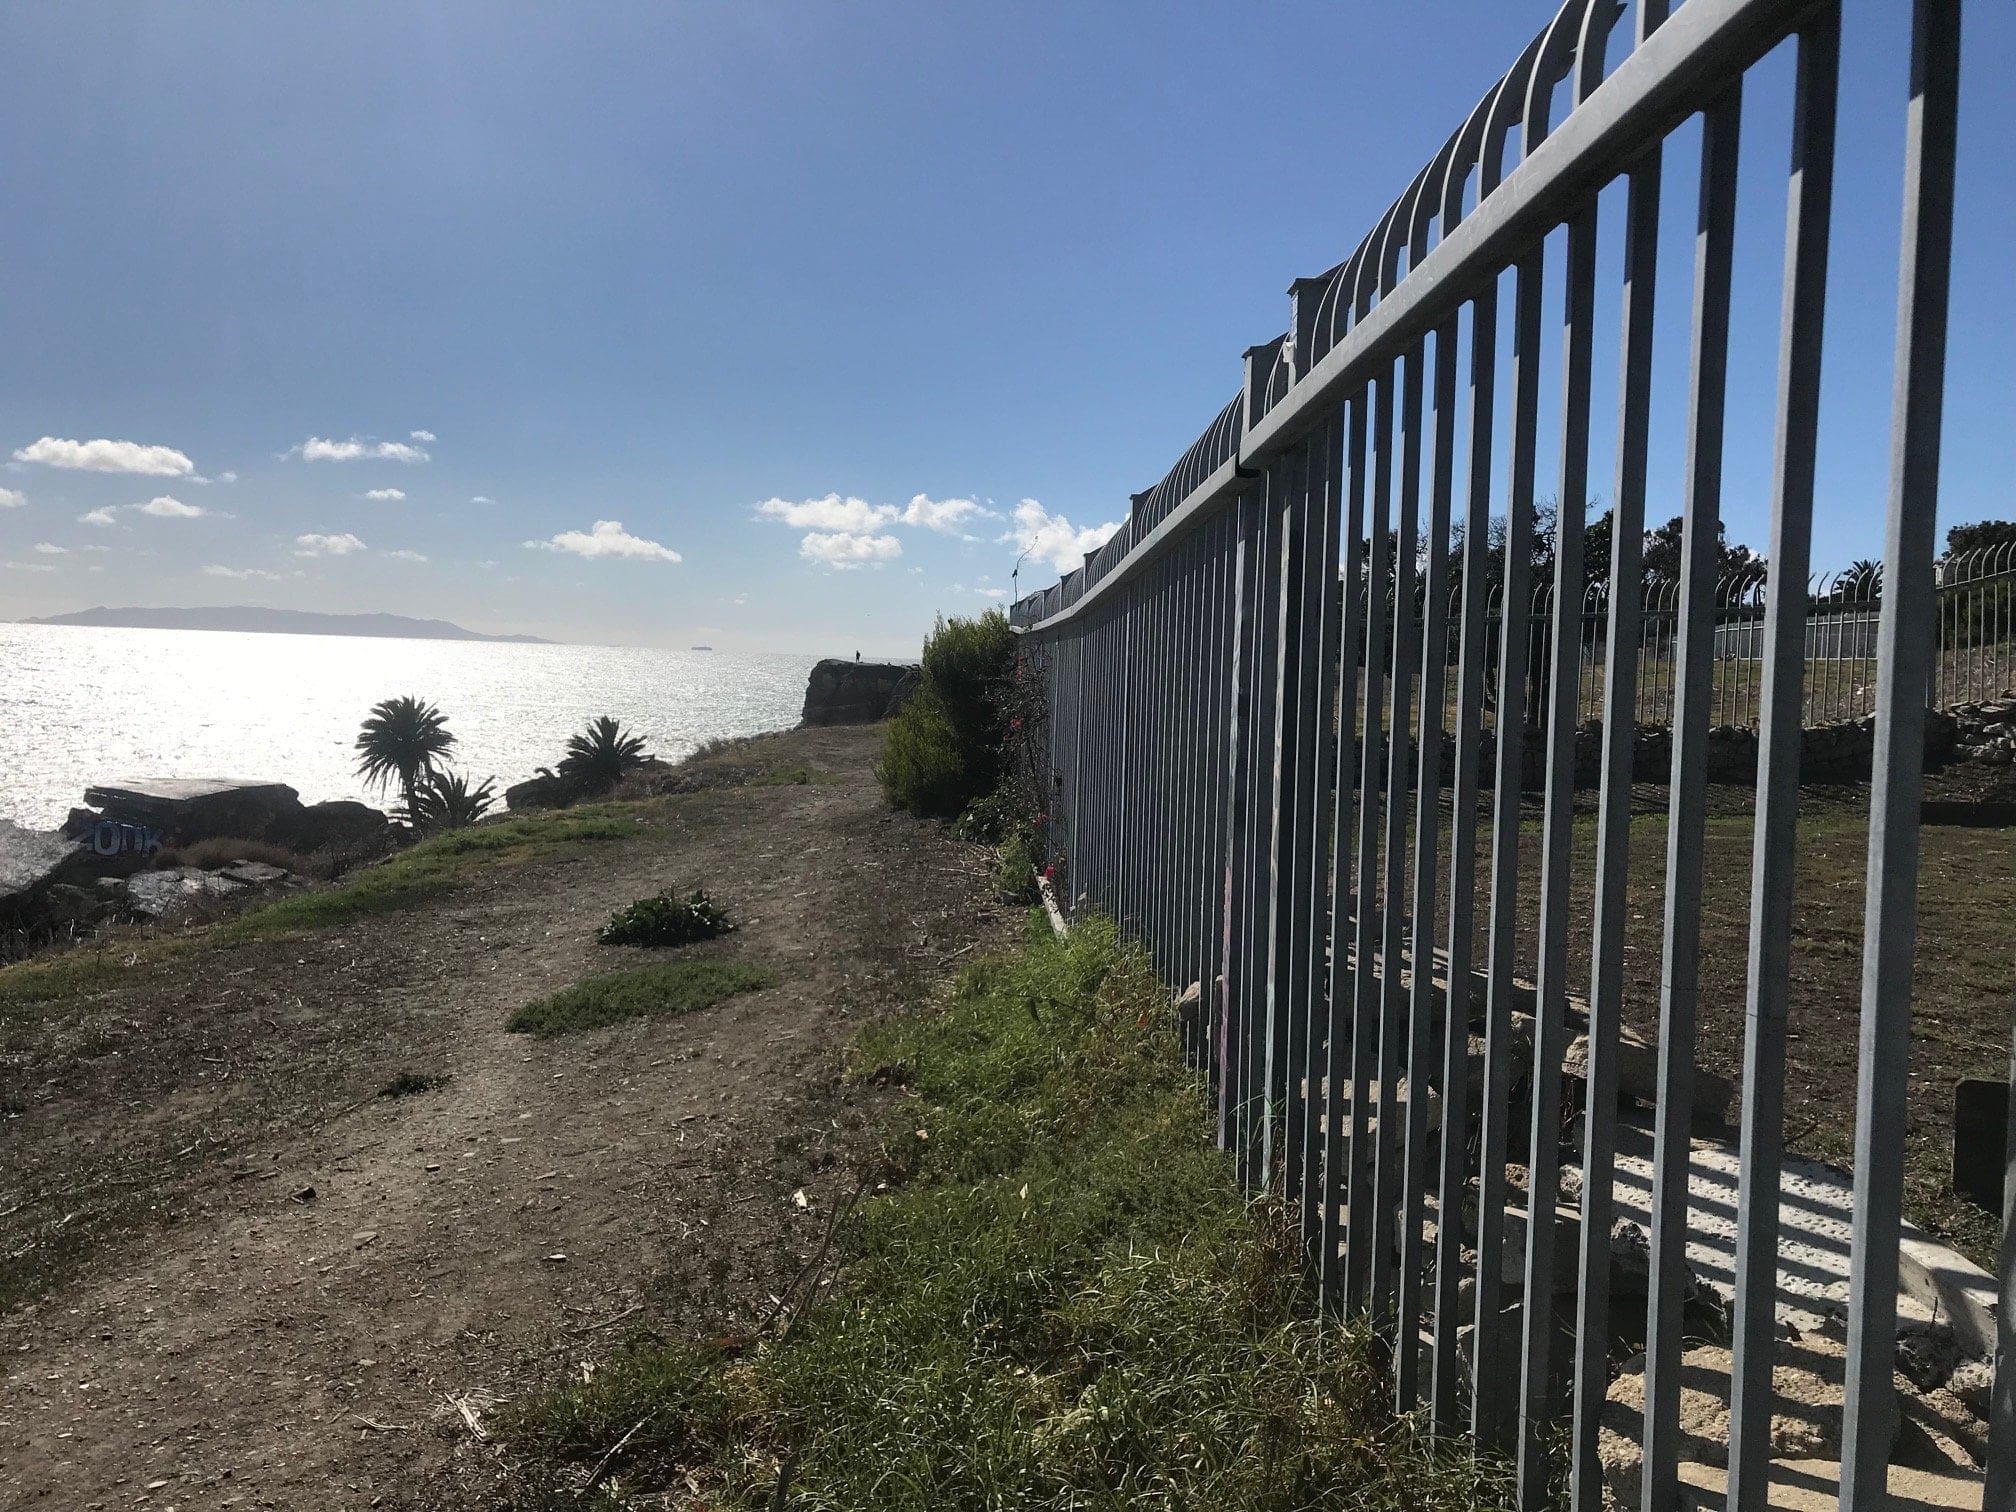
…But Not Before Descending Once More
Near the entrance lies one final descent that I purposely saved for last.
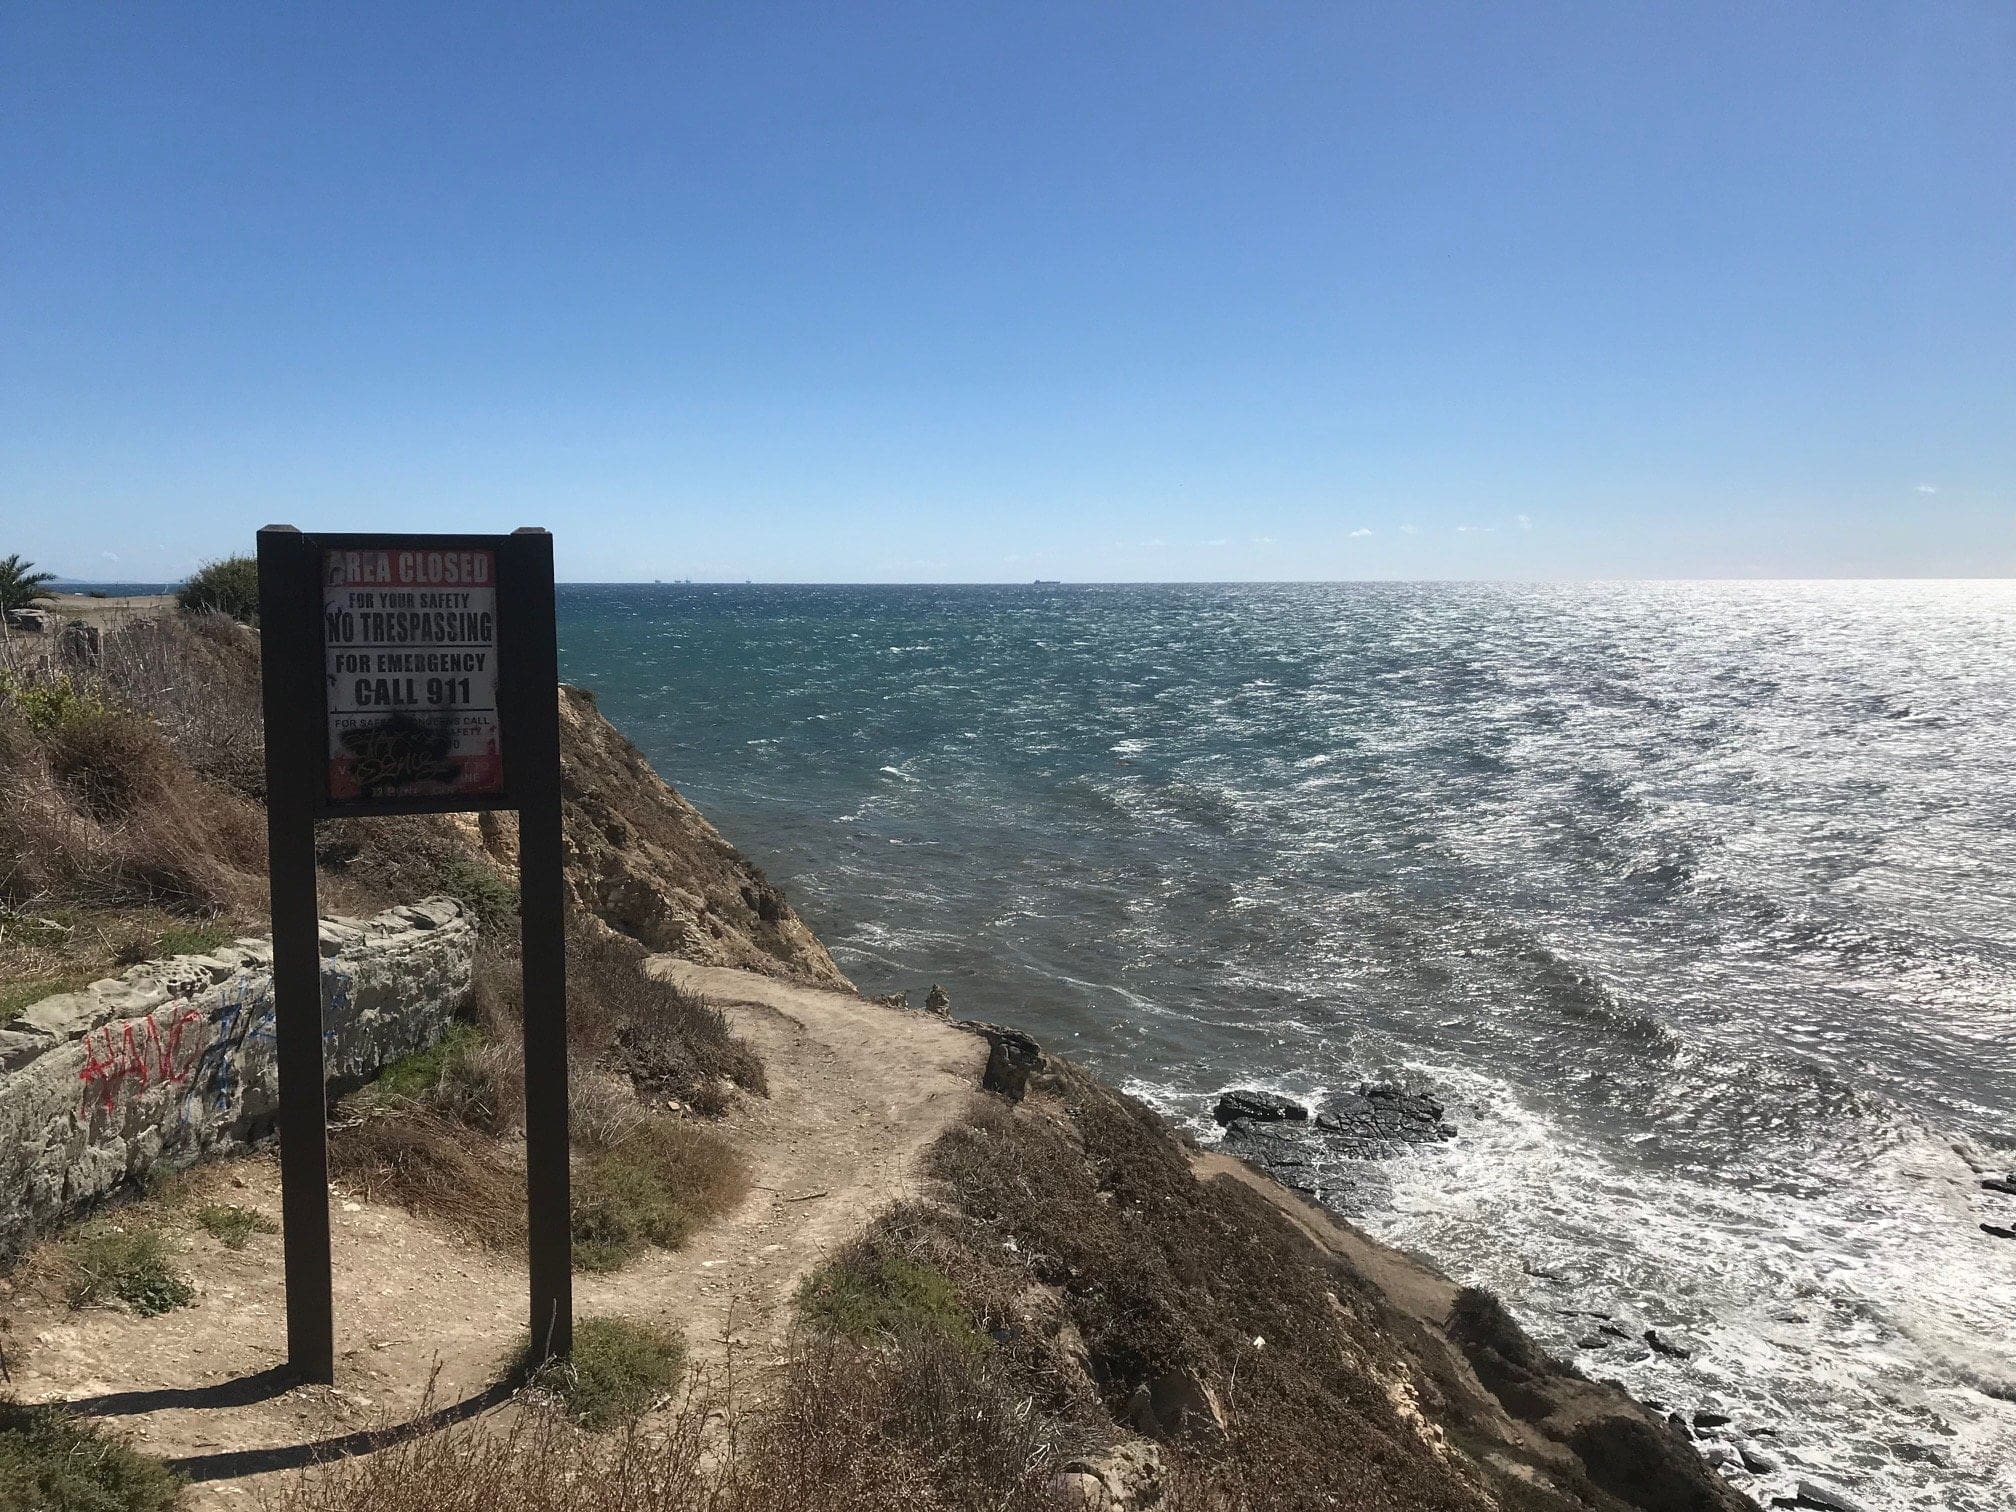
This part of the trail is fairly easy to hike. Some minor switchbacks, but overall it’s not as slippery and steep as the ones in tier 1 and 2 of Sunken City.
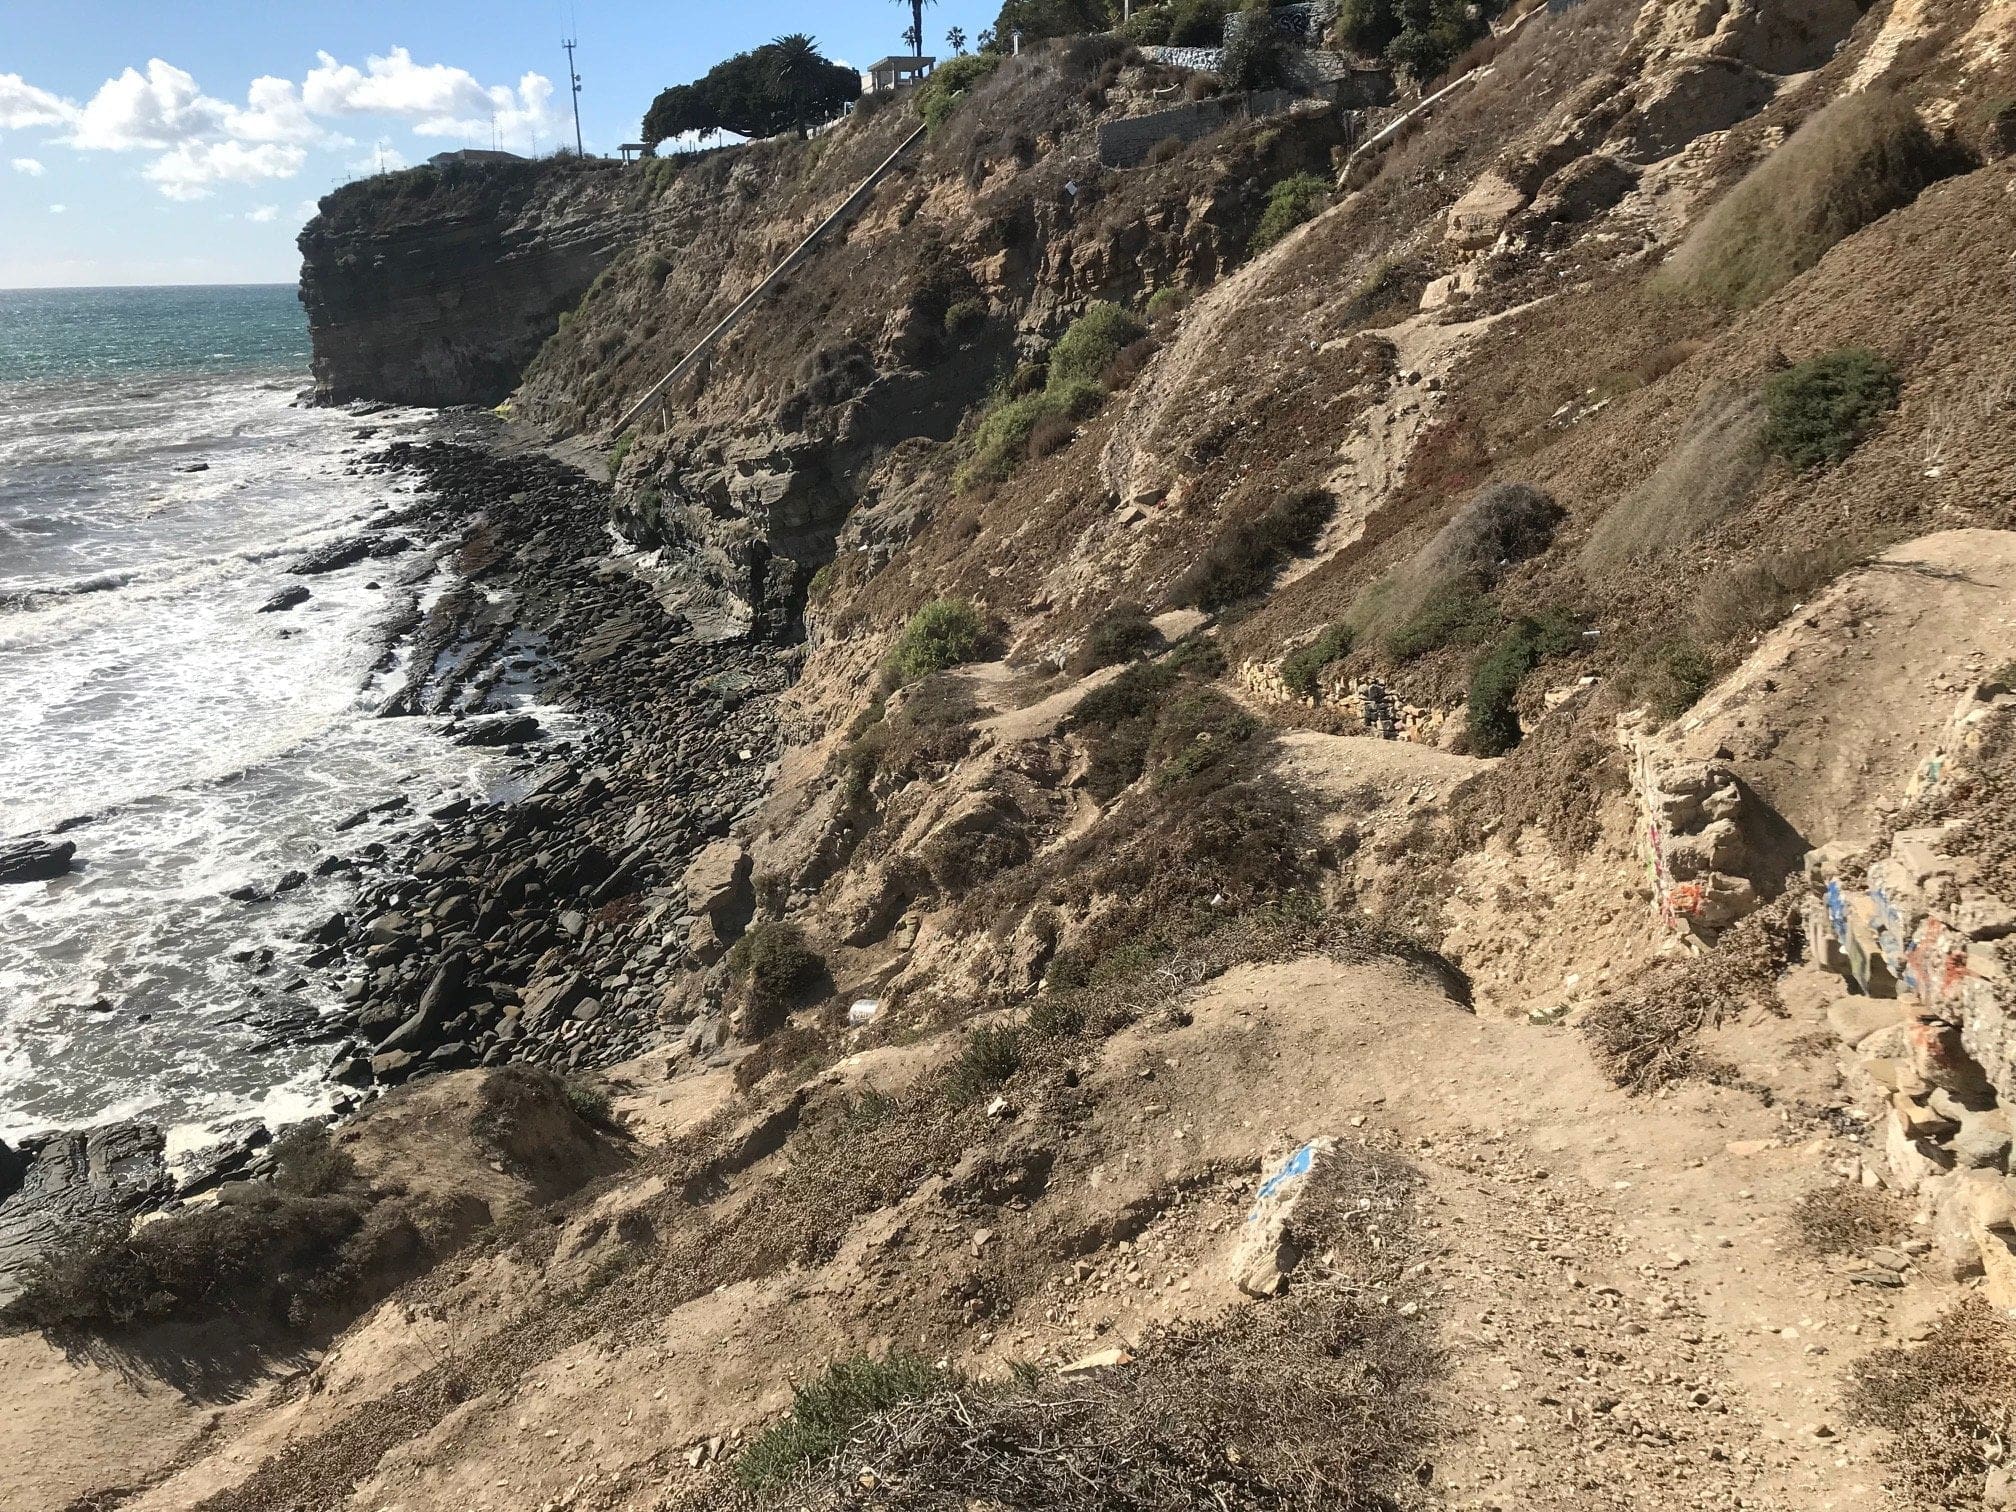
This leads to the “dead end” part of tier 3 that I mentioned earlier. (And by “dead end” I mean, if you keep heading west, you’ll end up swimming with the fish since the ground disappears under the tides).
Some large slabs of rock you can climb on to if you want to get hit by the high tides.

Notice anything peculiar below?
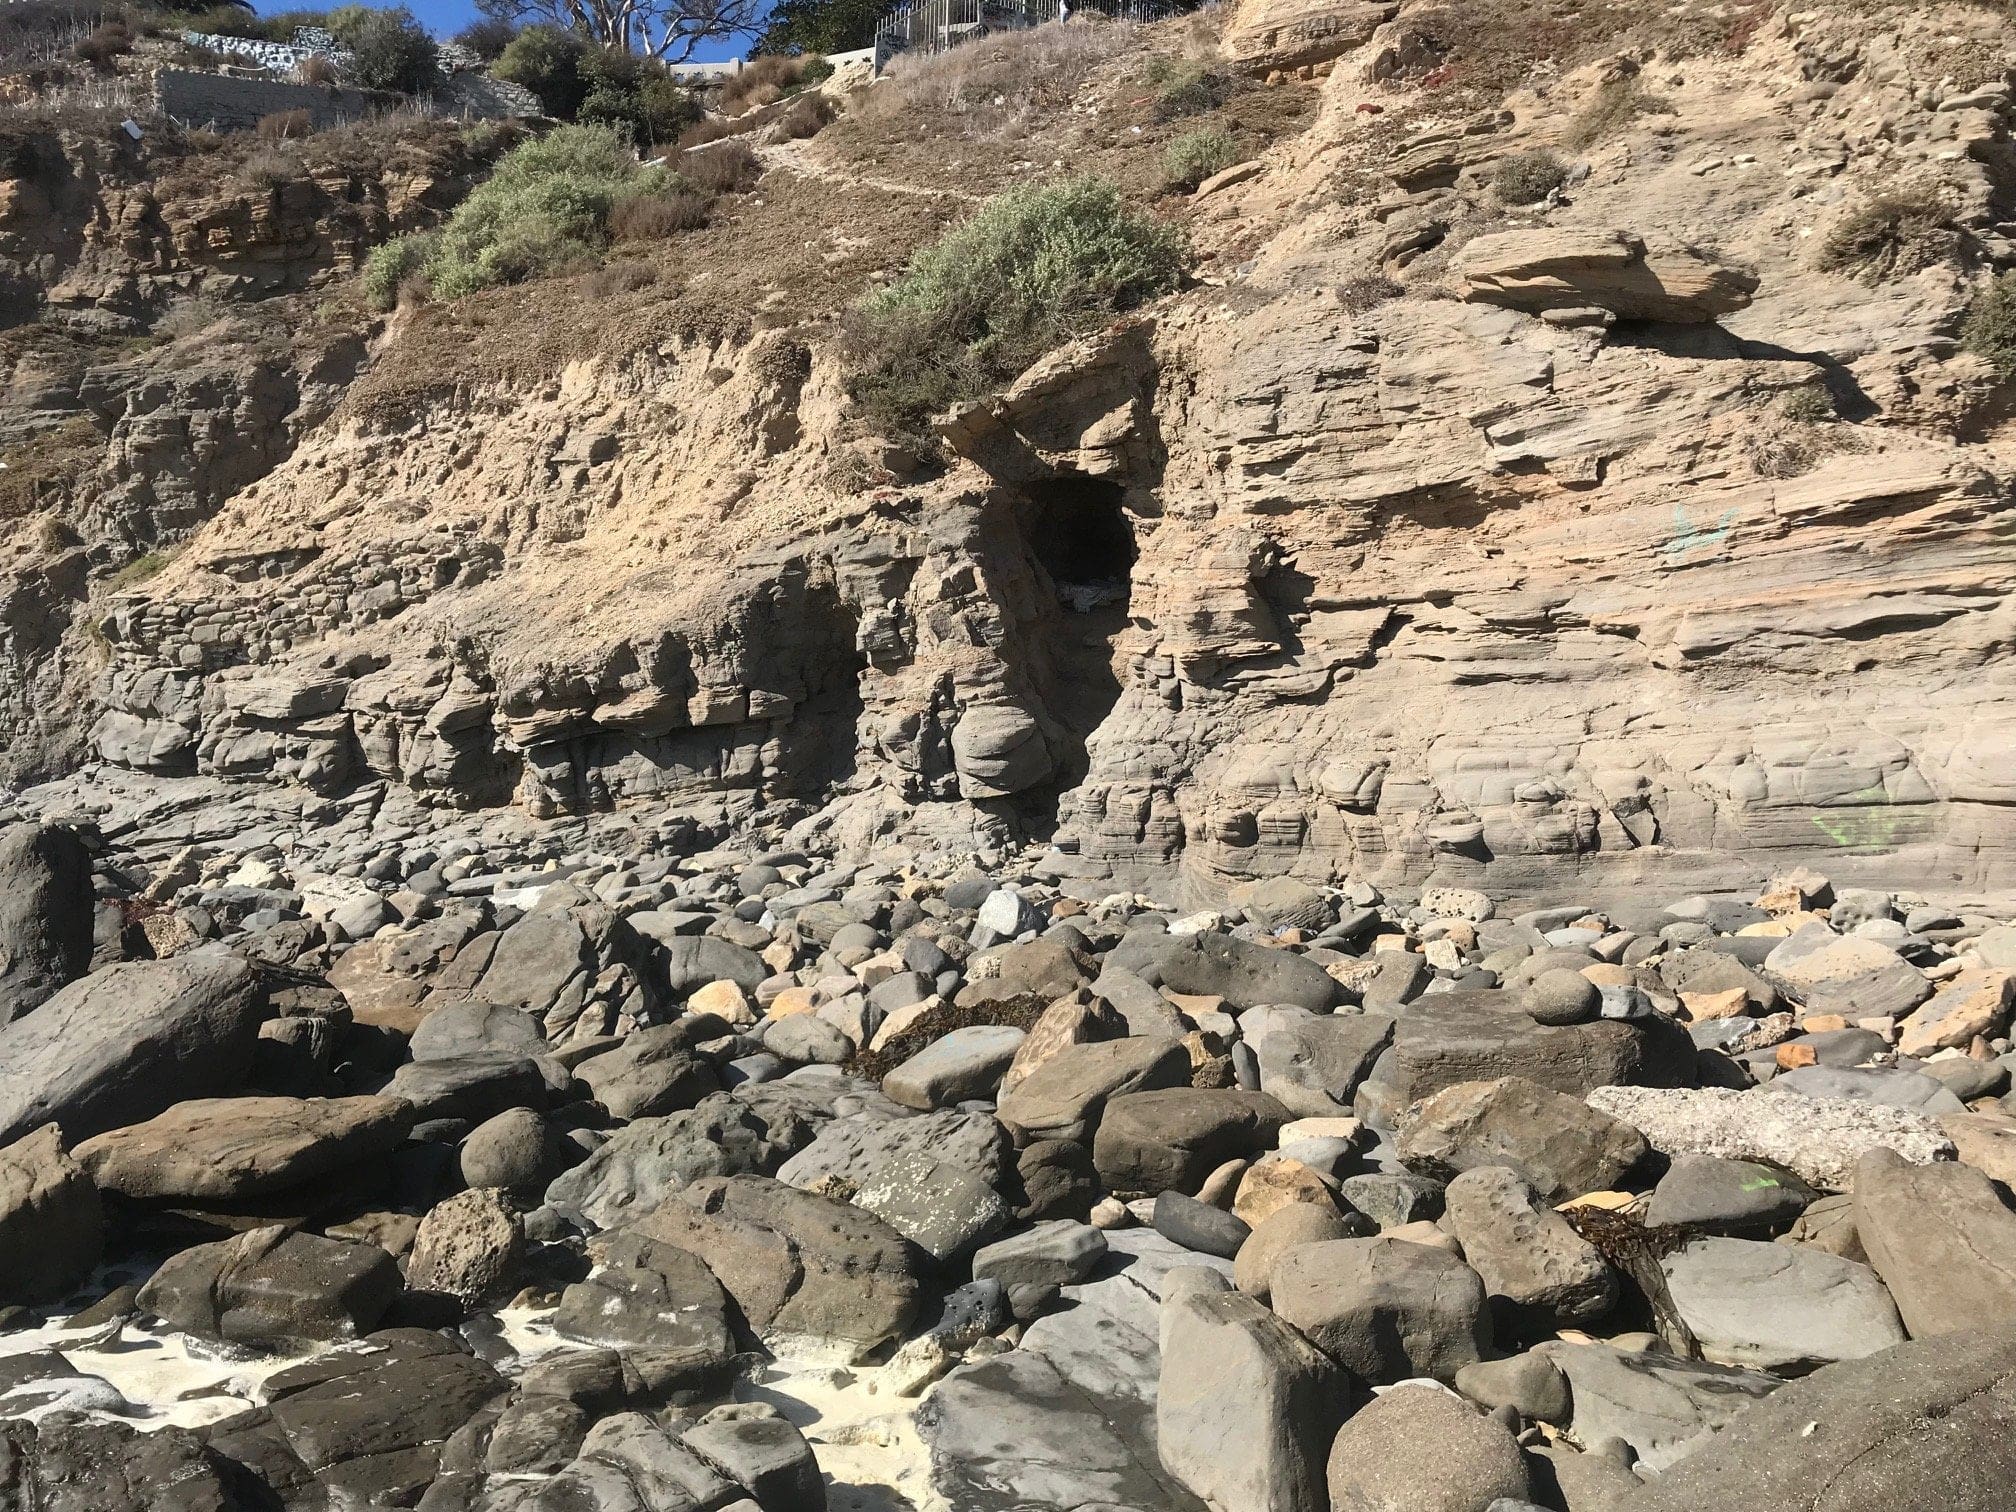
How about now?

That’s right folks. A super-secret den with potential treasure (or so I like to think).
Alas, only a free blanket remains.
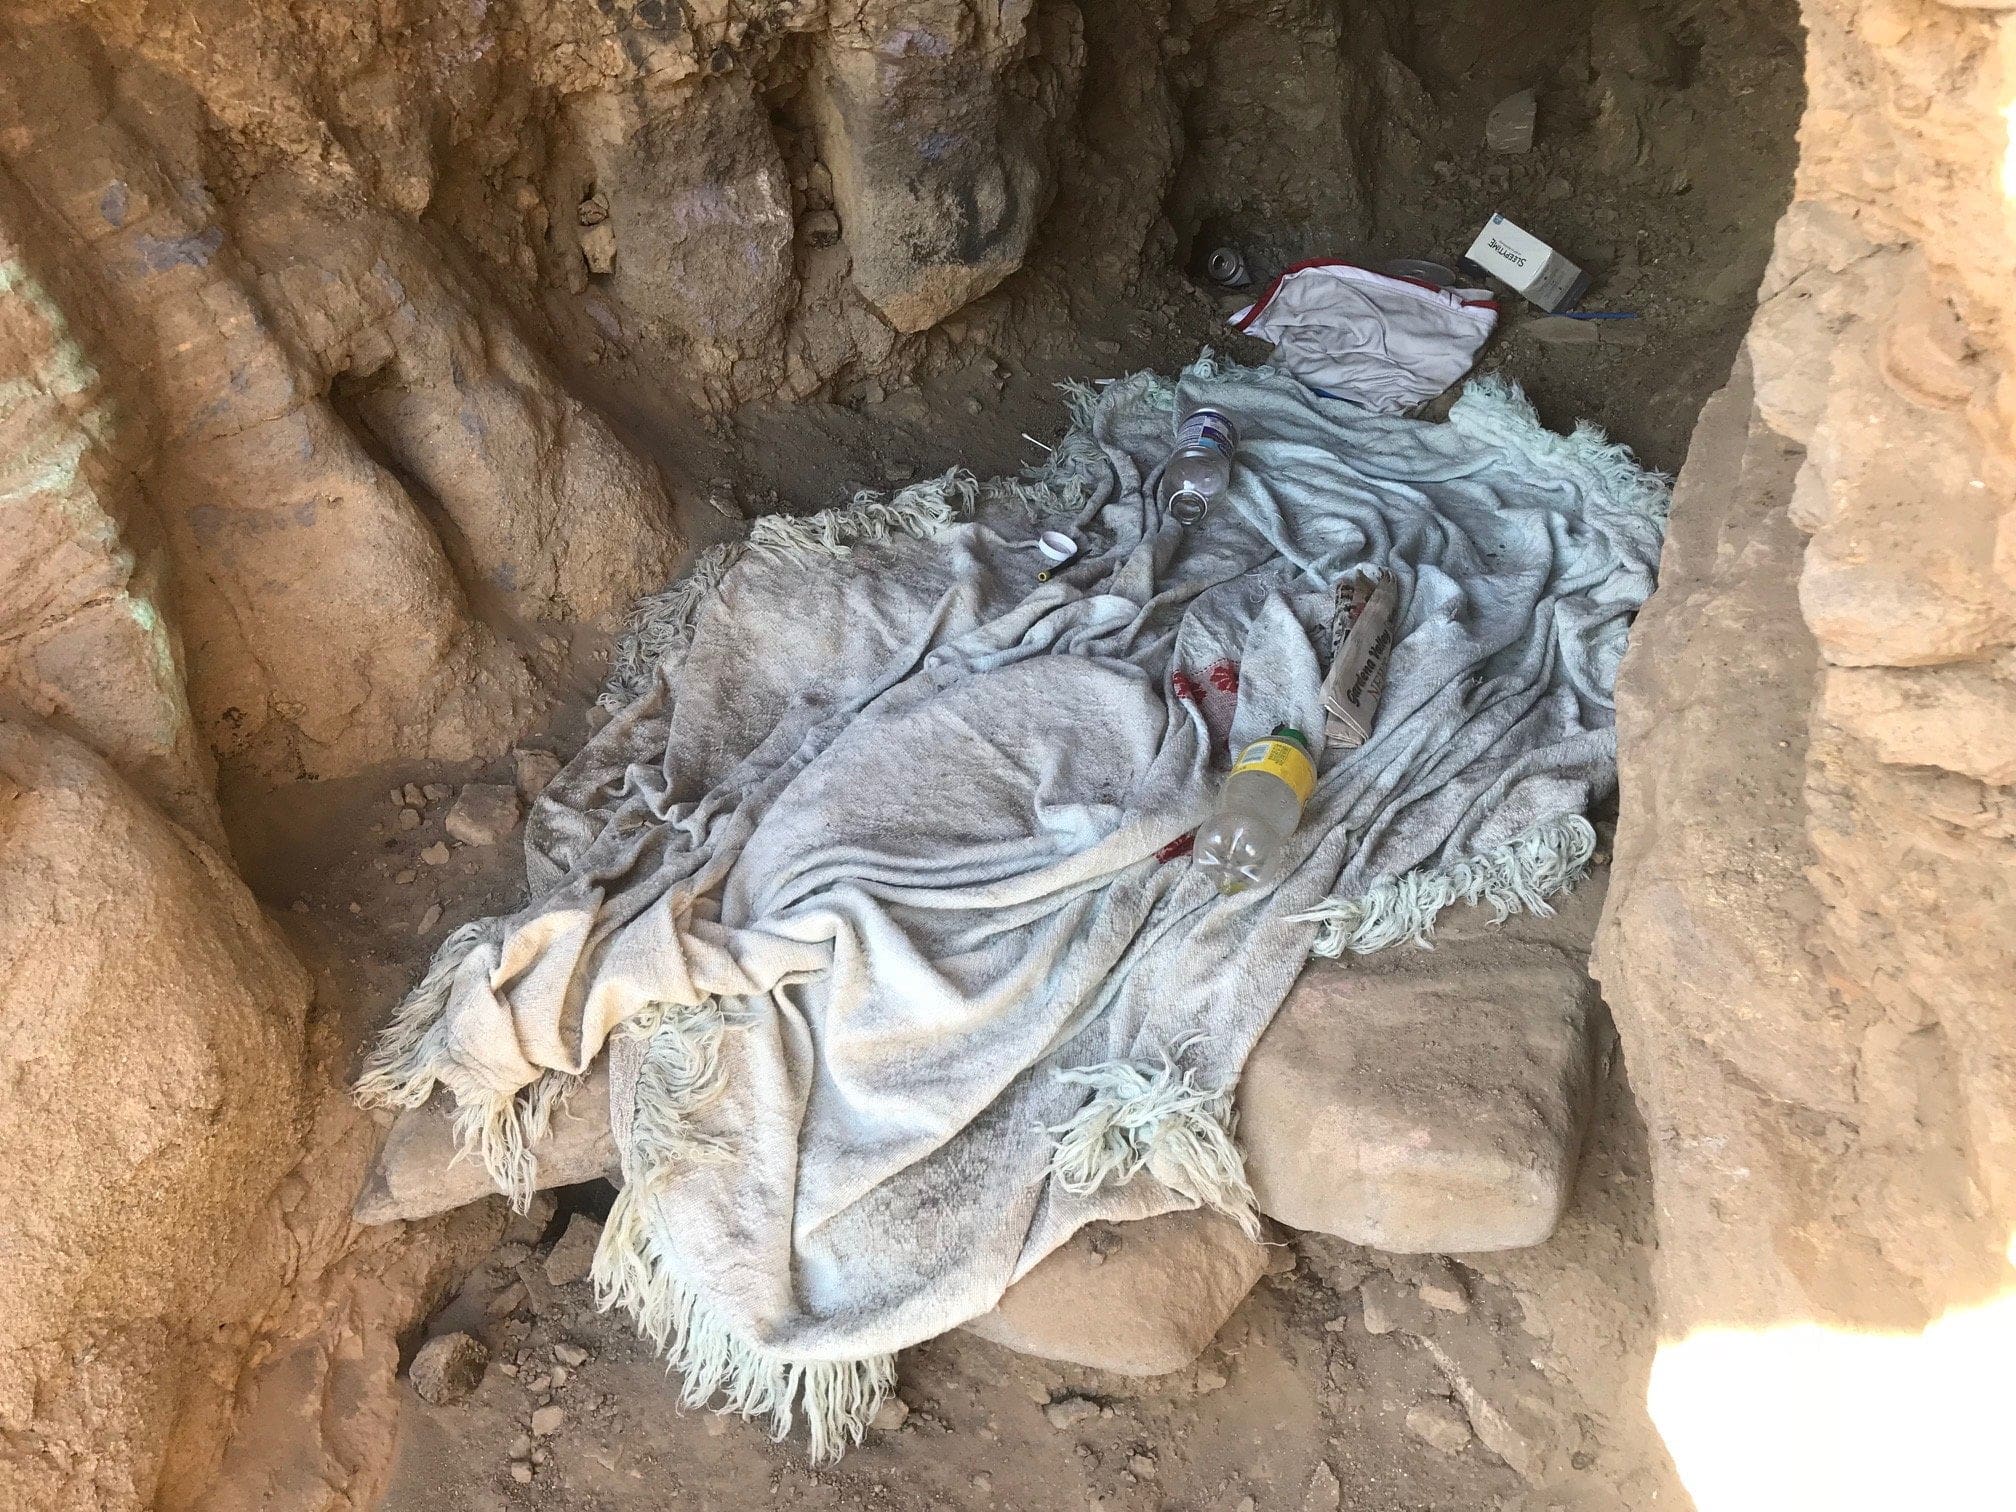
View from the den, the warmest part of this entire hike.

The climb back up (the only part that requires actual rock climbing, so watch your footing).
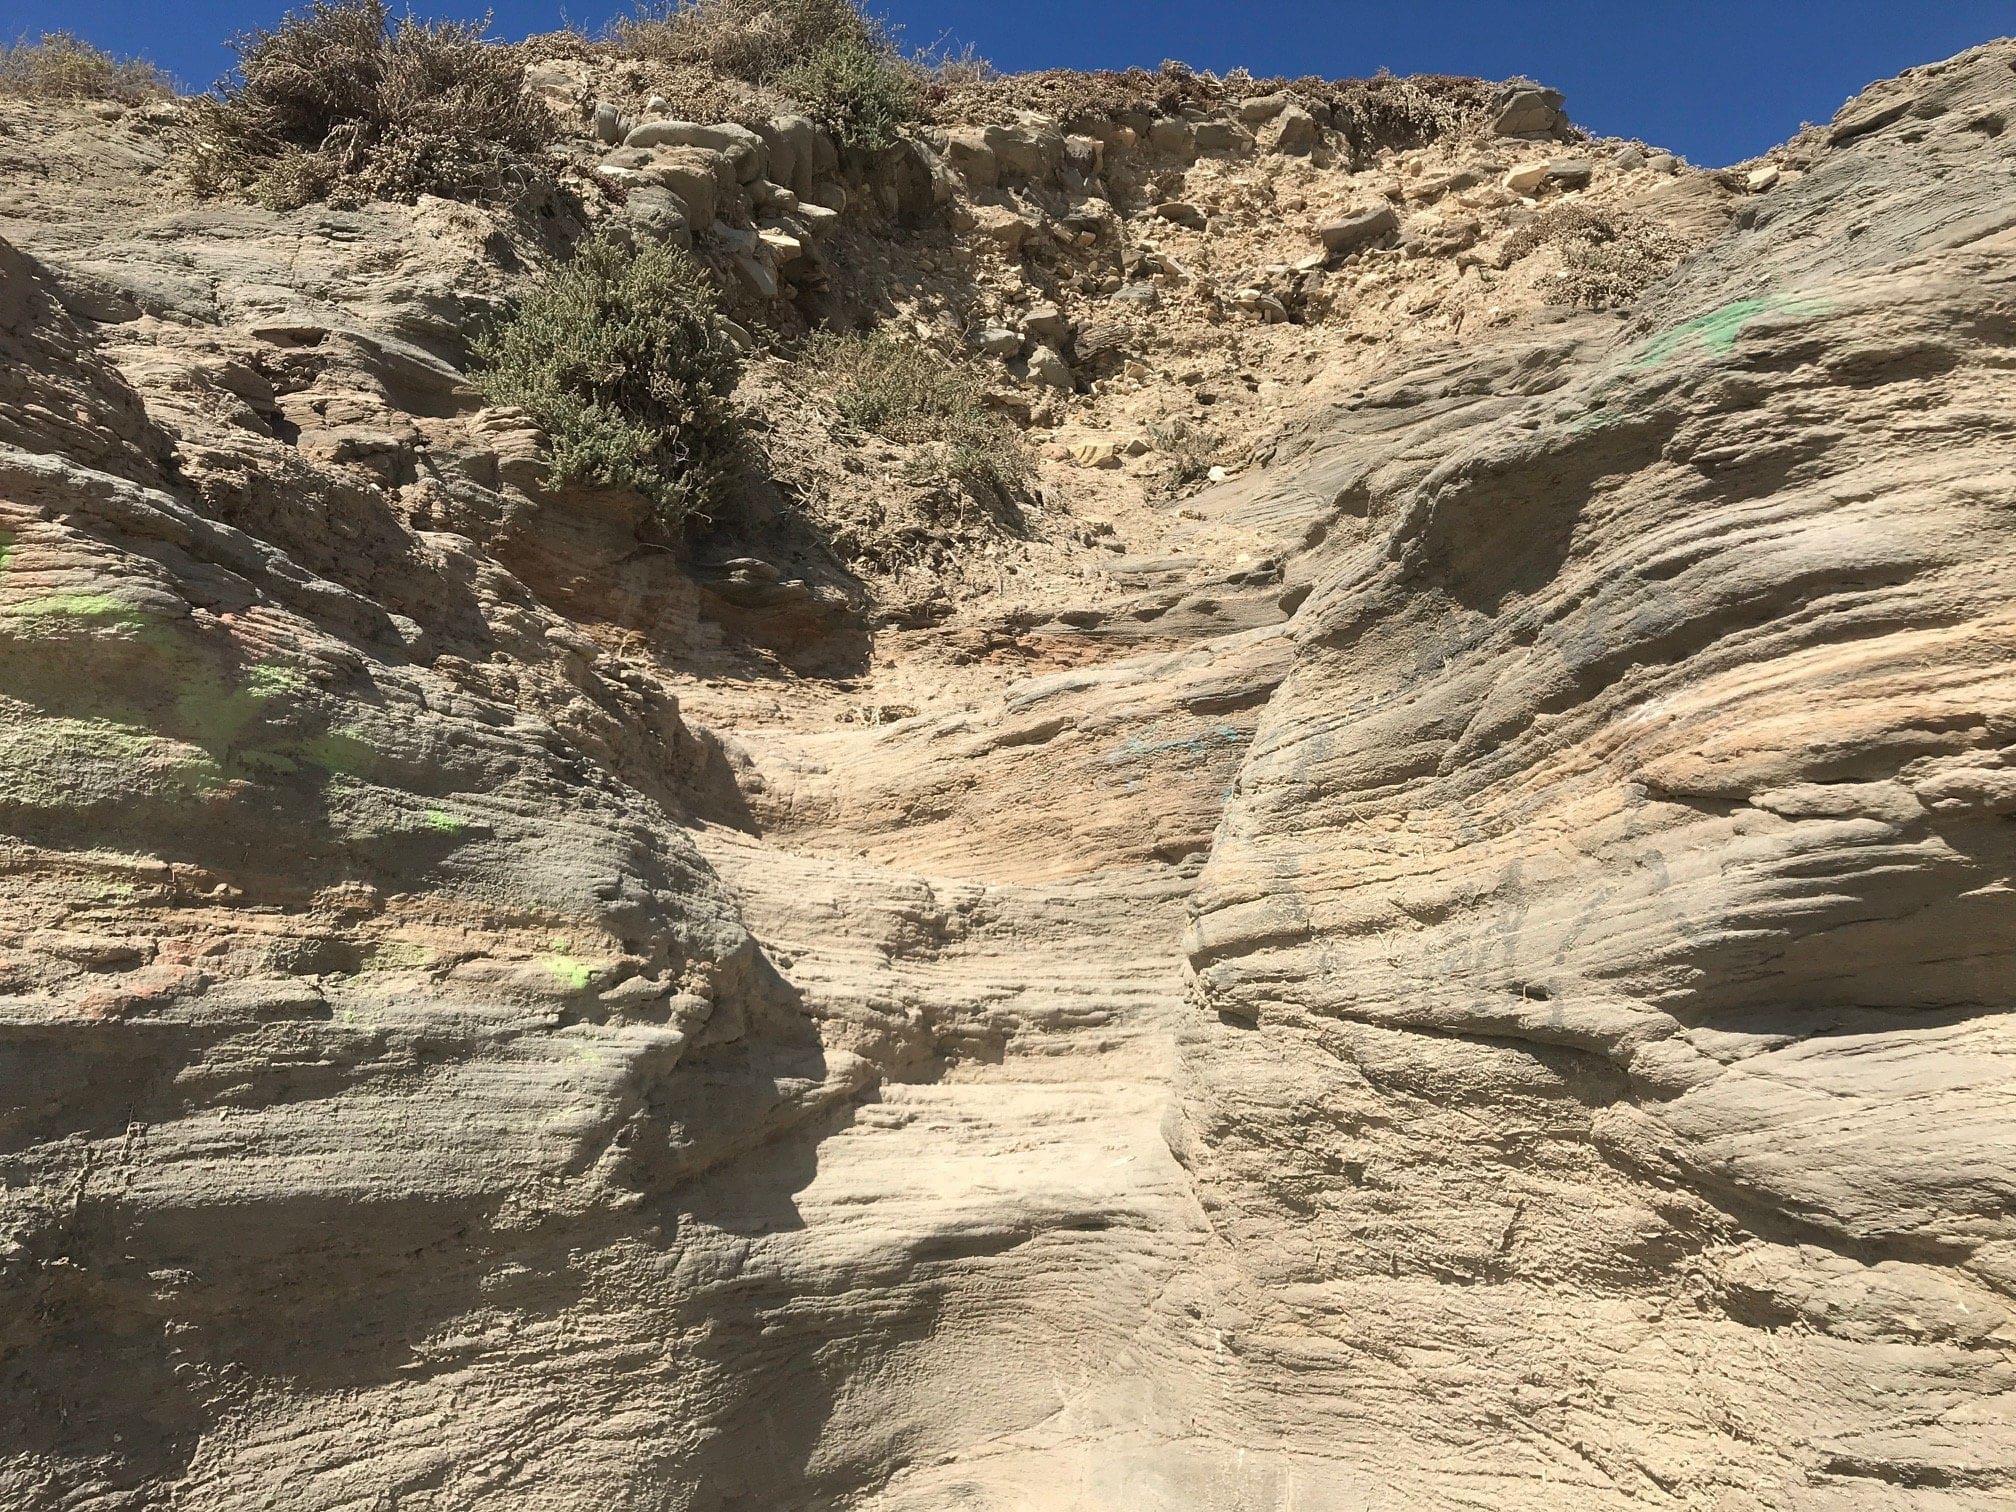
Another metal pipe you can potentially fit through.
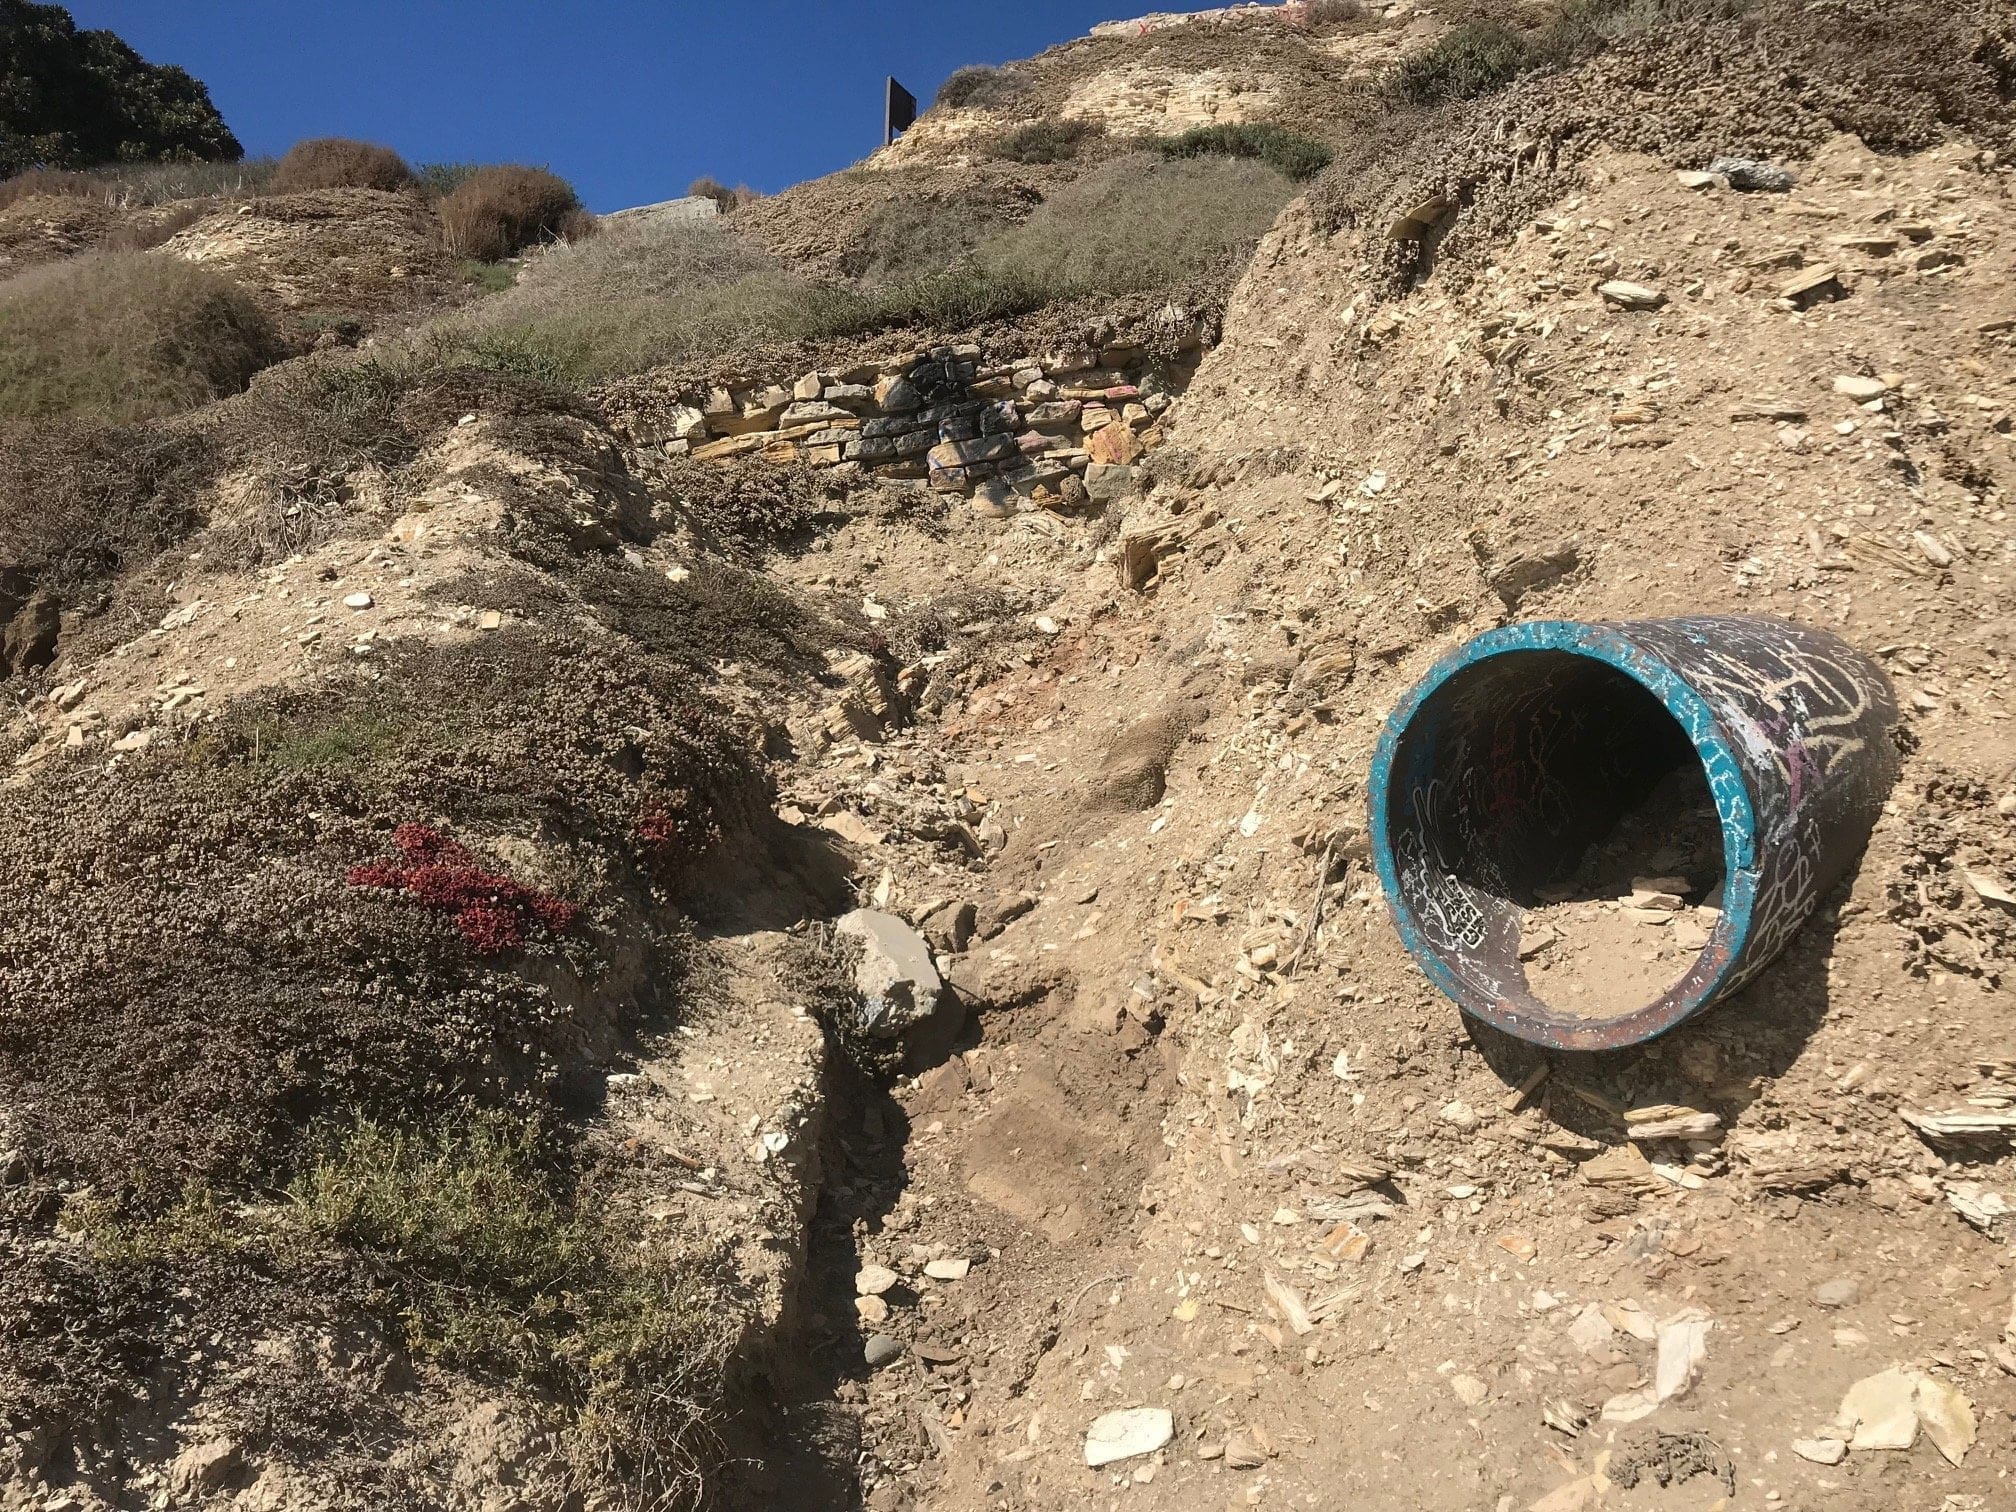
I finally make my way back up to the initial entrance, where I had to crawl under the first metal fence.
But instead of crawling under here…

I decide to turn on “hard mode” and climb not only through here…
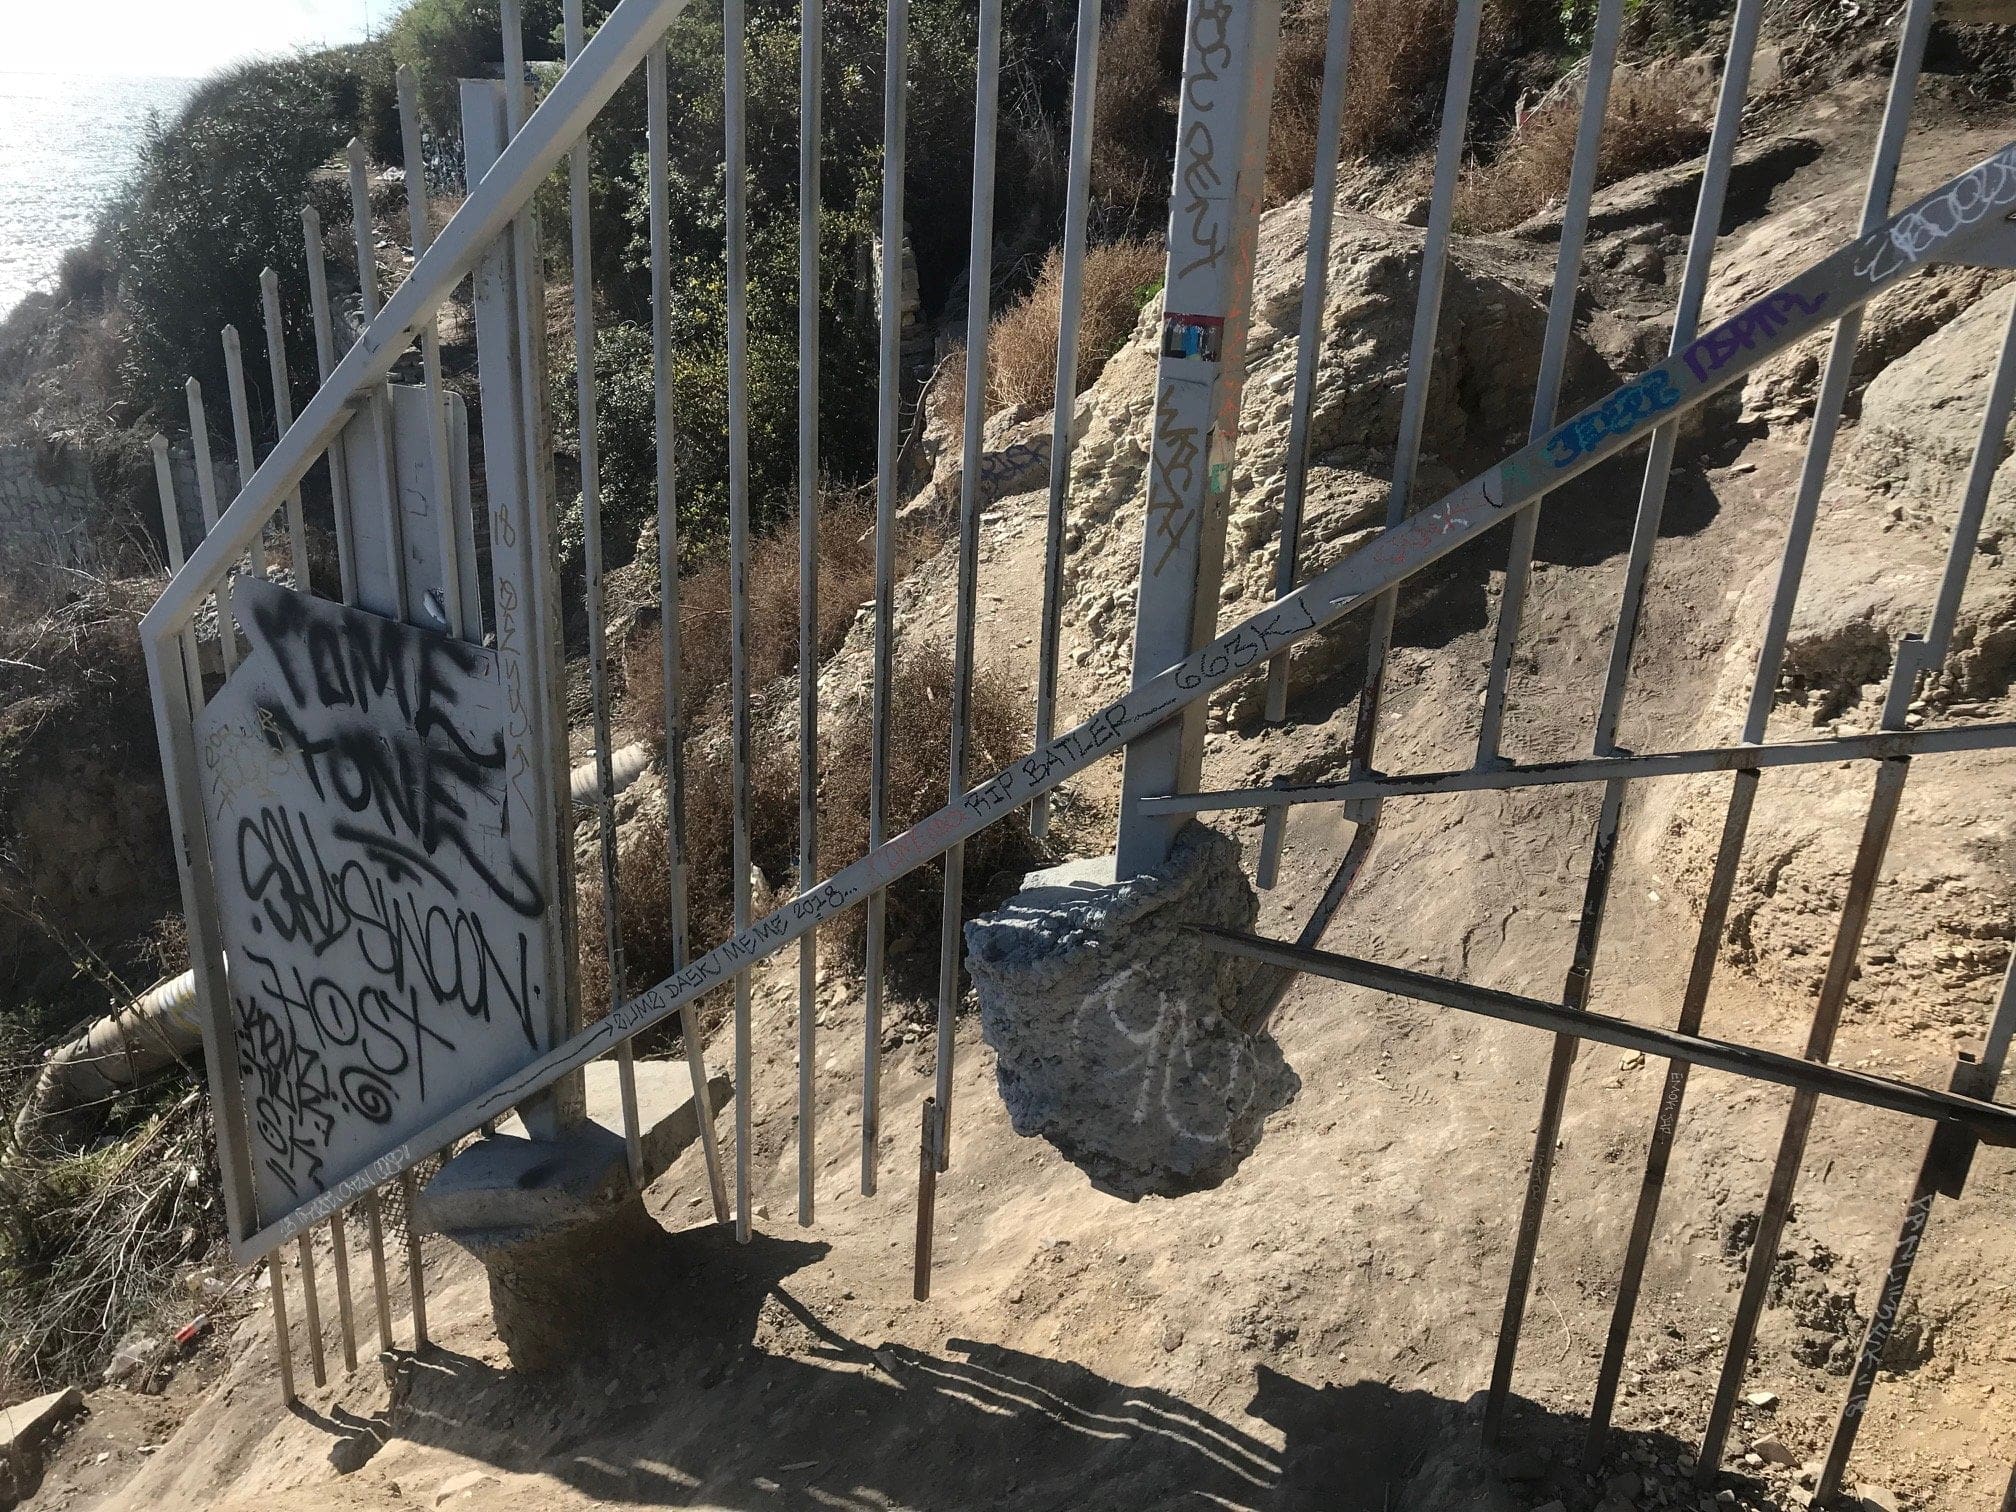
But also, through the cliffs beyond the metal fence (I really don’t recommend this, it’s pretty dangerous).
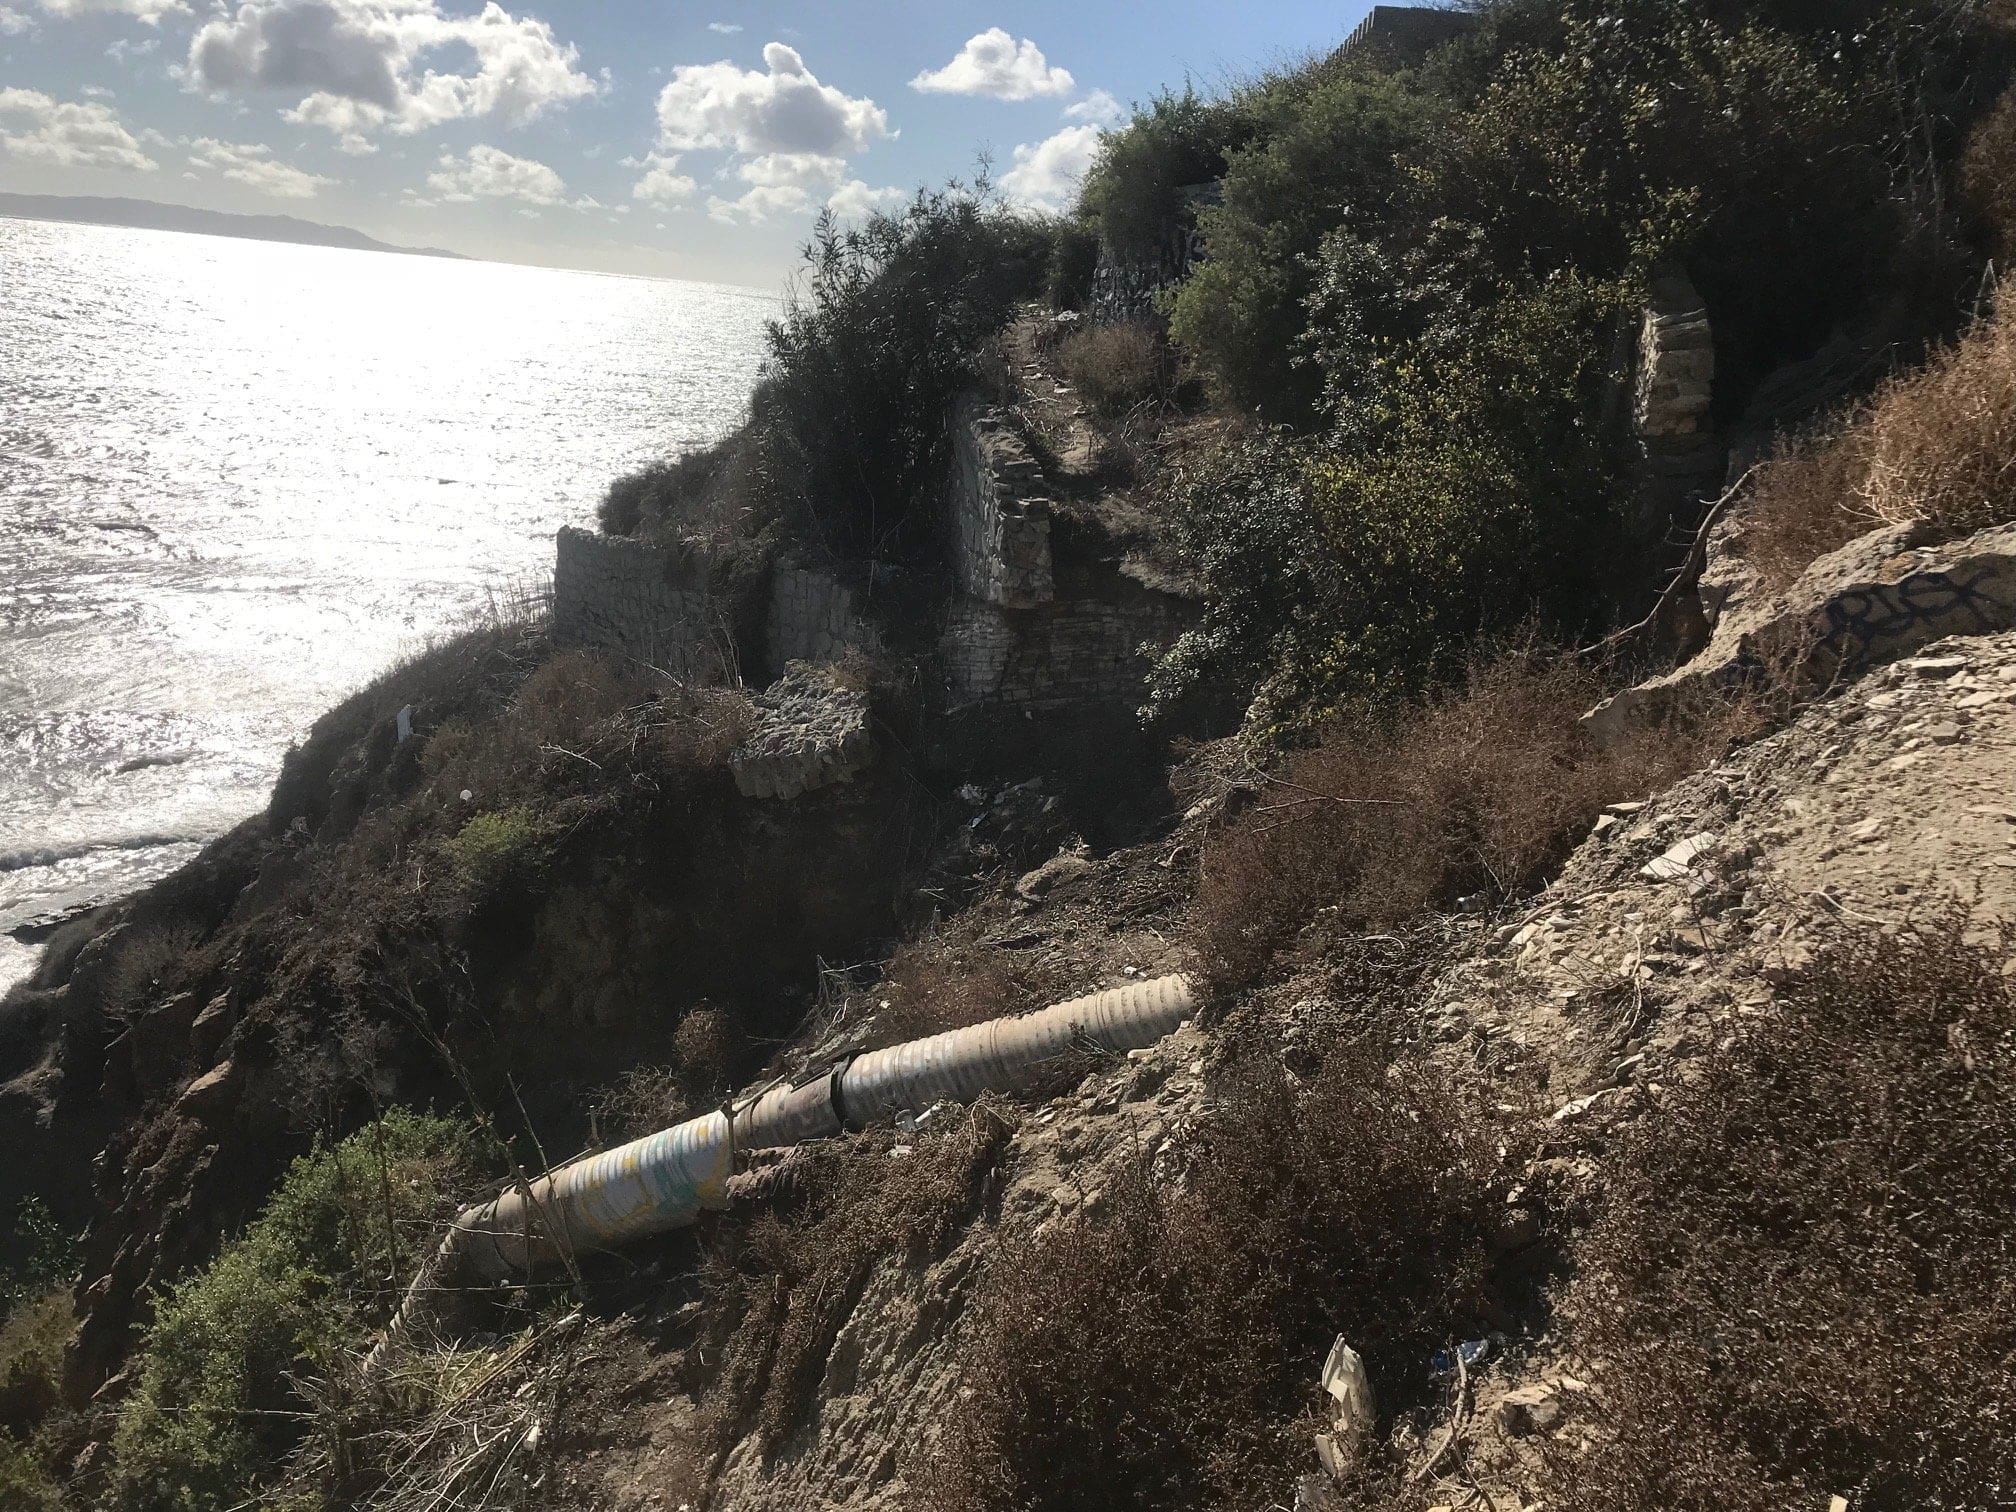
But if you’re an adrenaline-junkie like me, here’s how to ascend up to the entrance, past the two metal fences:
- Carefully climb down the super steep trail and toward the metal pipe below:
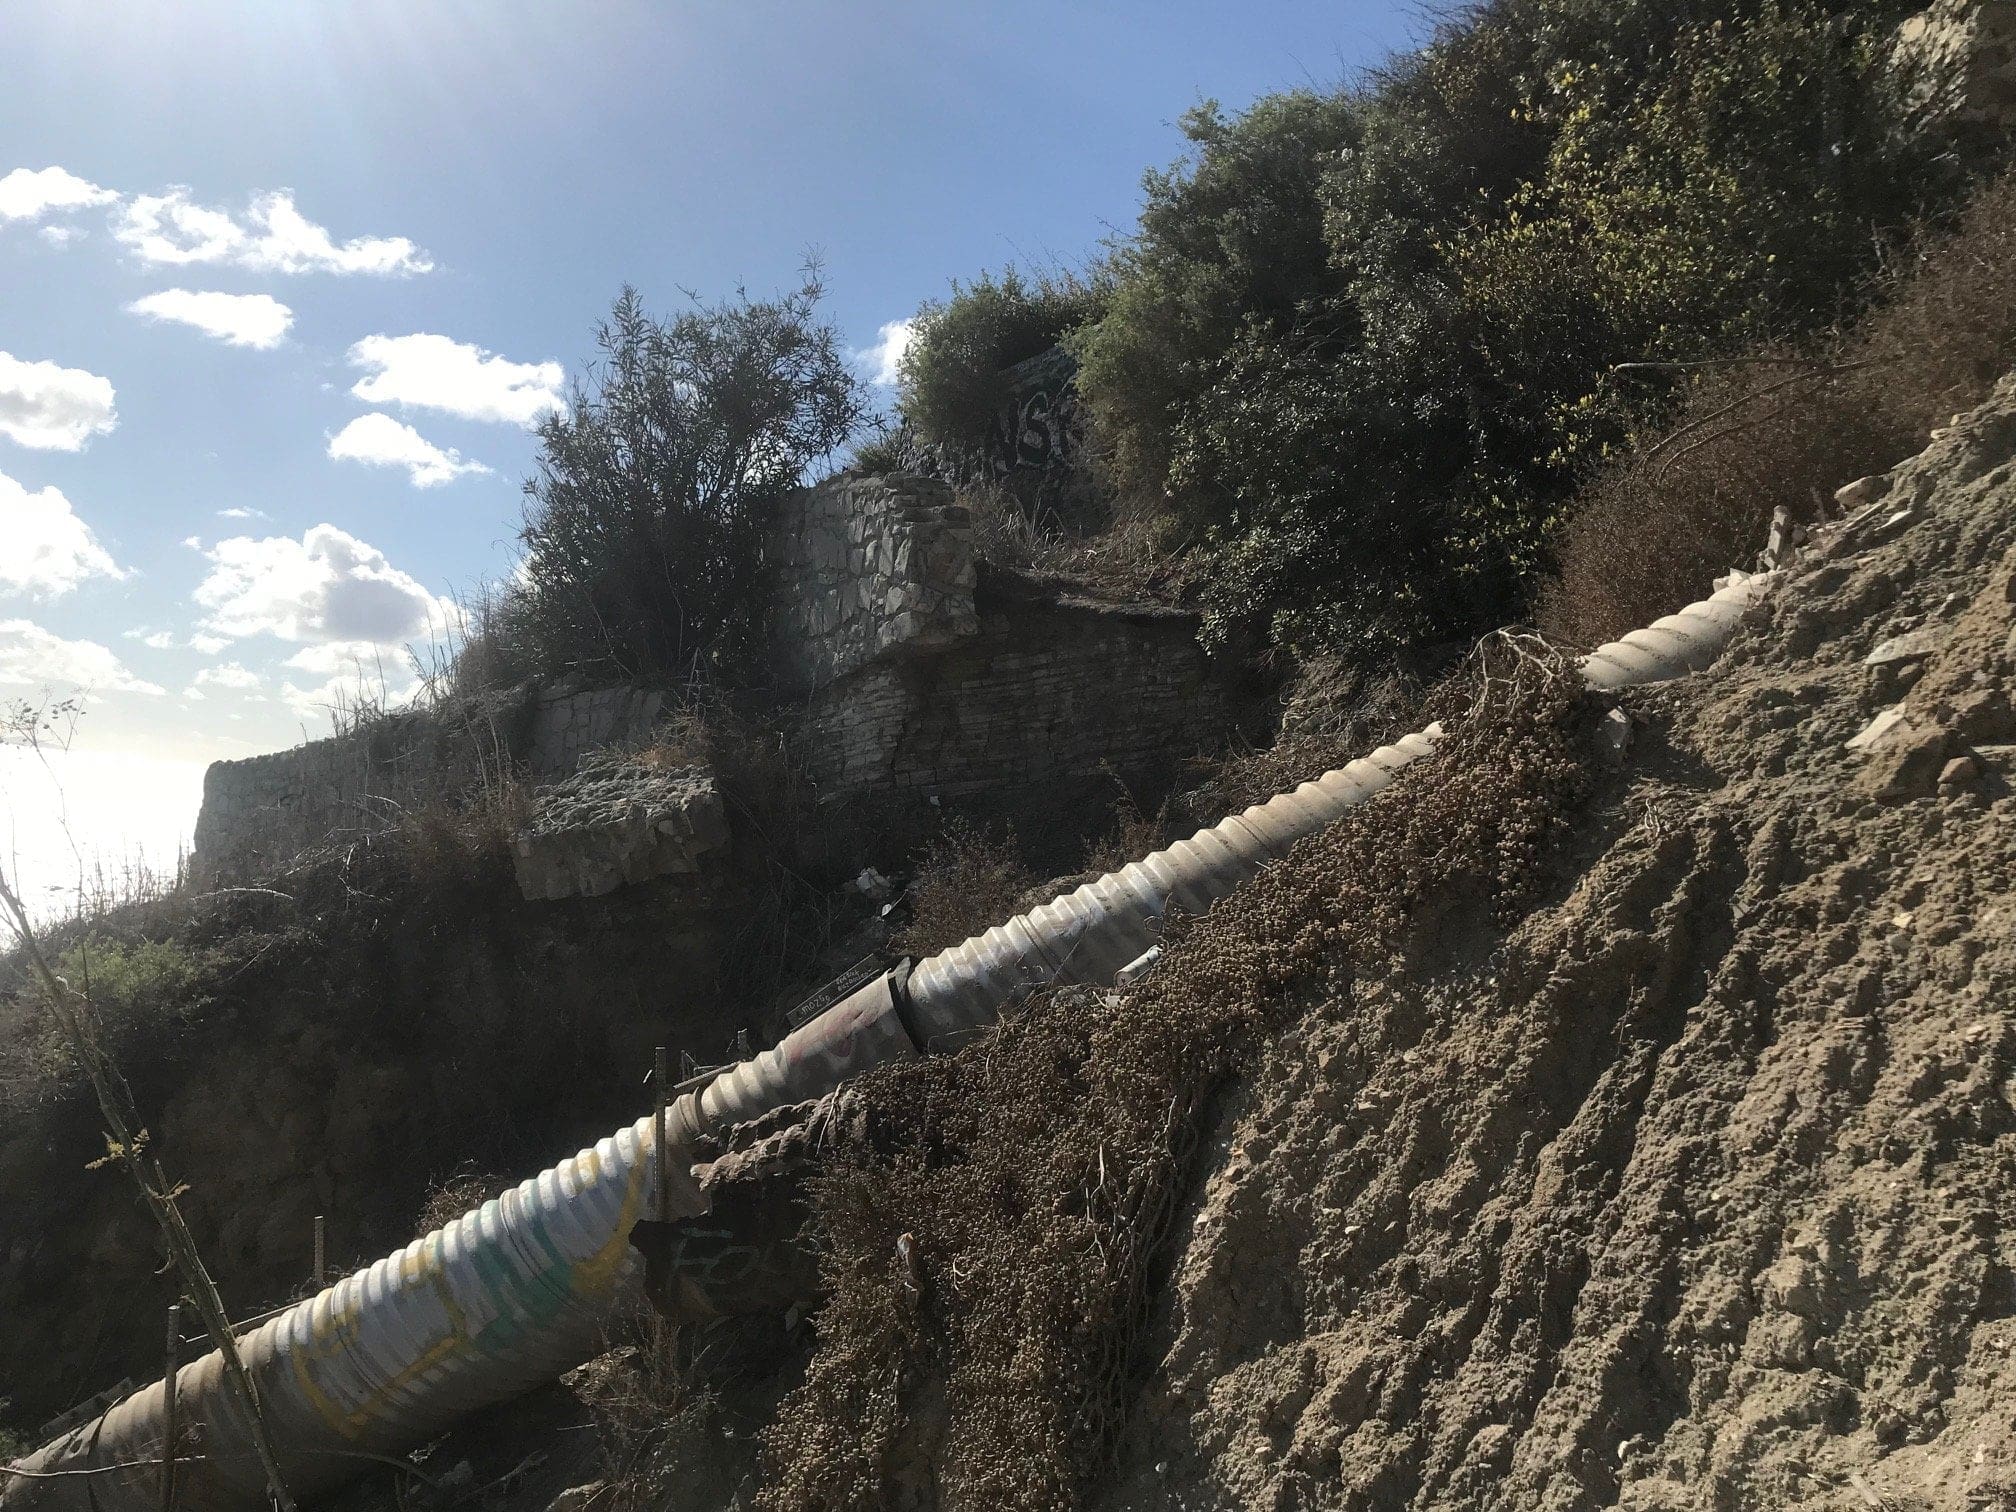
- You’ll have to climb over this pipe, which is sitting at a 45-degree angle.
- View from above, with a steep tumble down.
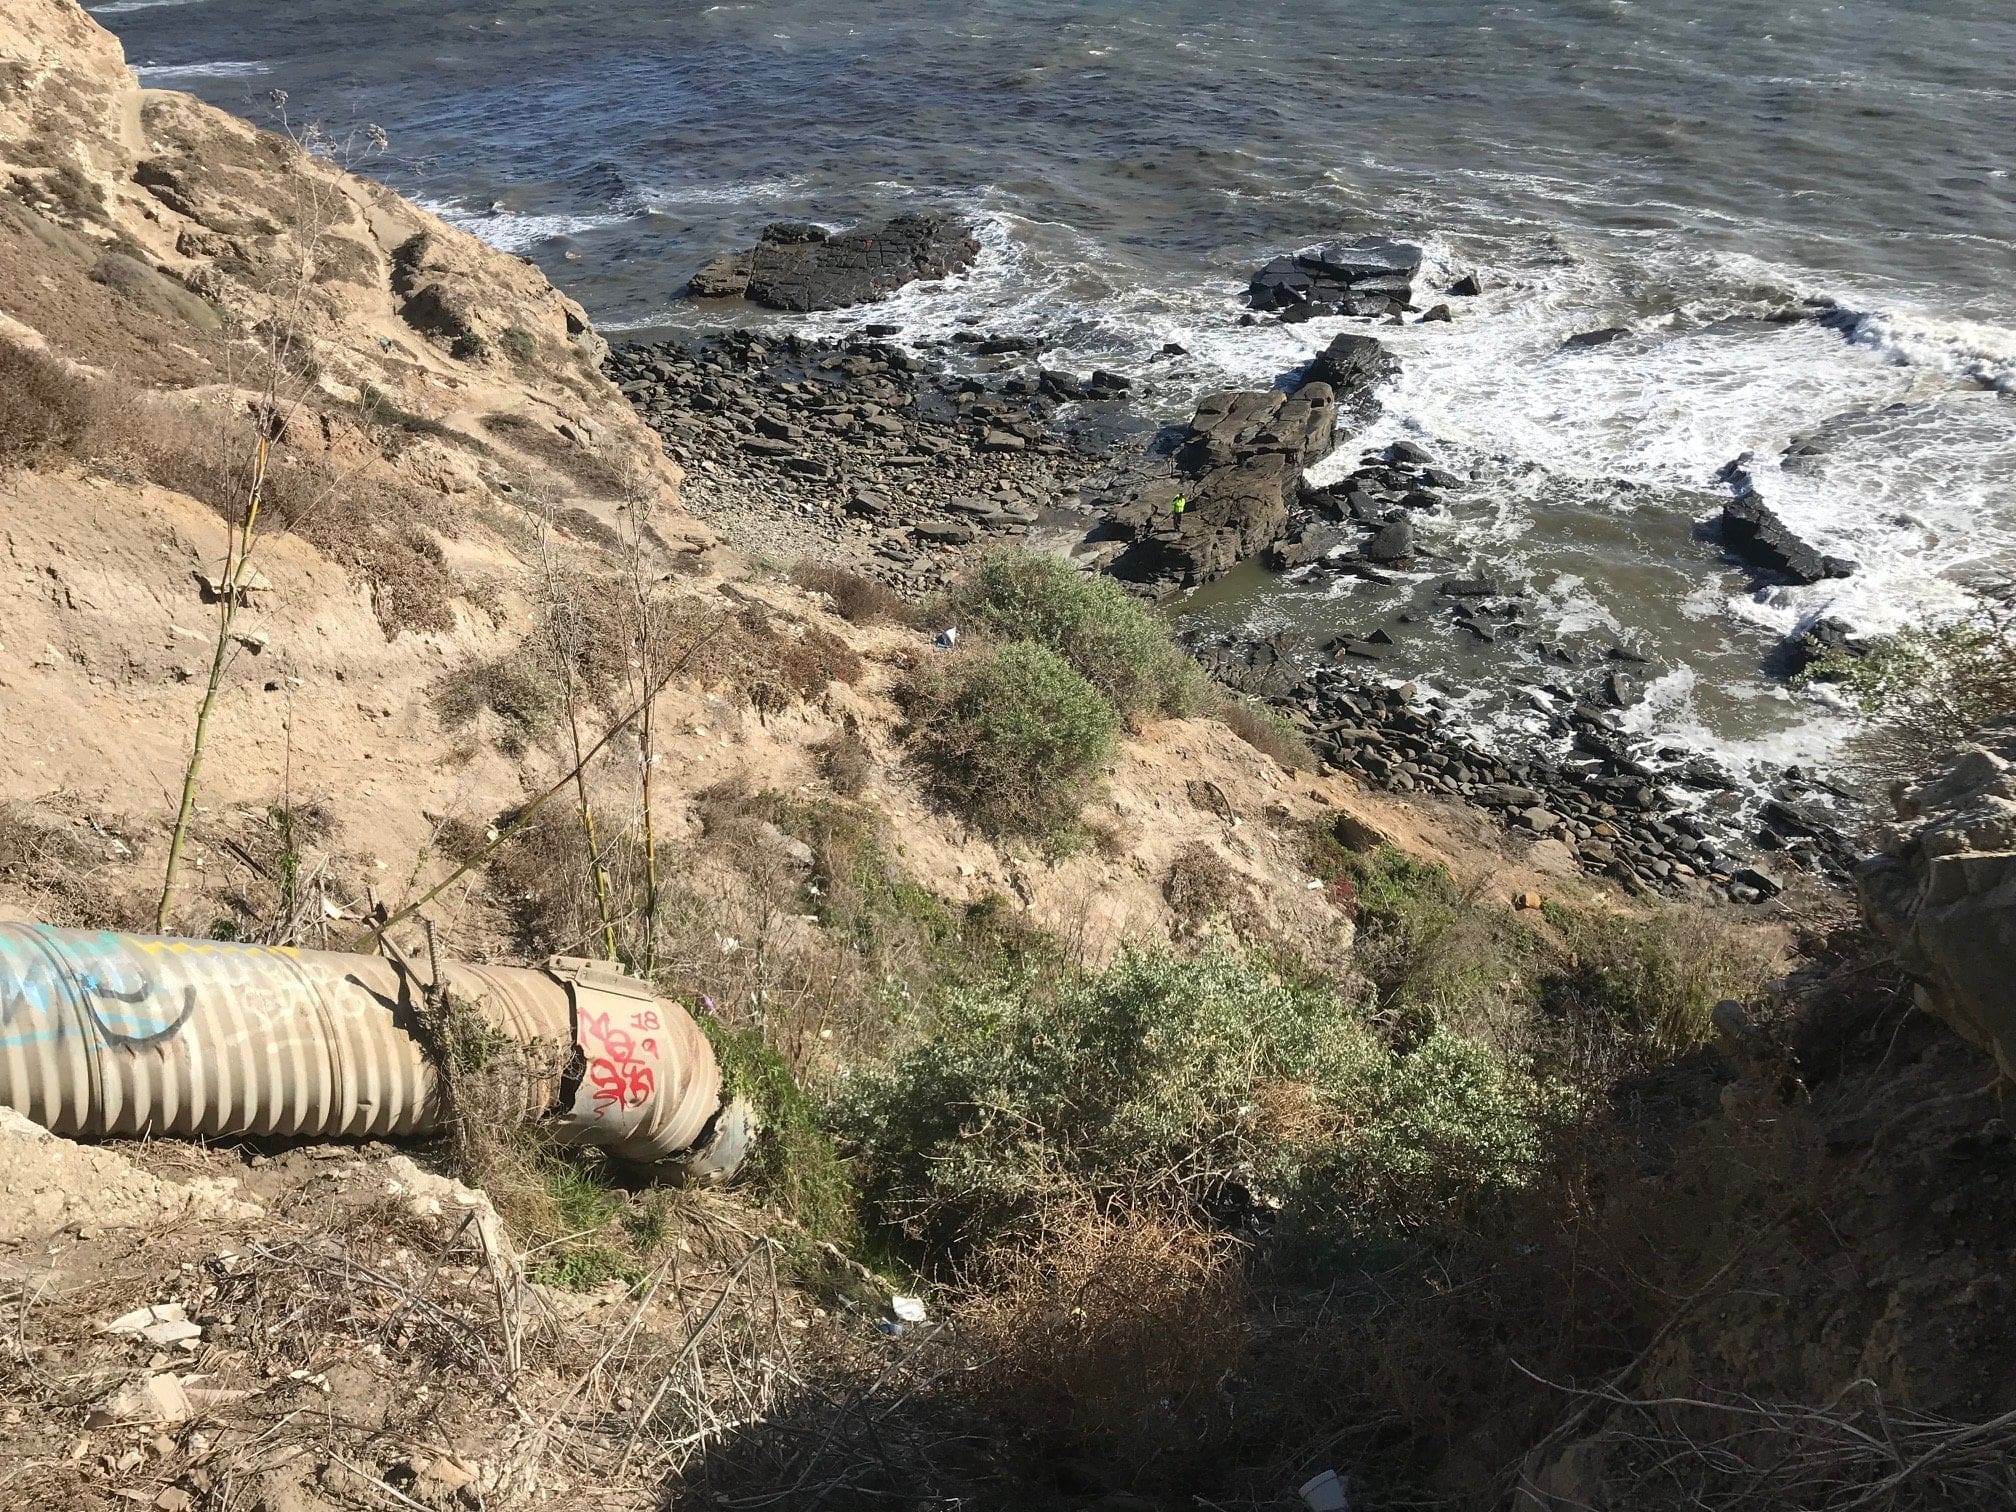
- After besting the metal pipe, you’ll reach a small cliff that will require every fiber of muscle you have to climb up to.
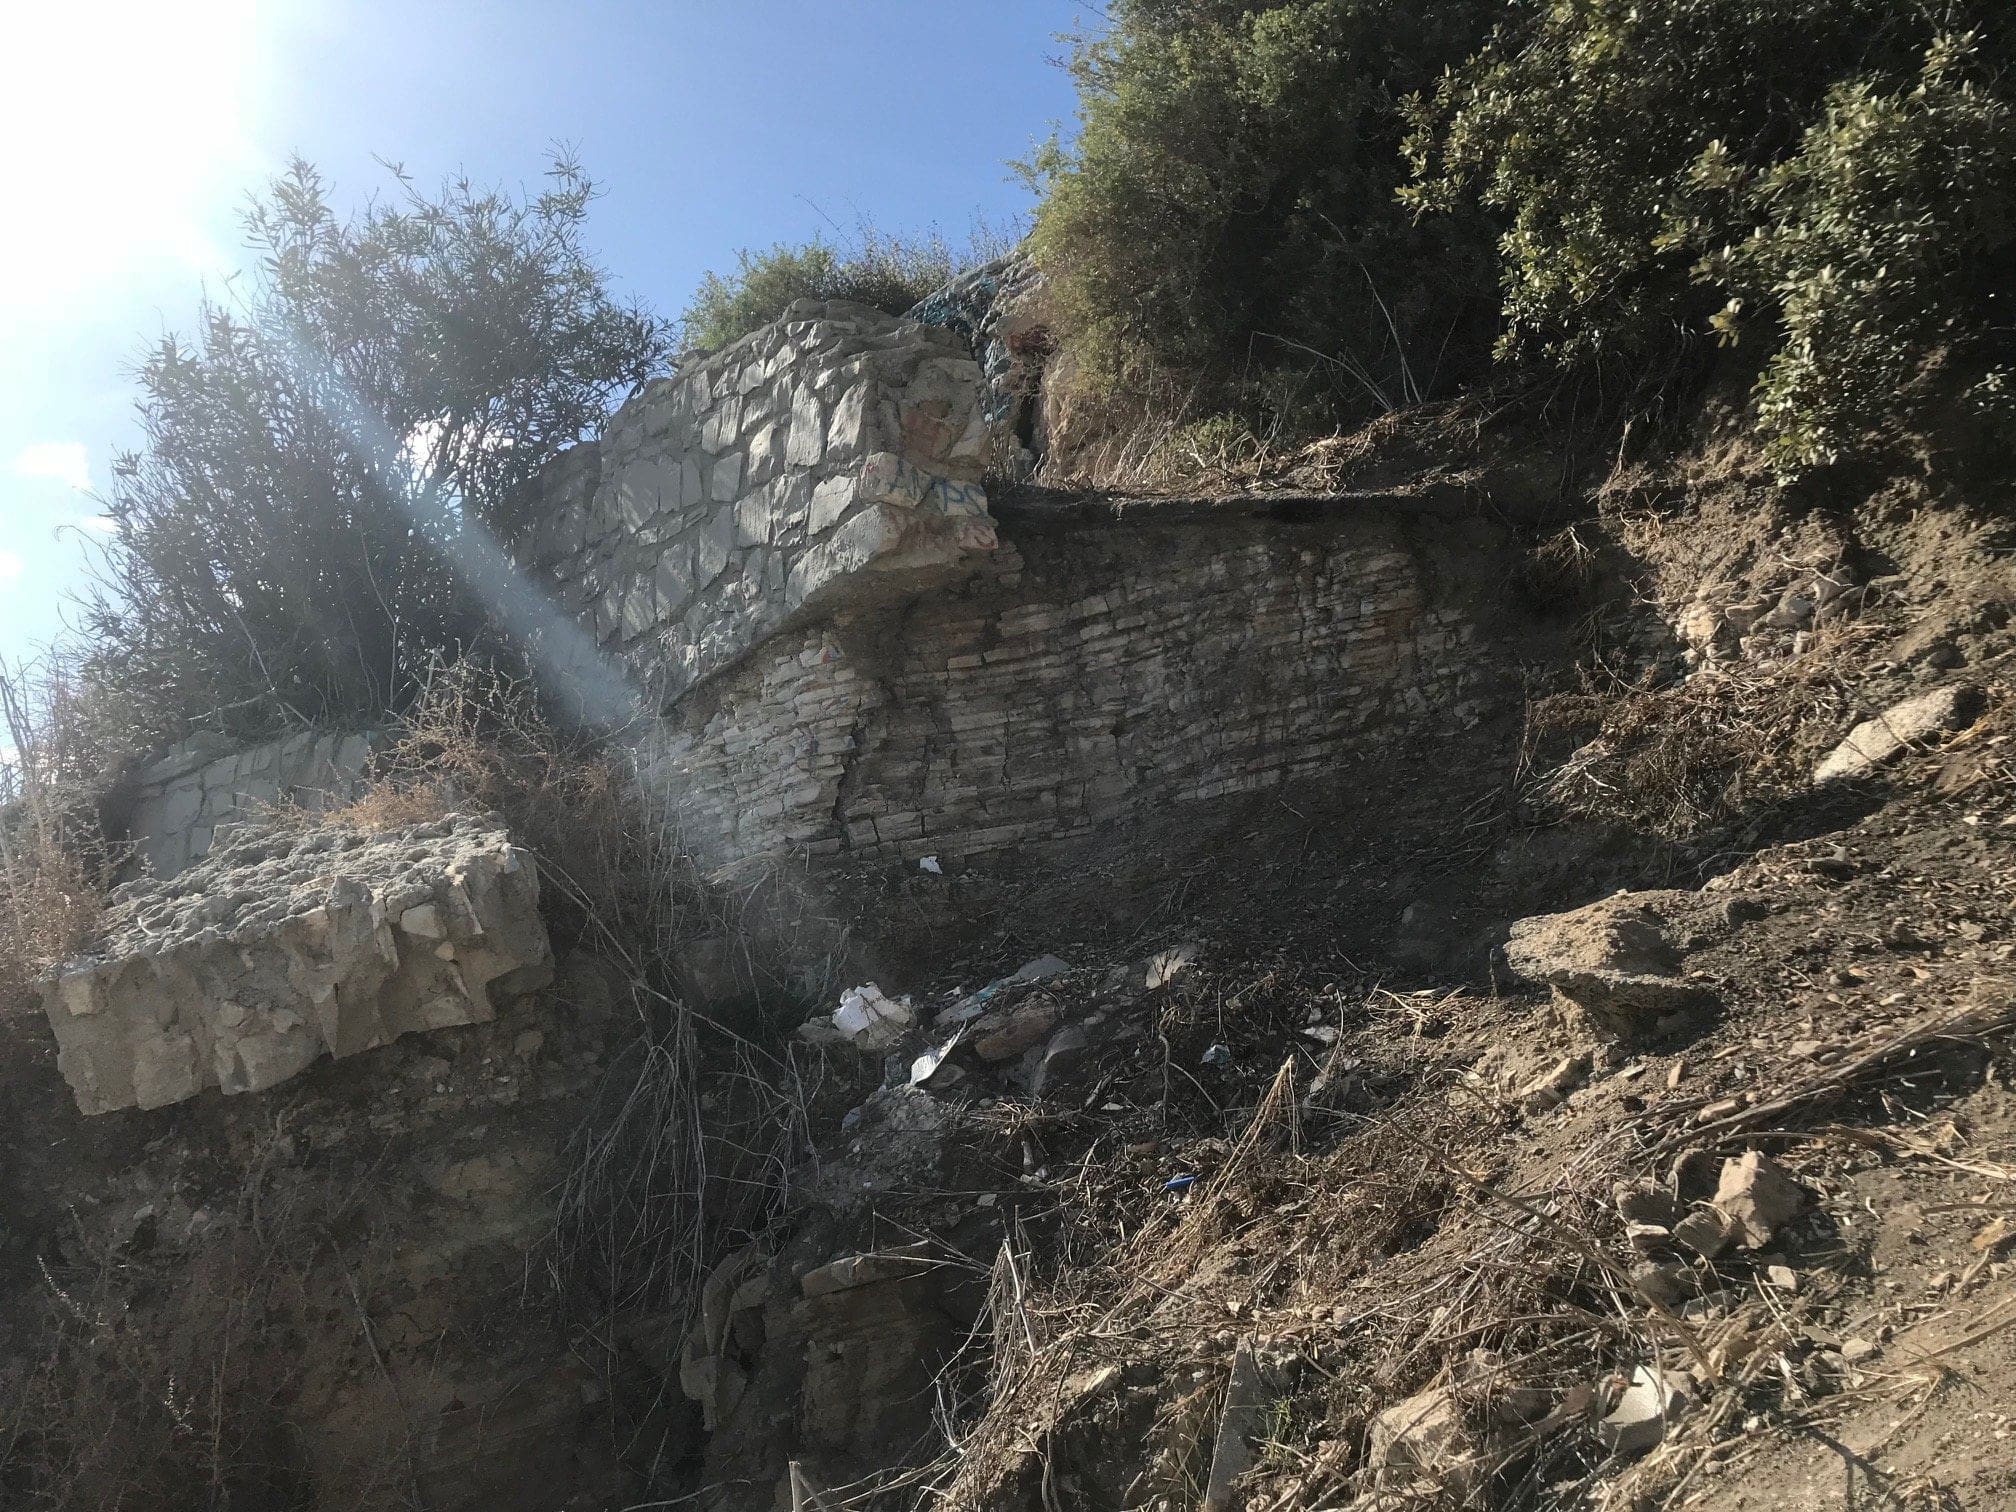
There’s one of two ways to climb up this cliff edge:
- Put all of your training days of pull-ups to good use and literally pull yourself up
- Be like me (with almost no tricep strength) and place your feet within the tiny crevices of the cliff. Slowly place your feet higher and higher up through the crevices (like a vertical stair climb, but harder) until you can bolster yourself up and over the cliff’s edge.
After doing so, congratulations, you’ve made the trek back to the entrance much harder then it needed to be (but that’s where the fun lies)!

A short trail back up to the cemented walkway, toward Point Fermin Park.
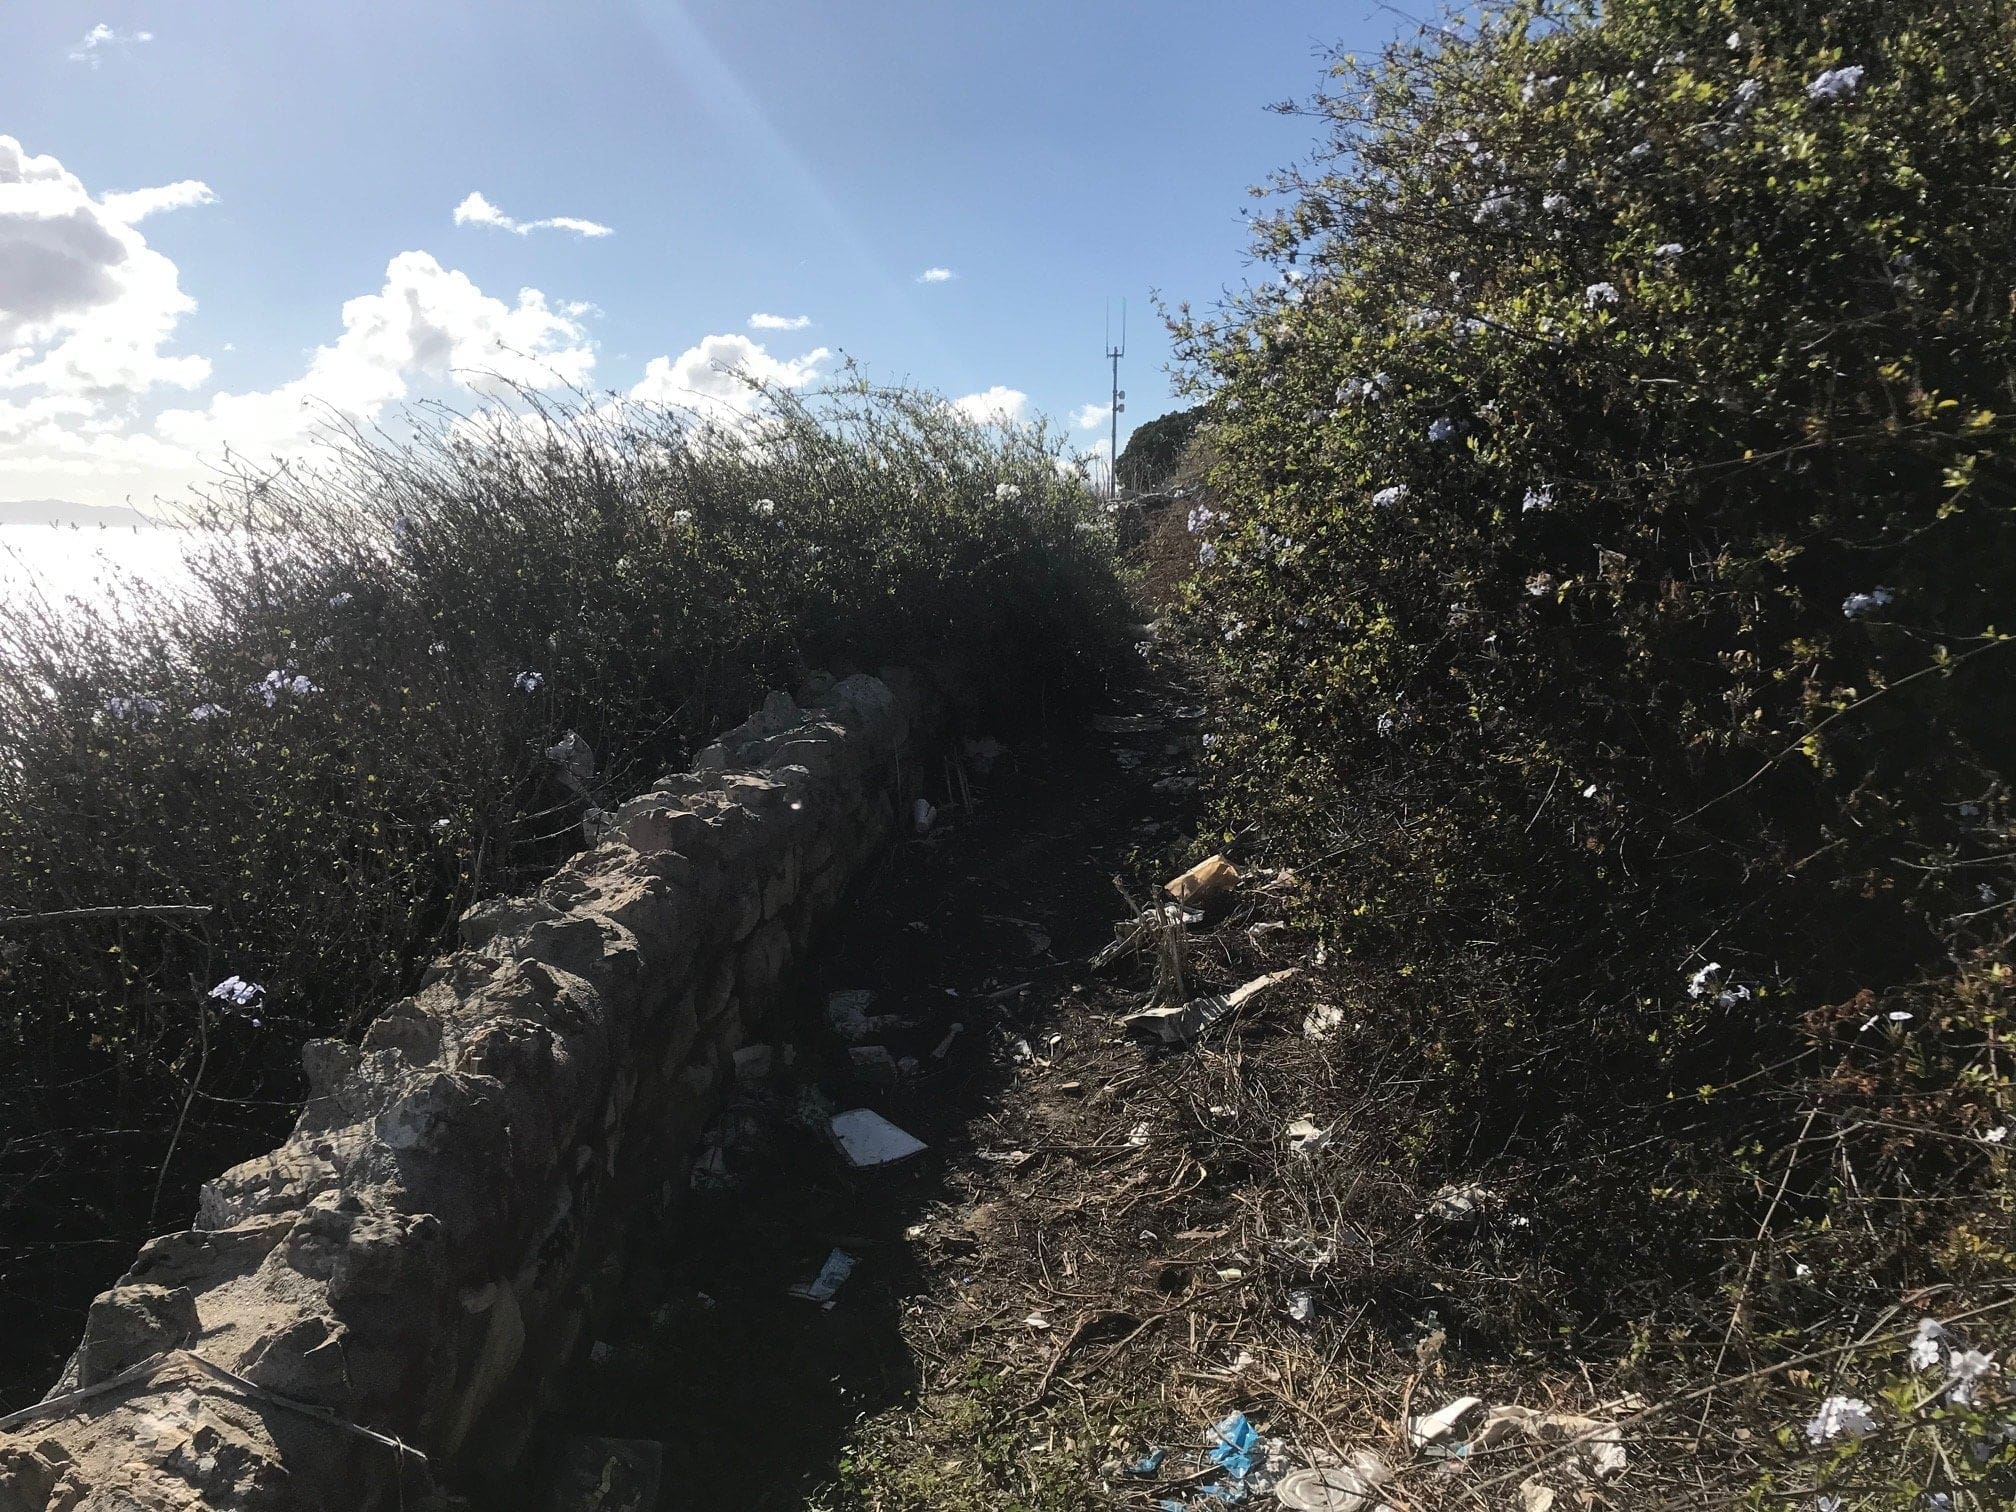
Climb over this cemented fence to gain access to civilization once more.

Overall Thoughts
- Total time spent: 3 hours
- Total miles covered: About a mile and a half (seriously, this place is short and small, but worth checking out a small piece of history)
- Elevation gain/loss: About 400 feet
The best part of Sunken City wasn’t necessarily the ruins (although that certainly plays a part in the cool factor).
It was the fact that it’s so secluded, secretive, and illegal to be there. (And c’mon, who doesn’t want to pretend like they’re a secret spy for once).
Yes, you risk getting a ticket for trespassing, but if you’re willing to take a chance on seeing the ruins of the 1929 landslide, Sunken City is the next best thing to the Lost City of Atlantis.
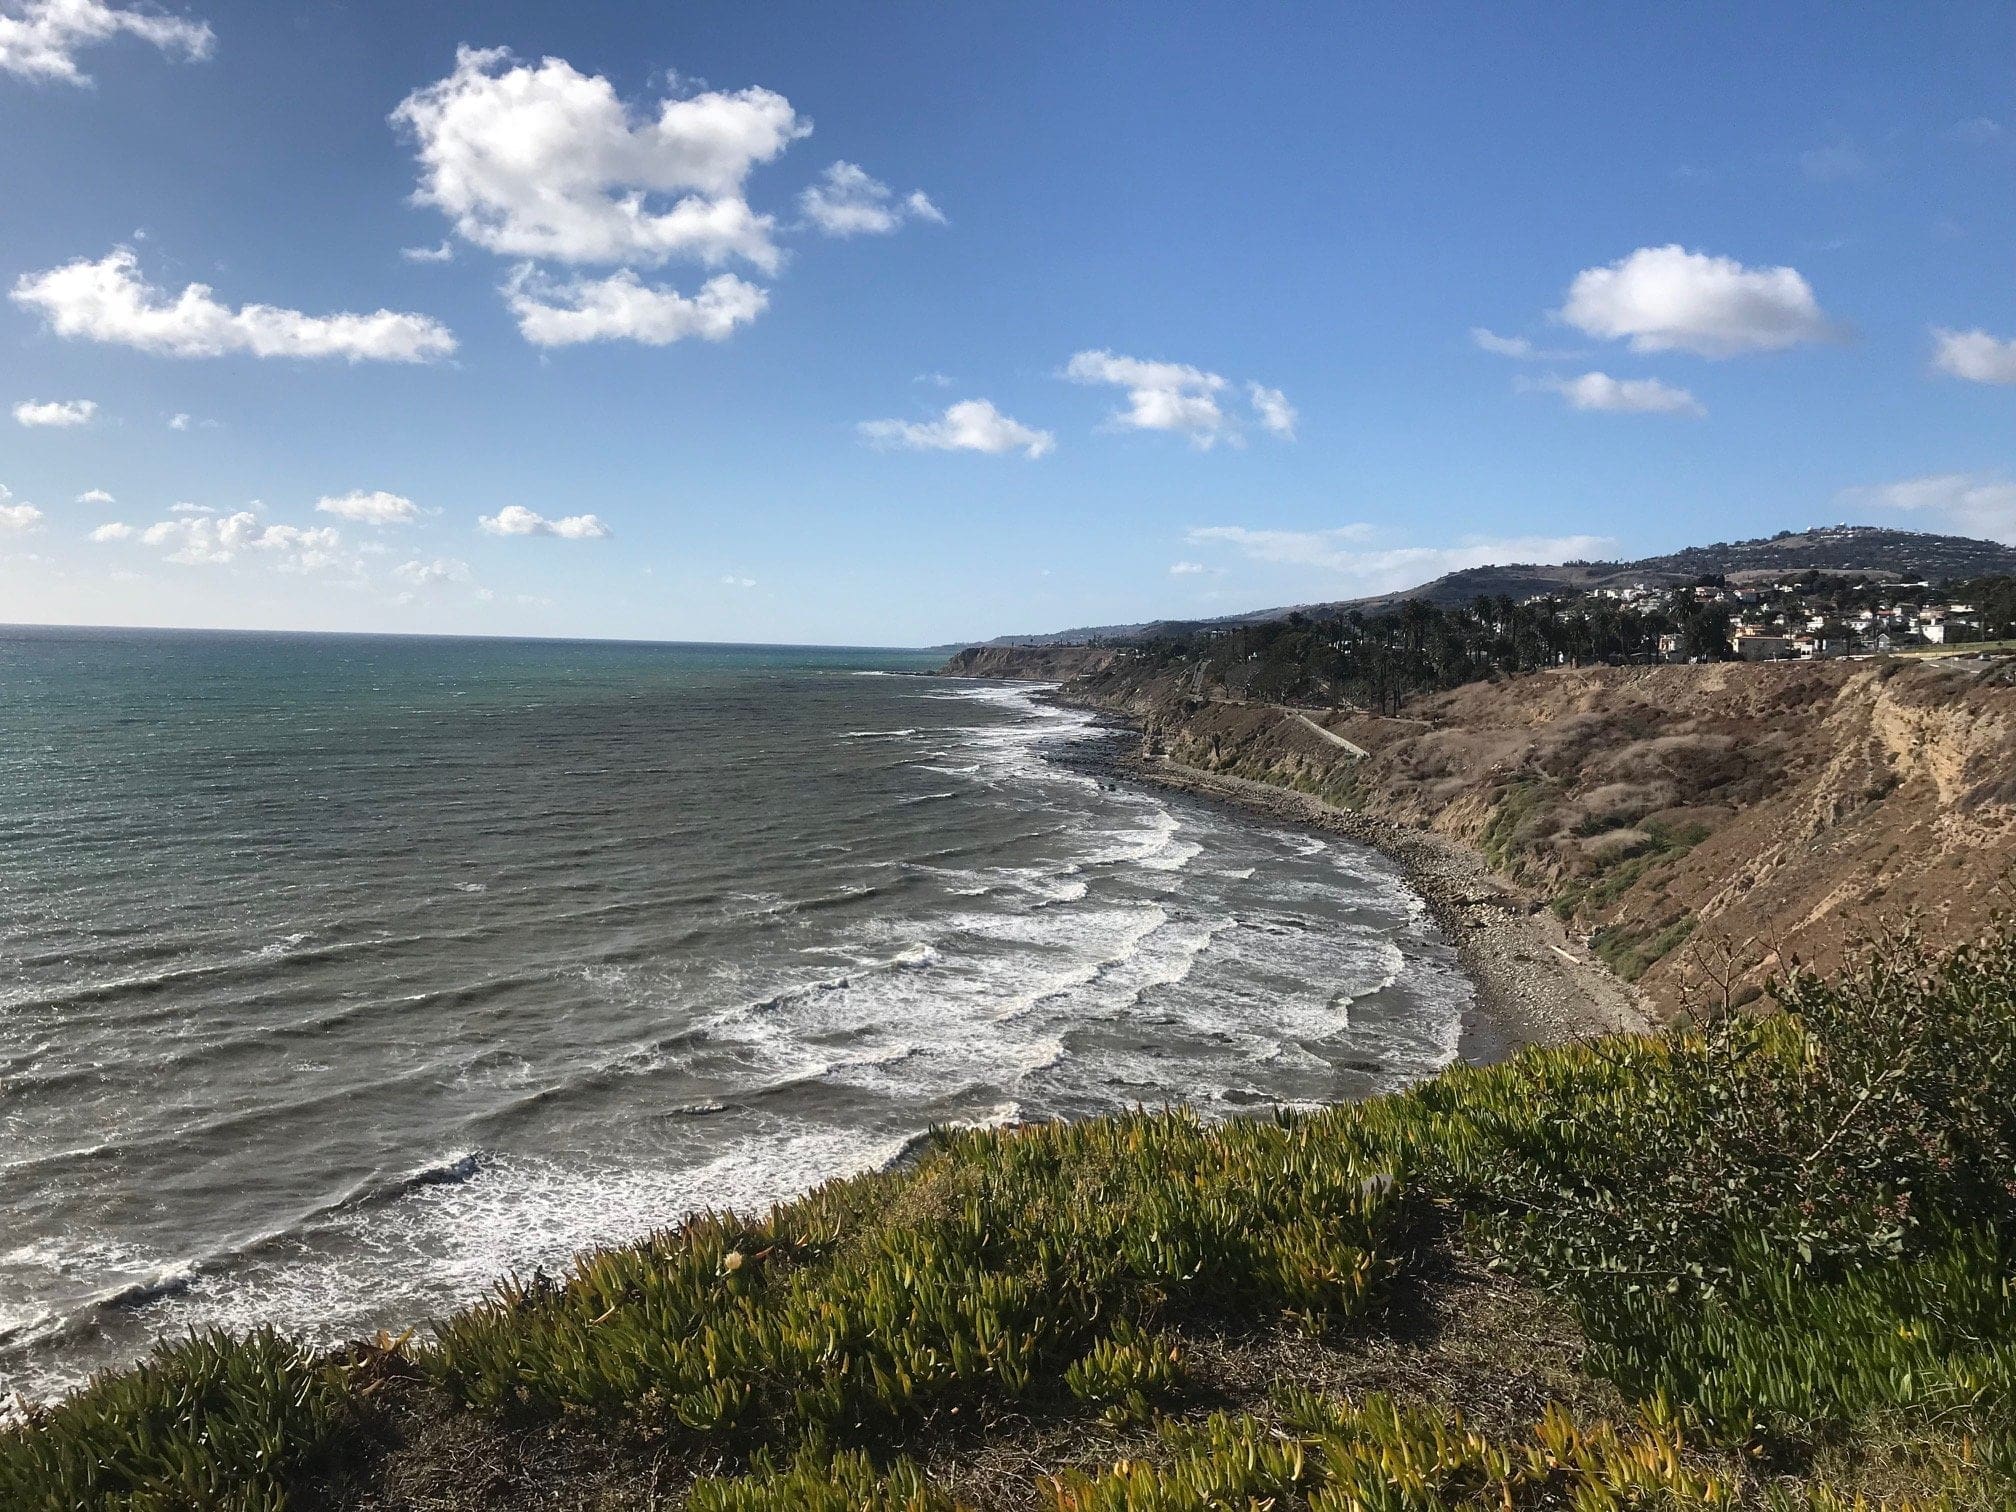
But for Pete’s sake, don’t go too close to those cliff edges!
We hope you enjoyed this tour of the San Pedro Sunken City and the remnants of the San Pedro landslide of 1929. Let us know what you think, post your comments below!


Thank you brave adventurer! Yours was a fantastic journey for the benefit of the rest of us who were desperately curious but too cowardly to visit!