
Using NINA with TheSkyX (And Paramount Mounts)
This guide will walk you through the process of using NINA with a Paramount MX+ and TheSkyX to control the mount. Although it is not necessary to use a Paramount mount with TheSkyX, we will cover the setup generically so that anyone using TheSkyX with NINA can follow along and benefit from this fantastic software combination..
FYI, We’ll shorten TheSkyX to “TSX” interchangeably through this post just for brevity sake.
Why use TheSkyX With NINA?
I’ve been asked how or why we use TSX with NINA, and the simple answer is that TSX acting as a mount controller is extremely powerful. Much of the capability that comes with the Paramount series of mounts from Software Bisque is nicely managed through this complex but thorough piece of software so it is required in that case. Otherwise, anyone can run TSX with any supported mount to take advantage of many of the TSX features.
At first, it did seem odd to have to install the entire suite of tools to get my mount working, but now that I have it running – and especially now that I’m remote, I’m not sure how I ran without it.
- TSX Can be used as the Planetarium software for acquiring objects from in the Framing Wizard.
- TSX Will show what you’re pointing at and slewing to for any telescope operation.
- TSX T-Point modeling allows you to have powerful telescope guiding capabilities based on comprehensive mount modeling.
- TSX With Direct Guide & PEC training on Paramount mounts allows unguided and very precise tracking.
- TSX is required if you run a Paramount MX, MyT, or ME Mount.
Most importantly, TSX is very complimentary to NINA. With TheSkyX, you can image and do just about everything by running its built-in tools but, with NINA 3 and newer, the programmatic sequencer really extends the capability of TSX. It affords you robust imaging/sequencing automation, which wraps up the entire suite into a competent hands-off remote imaging system.
Again, You don’t NEED a Software Bisque Paramount MX, ME, or MyT to use TSX; you can run it to control any of your mounts and take advantage of many of its features we speak of in this guide.
Pre-Requisites
- ASCOM 6.5 Installed – Download 6.6 SP2
- ASCOM Mount Drivers for your mount. NOTE: If you run a Paramount, the Ascom support drivers will be installed later since they require TSX to be installed.
- All Hardware/Camera drivers installed.
- NINA 3.x Installed – Download latest NINA Build
We assume that you have some basic experience with Windows, NINA and TSX to a certain degree but I have tried to cover everything in as much detail as I can. Please refer to the NINA docs or the TSX docs for specific information about your gear/setup/mount.
Install TheSkyX
Go to your Software Bisque account, select Downloads and Download the two installers – FULL and Daily build.
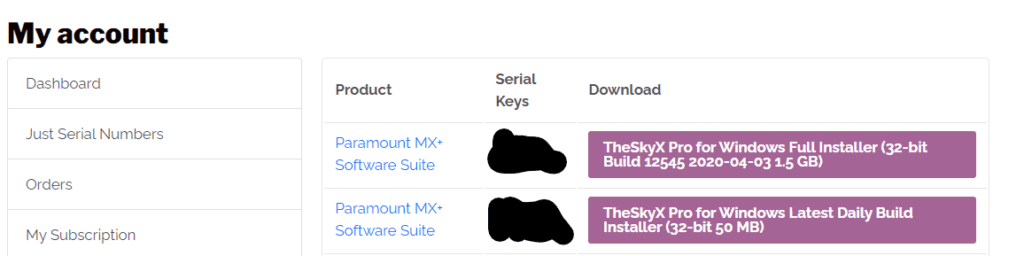
You should download the base install (Full Installer) and then the Latest Daily Build Installer.
If you are running the newer MK6000 software on your older mount or running a Series 6 paramount, you MUST install the latest daily build.
Install TSX
- Install and setup TheSkyX – Just click through the wizards and accept defaults. Nothing special here.
- Install and run Upgrade to Daily Build.
When you install TSX Full installer and the Latest daily build, you may see warnings like this:
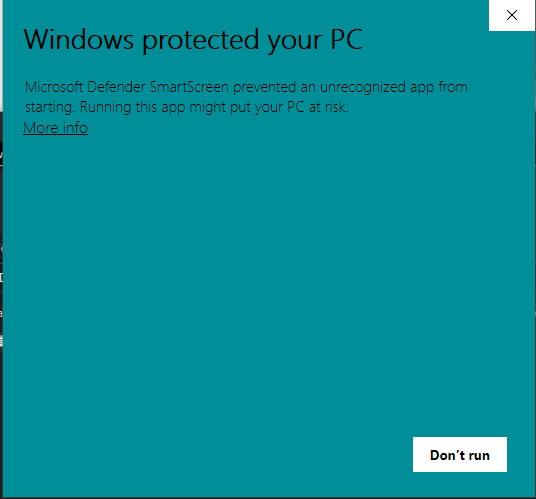
You need to click the “More Info” link and then it changes to this:
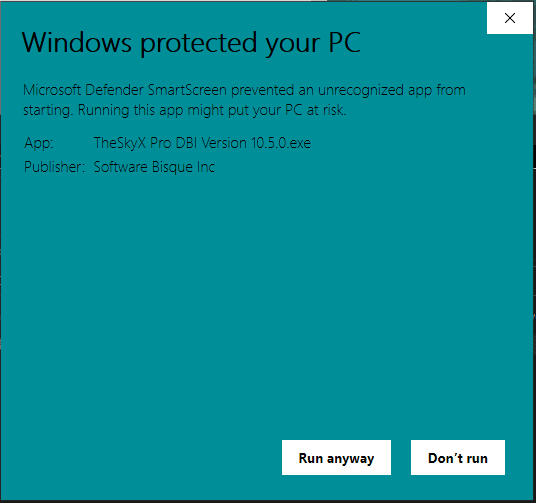
Now you can click “Run Anyway”.
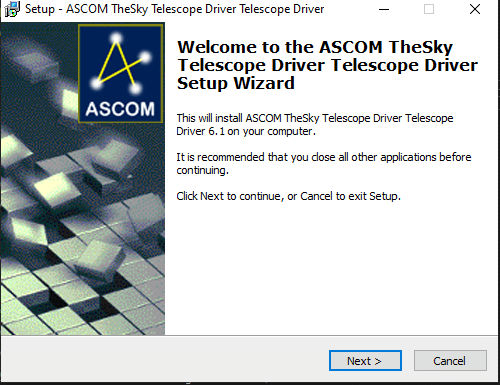
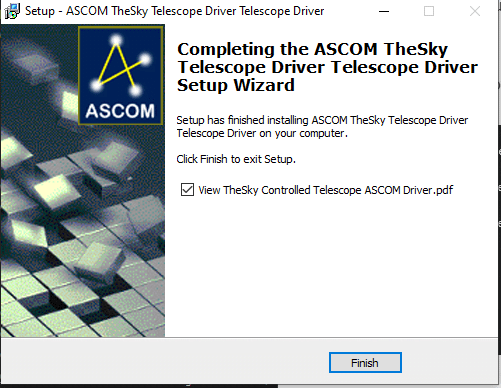
I hope Software Bisque can start signing the Windows versions so we don’t need to do this but it’s safe to click Run anyway and get everything installed. You will get prompted again to allow the installer to make changes, click Yes and finally the wizard for TheSkyX should run.
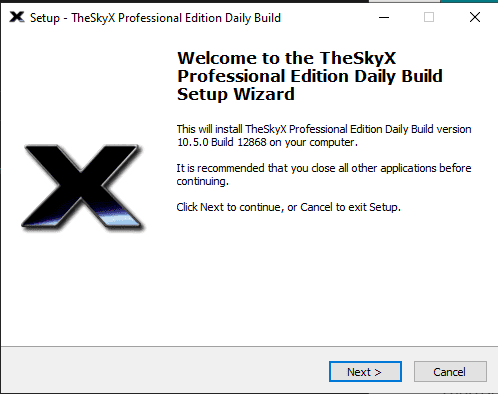
Click Next
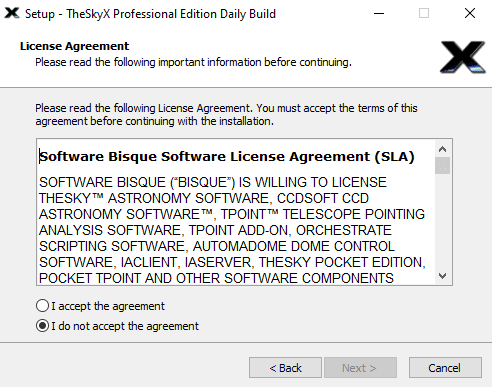
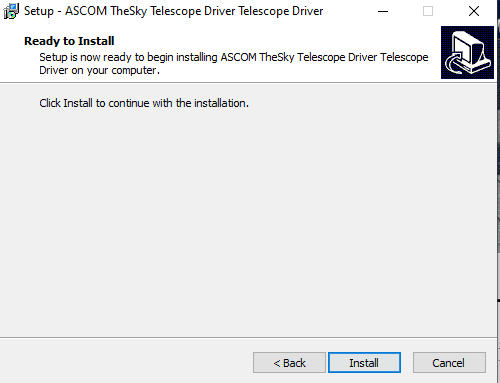
Click Accept agreement and Next
Now click finish.
Configure TheSkyX
There are a few necessary steps to get the basics of TSX up and running to control your mount as well as operate as a supported planetarium for NINA.
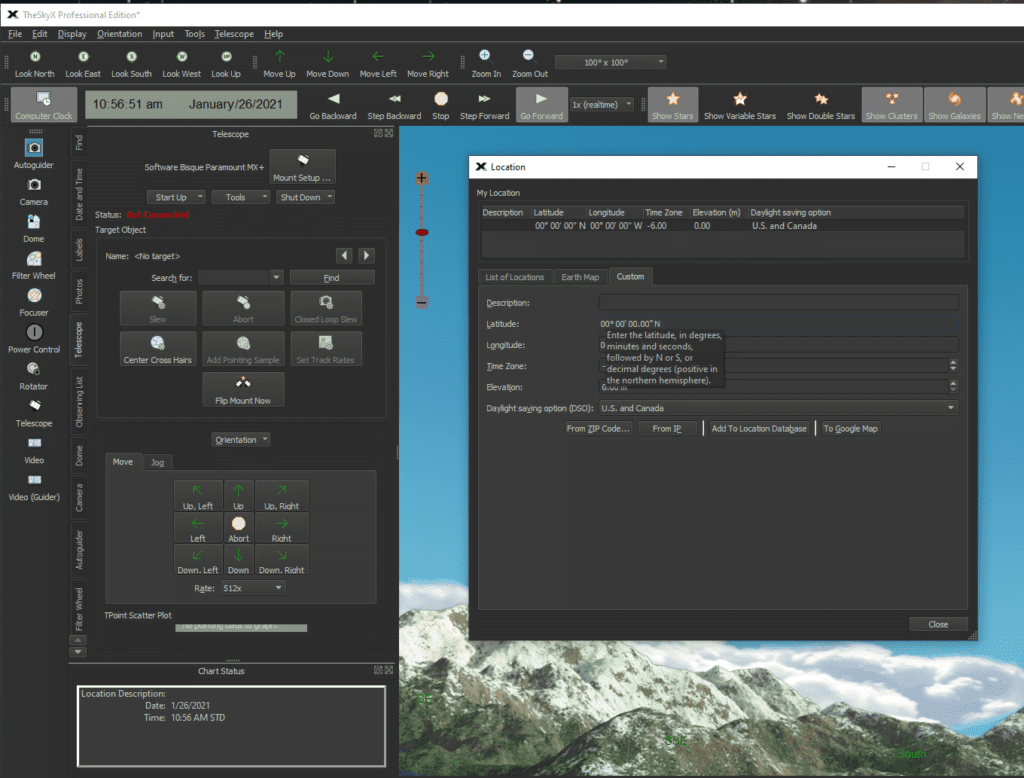
Setup TSX Location
When TSX is open, just double click on the Location Description box at the bottom and ensure that your location and time zone is set up correctly. It is imperative that Time, Latitude, and Longitude as well as elevation be configured for each location you image from.
TheSkyX NINA Planetarium Setup
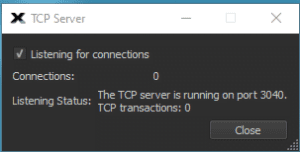
Click Tools -> Click TCP Server
Ensure that “Listening for connections” is selected. This allows NINA to talk to TSX.
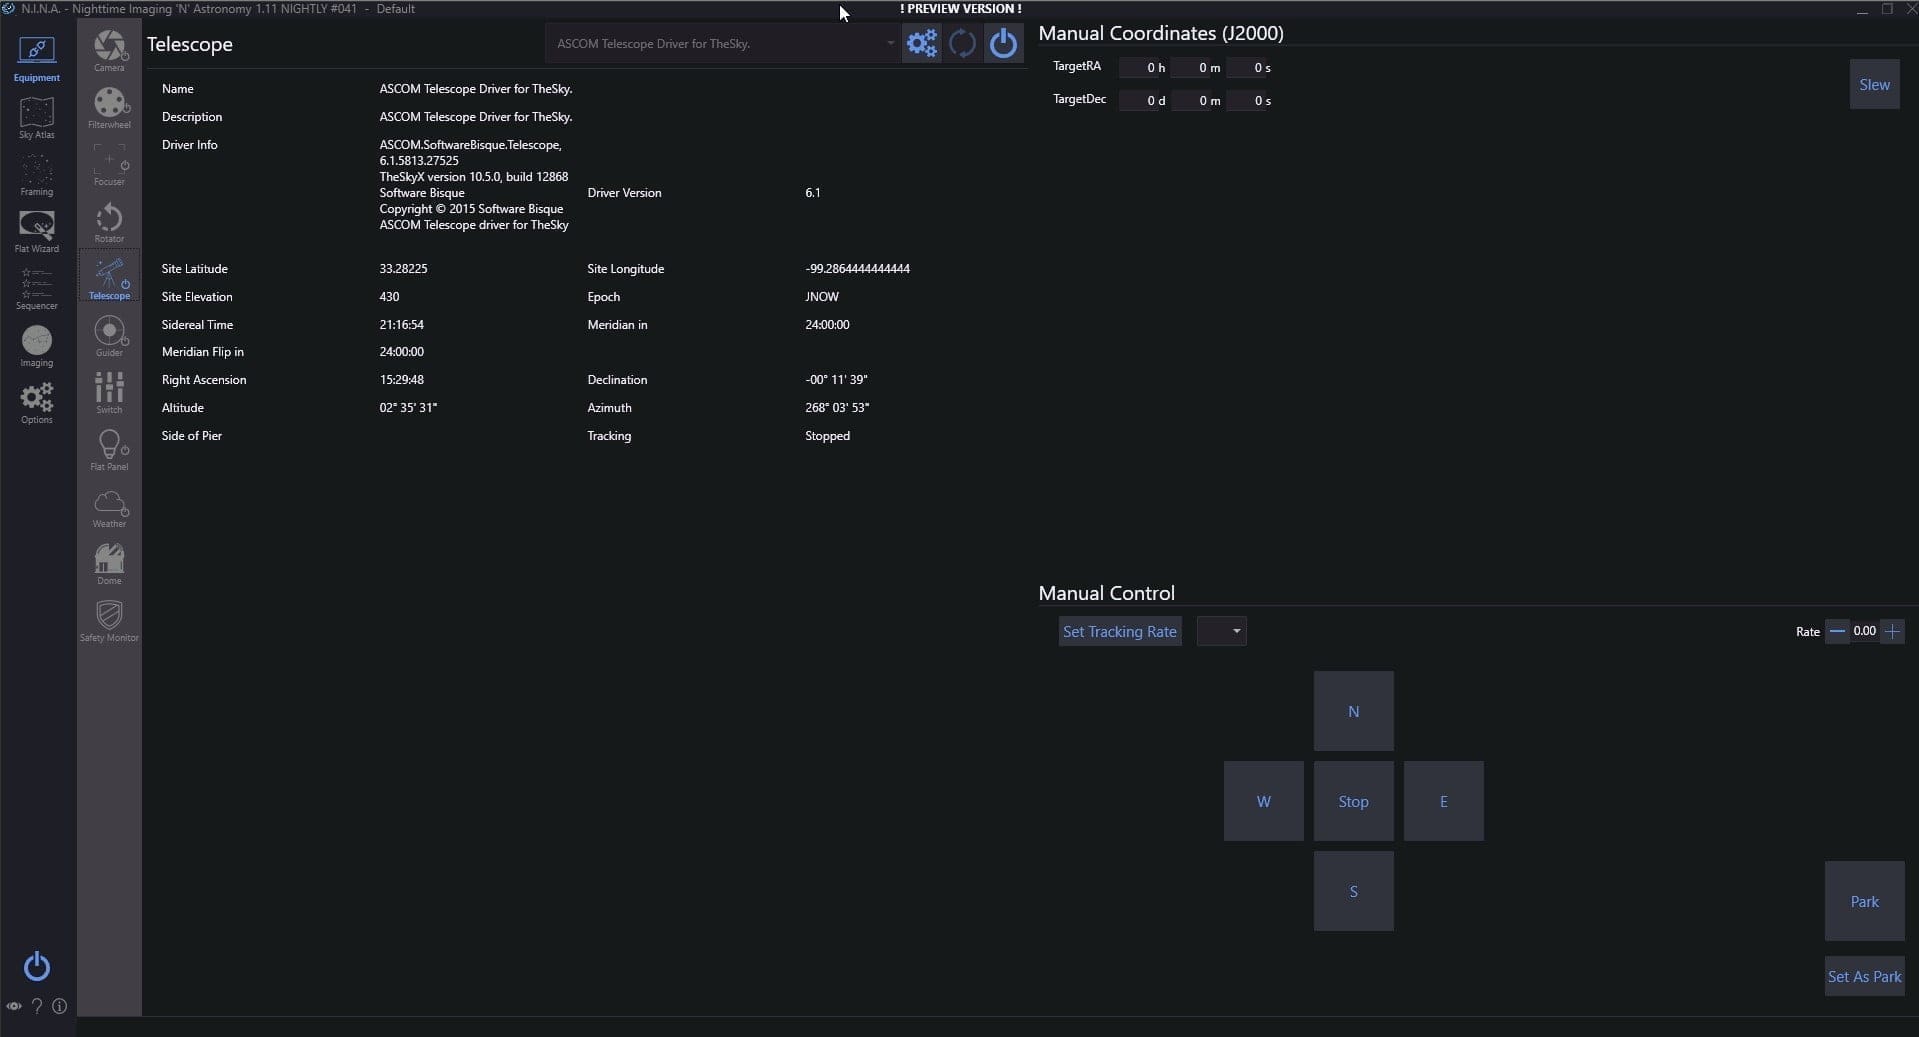
Setup your Telescope
Click Telescope -> telescope Setup
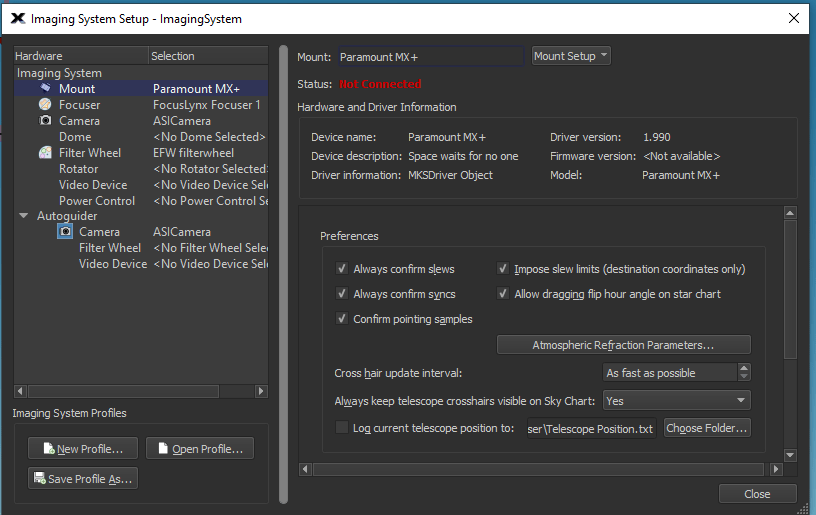
Configure your mount by clicking Mount Setup.
These are the basic options needed to get up and running. You should follow TheSky’s T-Point and direct guider as well as PEC tuning guides to set up those advanced features.
Install Paramount ASCOM Support
TSX works with many mounts out there, however, if you are running a Paramount MX/MyT/ME it’s now time to Download the ASCOM Drivers here: Ascom2XMount Adaptor Installer – Software Bisque and get them installed. If you use TSX+Tpoint – This driver is still required for any mount since this is what communicates to TSX (which in return communicates to your mount via native or ASCOM drivers it uses).
Launch the installer (Ascom2XMount-Adaptor-Installer)
Click Next
Click Install
Click Finish – I suggest you leave the view The Sky Ascom driver checked just to see the short setup guide (it reflects much of what we’ll covered here)
Run as Administrator
Just once, we have to run TSX as an administrator, to do this, right-click and choose run as administrator. You don’t have to do anything but run as administrator once and exit. This is necessary for something to install a scripting engine that the Ascom interface uses.
Open Start Bar -> Software Bisque -> Right Click on “TheSkyX” -> More -> Run as Administrator
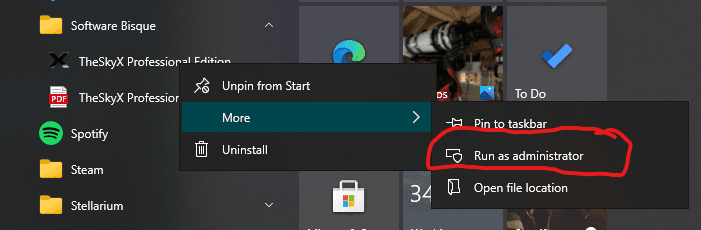
Now that TSX is up and running, simply exit out. This run as administrator just lets TSX set up a scripting engine necessary for ASCOM drivers to work.
Great writeup! I just wanted to question something written under the heading of “Guiding” . You suggest checking the pulse guiding box for guiding a Paramount with The Sky Controlled Driver. When using a Paramount mount, I believe that it is proper to check the “Use Direct Guide” check box. This allows control of the mount using the functionality of the “direct guide” guiding methodology. Once again, great work.
Peter Petrone
Is it possible to use SKYX as the plate solve. I often do not have Internet at my observing sites. The SKYX plate solve is standalone no Internet required.
SkyX does have plate-solving but not in conjunction with Nina – The built-in NINA plate solvers support offline solving too.
Many thanks for sharing this tutorial. A question: is it possible to do autofocus in TSX under NINA?
Will NINA allow me to shoot a series of photos at intervals (ie 30 sec image every 60 sec . . repeat) if running TSX?
Hi Byron, thanks for your work here, great stuff.
I have a Bisque MyT and use TSX and I’d like to try NINA for its new 3 point PA. I have very limited sky time and am mobile so I’d like to not use TSX (APA) as a big tpoint is not real practical for me every night. Any advice to help make that happen ? Right now, I’m having trouble getting nina to be able to actually move the mount.
Thanks
I just found your article. Very helpful, and I learned alot. One question I have, now we have the advanced sequencer, can you home the mount via NINA. I’ve not figured out how to do this.