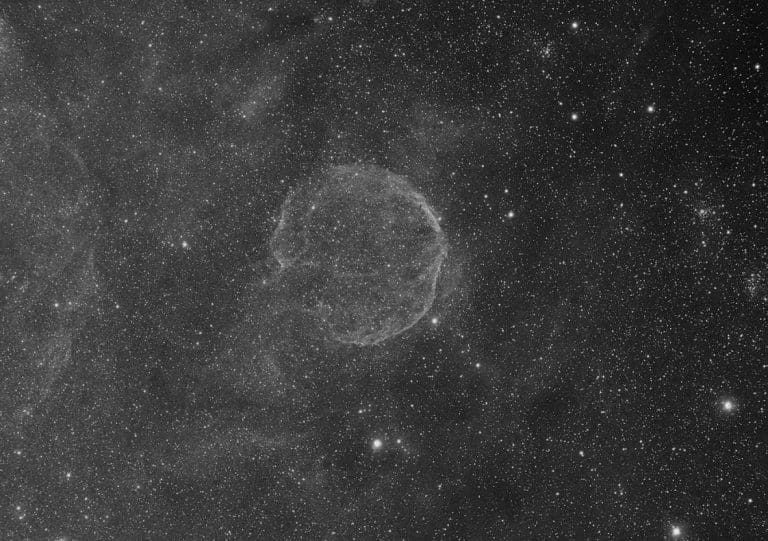
North America Nebula NGC 7000
2,200 light-years away, the North America Nebula is an emission nebula in the constellation Cygnus. Rich in Hydrogen-Alpha and Oxygen-3 gases, we’re able to capture its beautiful tones of red/pink (Ha) and Blue/Teal (OIII) with our Triad Filter.
With a wider field telescope, you can see the shape of North America and even the Gulf of Mexico. Perhaps next season, we’ll run a mosaic here to show just how vast and beautiful this region is. It piggybacks right along the edge of the popular Pelican Nebula.
North America Nebula
The North America Nebula is part of a larger complex known as the Cygnus Rift or the Great Rift of the Milky Way. This region is a fertile breeding ground for new stars, many of which are still forming within the nebula.
One of the most prominent features of the North America Nebula is the bright, compact emission region known as the Pelican Nebula (IC 5070), located just east and slightly north of the main nebula. The two nebulas are physically connected and share many similar properties.
This nebula is a popular target for amateur astronomers for many reasons – there’s plenty of nuance to capture, from dark clouds to varying hydrogen and oxygen clouds – making it great for narrowband imaging, color imaging with narrowband filters, or even straightforward color imaging.
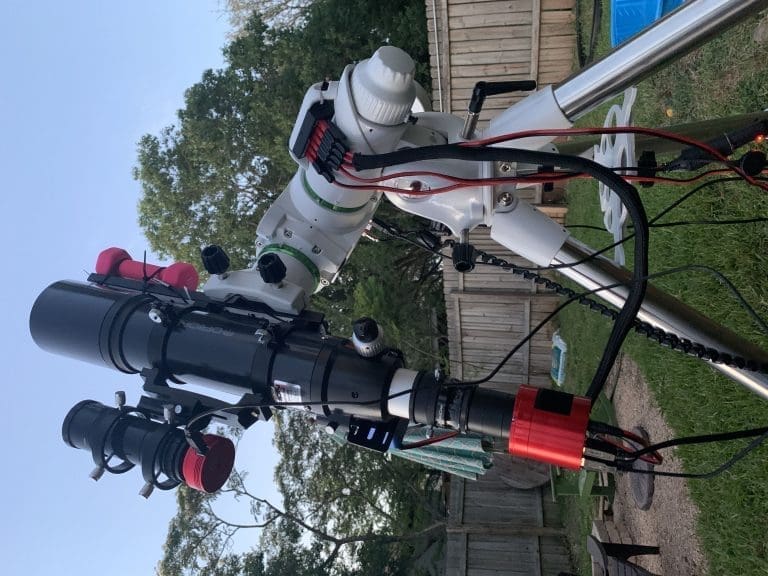
We captured NGC 7000 with our telescope under Bortle 2 skies.
- Esprit 120 w/Apex L reducer
- ASI 2600 MC Pro Camera with Triad Quad Filter
- 360-second exposures * 52 Subs
- EQ6R Mount
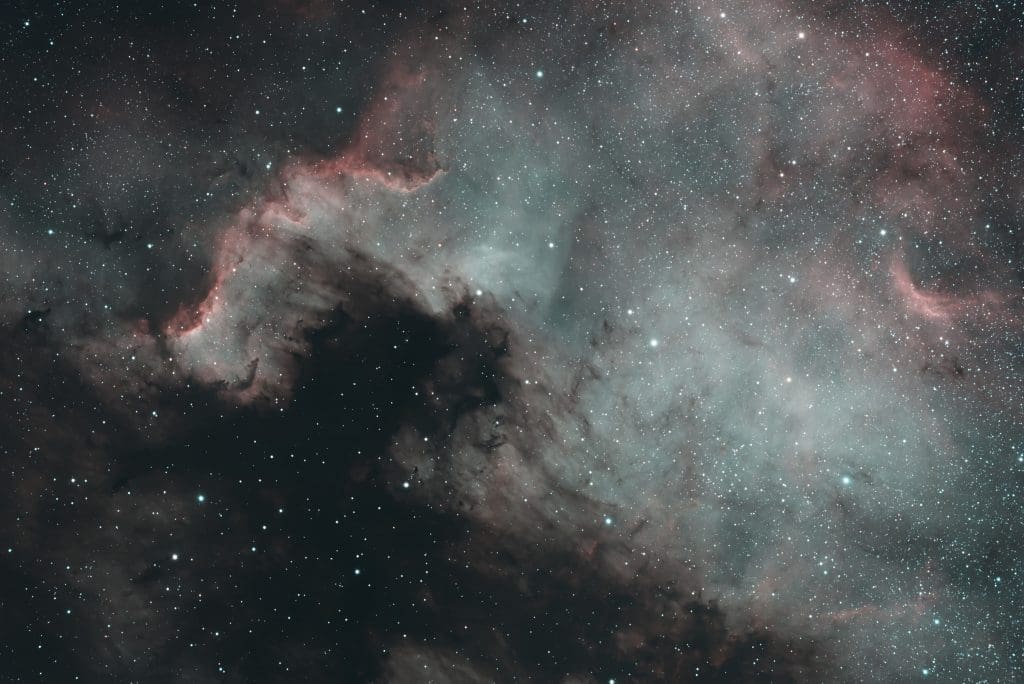
NGC 7000 Download
Download the North America Nebula stacks and process your own version of this beautiful nebula in the Cygnus Nebula/Region.
 This work is licensed under a Creative Commons Attribution 4.0 International License.
Processing North America Nebula
Today, we’re processing our data with PixInsight. The data from our new dark skies observatory is exceptionally clean, so the effort required to enhance this stunning region is quite minimal.
Typically, we would need to crop, deconvolve, and denoise before the finer details begin to emerge. However, take a look at this. Below are our stacked subs without any processing. We’ve only applied a screen stretch in PixInsight.
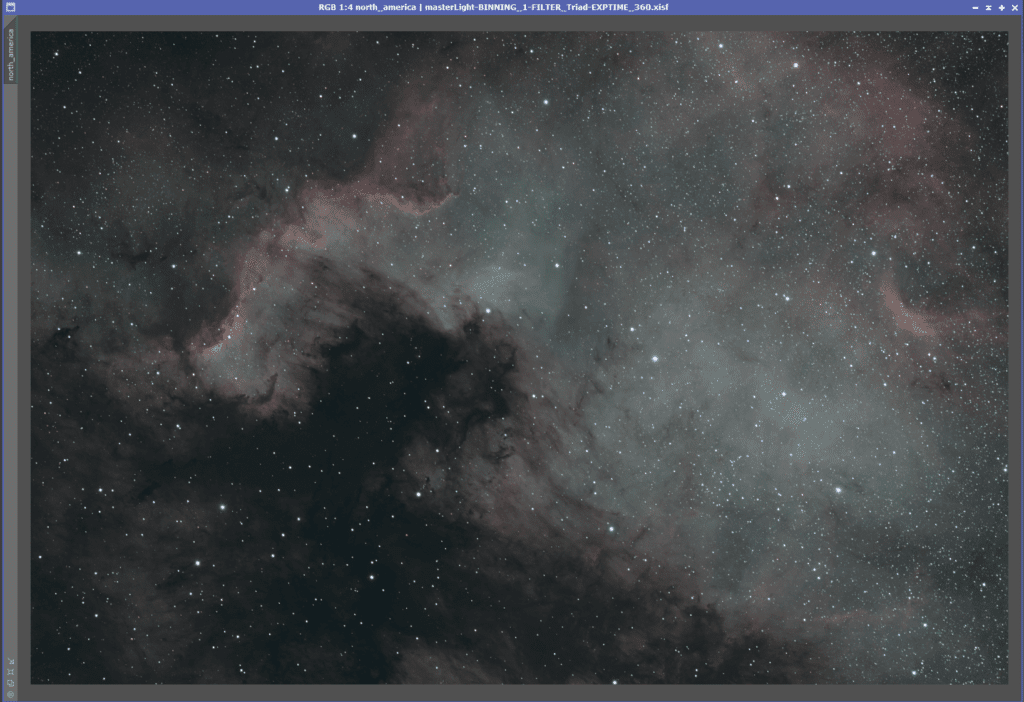
Absolutely thrilled with the data we get with the limited time we have so far. We’re late in the season for capturing Cygnus region nebulas but we’re grabbing an hour or two each night before it gets too low to horizon to share with y’all.
Since our data is so good from the get-go, this will be a rather simple processing guide. We want to be delicate to preserve color, texture, resolution, detail.
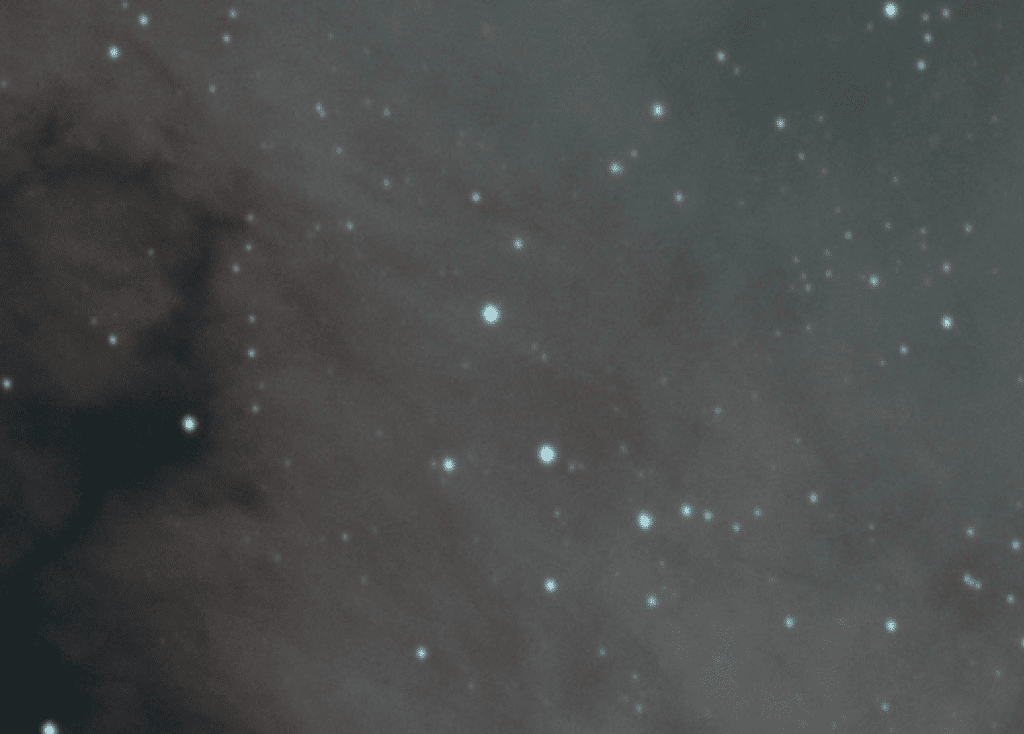
From a top view, it doesn’t look like we need to do much on the noise – however, I do like to run EZ denoise to try and smooth out the background. If you zoom in on some of the faint nebulosity, you can see some of the background noise.
Let’s see if we can clean that up. (now that I zoomed in, I see I have some somewhere in the stack with some tracking issues, I may re-blink my stack and re-integrate and update this post with newer data – figure I’ll leave it in the docs so people can see – there is a slight elongation to some stars)
Before denoise
EZ Denoise
Select your main sub in the drop-down box, and hit “Run EZ Denoise” – this tool will generate all the necessary masks and run denoise for you. Squishing down a rather cumbersome process into an EZ process… so EZ that before I’d avoid it if my image was this clean, to begin with, but now it’s just a matter of giving it a try and seeing if things improve.
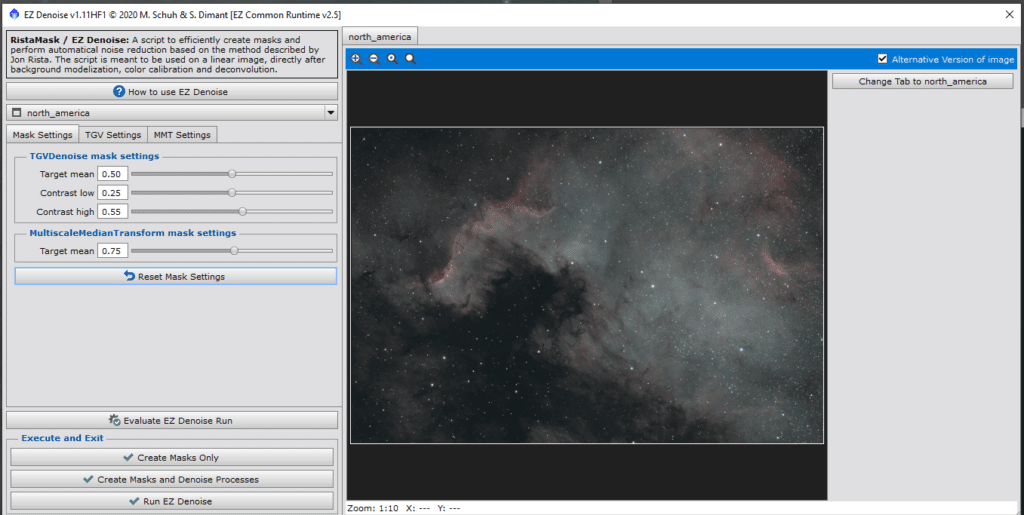
With an image of this clarity, you might need to tweak the TGV and MMT settings to avoid introducing a “glass effect” or “splotches.” Over-denoising can sometimes make nebulosity appear waxen or glass-like, while excessive dust in the capture can result in denoising attempts transforming faint details into blotchy circles.
Denoising can be time-consuming. A fast, multi-core computer will expedite this process. Alternatively, you can use this time to attend to other tasks while waiting for the denoising to complete.
North America Nebula after denoise
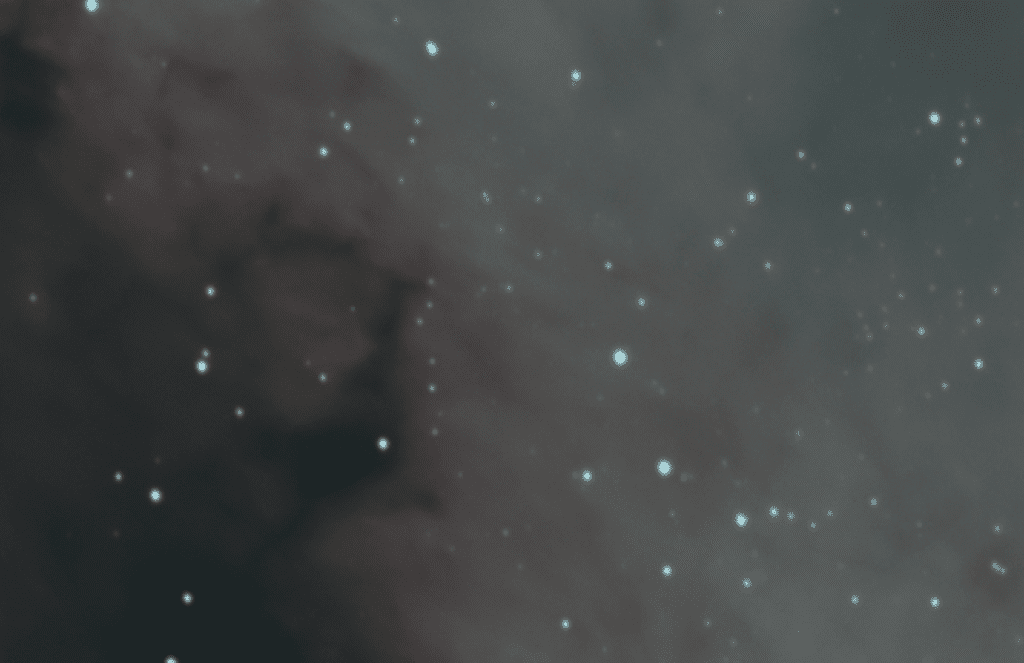
Upon zooming in, we’ve successfully reduced some of the graininess, so I’ll certainly continue with this approach.
Zooming back out, I don’t observe any distortions from excessive correction.
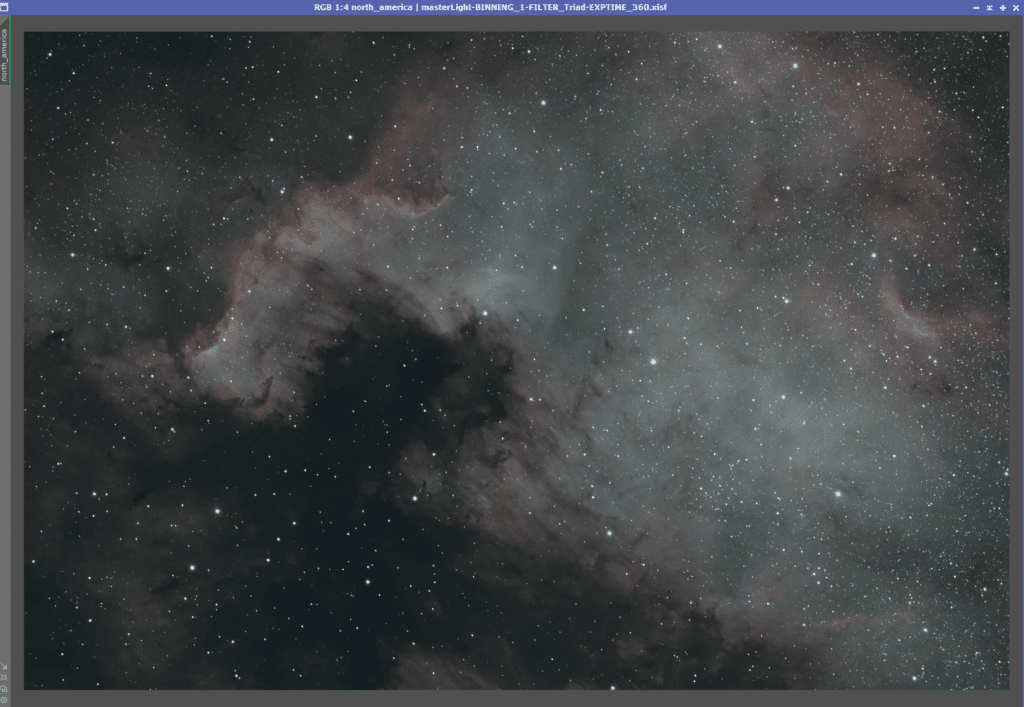
Histogram Transform
To maintain the bi-color image, it’s necessary to stretch it using unlinked channels. Keeping the chain-link active often results in red hues from Ha, OIII, and SII. However, unlinking the channels during the stretch preserves the Ha and OIII colors—Ha in reds and OIII in teals, greens, and blues.
I prefer to clone an image before stretching it. This leaves the denoised “master” untouched, and if the stretch goes wrong, I can simply close the clone and create a new one without the hassle of navigating through the edit history.
I’ve indicated the chain link icon that should not be highlighted. Once deselected, you can drag the triangle from the Screen Transfer Function to the Histogram Transformation, which will apply the screen stretch to the histogram as it appears on your image.

Now, drag the triangle from the lower left of the Histogram Transformation to the cloned image to stretch it. Once done, your screen might turn white due to the screen stretch applied, which means the image has been stretched.
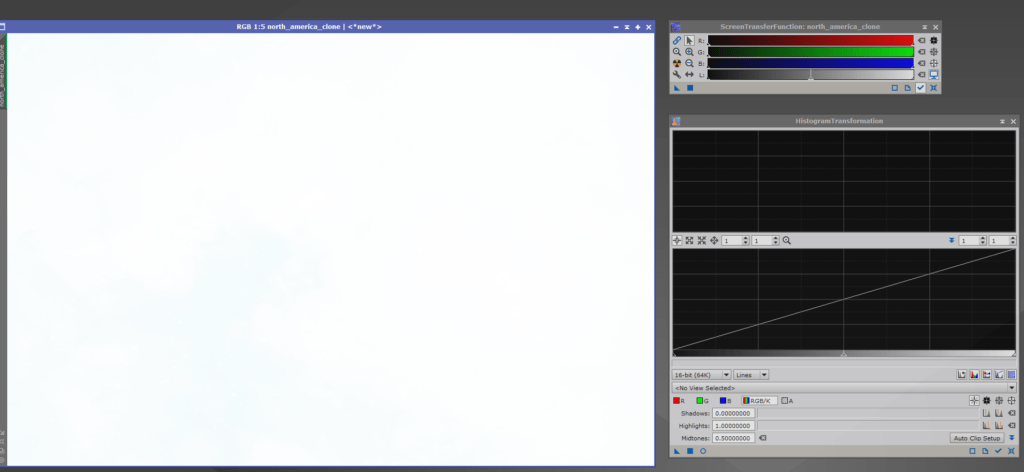
In PixInsight, click the monitor icon with the nuclear symbol to reset the screen stretch.
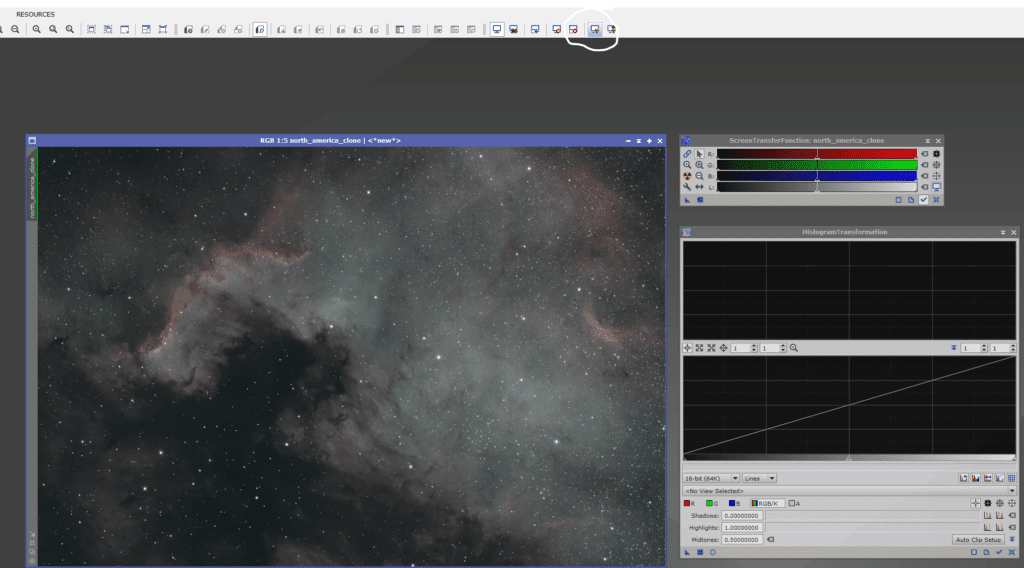
Now, we can view our image which is in the non-linear editing phase. We’re adhering to EZ-processing, so all that’s required is adjusting the Curves to enhance the color vibrancy slightly.
Curves Transformations
Open the Curves utility and click the circular button to preview the image. As you adjust the curves, you’ll see the changes to the image in real time.
For my Triad data on the 2600MC Pro, I usually begin with an S-Curve to reduce the background brightness and boost the foreground brightness, like this.
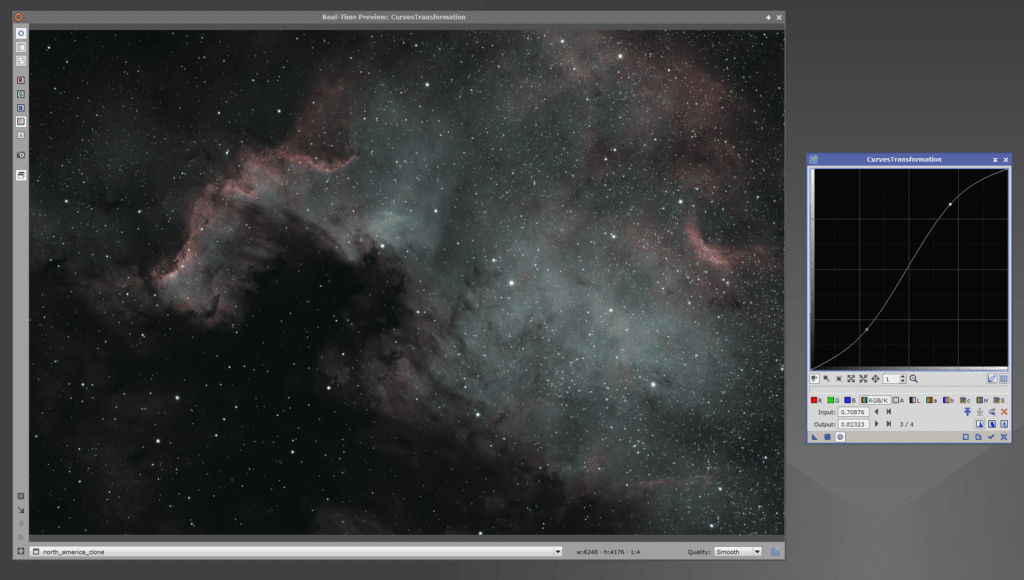
Once you find a setting that appeals to you, drag the triangle back to your main image to apply the curves. After application, it’s good practice to click the small target icon in the lower right-hand corner of the curves screen to reset it. This prevents accidental adjustments to previous curves you wish to keep. Next, re-enable the Preview by clicking the circle icon and choose the Saturation curves.
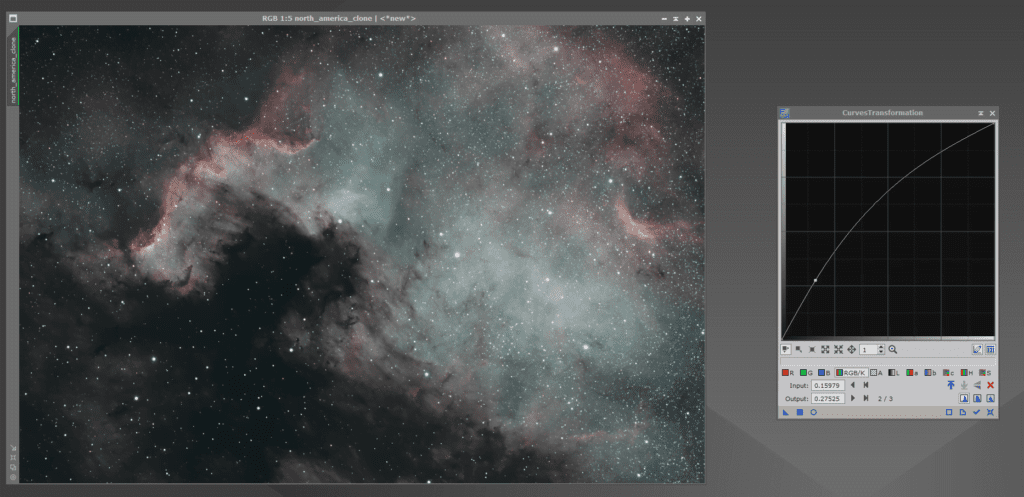
There’s no incorrect method to process these images. Sometimes, I prefer to maintain the green tones, which means not overextending the saturation. In this particular image, I’ve accentuated the subtle clouds reflecting light above the darker ones, and I’m quite fond of that effect. We’ll proceed in this direction.
Ultimately, I believe I could spend the entire night simply gazing at and admiring North America nebula.
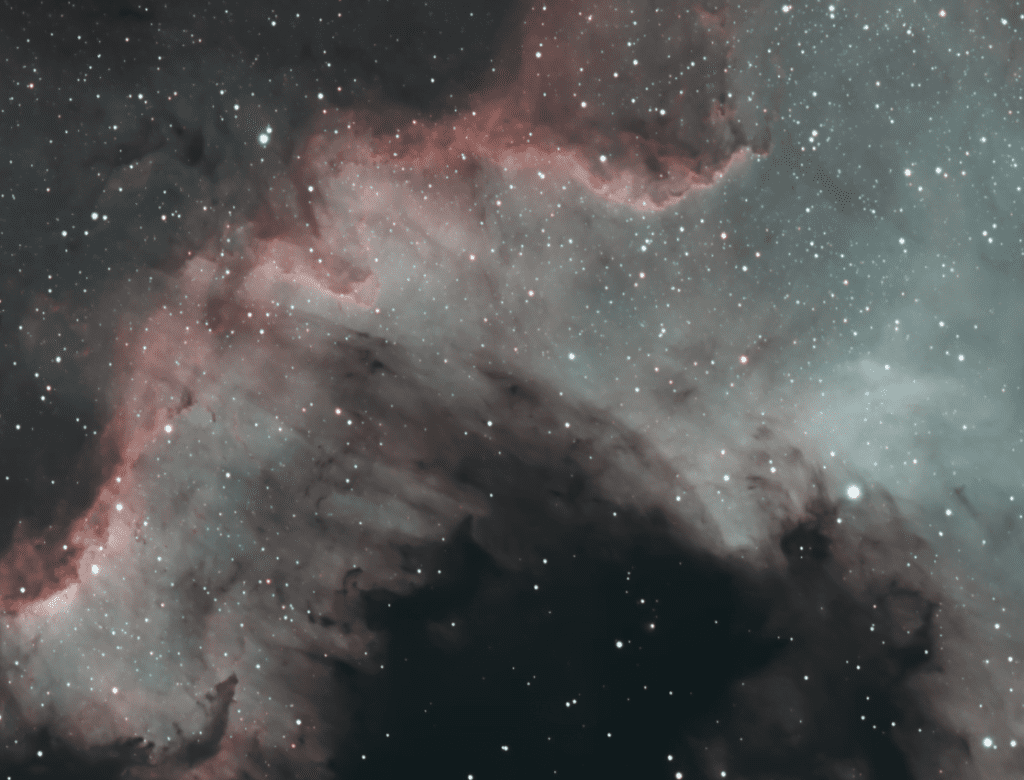
So really, for now, That’s a wrap.
Enjoy!
Other processing tips
Some people may not appreciate the greenish hue of star colors. There are multiple methods to modify this. One can capture RGB data of the region and load the RGB stars. Utilizing Starnet to generate a star mask can help change the star colors, or applying SCNR to eliminate the blue/green hues is another option. Personally, I prefer to keep it unchanged because SCNR might diminish the OIII signal, which is part of the same spectrum. In my opinion, stars traversing through dense OIII regions naturally enhance their colors, so my advice is to enjoy and experiment. Blue stars passing through substantial Oxygen III will naturally appear blue.
By the way, using Starnet can also produce a stunning starless image. Remember to duplicate your image before running Starnet to avoid removing stars from your active project.
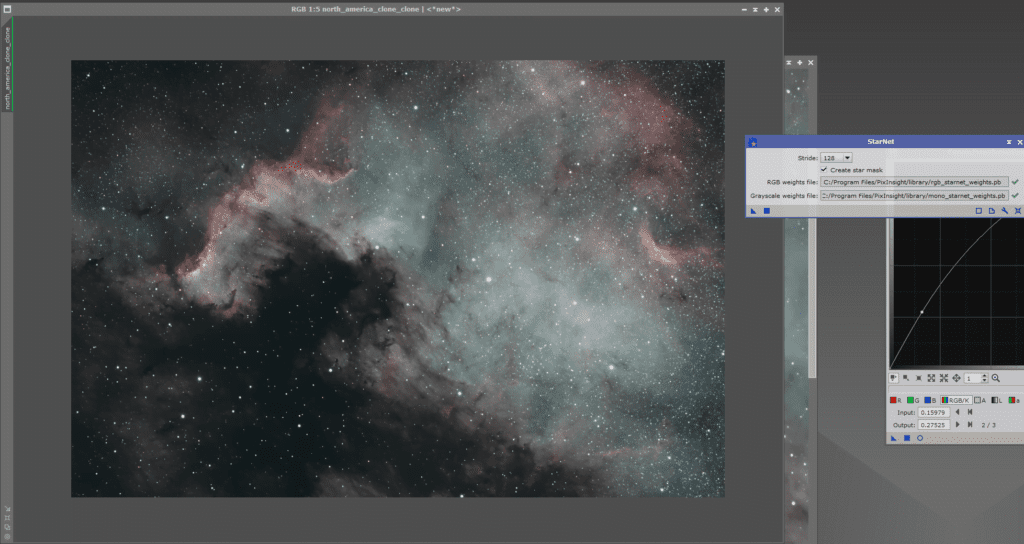
In addition to creating a starless image, employing a star mask and EZ Star Reduction can slightly reduce the stars, allowing the nebulosity to become the focal point while still maintaining the star field.

The image on the right features reduced star intensity. When compared side by side, the difference isn’t drastic; the stars are simply less prominent. This can be experimented with, as it significantly diminishes the stars in some images.
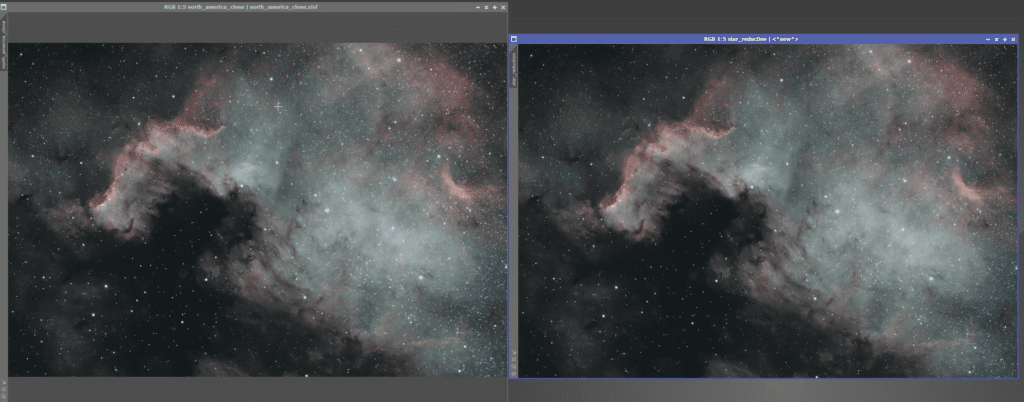
I don’t mind keeping the stars. It gives me a sense of perspective and awe for just how vast and dense these regions are.
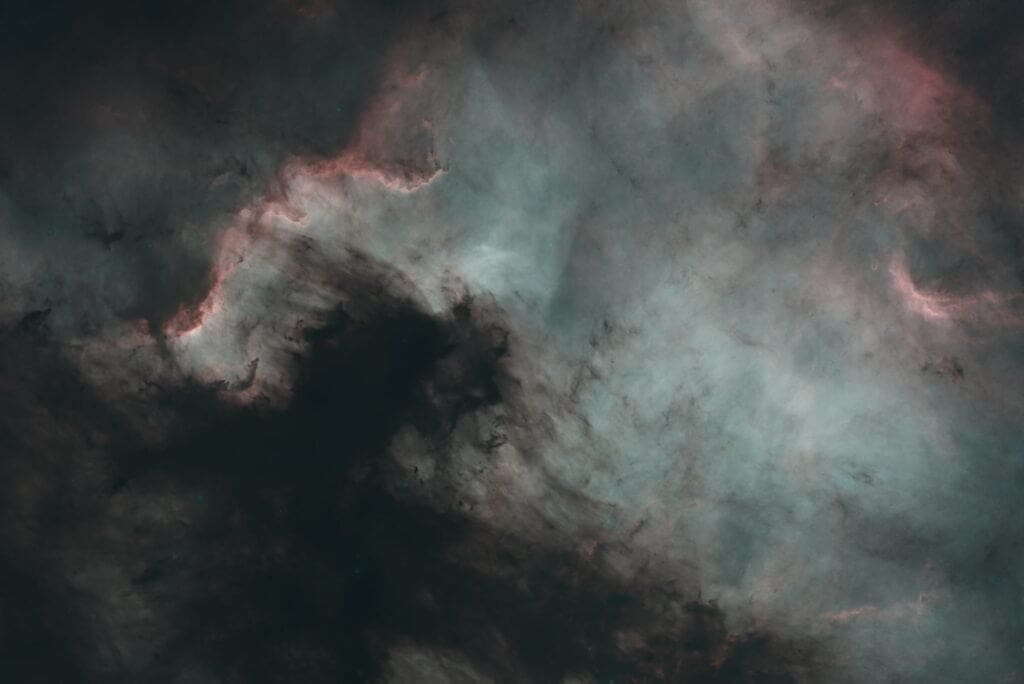
Starless North America Nebula
I always enjoy sharing these starless nebula images to showcase the sheer amount of nebulosity in the region!
Wrap Up
With great data, often less is more. We’re thrilled to see how readers engage with it. If you’ve processed our data, please inform us! Share your links, images, edits, revisions, or tell us how you’ve integrated our data into your projects!


