
Getting started with N.I.N.A and an EQ Mount
Learning through the firehouse has been fun and challenging at times. I love the challenge of something new, but at the same time, I’d just like to get some images and not struggle so much. I’ve decided to journal much of my learning so as the saying goes “my struggles, your gain”. This guide will hopefully help others running NINA with an EQ6R get up and running or at least avoid the same mistakes I did.
EQ Mounts and NINA
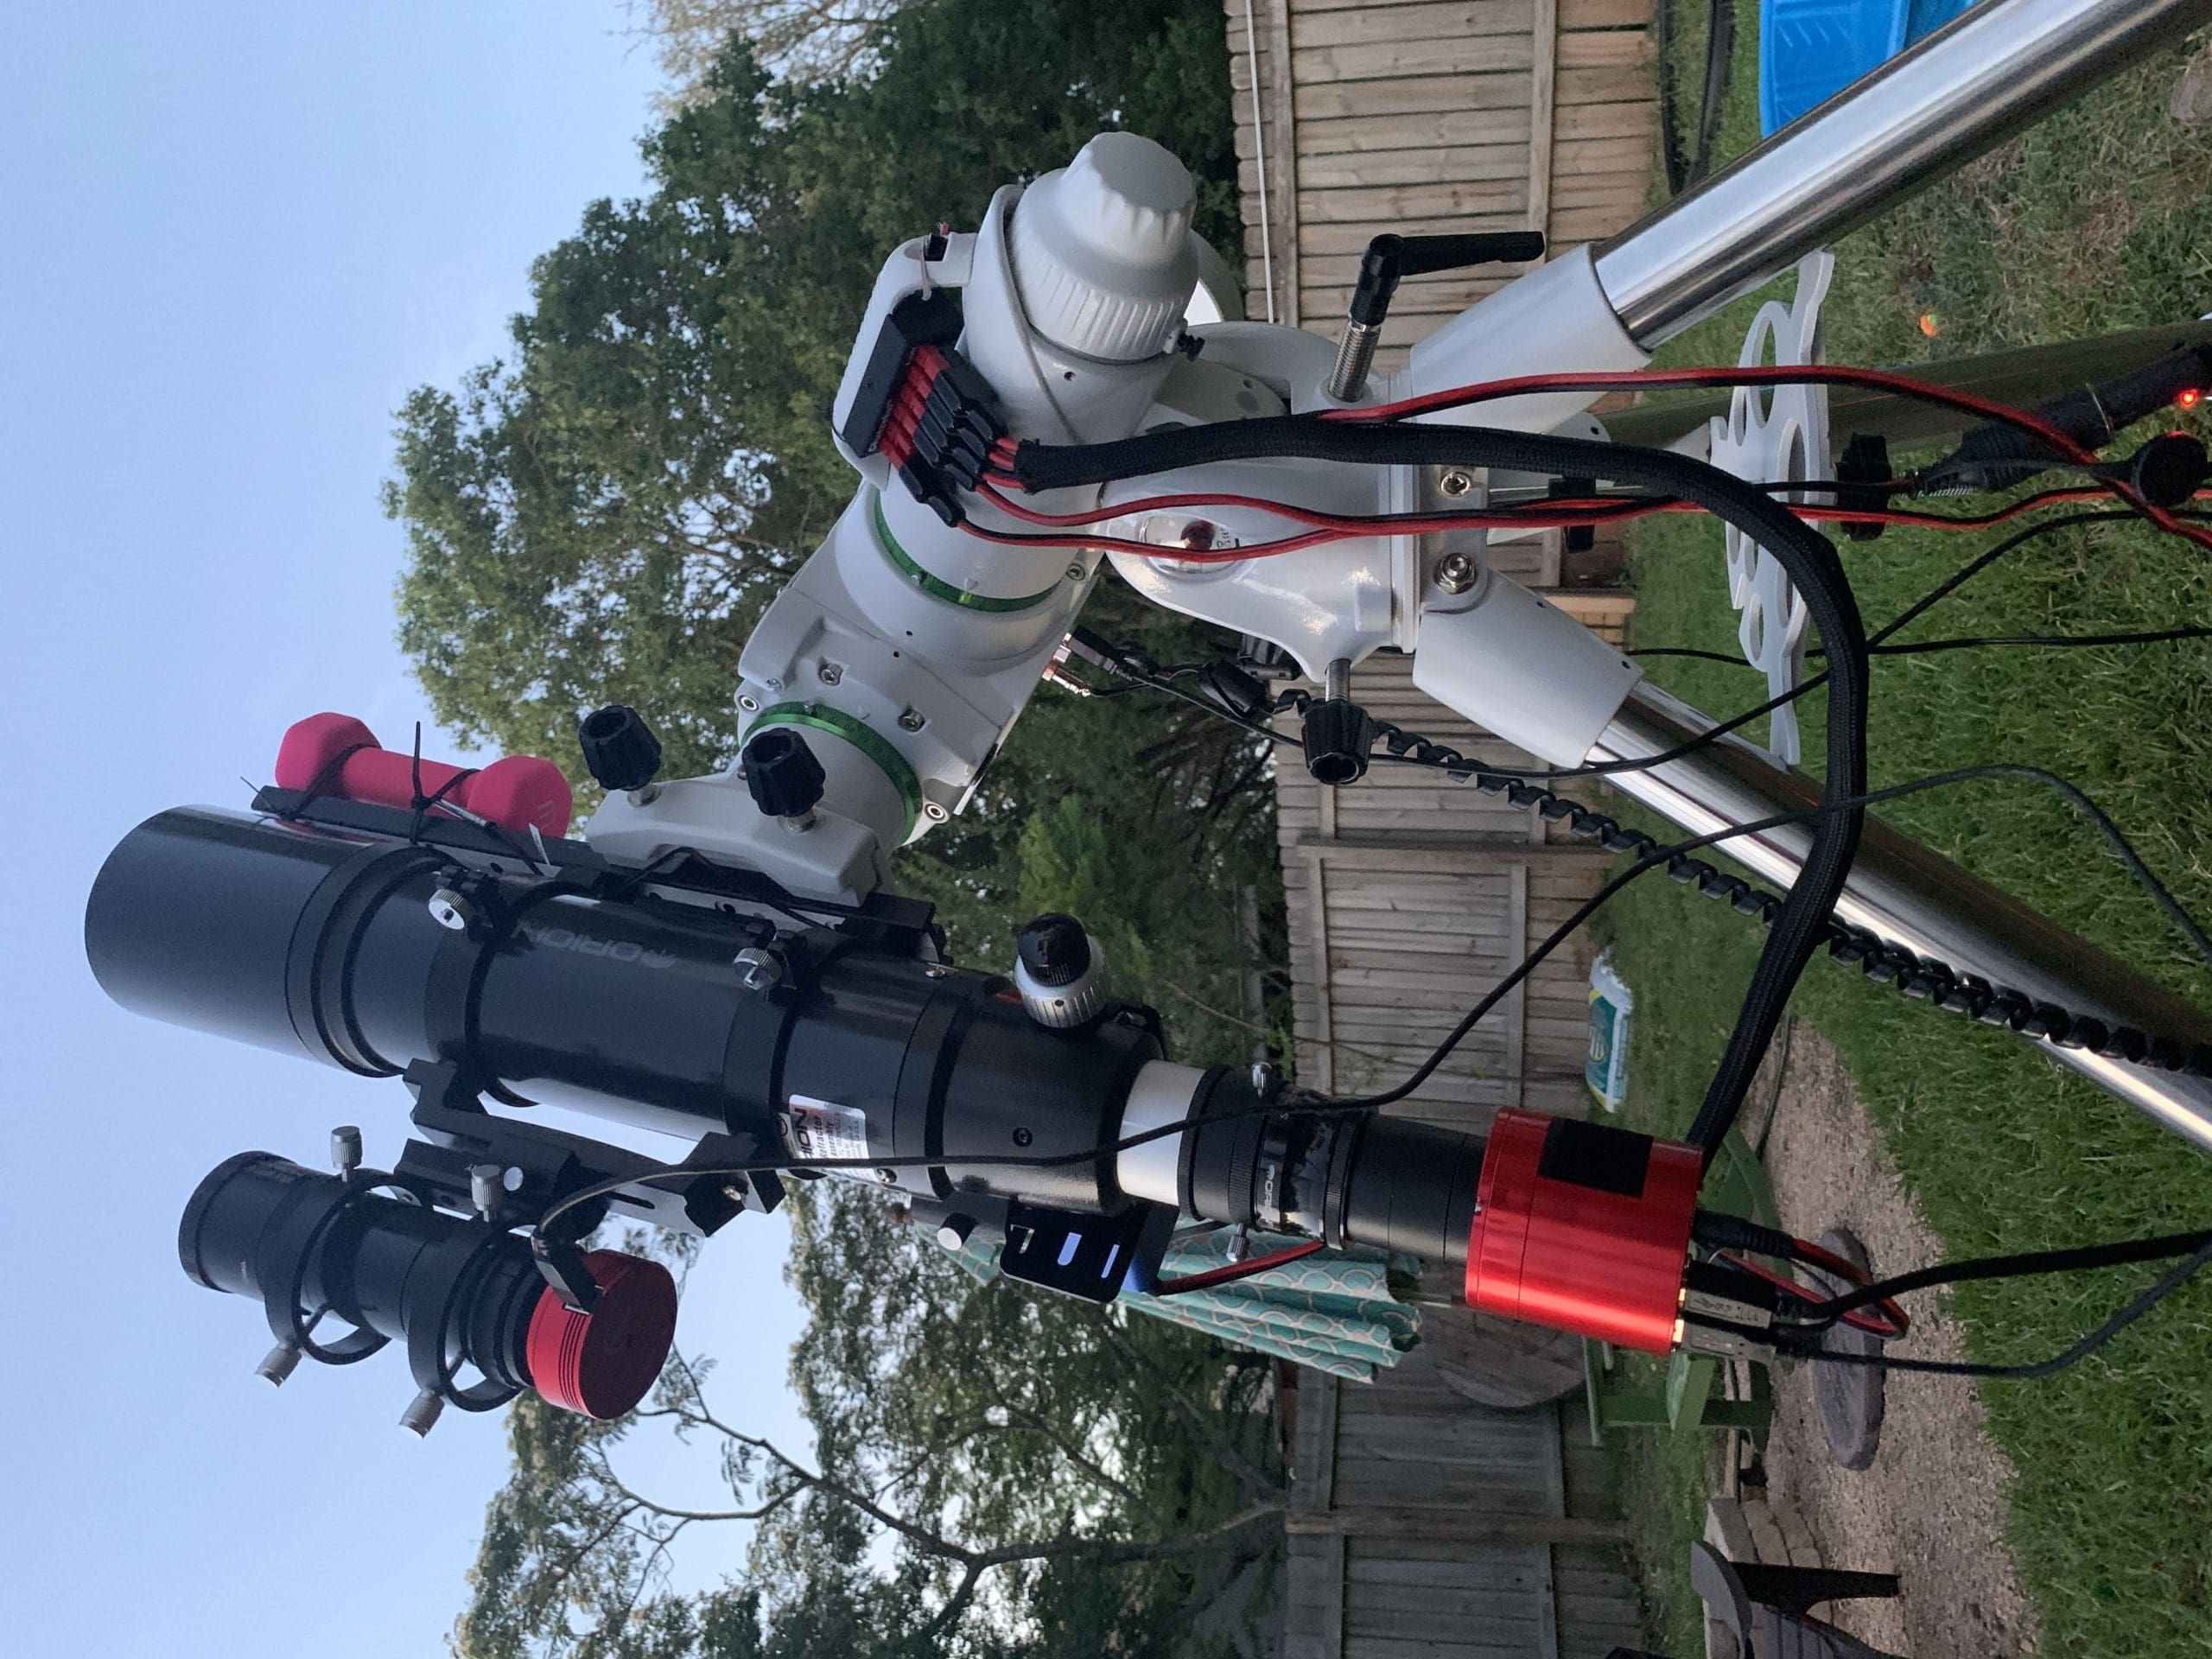
The eq6r pro is an equatorial tracking go-to mount. When used in conjunction with NINA, Nina can be used to control the mount and integrate it with some advanced features to optimize your astrophotography sessions. This includes replacing the need to use the hand controller, plate solving for position, polar alignment for alignment and of course acting as the broker between phd2, your mount and sequencing of images.
This guide will walk you through getting everything up and running so you can guide, plate solve and slew with NINA. This guide should work with any of the EQ5/6/8 mounts based on the same drivers/setup.
- Install ASCOM Tools & Required Dependencies
- Install EQMOD Mount Driver
- Install Platesolver (ASTAP)
- Install ASTAP star catalog
- Install PHD2 Guiding
- Install NINA
- Configure NINA
- Configure EQMOD
- Configure PHD2
Gear in Guide
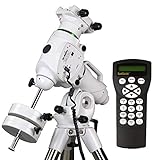
- PRECISE ACCURATE GOTO: Computerized, motorized GoTo German equatorial telescope mount capable of accurately tracking astronomical objects for both...
- BELT DRIVEN STEPPER MOTORS provide whisper-quiet slewing with renowned precision and accuracy while virtually eliminating Periodic Error
- 44-POUND PAYLOAD: Beefy, all-metal construction provides 44-pound payload capacity, perfect for all but the heaviest optical tubes
- BUILT-IN ILLUMINATED POLAR FINDERSCOPE provides quick and easy polar alignment
- 42,000plus OBJECT DATABASE: SynScan hand controller with 42,000plus object database will keep even the most experienced astronomer busy for countless...
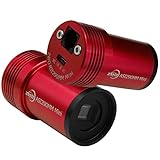
- ZWO ASI290MM-Mini monochrome astronomy camera for autoguiding during astrophotography or for monochrome imaging of planets, the Moon, and Sun (with...
- 2.1 megapixel CMOS sensor with small 2.9-micron pixels, 1936x1096 resolution, and high QE and low noise enable detection of fainter guide stars
- Fast USB2.0 data transfer at up to 20.4 frames per second at maximum resolution
- Compact, lightweight, and attractive red anodized CNC aluminum body stands up to heavy field use and slides directly into 1.25” focuser of telescope...
- Camera electronics draw power from your computer’s USB2.0 interface with Type C USB connector; All software and drivers are available from the...
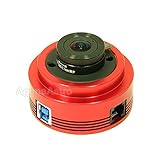
- ZWO ASI120MM-S 1.2 megapixel monochrome astronomy camera for capturing monochrome images of the Moon, planets, brighter deep sky objects, and the Sun...
- Uses CMOS camera sensor with 1280x960 resolution; USB3.0 data transfer at up to 60 frames per second at maximum resolution and 254 frames per second...
- Compact, lightweight, and attractive red anodized CNC aluminum body stands up to heavy field use; Connects to 1.25” telescope focusers with included...
- Camera electronics draw power from your computer’s USB interface; All software and drivers are available from the manufacturer’s website;...
- NOT Compatible with MacOS
Affiliate links & Product Images are from Amazon Product Advertising API.
Install ASCOM Suite
Before we can do anything, we must have the ascom software installed.
Nina currently supports ASCOM 6.4 SP1 “officially”. 6.5 is still too new and may not support everything that 6.4 does so it’s best to stick to 6.4 sp1 for now.
Download Link:
https://github.com/ASCOMInitiative/ASCOMPlatform/releases/tag/v6.6SP2Release
Scroll to the bottom of the page and download the AscomPlatform662.4195.exe
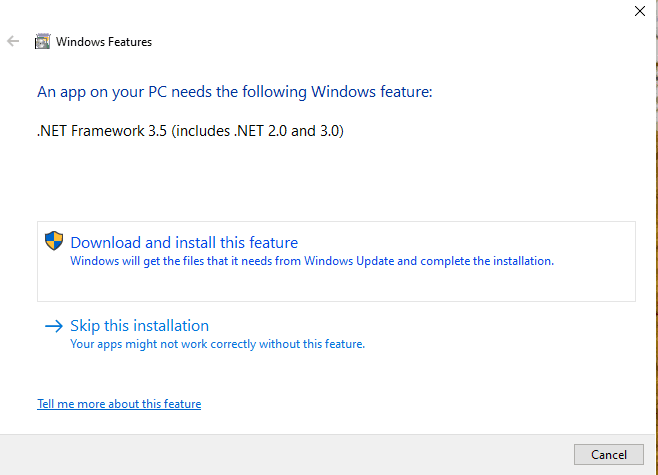
Install .NET 3.5/2.0
Before you can install ASCOM 6.4 – Make sure you have .NET 3.5 SP1 installed (or the install will fail).
https://dotnet.microsoft.com/download/dotnet-framework/net35-sp1
You may have .NET 3.5sp1 installed already, it will let you know. If you are on a new PC or have pending updates, you may have to reboot after installing this update before continuing.
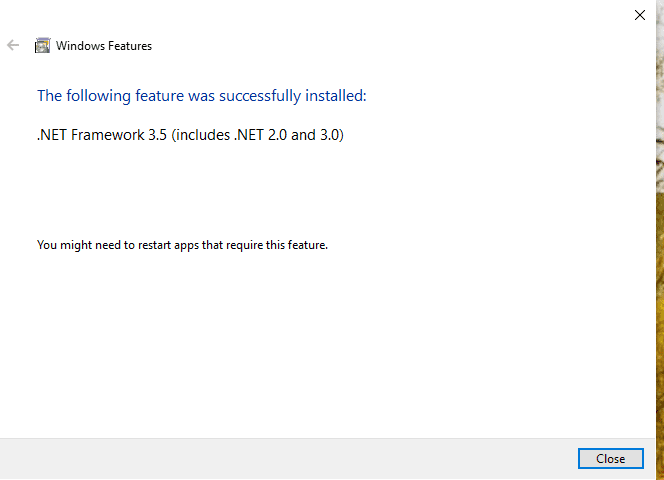
I’m not sure why the .NET 3.5 SP1 download is so large when it downloads more, but whatever… .NET 2.0 is good for other astronomy tools you may use so I let this do what it does. (CCDtools and such uses really old .NET)
Wait out the install and it should finish up like this
Install Ascom 6.4 sp1
Run “ASCOMPlatform64.exe” downloaded from previous step

Click Next
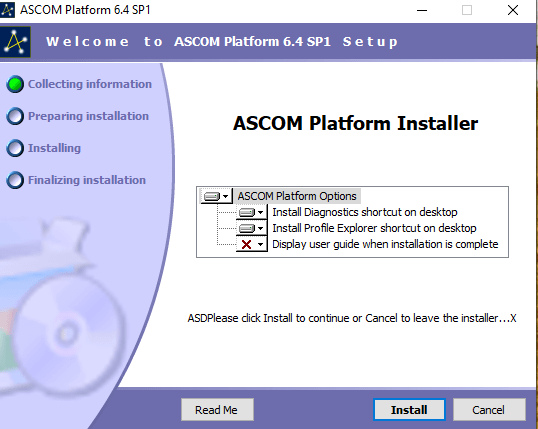
Defaults work here – Click Install
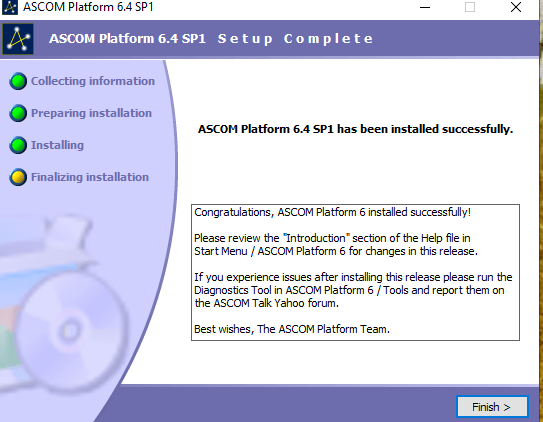
Click Finish
Now we have the base ASCOM stuff installed. Time to install the Mount Drivers for ASCOM
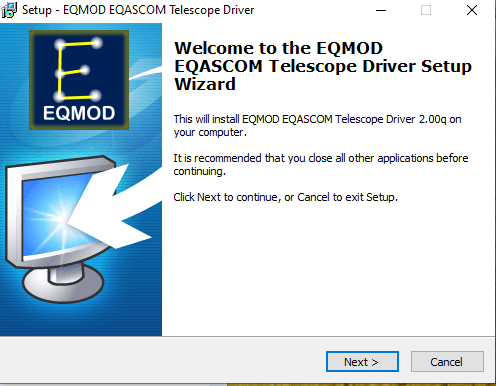
Install EQMOD Mount Drivers & Software
The most common software is EQAMOD. There is a new & upcoming Green Swamp server that looks rather good, but I don’t have enough experience with it to recommend it right now.
EQMOD EQAscom is available to download here: https://sourceforge.net/projects/eq-mod/files/EQASCOM/
I recommend download and installing the latest releases – which as of this post is eqascom 200q

Download that and let’s install it!
Click Next
Defaults work here – Click Next

Click Install
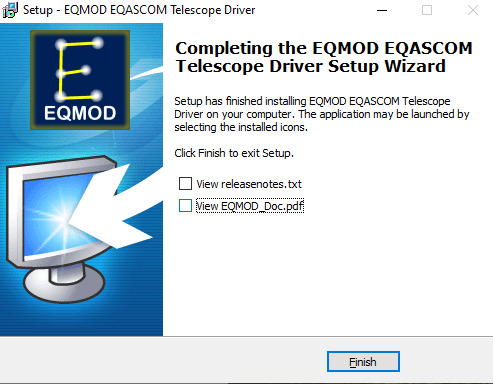
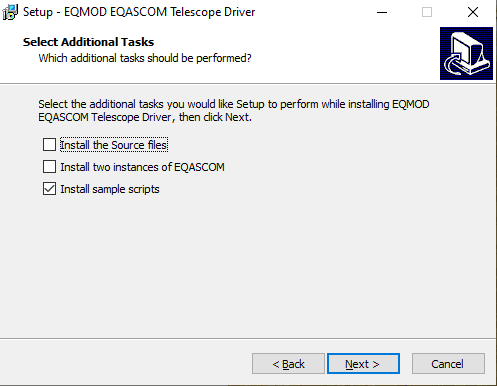
If you want to read the doc or release notes, you can leave that selected. Otherwise uncheck them and click finish
Install N.I.N.A
Nina should set up any dependencies needed for its install. Just click next through and finish when done.
I recommend downloading and installing 1.10hf6 or newer.
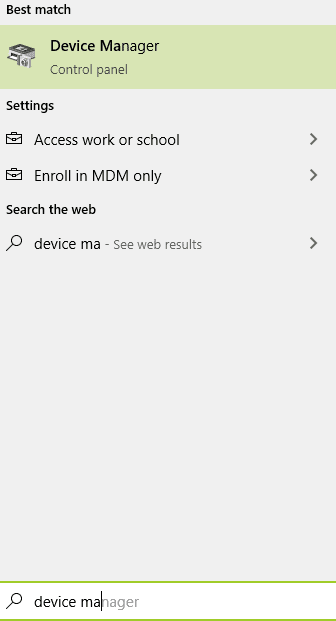
Configure Com Ports in Windows
Lets open Device Manager in Windows – Easy to just start searching in the windows 10 search bar
Select your Com Port – It should show up as Prolific USB-to-Serial (COM) of some number. Right Click and Choose Properties and click over to Port Settings tab.
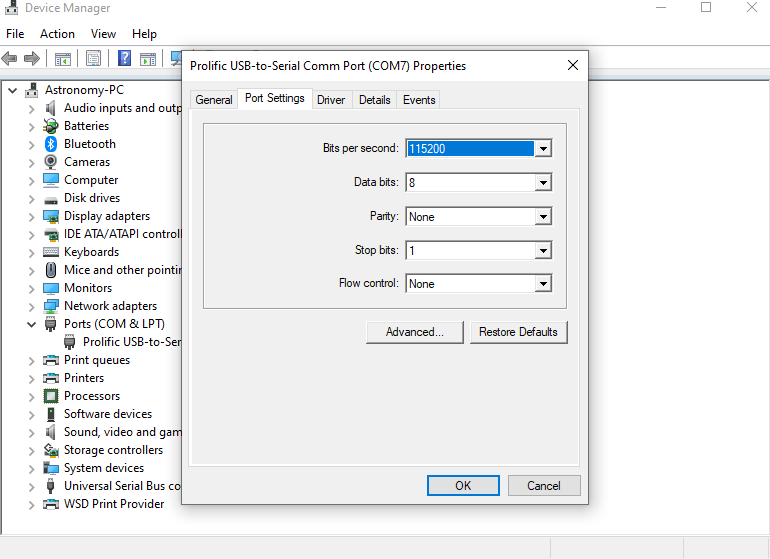
Make sure your COM port is set to 115200 bits per second, 8 data bits, parity none and flow control none. (you can leave it at 9600… but for some reason i have better reliability at 115200))
Beware of COM port changing 🙂 Just in writing this documentation my COM port has changed from 7 to 4 – My USB hub doesn’t seem to keep them consistent between uses. Even if you click on that “Advanced button” and assign a comm port – it can / does still change on you if you move things to other USB ports or swap things around. It’s annoying.
Install ASTAP
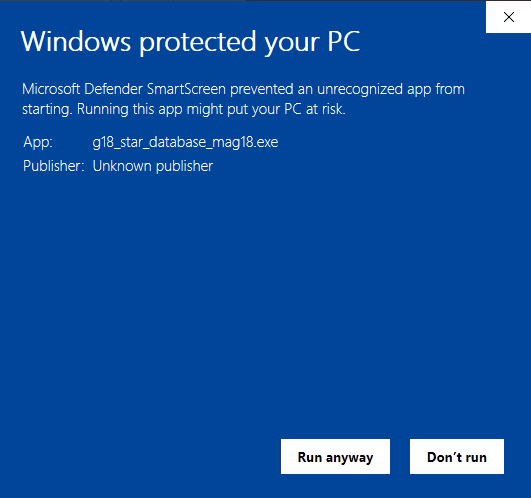
Windows 10 likes to protect your PC, which is a good thing, but the software is trust worthy so if you get a screen like this:
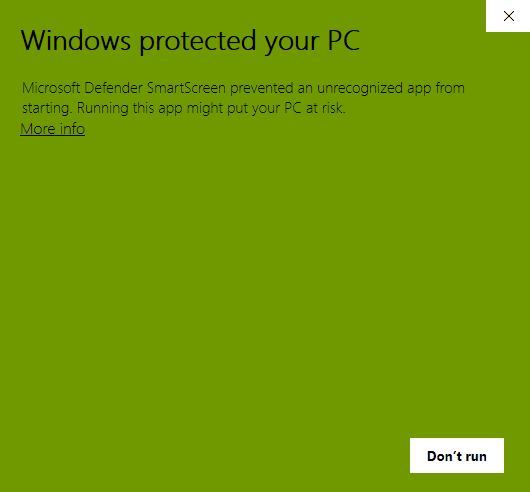
Click More Info (the underlined link)
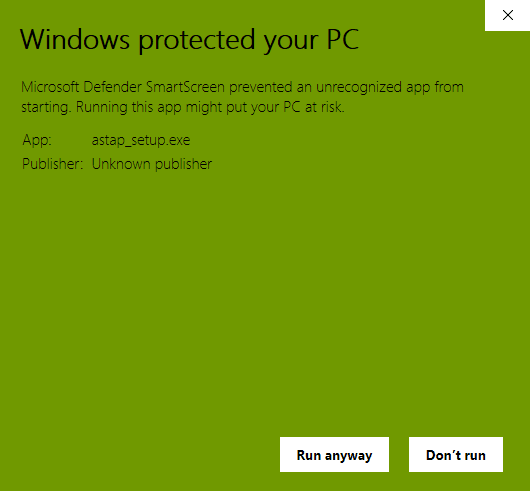
Then click “Run Anway”
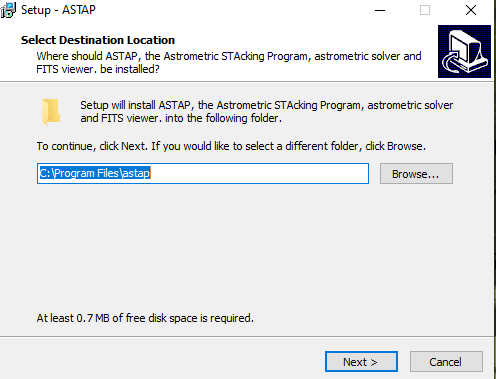
I like to leave it at defualts – Make a note of the path there if needed as we may need to confirm this in NINA. Click Next
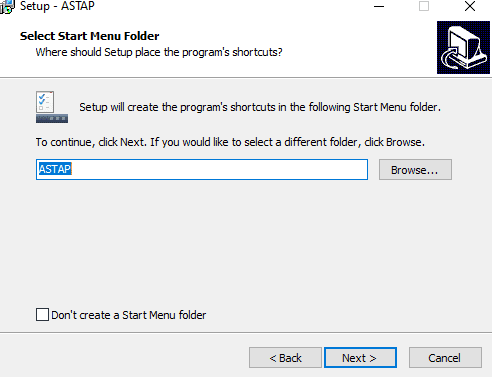
Click Next
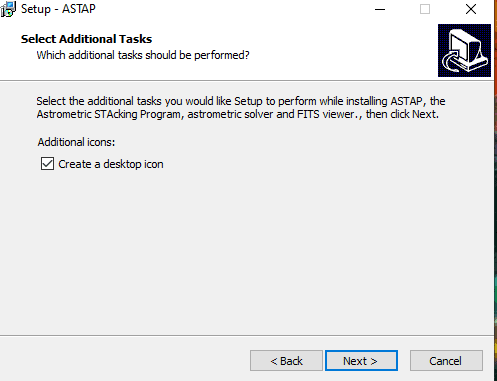
I uncheck this as i have too many icons, but i’ve left it as default for this post. Click Next
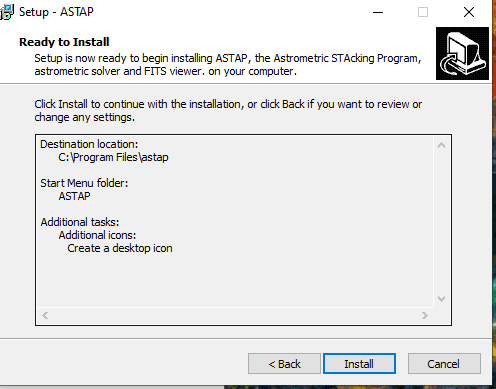
Click Install
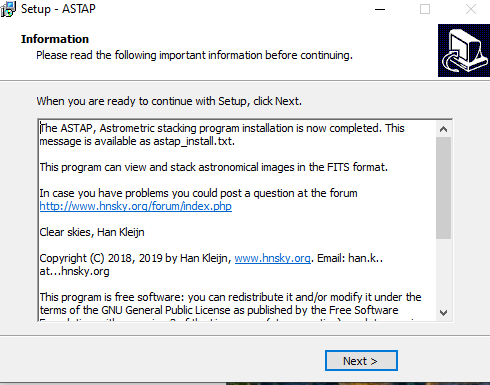
Click Next Again (lots of clicking for this small tool)
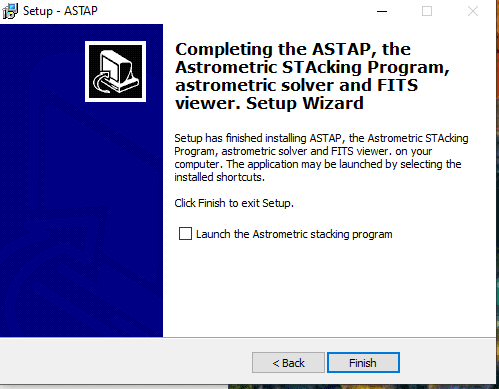
Uncheck Launch Astrometric stacking program and click Finish – we need to install a star catalog first
Install Star Catalog
Again with Windows defender. Same process as above
Make sure the path where you want to install it matches the astap path above (should if you didn’t change it)
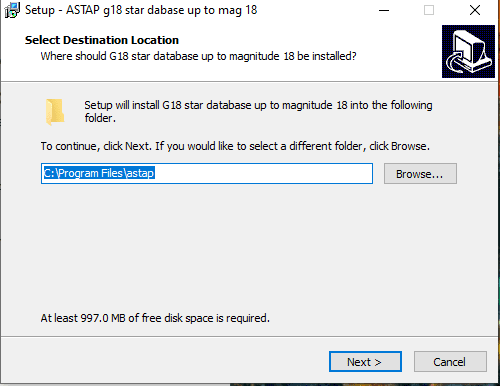
Click Next
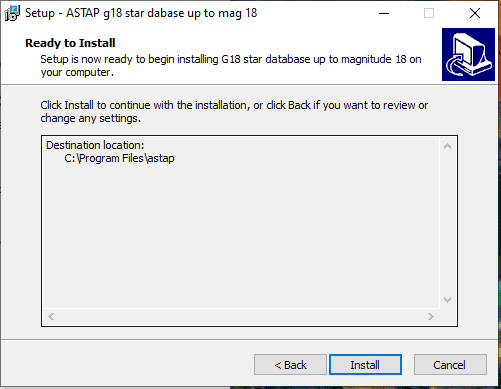
Click install
Wait out while it installs your catalog of choice. I chose g18 but G17 works for most people (and is a bit smaller/faster)
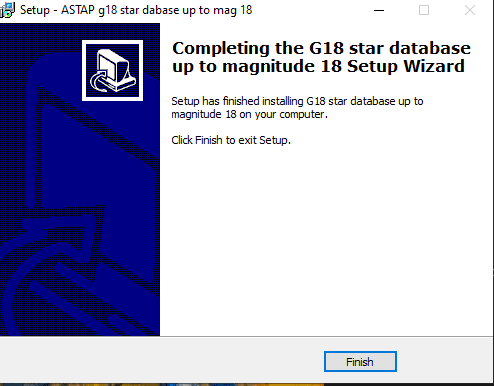
Click Finish!
Now we have an awesome platesolver and catalog ready to go so let’s set up NINA.
Install NINA
Run NinaSetup
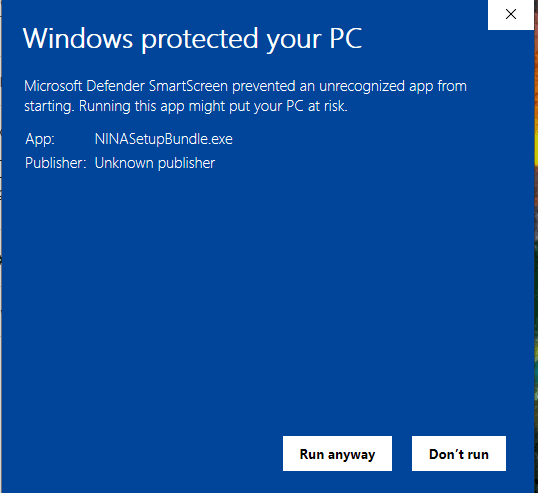
You may get this warning again.. it’s OK – Click Run Anyway
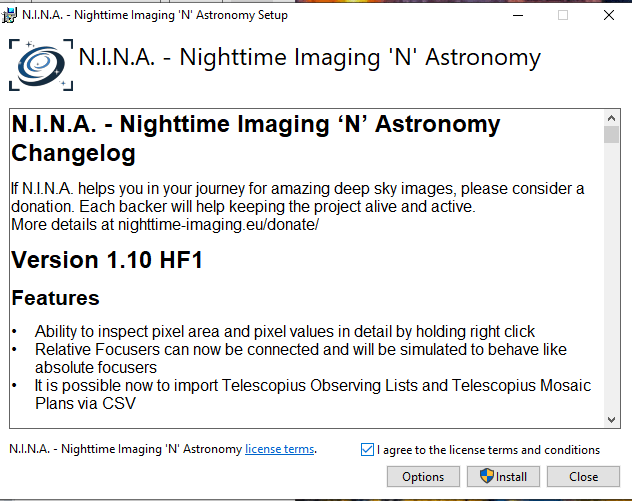
Select that you agree to license agreement and click Install
After clicking Install the setup moves quickly!
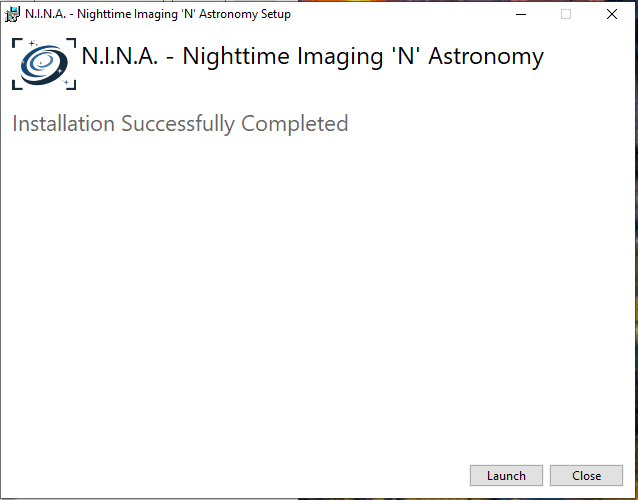
You can click “Launch” and we’ll do some set up.
Once you have launched NINA you may be prompted by Windows Firewall to allow access.
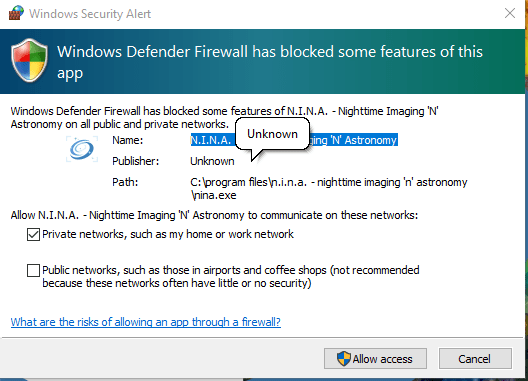
The default settings work here – Click Allow Access. NINA needs to hit the internet to download data from Nasa’s website for framing wizard and other functionality. (as well as self-updates if you enable that)
Configure NINA
We’ll focus on two things here – Platesolving and the EQ6r Mount Setup. Let’s make sure ASTAP is set up here:
Click Options on left main menu and then click PlateSolving on top tab
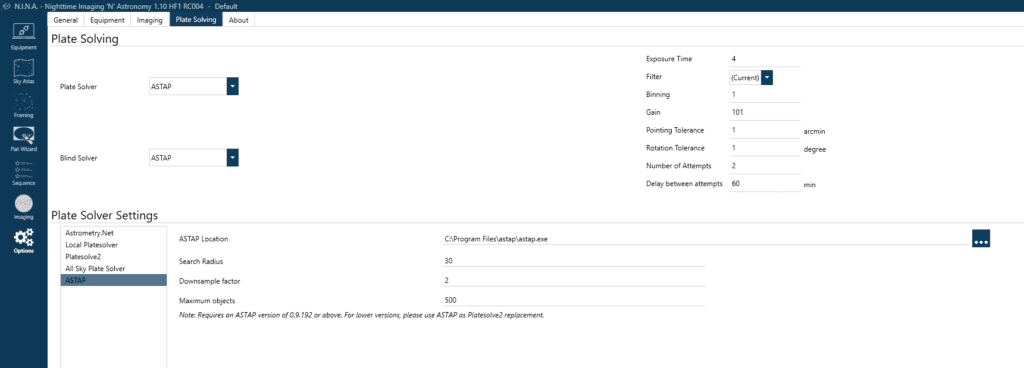
Set Plate Solver to Astap
Set Blind Solver to Astap
Verify ASTAP Location is the same (should be, unless you changed it)
Set your exposure time – I use 4 seconds – works will with broadband and narrowband imaging for me. My Binning, Gain is for my specific camera. I recommend you set the Number of retries to 2 or more and set a decent delay between retries. 30 seconds may be fine, but I left it 60 seconds just to be safe. This comes in handy if you do multiple targets in a single night and want to sleep – if the platesolve fails it will get stuck if you don’t have a retry enable. Waiting out a timer often lets your mount settle or skies clear or cloud move away.
Configure EQAscom
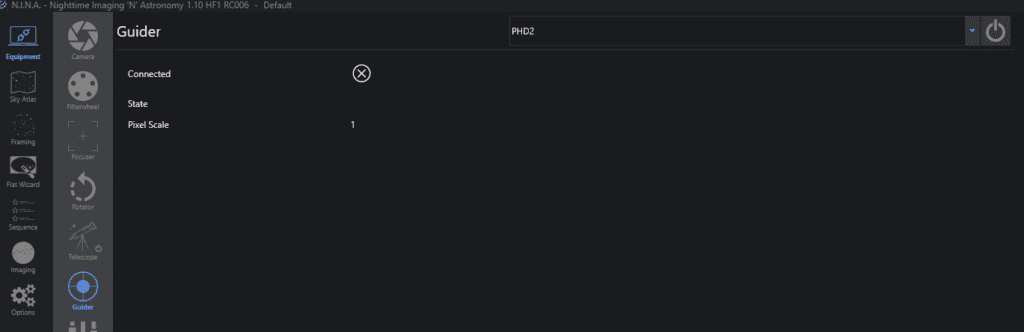
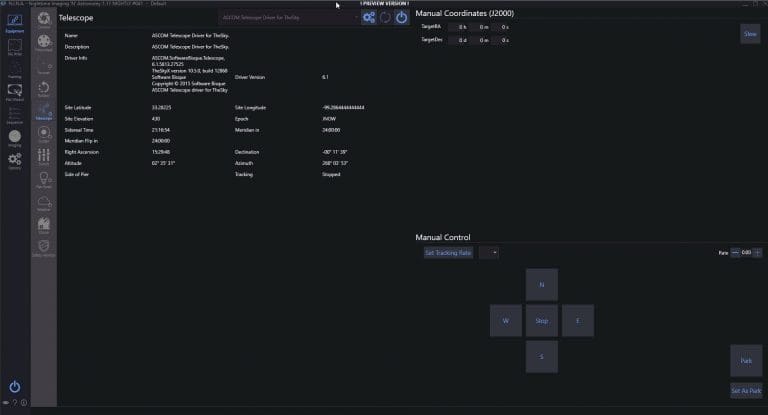
Open Nina. Click on Equipment and then Scope. You should see a screen like this.
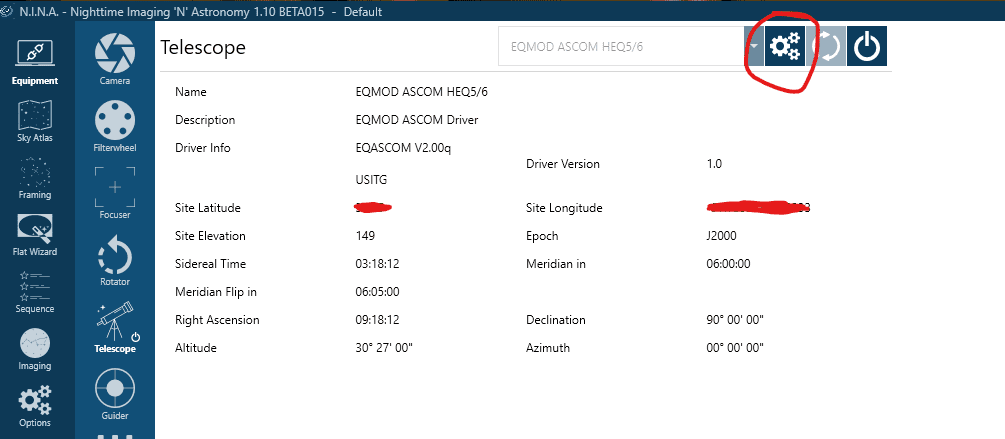
Click the Config button there and the ASCOM set up will open up
Configure EQMOD
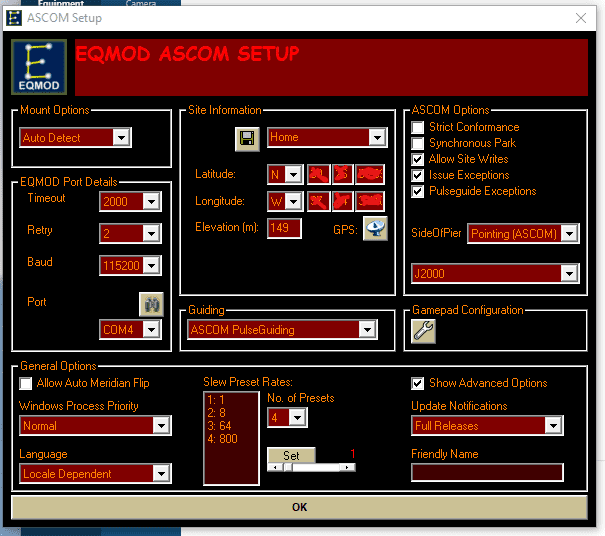
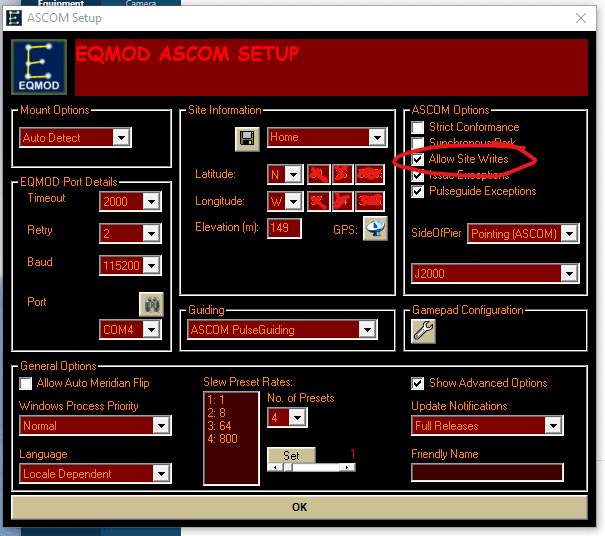
Make sure your COM port matches the one from Device Manager above. Set baud to 115200, Timeout to 2000 and Retry to 2. You will also want to fill out your Site Information with your lat/long/elevation.
Input your site location (or allow site writes below)
You want to make sure that your mount has the correct Latitude and Longitude. If you select allow site writes per the image below, then you can always control your location via NINA.
Allow Site writes
I use this so if you move around your location in NINA, you can allow NINA to set the location into ASCOM – it will pop up a dialog box asking if you want to do this. I find it reduces the mistake of having a bad site data and just keeping it updated in one area (especially if you use a GPS device for site in NINA)
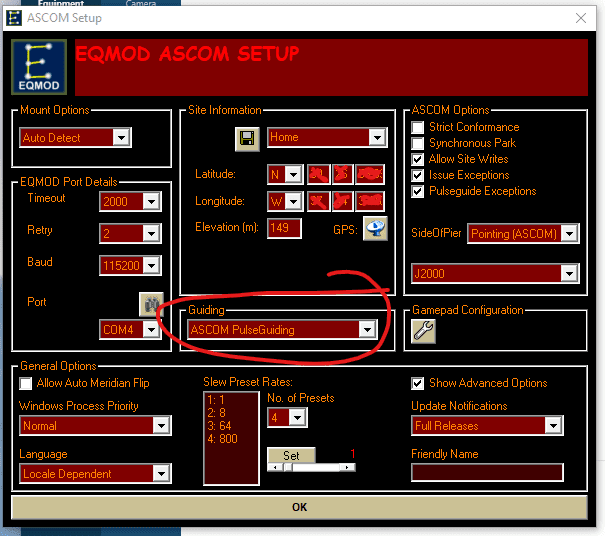
Set up Pulse Guiding (should be default)
Connect to Mount in NINA
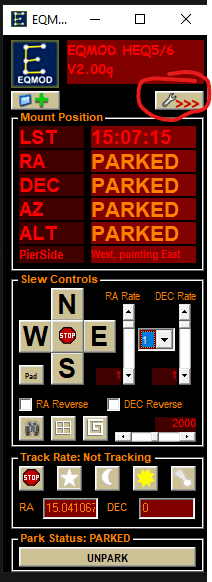
Before we can hit other setup options (not sure why this isn’t in the settings screen, but oh well) we need to connect to the mount and click the expand icon to open up the side page.
Click the power button once you have selected EQMOD ASCOM HEQ5/6 as your telescope

Once connected, you should see the EQMOD window pop up and take over your screen. Click the circled >>> Button to expand more options
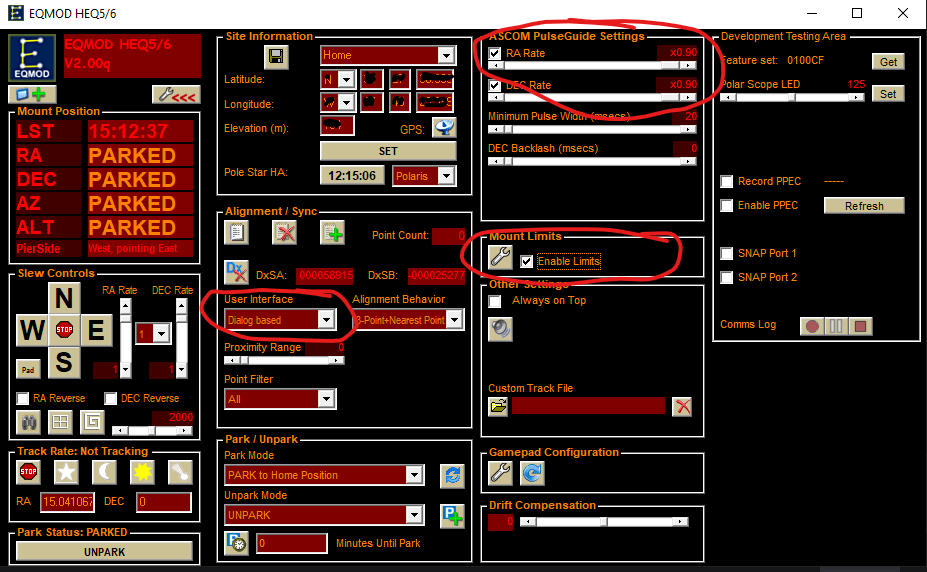
Configure EQMOD Settings
Here we want to make sure we have a few settings set correctly.
- Increase pulse guide settings for RA Rate
- Increase pulse guide settings for DEC Rate
- Set User Interface to Dialog based
- Ensure your Site Information is correct
- Configure Mount Limits
PHD2 Guiding Setup
Download PHD2
https://openphdguiding.org/downloads
Install PHD2
Just like the other programs, you may be prompted to allow an insecure program to run on Windows. Click through and accept it per our instructions and install PHD2 with all defaults.
Configure PHD2
We’ll go back into NINA and launch PHD2 by going to Guider and clicking the Power button on PHD2
When you start PHD2 you should see a new profile wizard pop up.
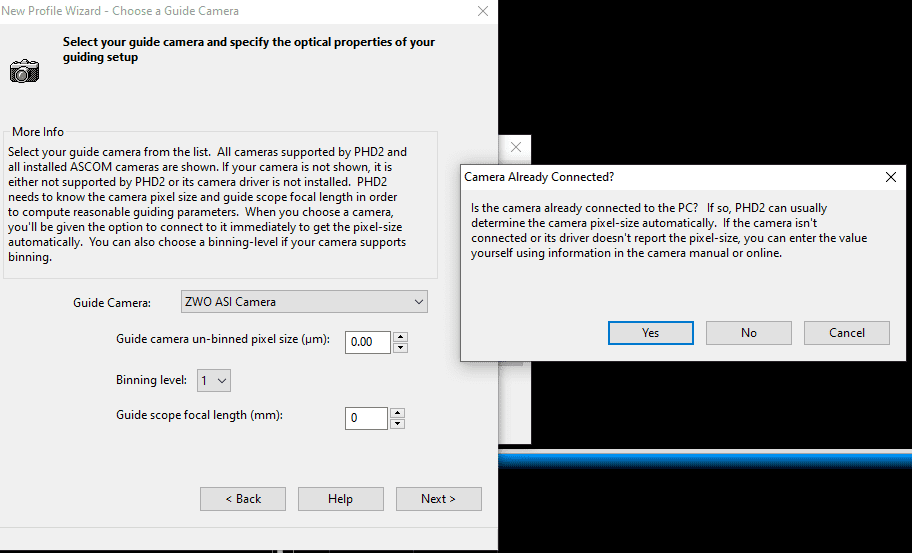
I use a 290mm camera, so i selected ZWO ASI Camera from the Guide Camera dropdown and a box pops up asking if I want to configure pixel size. Click Yes.
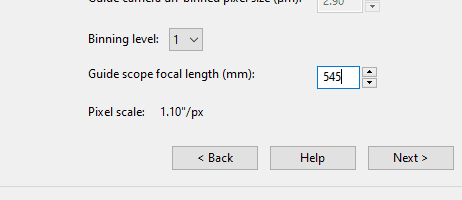
You will want to enter your guide scope focal length here too. It’s important this is correct. For my old guide scope it was 225mm however, I switched to an OAG so I now use 545mm since my scope is currently reduced to 545mm.
Click Next
On this next screen you should select EQMOD ASCOM HEQ5/6 as you rmount and once you do that, you’re prompted to allow it to confgure the guide speed settings automatically. Click YES.
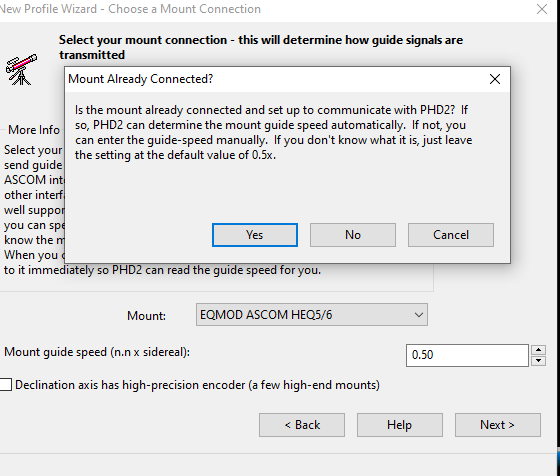
Now you should see the .90 speed we set up earlier – important that this matches.
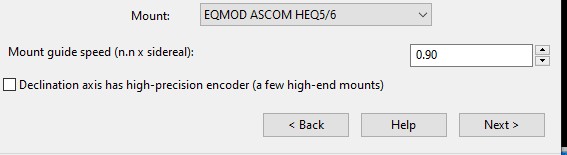
Click Next
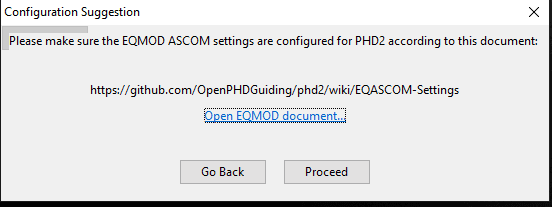
Click Proceed – I Do recommend you review that document – PHD2 can be complex to learn/tweak.

I don’t have AO, so click Next
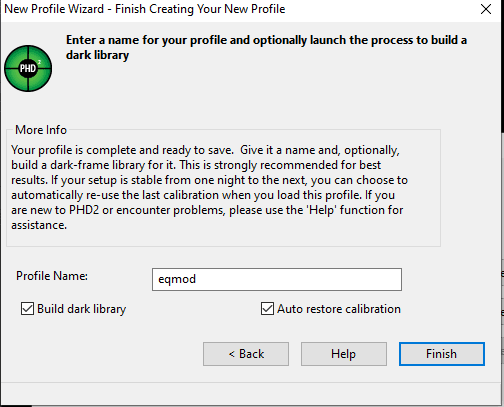
Give this profile a good name, make sure Build dark library is selected and I like to use “Auto restore calibration” myself. Some will swear by calibrating every night – which I do for the most part but if i have multiple nights in a row I can leave everything set up then I like that calibration is reloaded on startup and I can just start imaging.
Click Finish
Now the dark library wizard will pop up
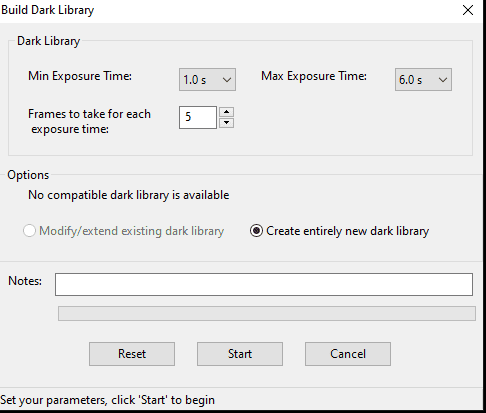
Make sure your guide scope is covered (cap on) or if you use an OAG, make sure your primary scope is covered. The dark library is used to help ensure good clean tracking and avoid guiding on hot pixels so I wouldn’t skip this step.
Click start and let it build a dark library
PHD2 Should start up now. I like to go enable a few things that give nice data on what is going on
Click View and select these options:
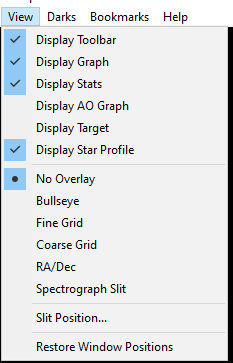
Now you will have a great status screen of what PHD2 is doing.
Calibrate PHD2
NINA has a few focus stars built in or you can connect to your mount with Stellarium or Cartes du Ciel. You want to select a star near zenith or you can use the hand controller or the EQMOD Control pad to slew near zenith.
What we want to do is:
- Connect to guide camera/scope
- Start Looping
- Find Star
- Shift click the #4 to start calibrating

Once you start calibration PHD2 will move the mount around and calibrate itself. If you have issues here with needing more calibration – there is a more detailed setup wizard you can run. However, I would advise you spend time on PHD2’s website and learn how all of this works. This guide is just the “getting started”
Time to Image
This guide should get you all up and running so you can guide, plate solve and track correctly with EQMOD. If you have any questions or comments, please leave a comment below!
End of Session Shutdown
A good habit to get into is to make sure that you park the scope when done. This just makes sure that everything is homed in good.
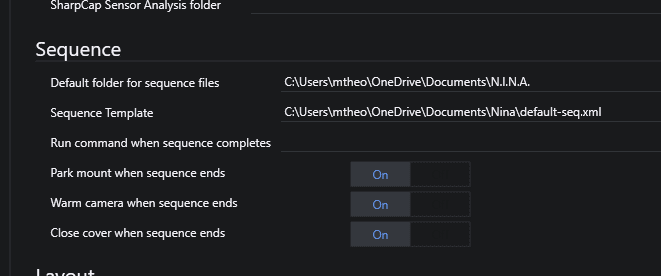
I like to make sure everything closes and parks at end of sequence like this:
Options -> Imageing -> Sequence settings
FAQ
I'm having difficulty plate solving with N.I.N.A.
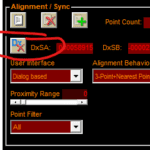
This happens to me when my mount is confused as to its current RA/DEC. Especially if you see lots of rejections. Make sure that you have followed the instructions to set the mount to Dialog based and you can run the DxX button to clear the old alignment data and start fresh.
Why is PHD2 Guiding is inconsistent with an EQ6R Pro
Be sure to calibrate with every session. Use your Planetarium software of choice to find a star at zenith (straight up). Slew to this star. Open PHD2, click stop tracking if tracking and shift-click the start tracking button. This will tell PHD2 to start calibrating
This is really good but I am stuck on step 1 which you haven’t covered. How to connect the mount to the laptop? Does it need a cable connection?
Cheers, Andrew
Congratulations on the guide created by you, if I had discovered it earlier I would have removed many doubts and perplexities. Thank you so much for this wonderful contribution.
Thank you for a very useful guide 🙂 Clear Skies.