Exploring our Cosmos – Backyard Astronomy
There is no better mix of amazing experiences – exploring our planet and exploring our universe and the areas I love to visit all seem to coincide with being able to do both. Climbing a mountain during the day and pulling out a telescope or binoculars by night is just my kind of day!
With this passion for Astronomy, Science, Physics and Cosmology comes a long running desire to experience, view and catalog the cosmos with my own eyes.
During these crazy times of pandemic, stay-at home orders and such I figured now was as good time as ever to get back in and dive into this long running passion that I had on the backburner for too long.
I finally took the plunge in and built my own setup and here is my first light. This marks the beginning of some new and interesting content not just exploring our planet but exploring our Cosmos.
My First Light
I’ve never had the time or tools to get into astrophotography until now. My previous attempts at telescope and binoculars were all generic store-bought consumer grade systems that scratched a basic itch, but quite honestly had me looking for more. In many ways, they left me disappointed. I’ll be honest – looking through a telescope purchased at a box store – the eyepiece never delivers the magic printed on the box.
But… live and learn. I’ve come to realize that Astronomy is an amazing hobby, but it’s an expensive hobby. That means making an investment in not only a telescope – but all the technology needed to assist the human eye with being able to clearly see celestial objects in all their glory.
Our eyes evolved to see things on our planetary scale, not to absorb photons over extended periods of time and see distant objects through the cosmos.
So here is my first Photo.
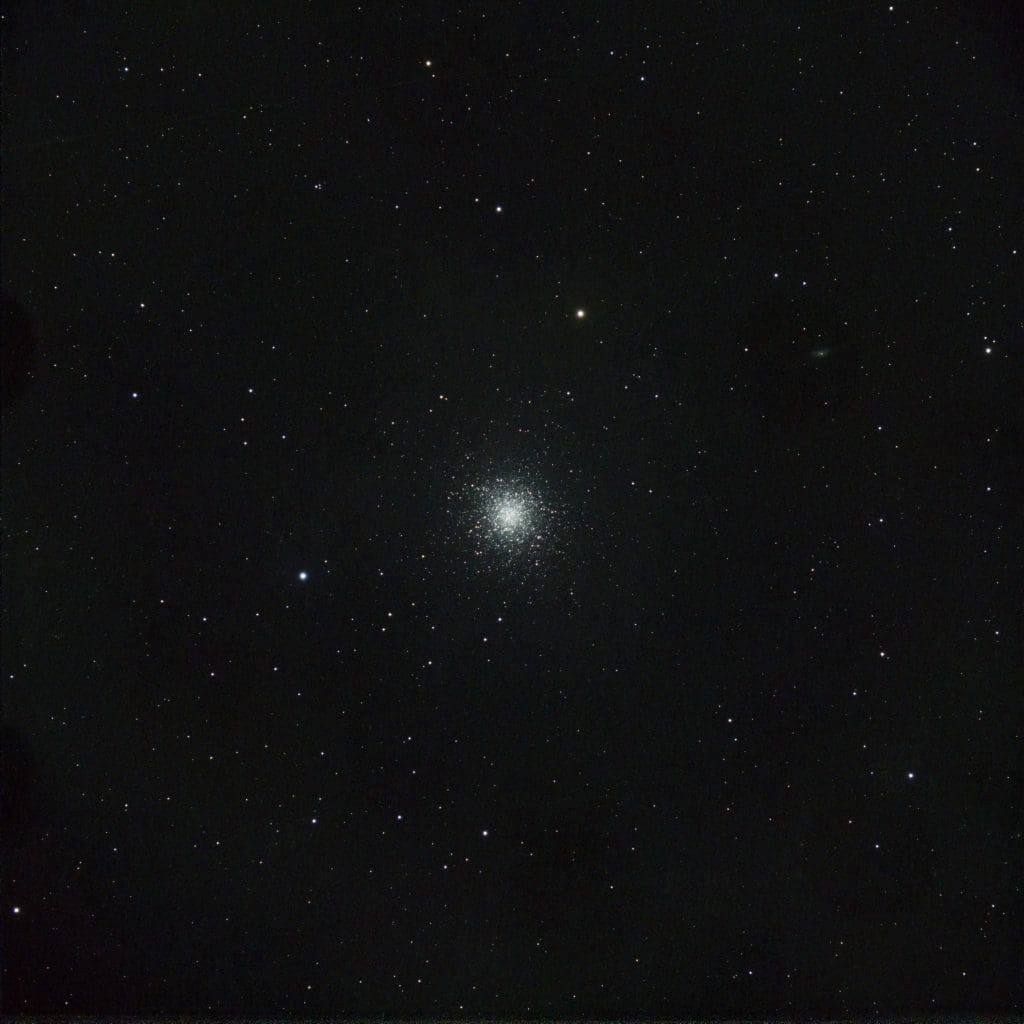
This is the Hercules Globular Cluster known as M13 or Messier 13. 25,000 light years away from us and over 150 light-years in diameter this cluster contains hundreds of thousands of stars.
When you look at this globular with your own eyes, it just appears like a faint star if it’s even visible and with a cheap telescope, it may look like a smudge – if even visible. A stark reminder that we often take for granted what is right above our heads and all too often those cheap scopes we hope give u some glimmer of views like this fall short.
The photo of M13 was taken during a 95% full moon with no filters. It took a bit of processing in PixInsight (an astrophotography editing suite) to remove the gradients and it left an OK picture. I’m happy for everything that I needed to learn to get that photo and make it come out as clear as it did in the conditions, I took it.
My Gear
A long time ago when I got my first scope, I felt disappointed for many reasons. It was confusing to track objects in a scope where the object could be mirrored and upside down depending on the type of scope you have. You had to almost hold your breath to peak into a mostly blurry lens of questionable quality to see anything without it shaking and well, the views while cool were disappointing.
I wanted to avoid that this time around, so I did lots of reading, asking questions and picking brains of people with a few decades of astrophotography under their belt and I learned a few things.
First, the quality of modest stuff today far surpasses the stuff I had as a kid. While still frustrating in many ways – a $~300.00 Dobsonian Telescope setup will afford views of the cosmos I could only dream of as a kid (and that seemed to cost more when I was a kid)
I also learned that one of the most important purchases for anyone serious about the hobby isn’t the telescope itself – that is important – but the Tripod and Telescope mount. It’s the very foundation from which the hobby is built, and a bad mount will even make the most expensive telescopes perform terribly.
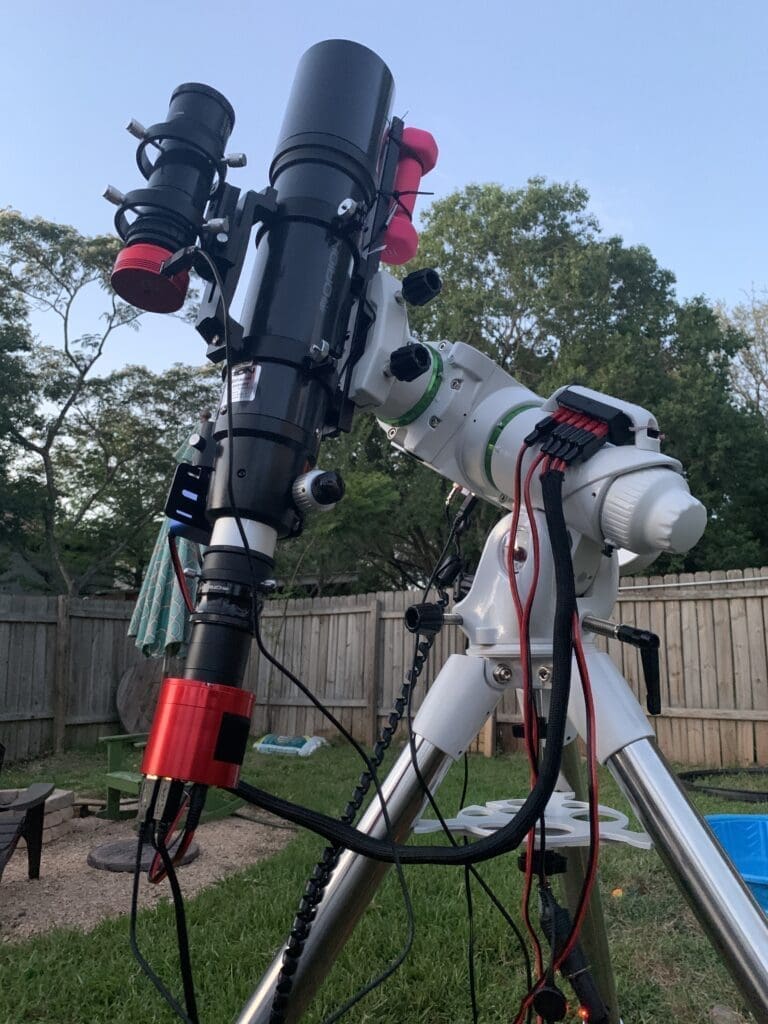
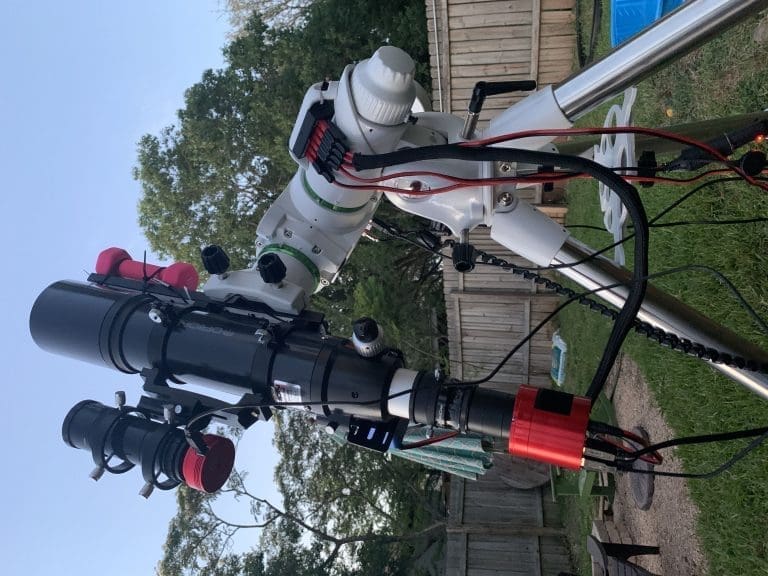
My starter astrophotography setup:
Telescope: Orion ED80 Apochromatic Refractor
Tripod: EQ6R-Pro – Computerized Go To mount.
Camera: ZWO ASI533 Color Camera (Cooled)
Guide Camera: ZWO Asi120mc-s
Guide Scope: Orion Guide Scope
If you don’t want to invest in a ZWO OSC Cooled Camera, you can use a DSLR to do imaging. That is how I too started but quickly realized I wanted some features of cooled cameras and I’ll dive into more of that in some of our future blogs. You will need some adaptors and knowledge. I’ll update this post with a little guide on using a Canon DSLR for astrophotography.
My Reading List
Left of Orion is the absolute best place to get to know the sky and what to look for visually through your scope and your finder scope and the rest dive into specifics of DSLR or CCD/CMOS Photography.
- Shaw, Mike (Author)
- English (Publication Language)
- 228 Pages - 07/11/2023 (Publication Date) - Rocky Nook (Publisher)
- Bracken, Charles (Author)
- English (Publication Language)
- 280 Pages - 05/09/2022 (Publication Date) - Deep-sky Publishing (Publisher)
- Dobres FRAS, Max (Author)
- English (Publication Language)
- 143 Pages - 03/10/2025 (Publication Date) - Independently published (Publisher)
- Woodhouse, Chris (Author)
- English (Publication Language)
- 312 Pages - 02/29/2024 (Publication Date) - Routledge (Publisher)
- Woodhouse, Chris (Author)
- English (Publication Language)
- 432 Pages - 12/12/2017 (Publication Date) - Routledge (Publisher)
Affiliate links & Product Images are from Amazon Product Advertising API.
It’s a dream come true
Having been stuck at home for a while with events and issues across the globe causing mass uncertainty, I felt it was the best time to get back into a passion of mine and I honestly couldn’t be happier.
It’s a lot to learn.
But it’s fun.
When the mosquitos are eating me alive and I’m sitting out in the backyard all by myself at 1:30 in the morning struggling to get things to work. It’s exactly what I enjoy. A challenge. A Journey. An Adventure.
More to come!



Great start to what could be a great starter tutorial. Hope to see more of same covering how you got from there to here.