Escondido Falls: Malibu’s Tiered Waterfall Hike
Ah, Malibu: a beacon of sunshine, verdant landscapes, and the shimmering Pacific waves. It’s also the locale for opulent mansions and pricey yet delectable seafood, with an abundance of hiking trails on offer. Take, for instance, the somewhat perilous multi-tiered waterfall trek to Escondido Falls. Situated roughly 35 miles west of Los Angeles, Escondido Falls starts as a gentle hike before escalating in difficulty significantly. To put it another way, the hike exemplifies the saying “from 0 to 100 real quick.”
(Note: expect a considerable amount of rock climbing beyond the waterfall’s base).
Part 1: Getting to the Trail
I won’t lie, parking is fairly scarce (apparently a couple thousand people also love Malibu…)
Your best bet is to “camp” for a parking spot off of Winding Way Road if none are initially available.
You’ll then walk up a curved road that leads to a neighborhood of rich-looking mansions (seriously, how can people afford these homes)?
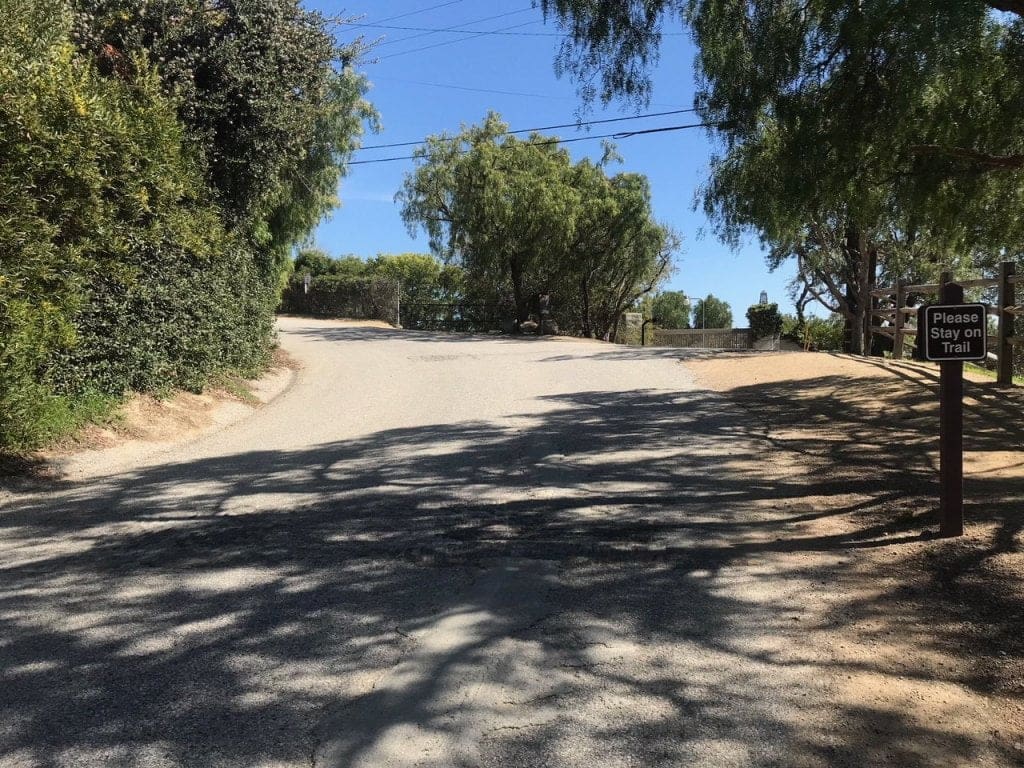
The road eventually winds down to the following sign (about a quarter of a mile total).
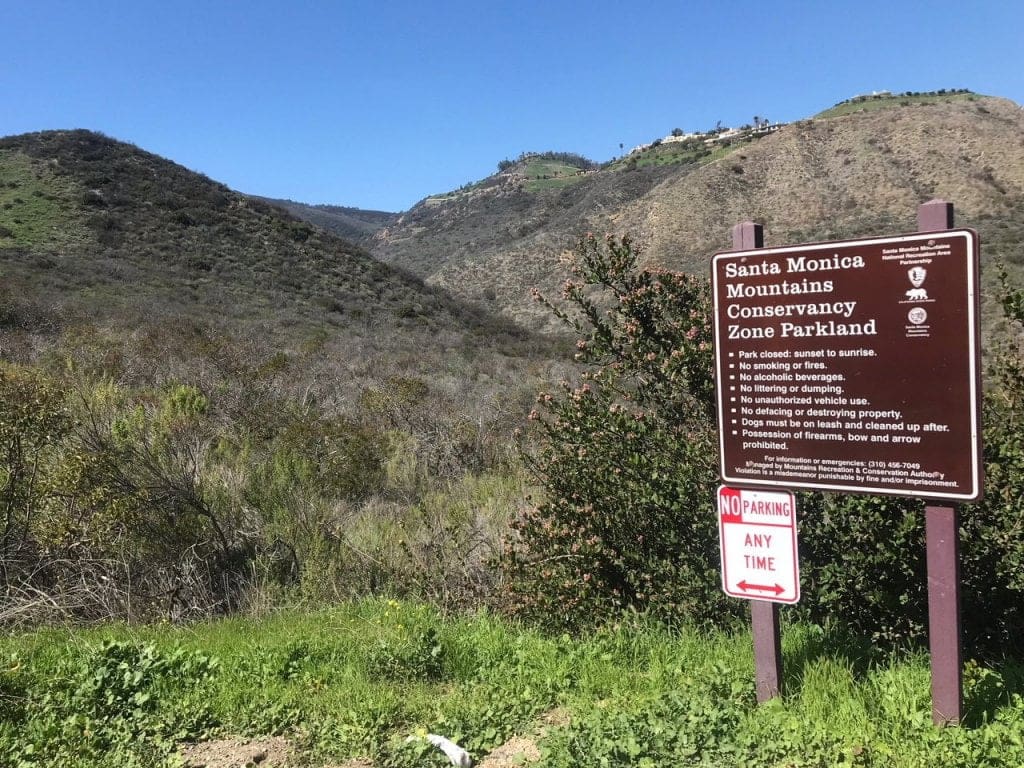
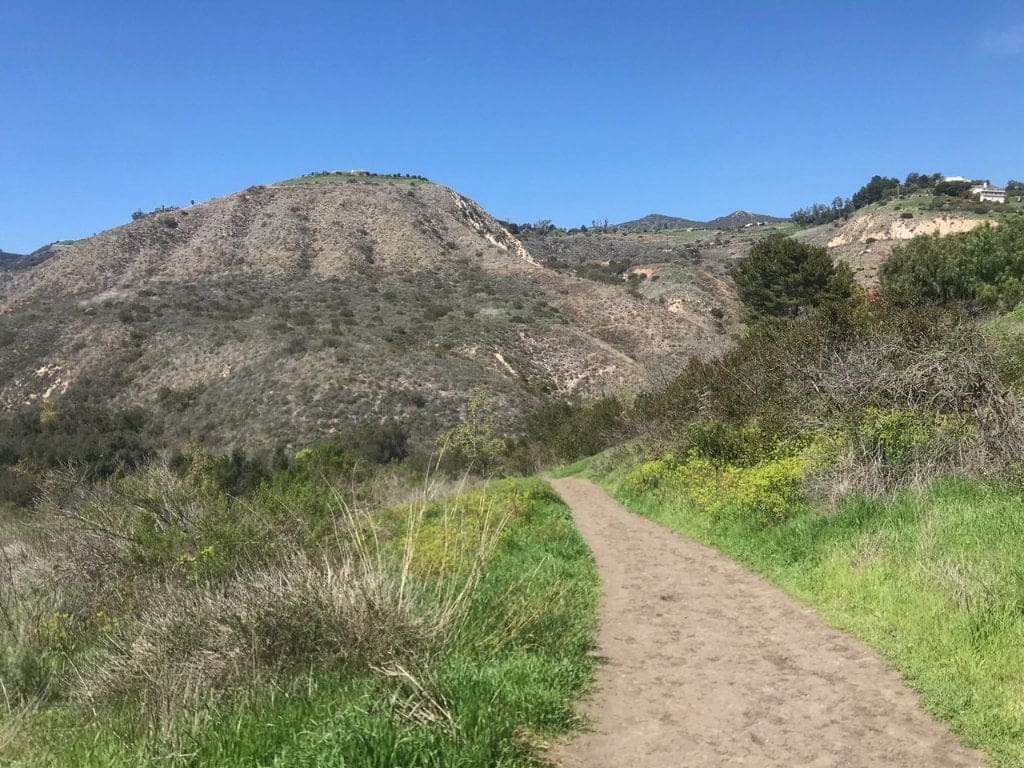
The actual trail is just past this sign, to the right facing the mountains.
Part 2: Hike to the Base of the Waterfall
The first part of the hike is essentially a flat trail sans steep hills or rock climbing sections.
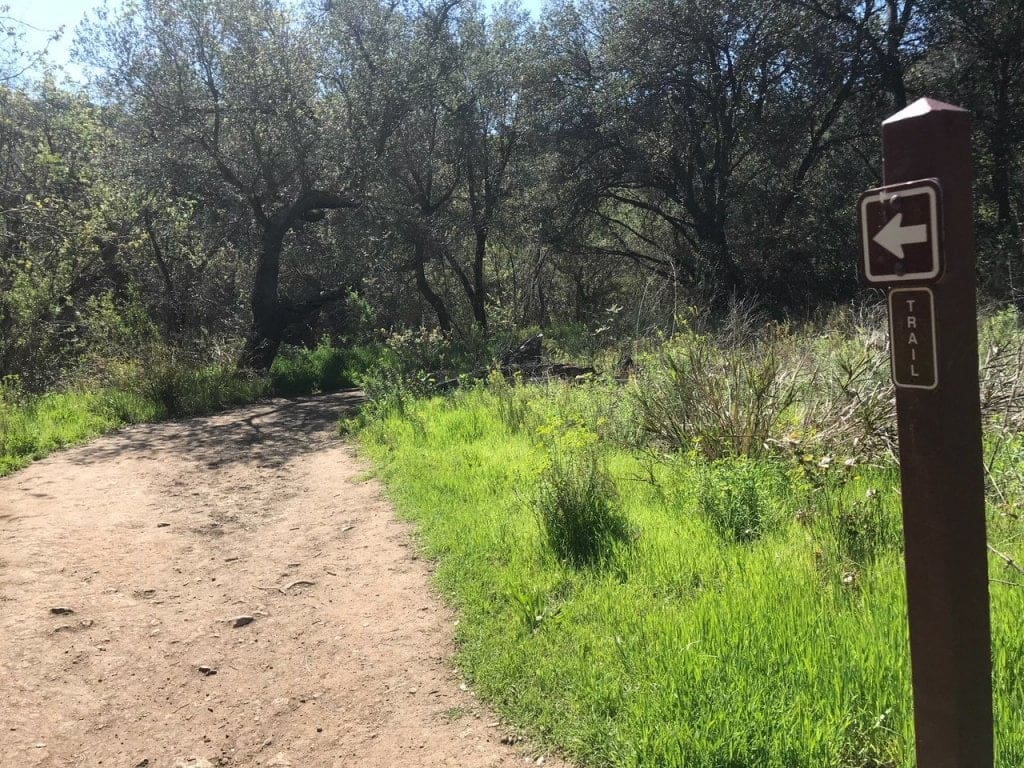
I suppose this is a good thing since you’ll want to save your energy for the second half of the hike (and that’s a big if you’re brave enough to rock climb).
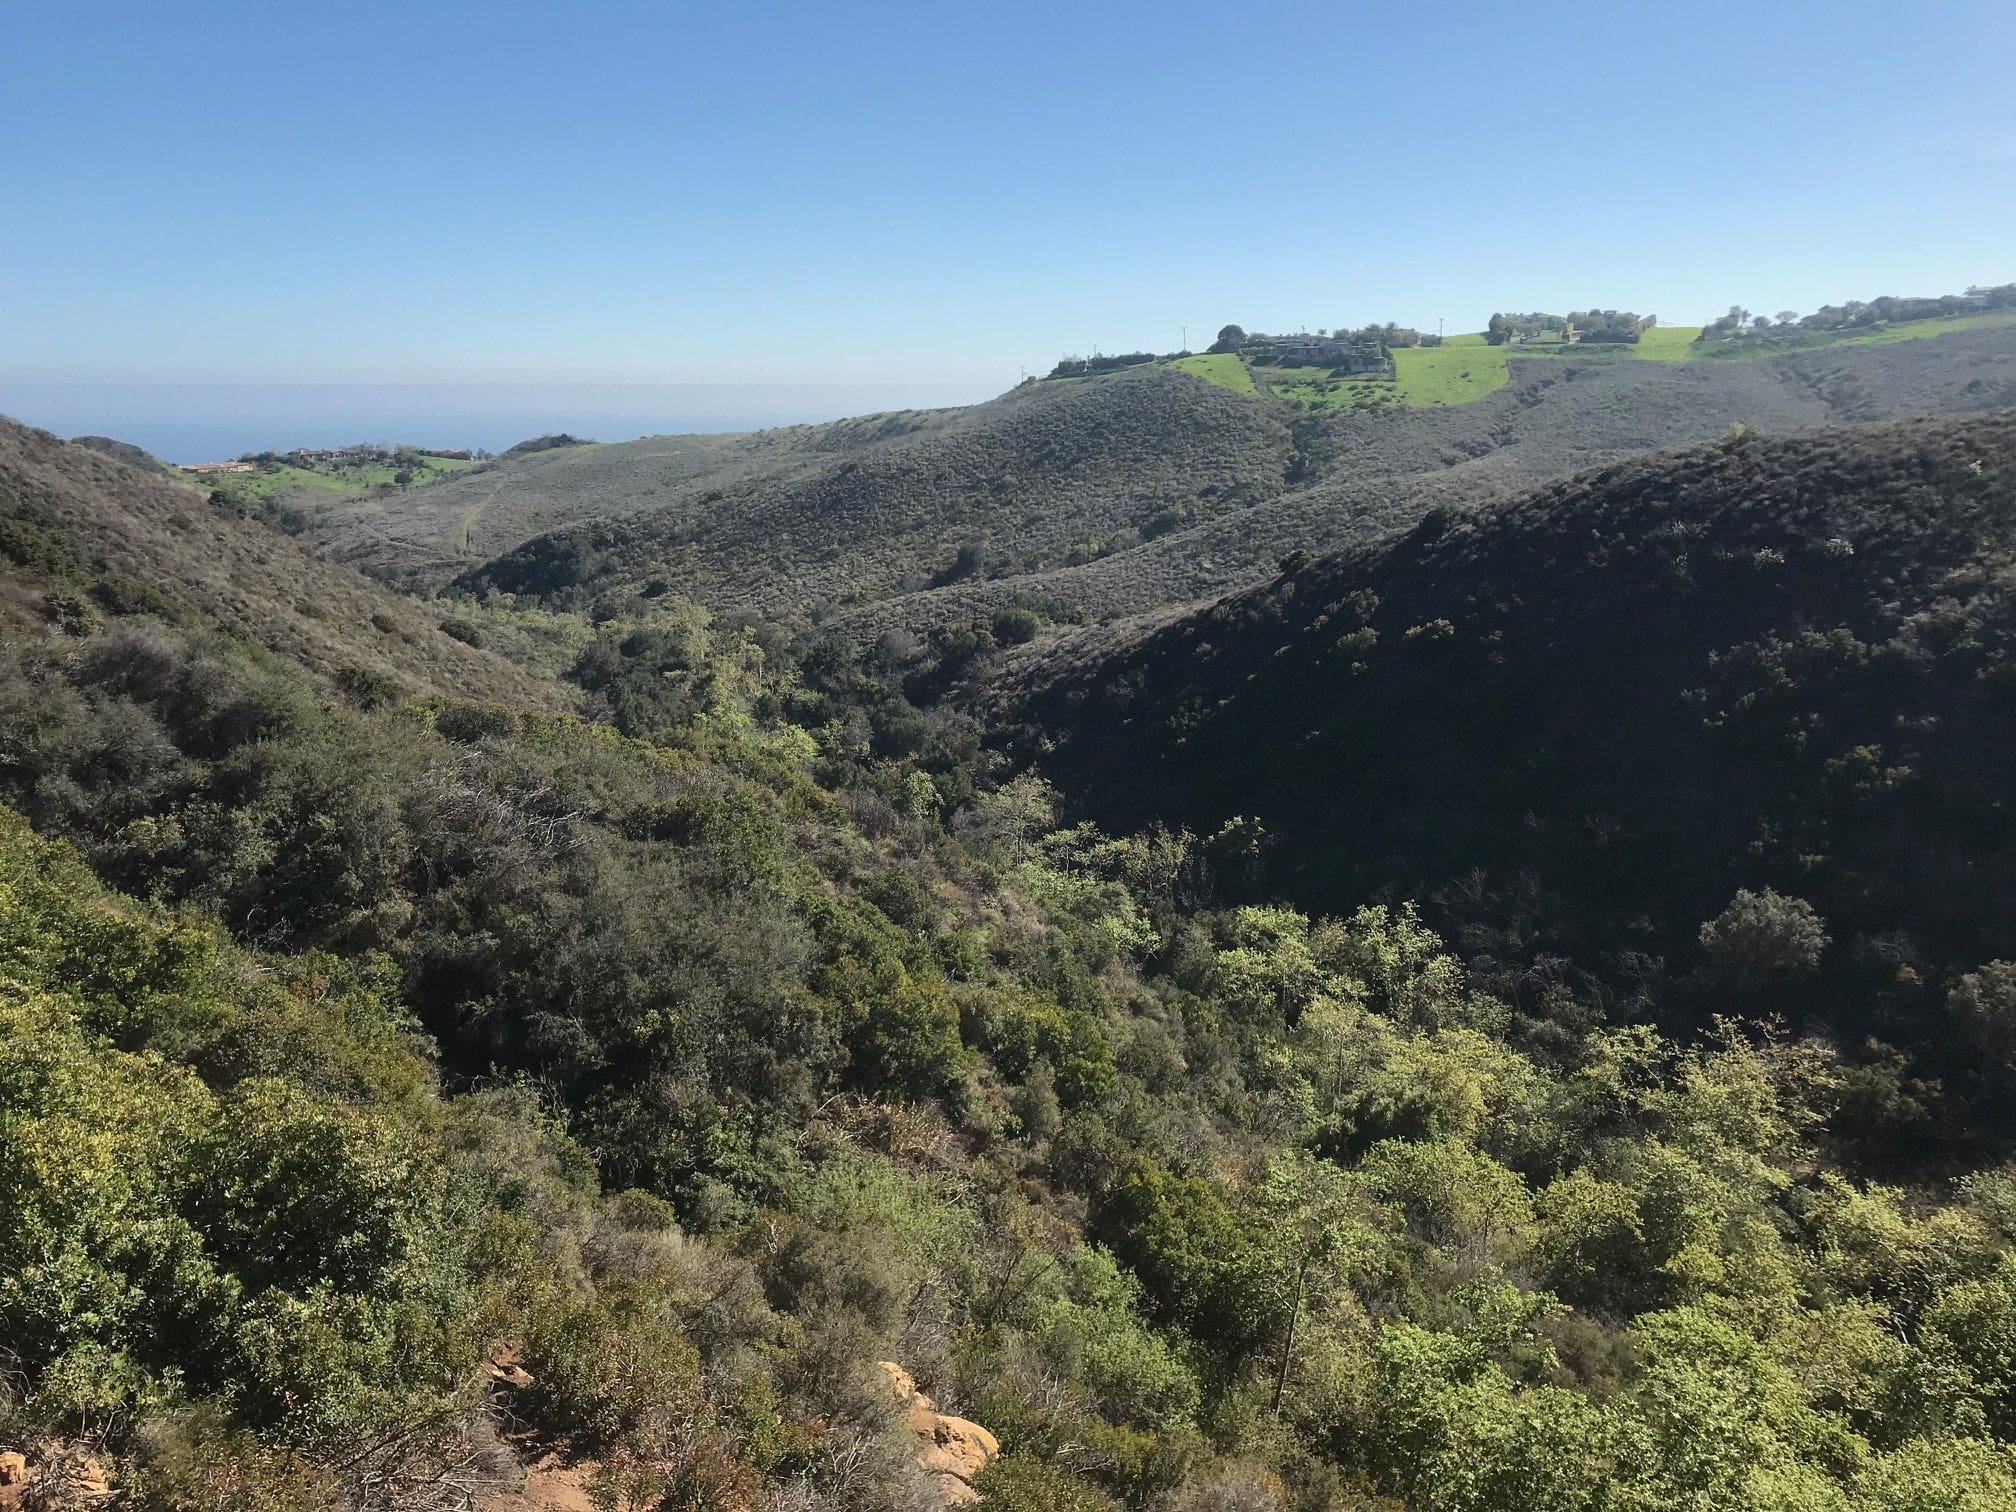
The nice part about this trail during spring is how beautiful, lush and vibrant the scenery was.
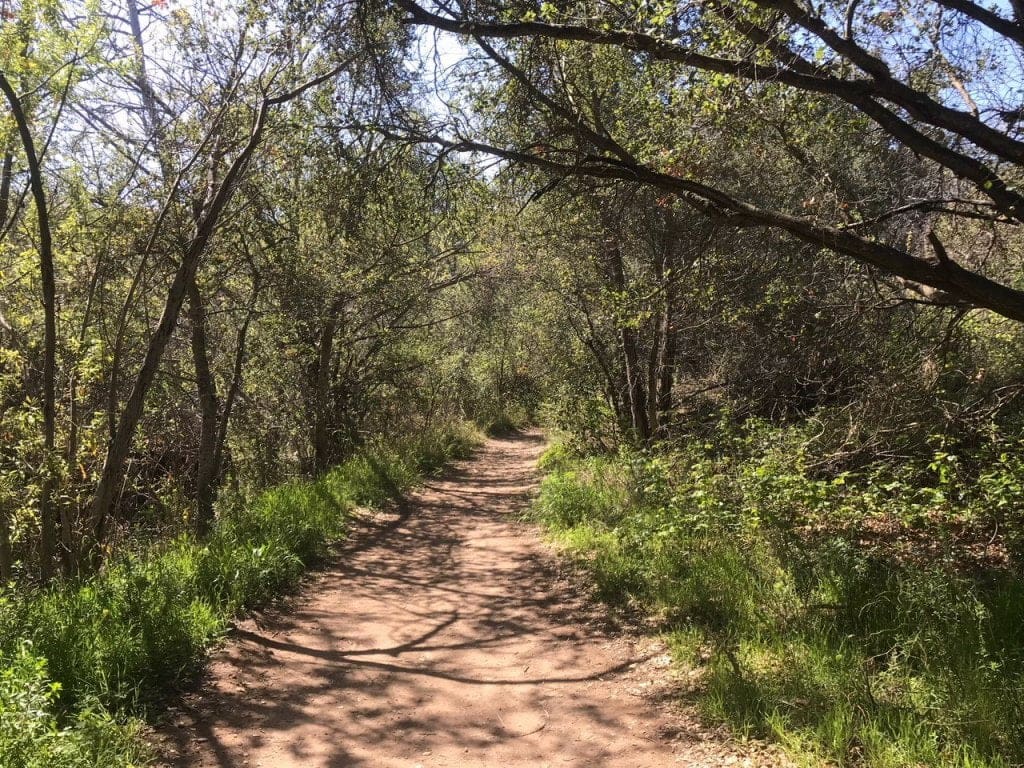
I suppose credit is also due to the immense amount of rain we received over the past few weeks…
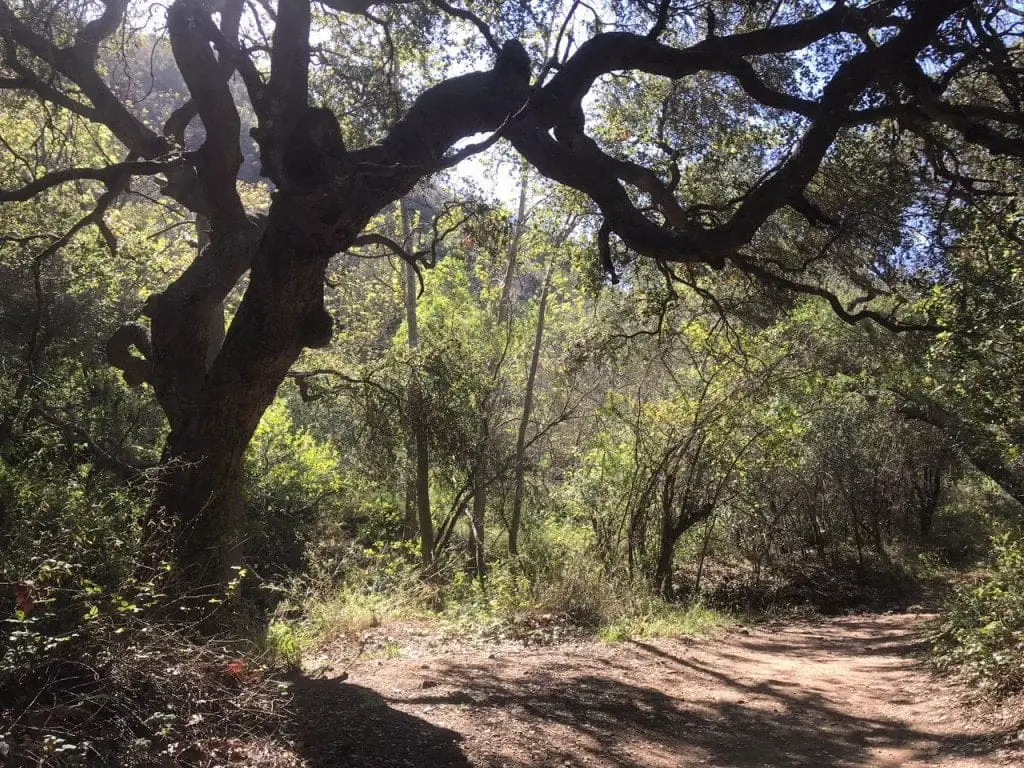
You’ll notice a small creek toward the bottom of the picture, which requires a bit of skipping over slippery rocks to get across.
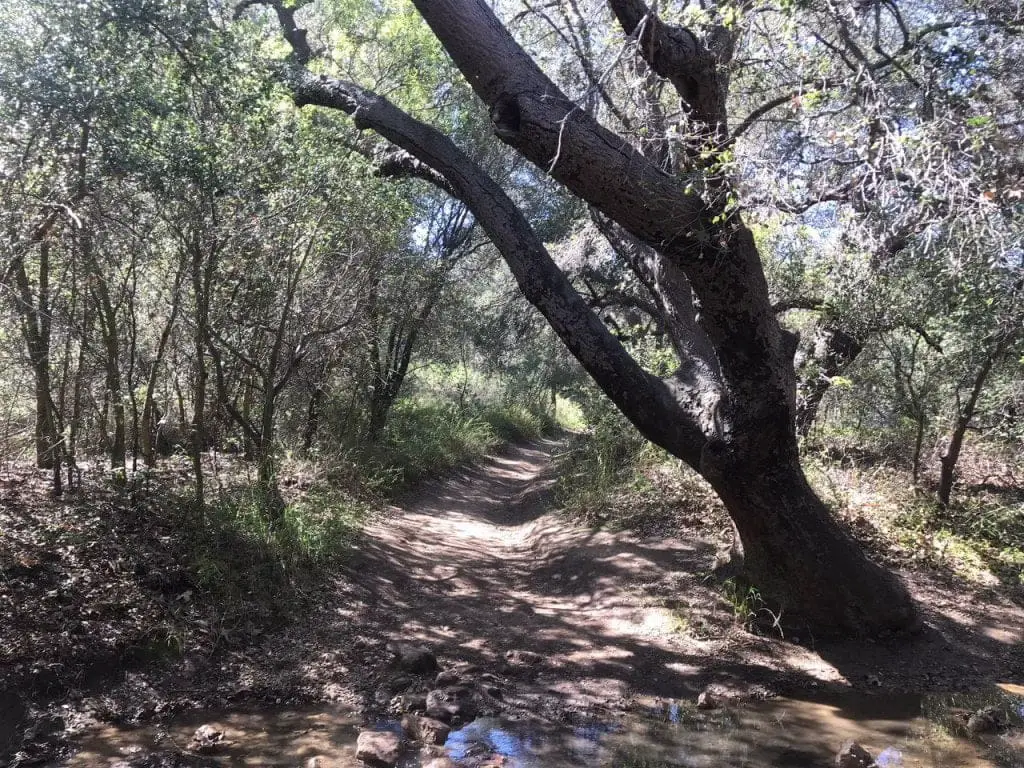
A wild dog has appeared (gotta catch em all…)
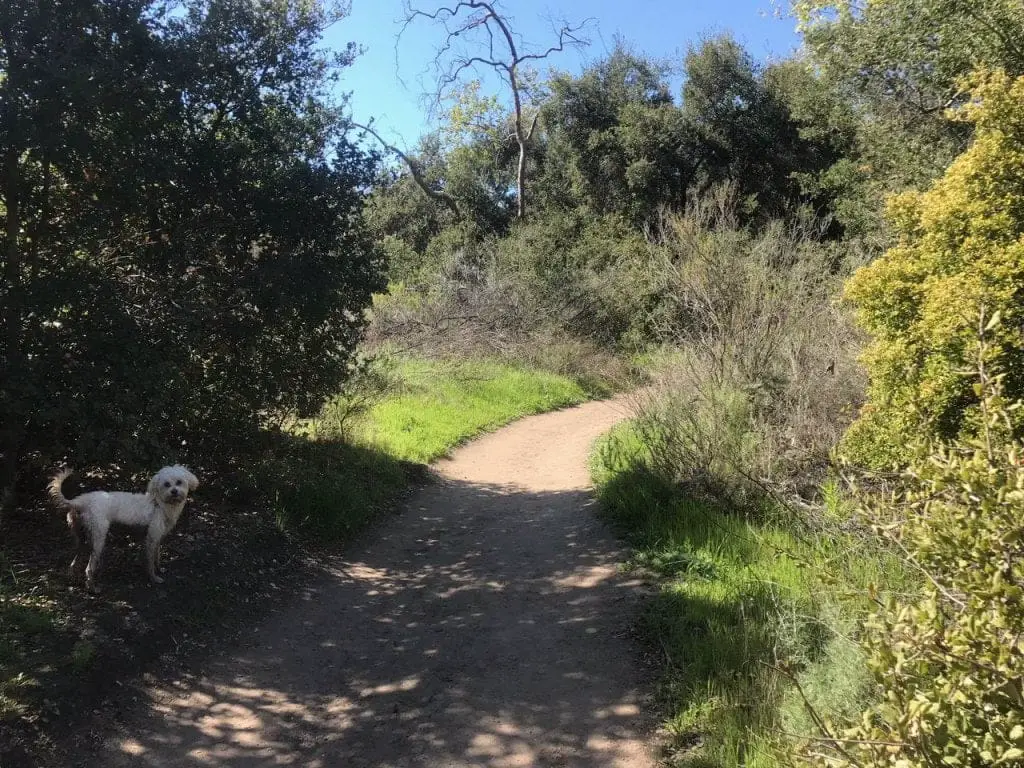
At this junction, you may turn either left or right; however, the waterfall is located to the right, so I suggest taking that direction.
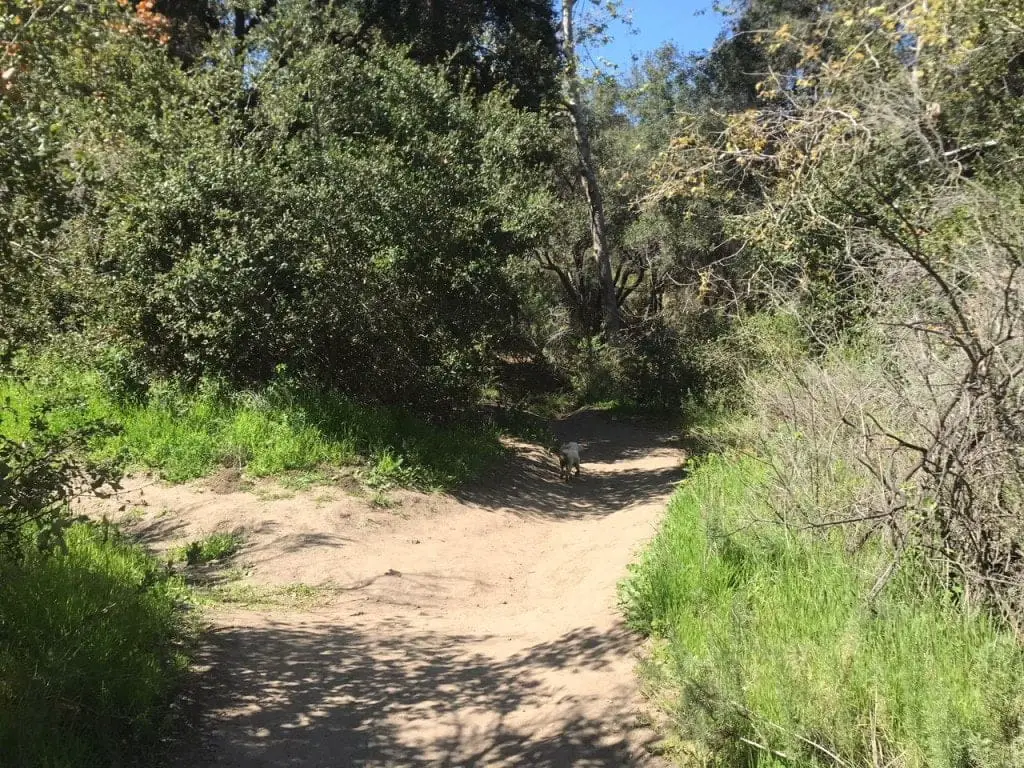
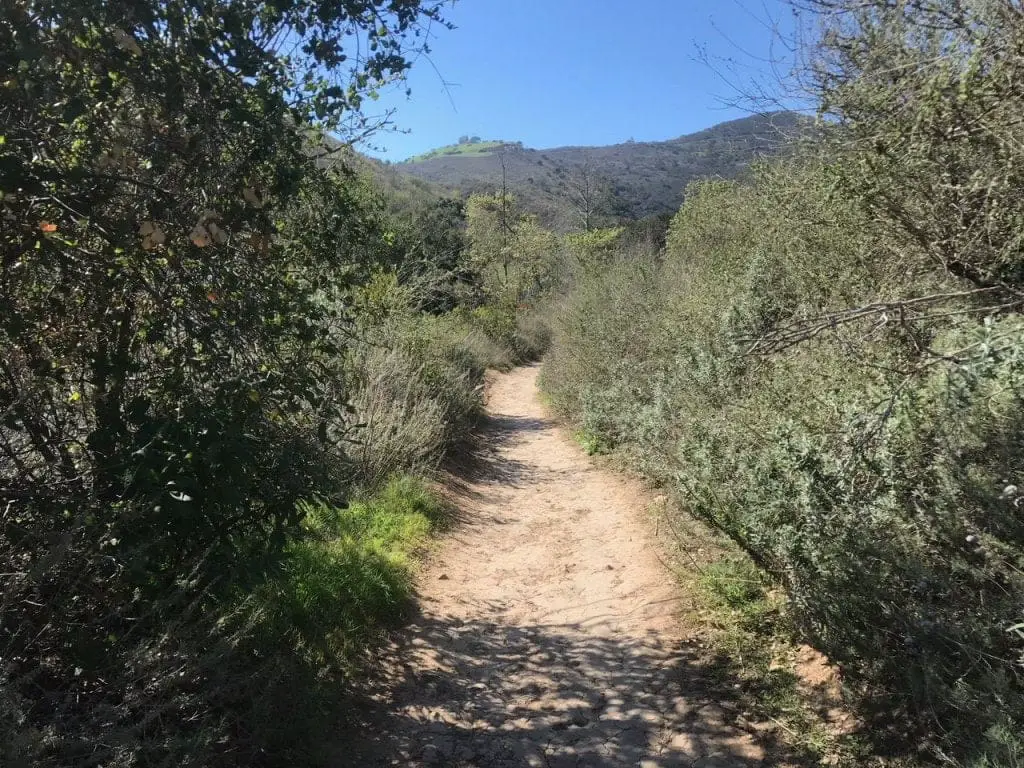
More Santa Monica Mountains towards the rear of the trail.
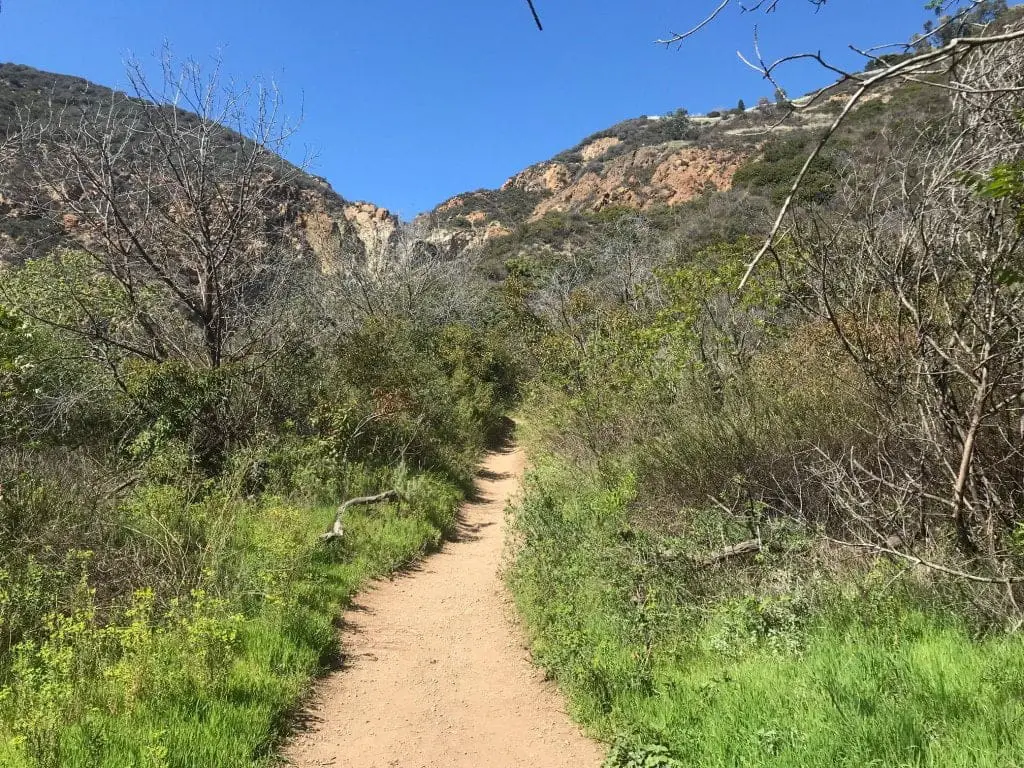
The scenery changes slightly from creepy forest to outdoor blissfulness.
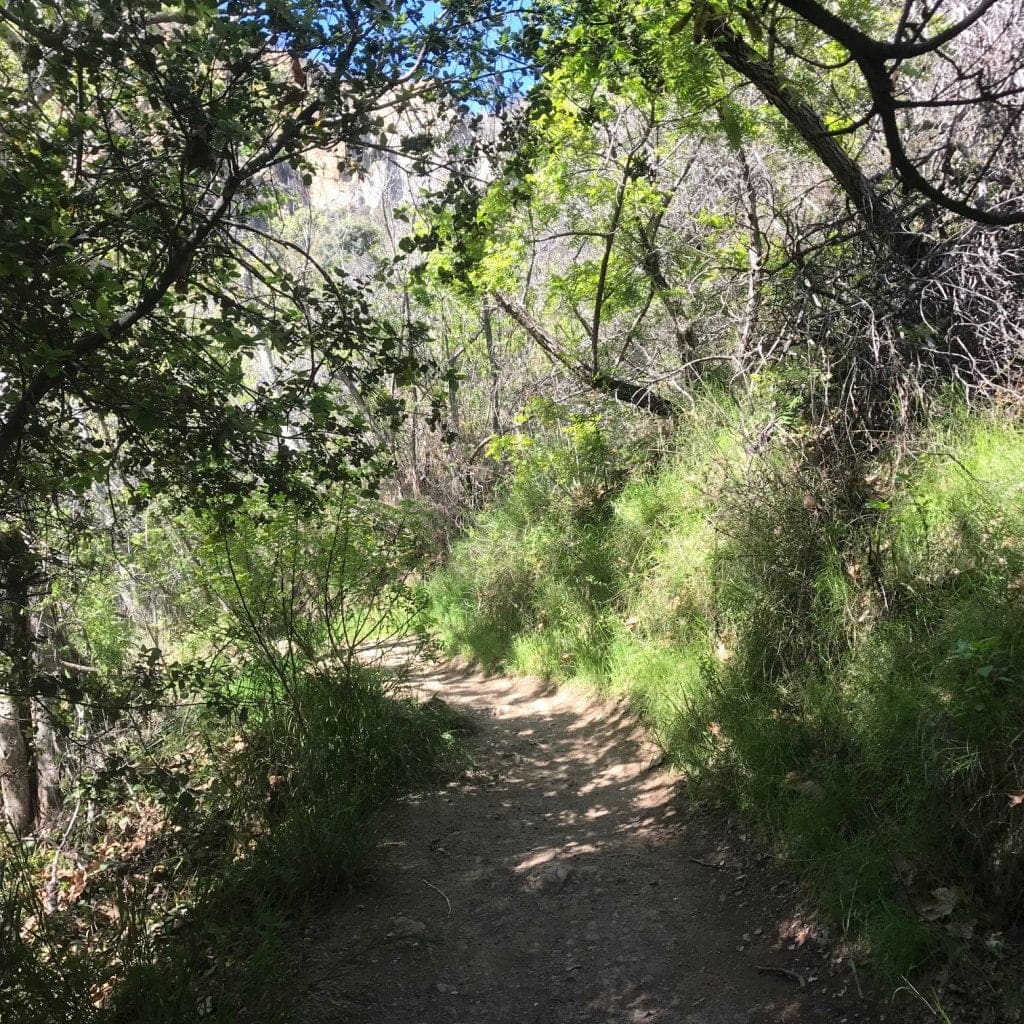
Back to the creepy forest.
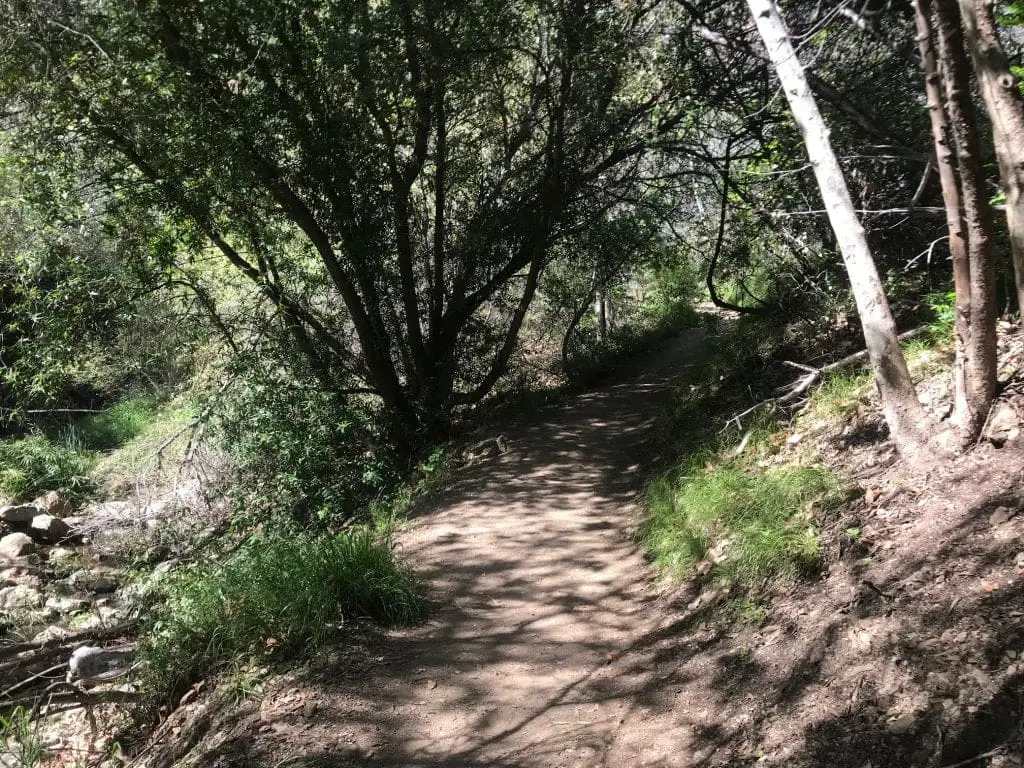
You’ll have to cross several more creeks to get to this point (great for those pearly white shoes).
Finally, you’ll reach the base of the waterfall, also known as Lower Escondido Falls.
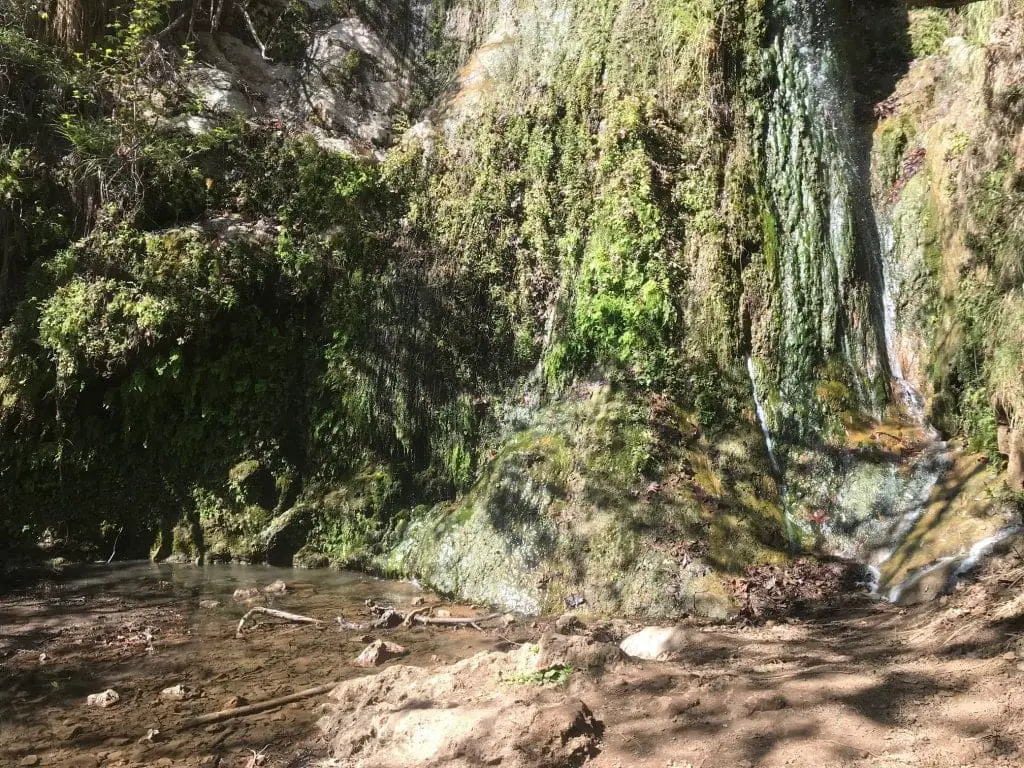
The dinky little waterfall in all of its fame and glory.
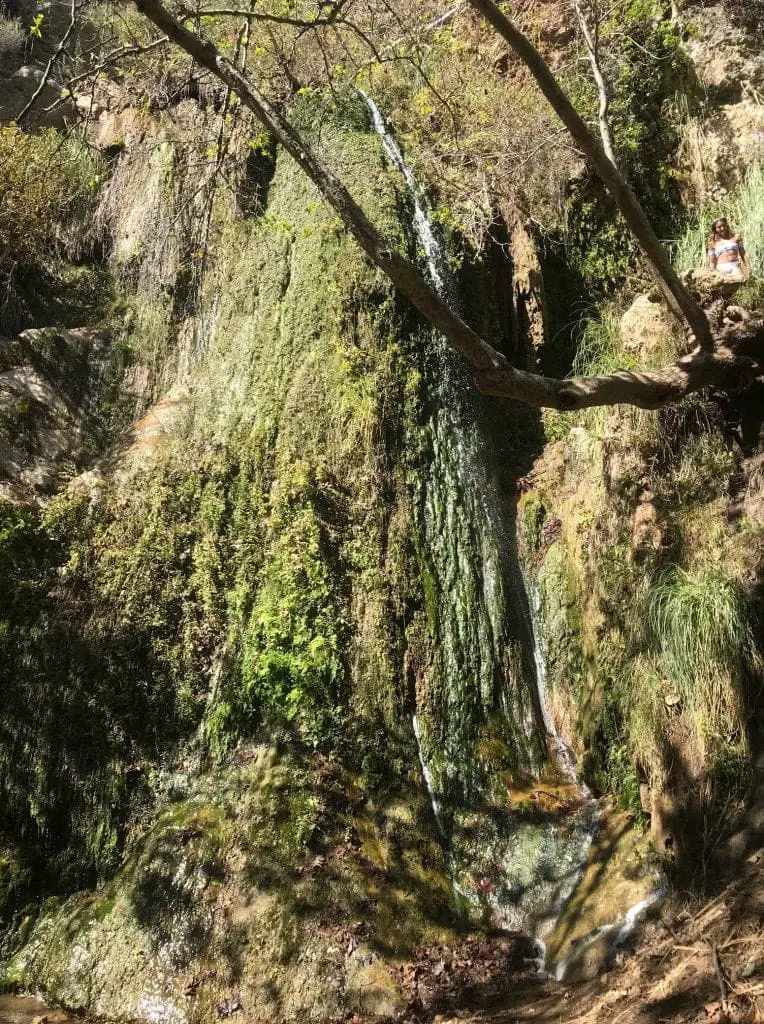
It wasn’t as waterfall-y as I expected (proper English right there) but it was still refreshing to see a waterfall among a knockoff version of the Amazon forest.
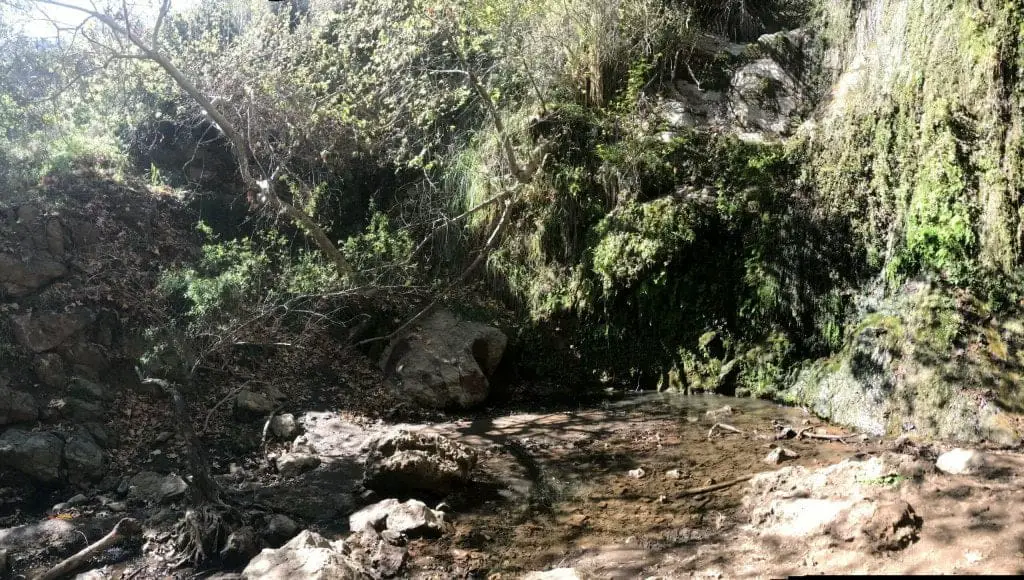
A large creek nearby.
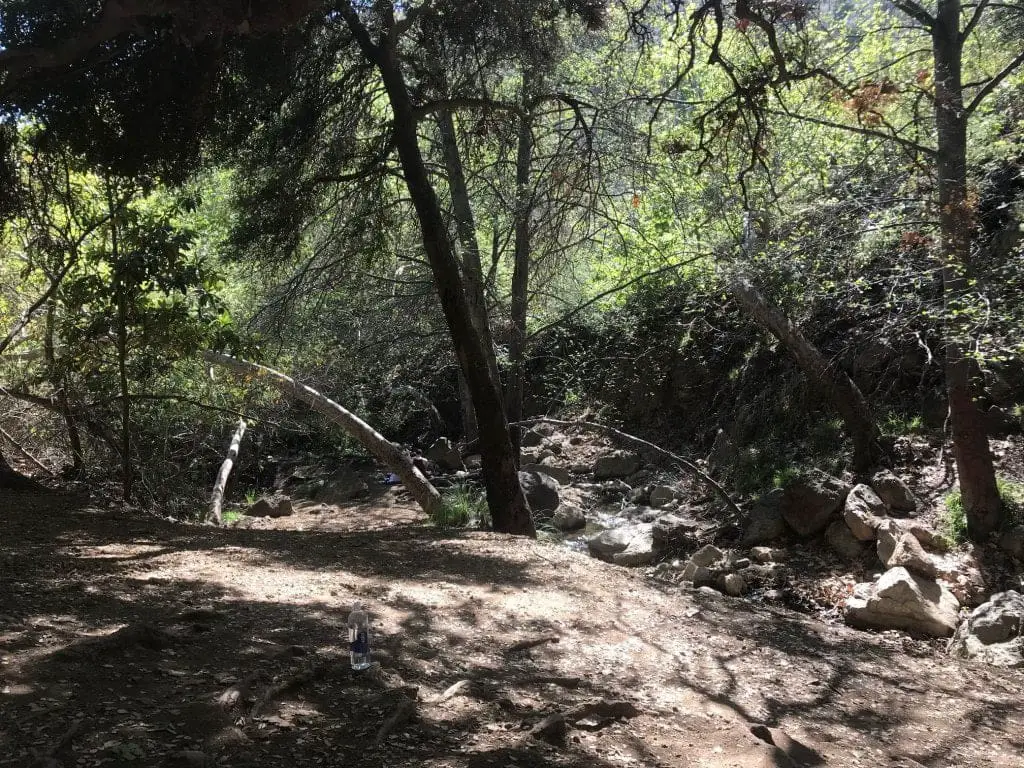
Be prepared to fight for selfies near Escondido Canyon Falls Trail, as you’ll bump into quite a few hikers and tourists.
After you take in the grand waterfall, it’s time to talk about the second half of the hike, where the trail takes a 180° turn in difficulty.
Enter the Upper Escondido Falls.
Part 3: Rock Climbing to Upper Escondido Falls
I should probably put in a warning regarding this part of the hike:
Warning: Rock climbing amongst semi-sharp rocks and steep hills will be involved. Climb at your own risk.
The area is technically fenced off, but as we all know, that doesn’t stop hikers from tearing down the fence and tying their own ropes to trees as climbing aids.
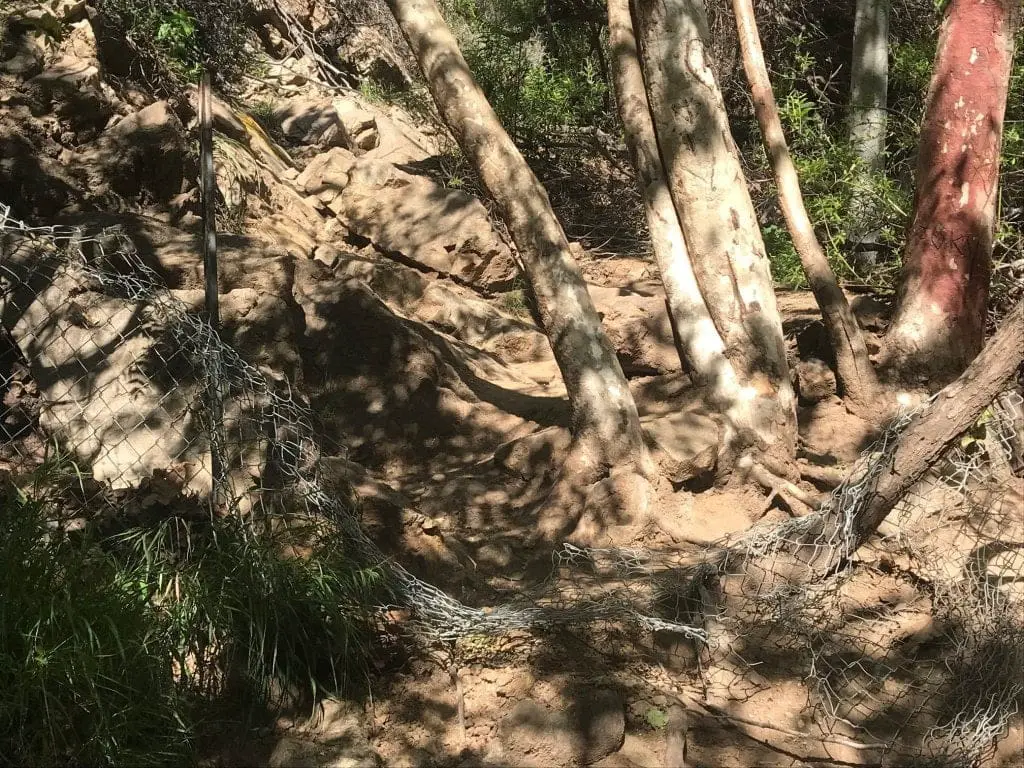
You can either steer right toward the fence or climb up toward the left (near the waterfall).
I opted for climbing near the waterfall.
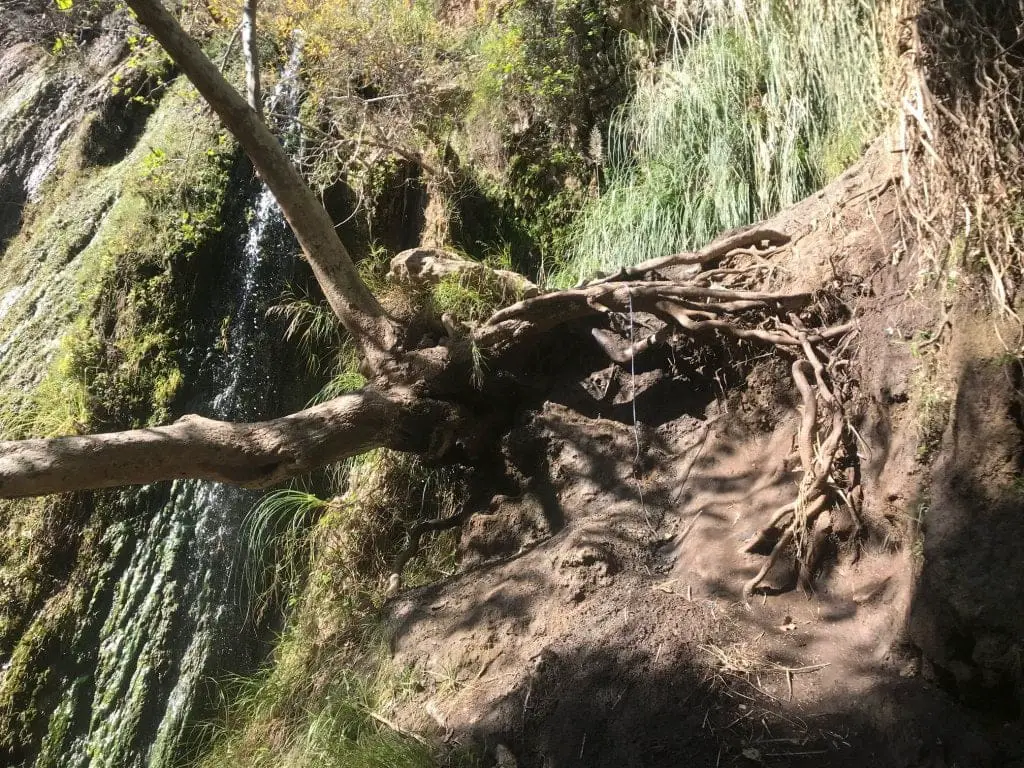
Here, you can either use the given rope or climb up using the tree branches at the base of the hill.
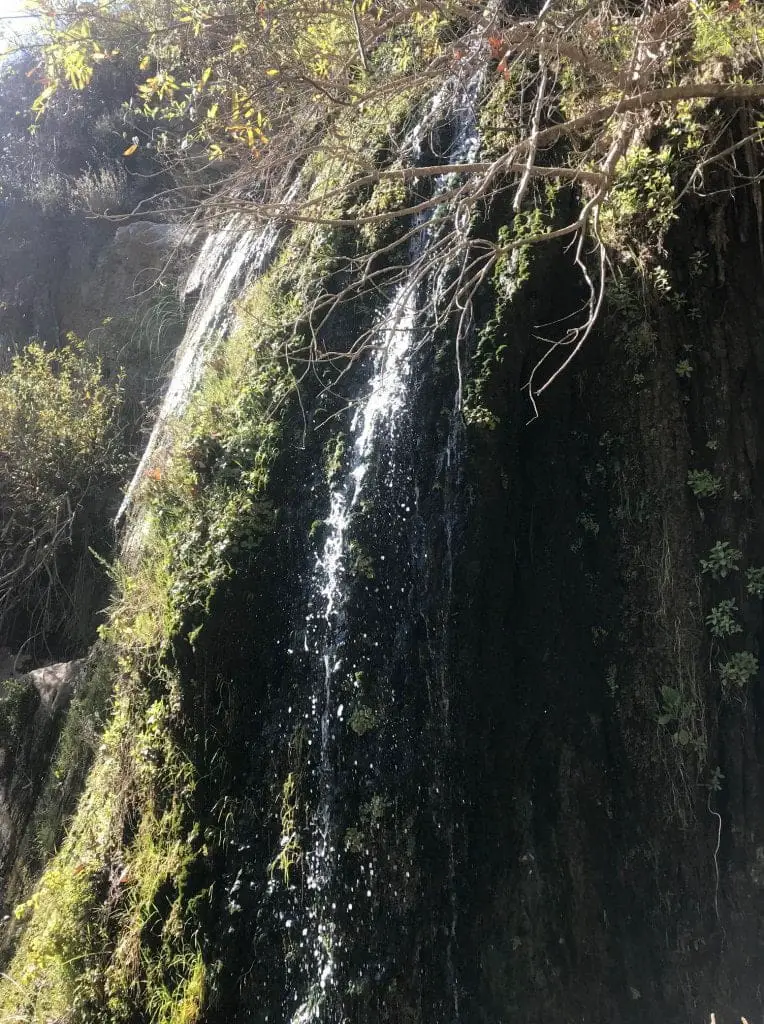
Close up of the “massive” waterfall.
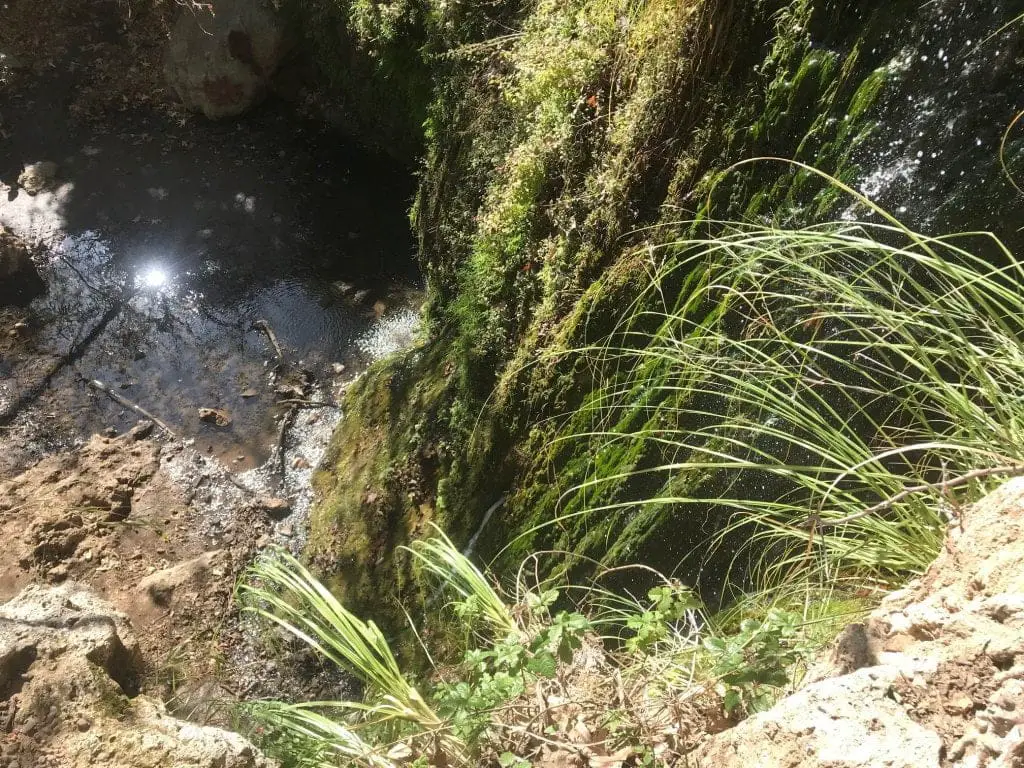
The drop below.
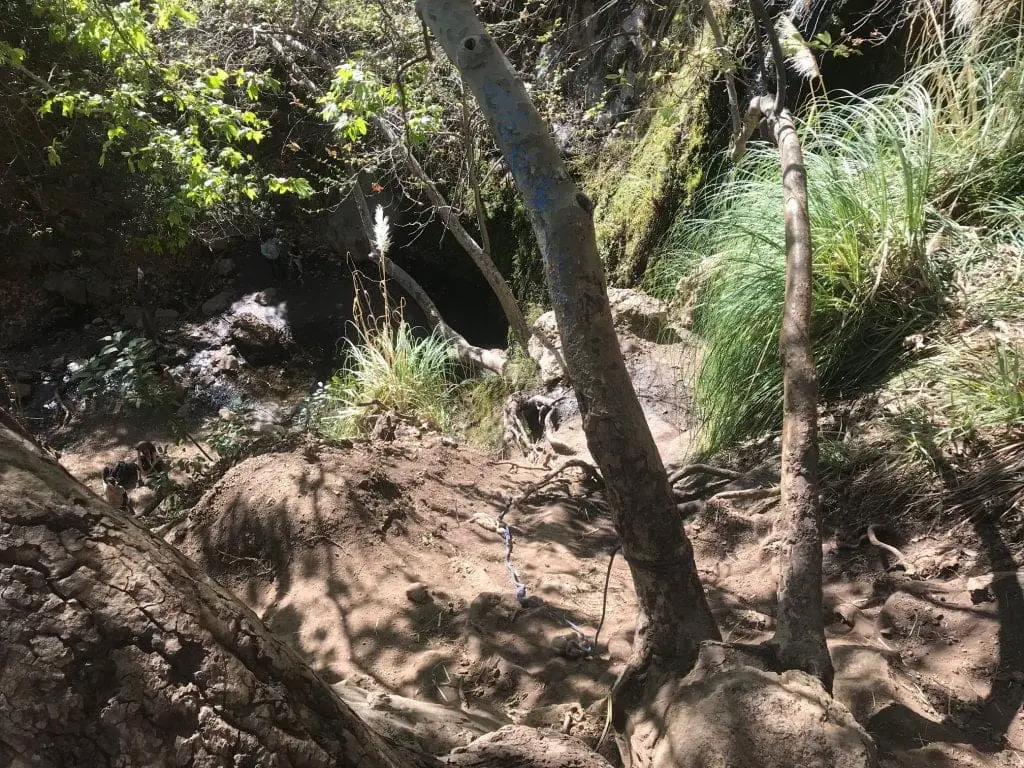
Be prepared to go higher…way higher.
This is Nino, who appears to be ecstatic about rock climbing.
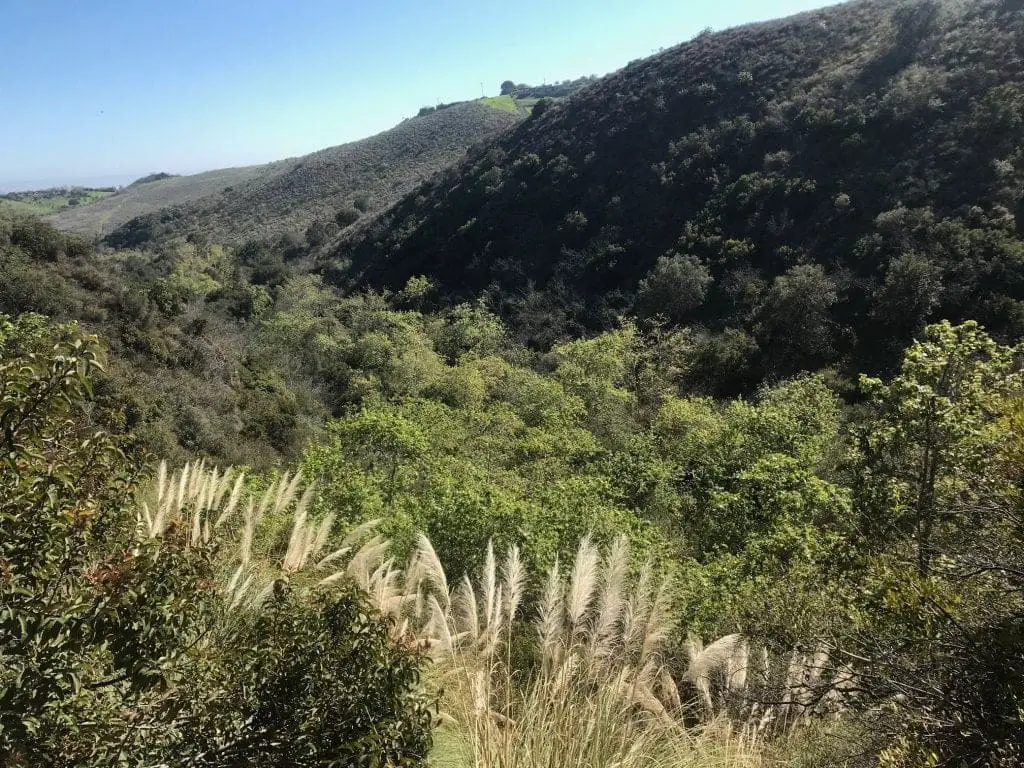
About a quarter of the way through this part of the hike. I don’t think I need to mention how gorgeous the views are.
You’ll hit a life-changing decision, which involves forking either left or right.
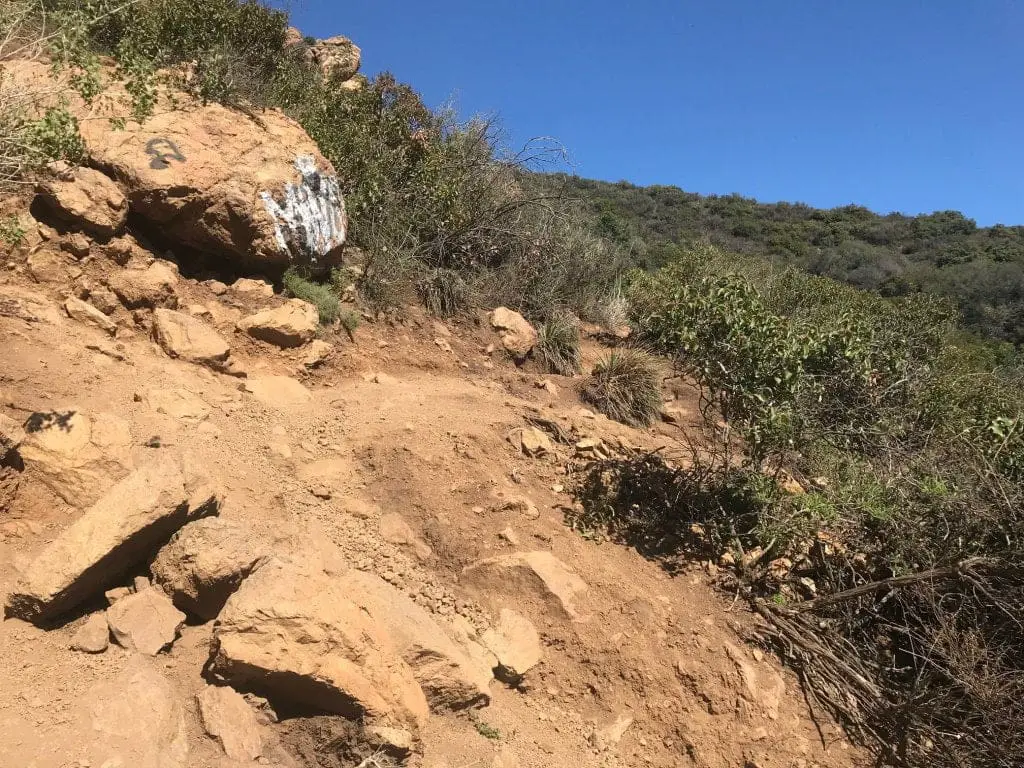
To the right: a steep hill sans rocks to grab on to that leads to nowhere.
To the left: More rock climbing that leads to the base of the second waterfall.
Yeah, go left.
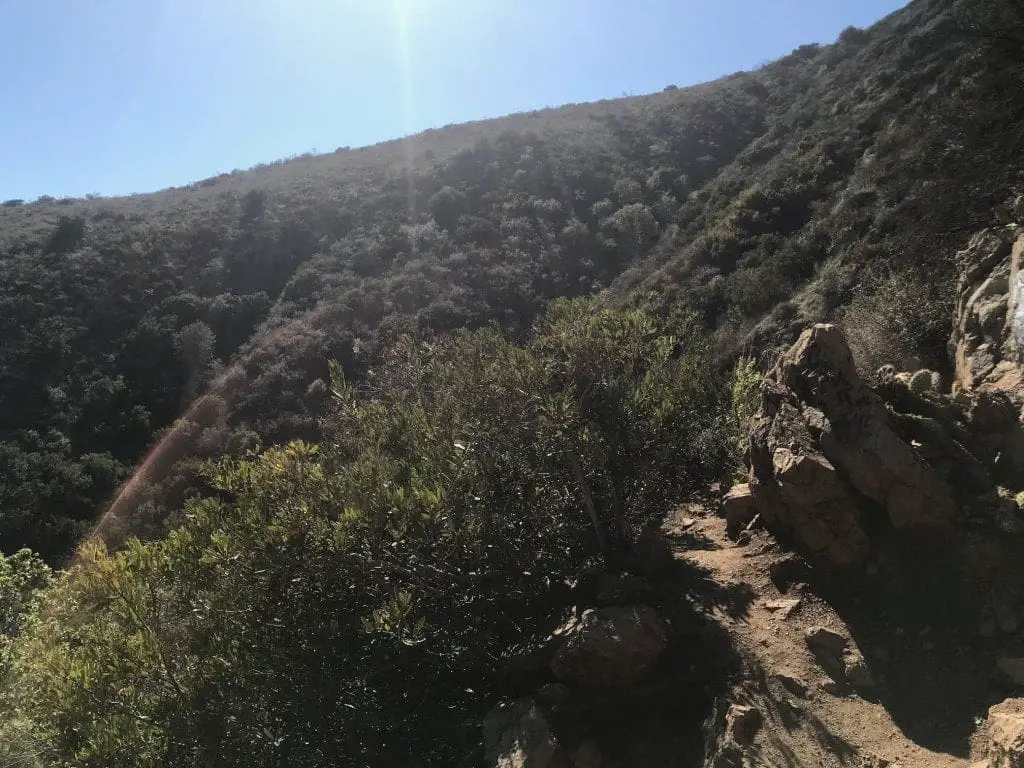
Another nice part about this hike is that hardly anybody was up here. It’s a nice escape from tourists and humanity.
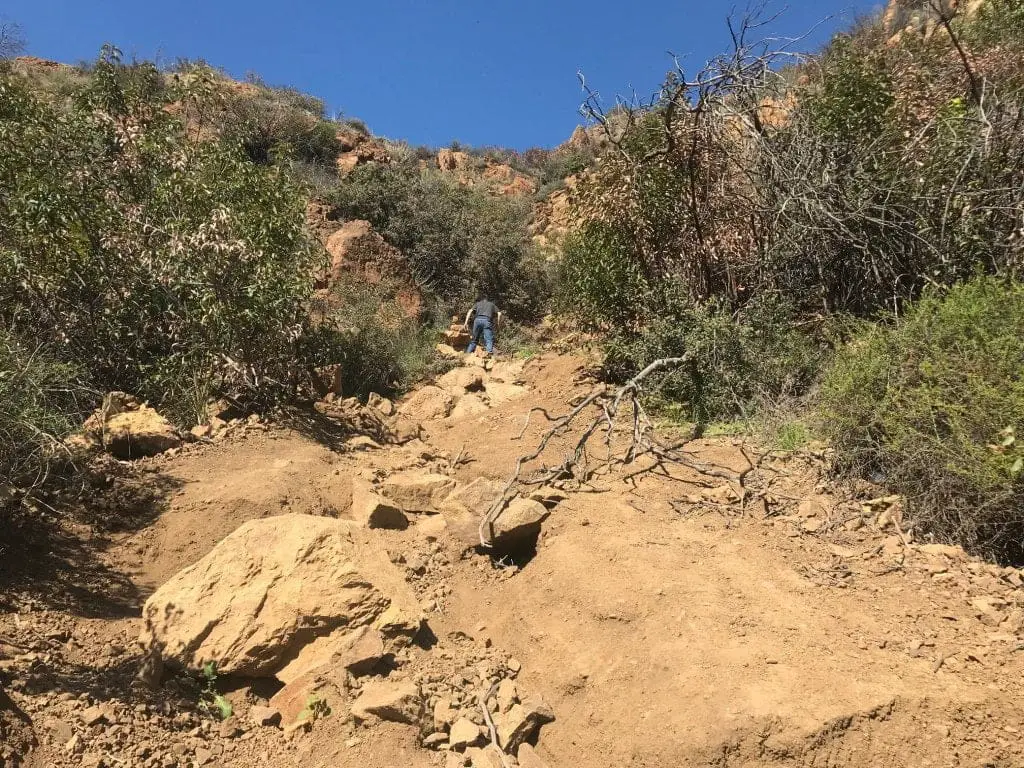
About halfway up, where you can (kind of, sort of) see the waterfall in the distance.
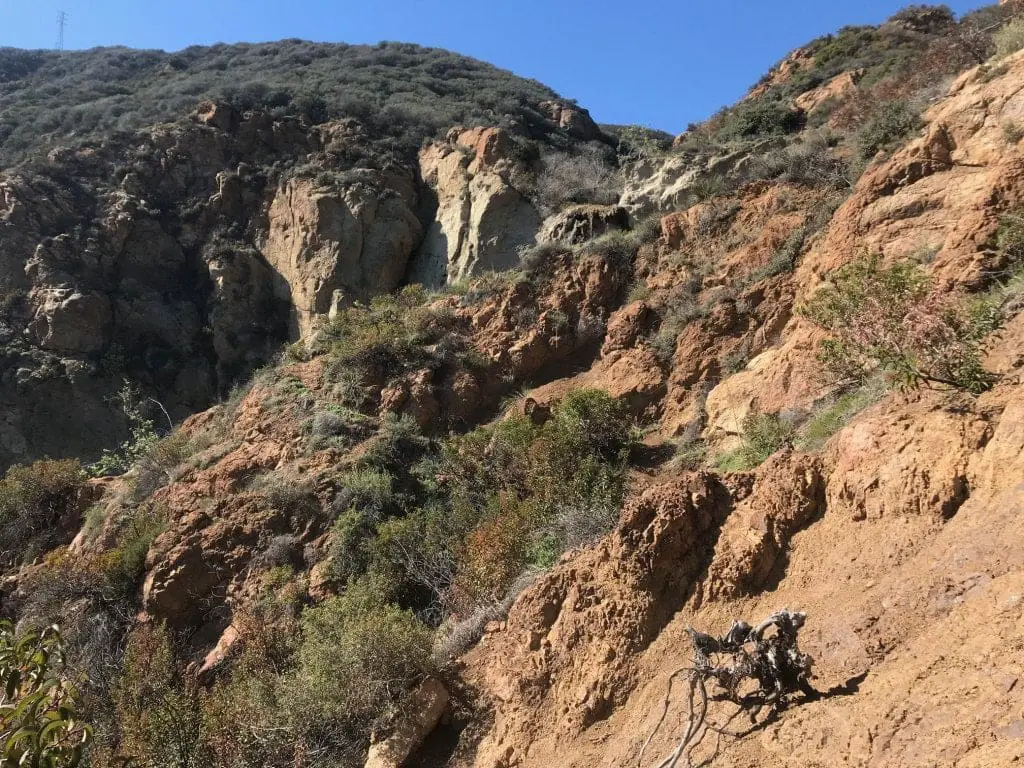
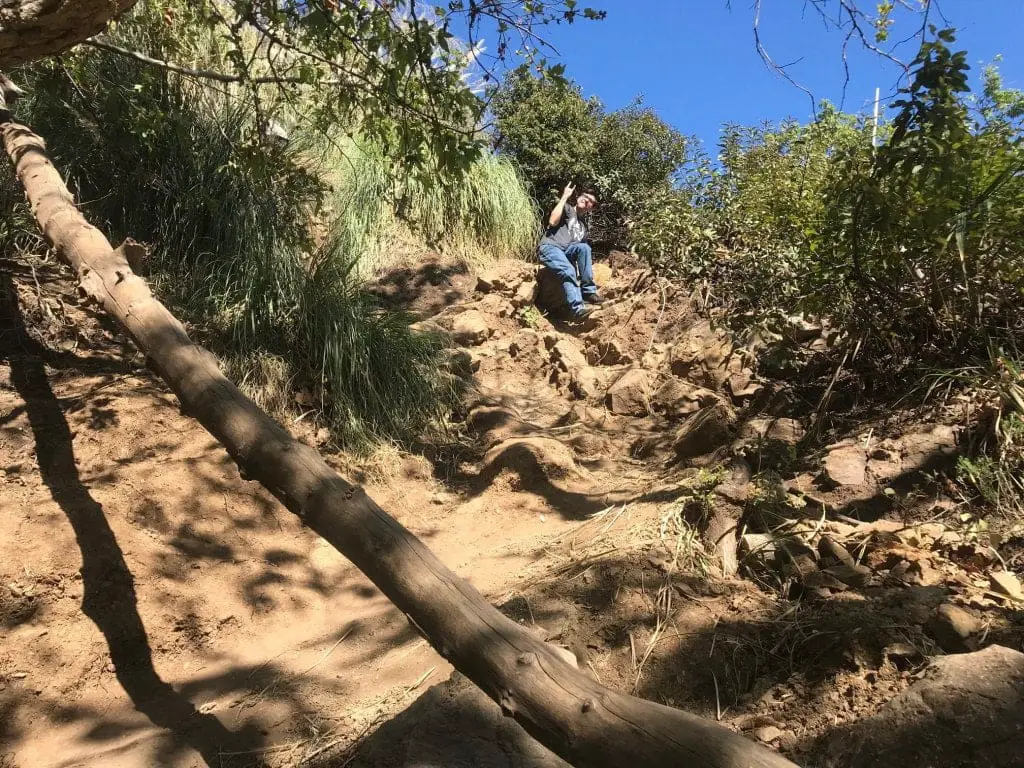
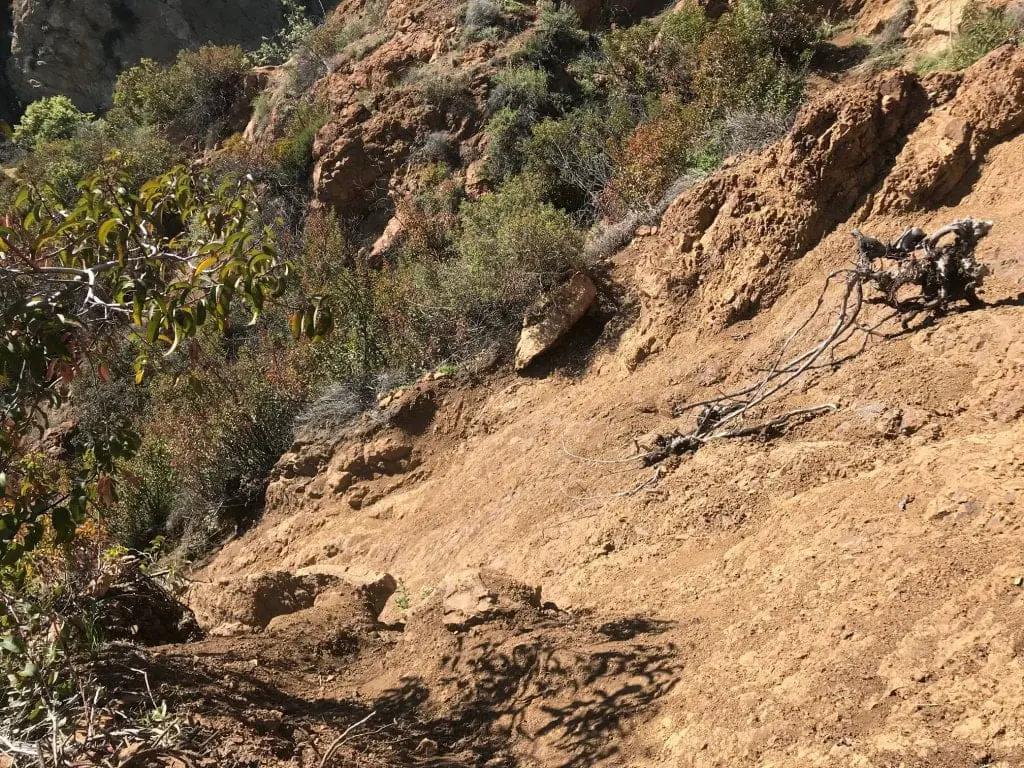
So initially, Nino and I forked right when we were supposed to go left. Now look at the steep descent we had to slide down.
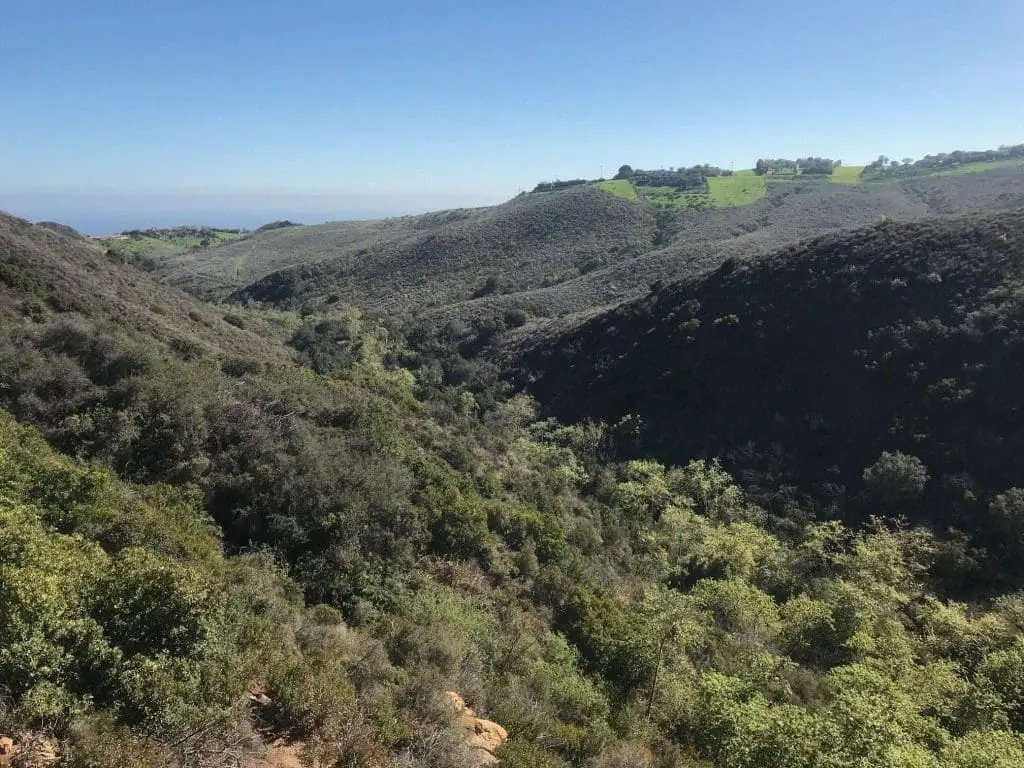
View from higher up, where you can see the Pacific Ocean in the distance.
You could theoretically rock climb this, but it’s in the opposite direction of the waterfall.
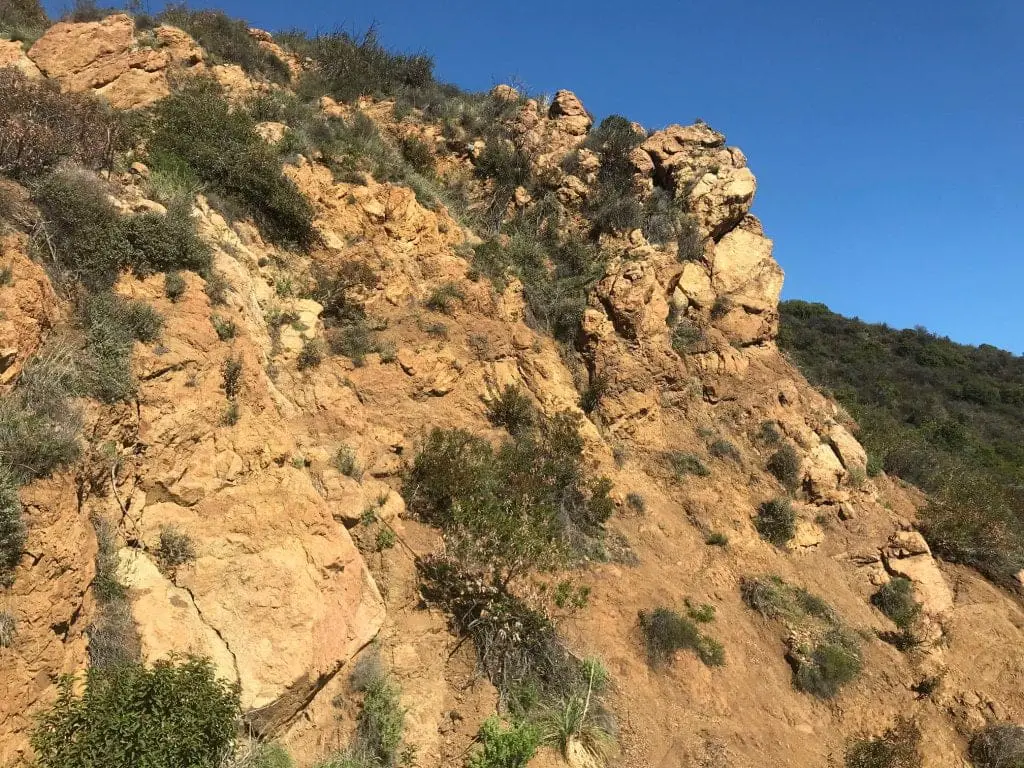
Fork to the left one more time to reach a steep descent (it will lead directly to the waterfall).
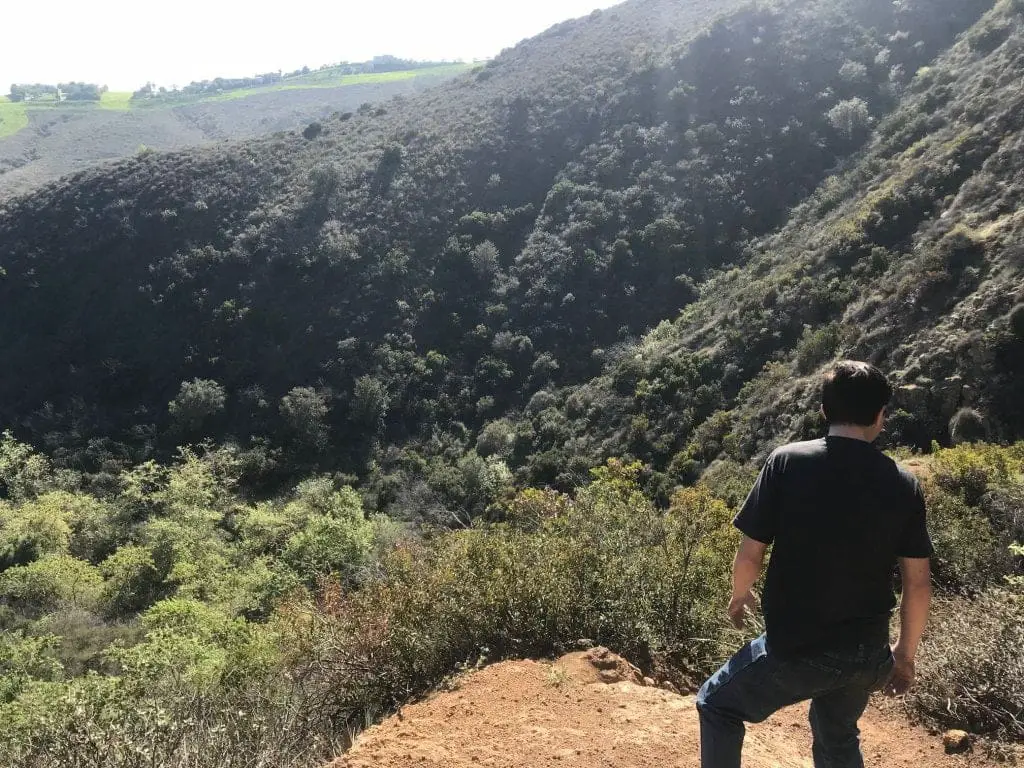
Before heading this way, I climb up just a little bit more (in an attempt to check out any trails that lead directly to the top of the waterfall) but alas, I only came upon this sign:
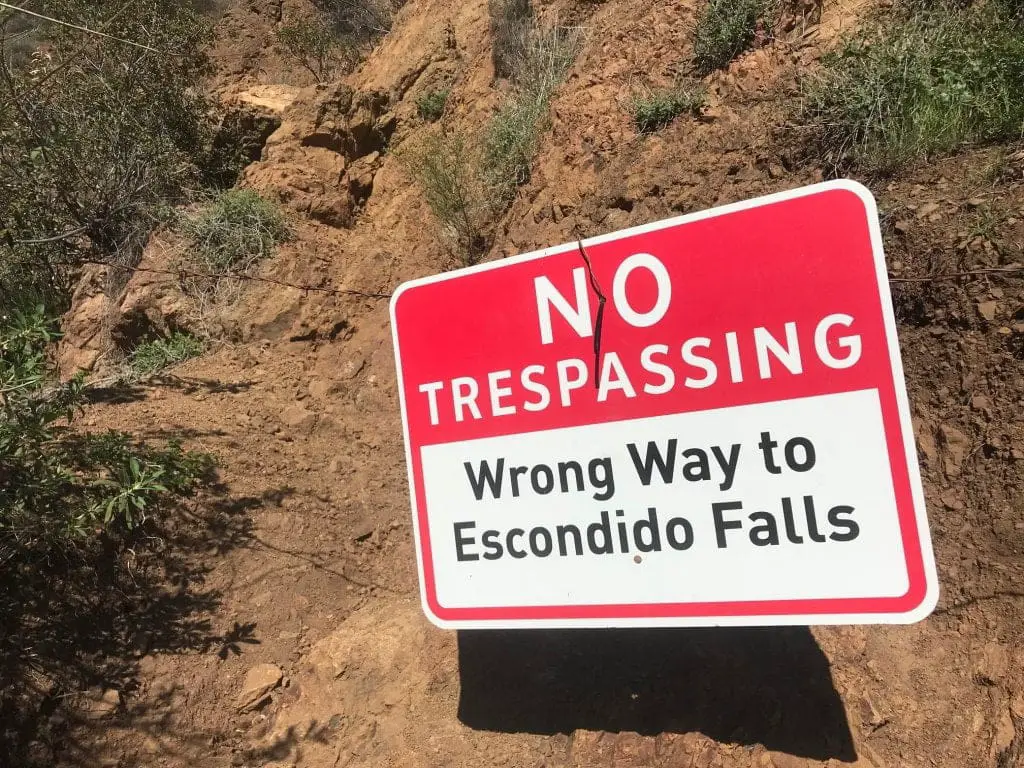
I didn’t feel like potentially getting caught and thrown in jail, so I behaved myself and turned around like a good hiker.
View of the falls from the trespassing sign.
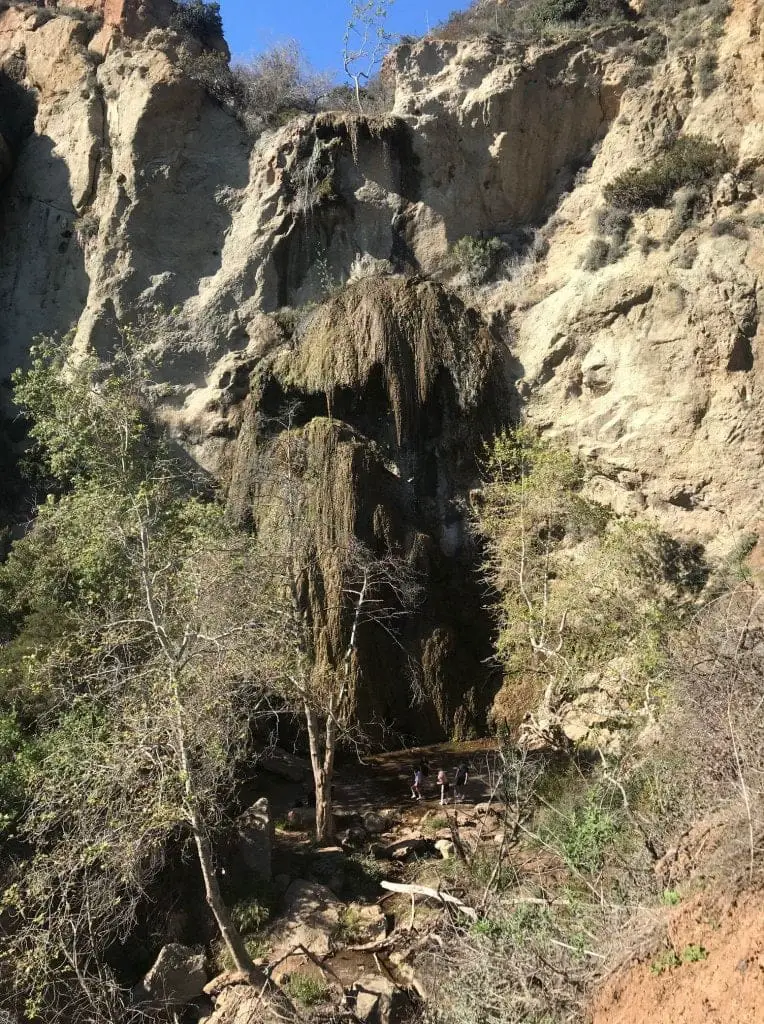
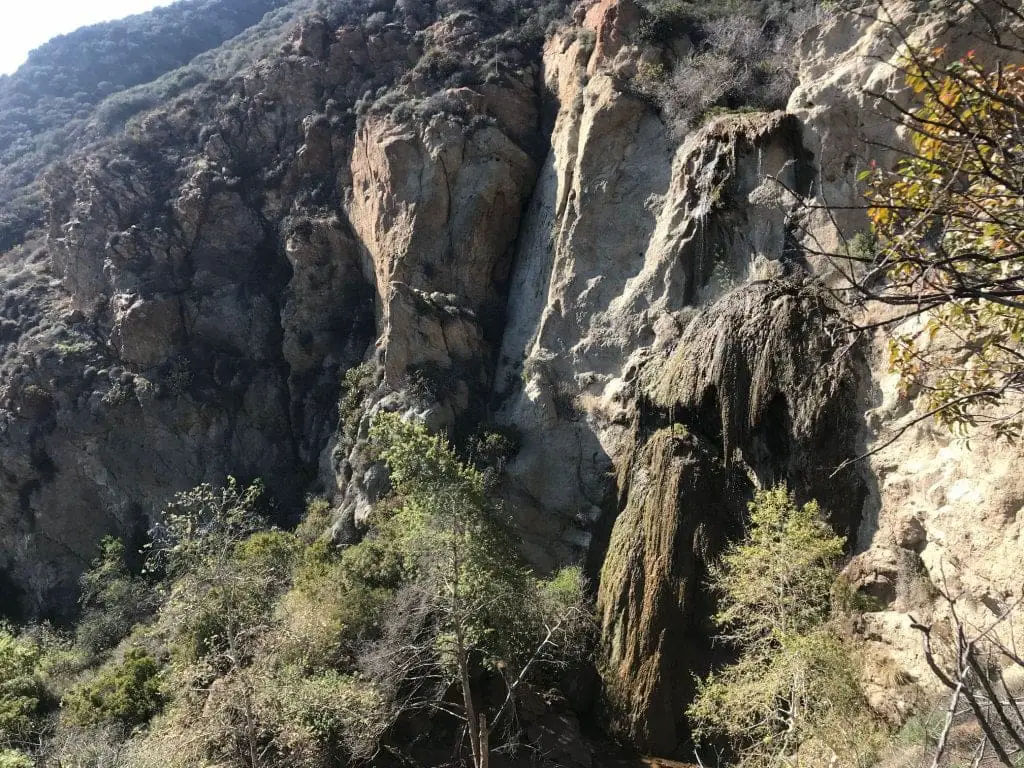
Some of the rock climbing you’ll have to do.
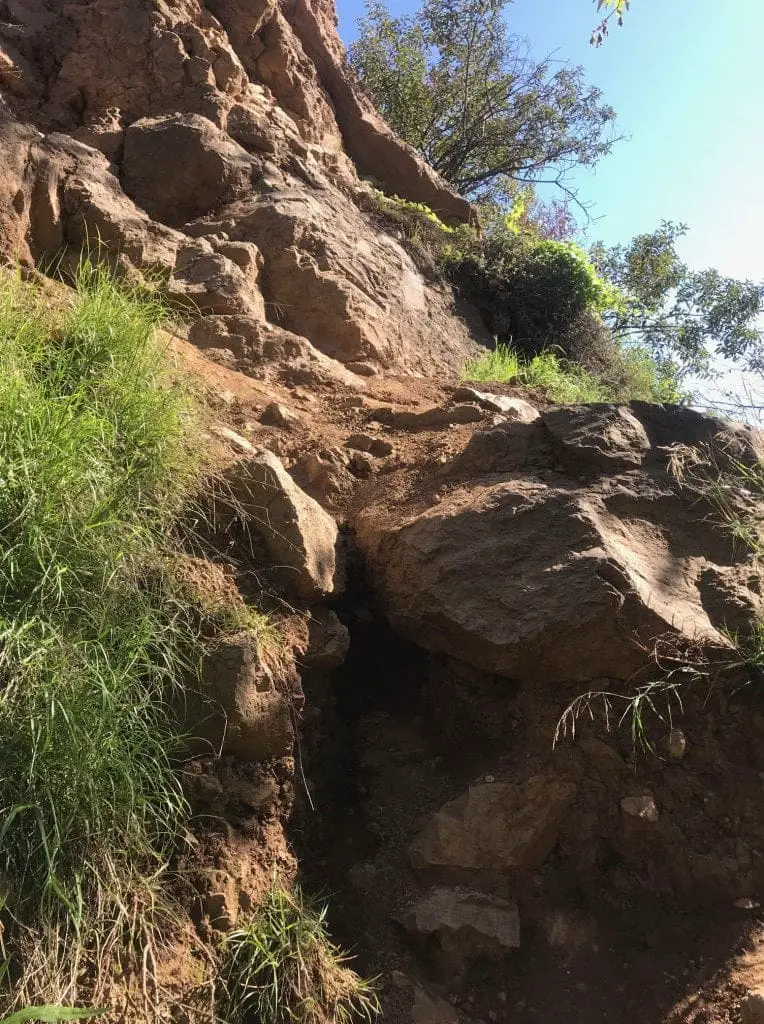
Finally, we reach the base of the Upper Escondido Falls, which is equally as dinky in terms of water output.
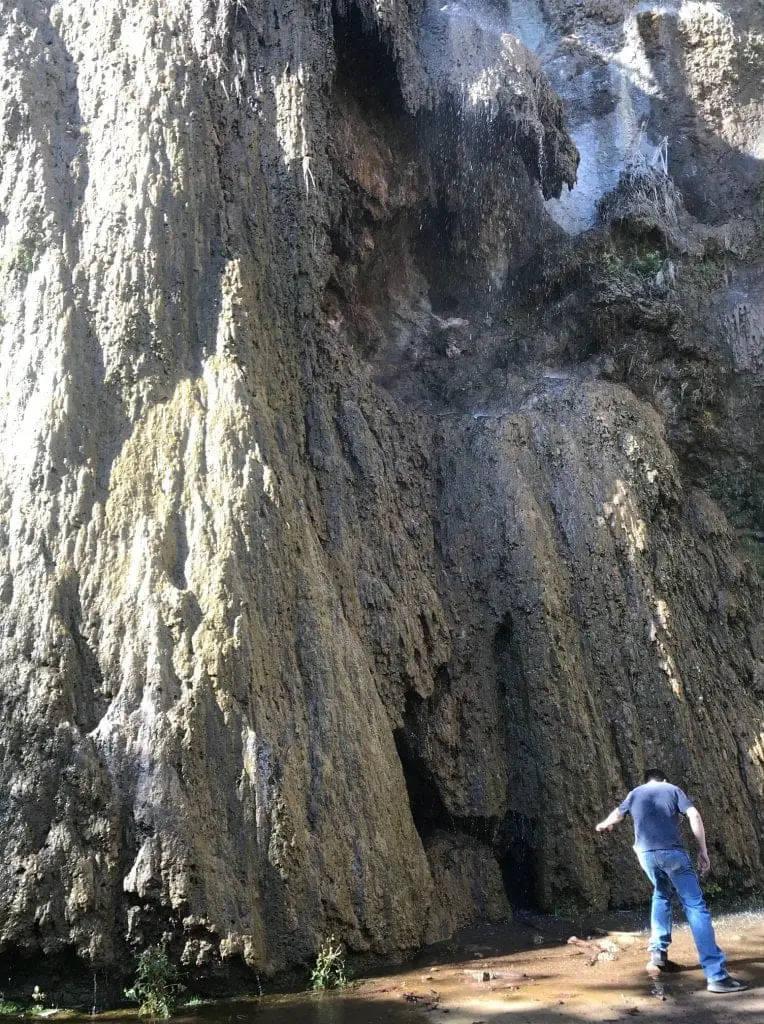
Close up of the upper part of the waterfall.
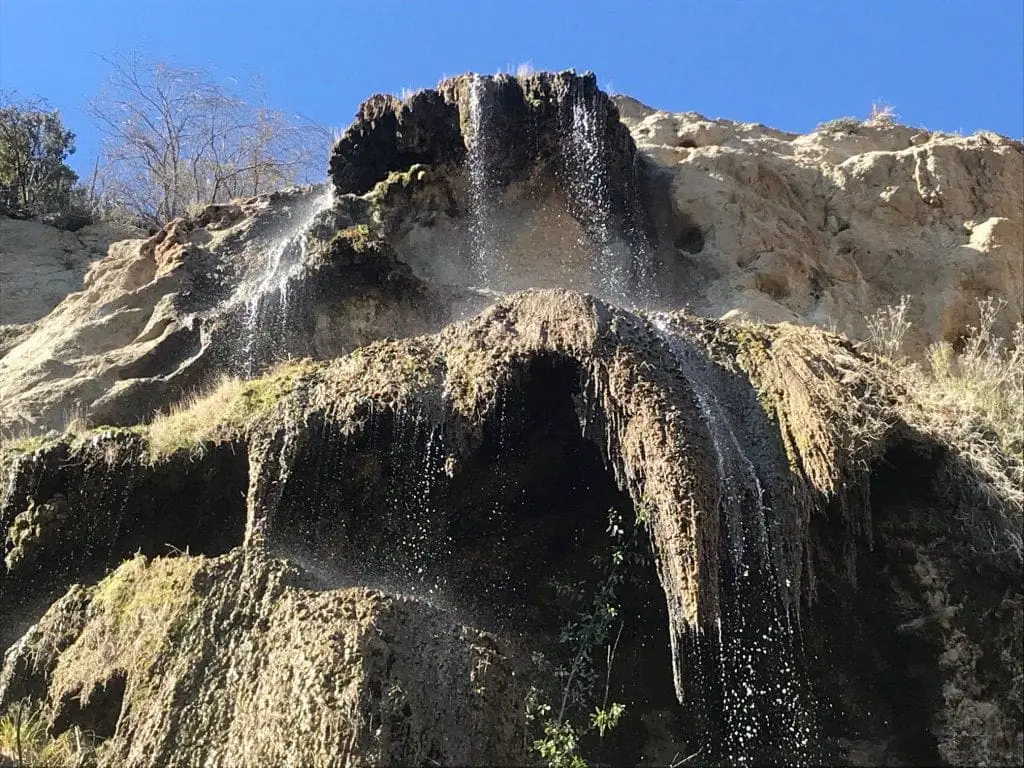
The best part of this hike? Standing directly underneath the waterfall. The refreshing feeling of cool water after a strenuous hike is akin to dancing in the rain.
The mountain range beyond the waterfall, near the trespassing sign.
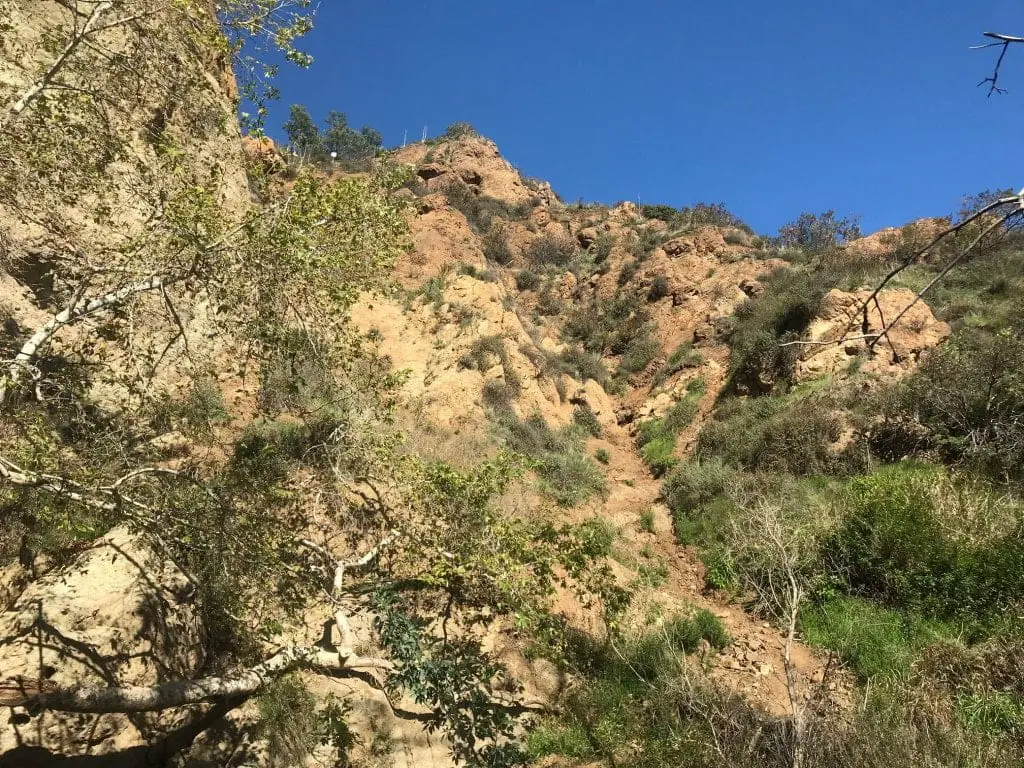
The water level was more or less the same as the Lower Escondido Falls, albeit maybe a little bit better (probably also because of the rock climbing that was involved to get up to this point).
Part 4: Time to head back
Nino and I turn around to head back toward the base of the first waterfall.
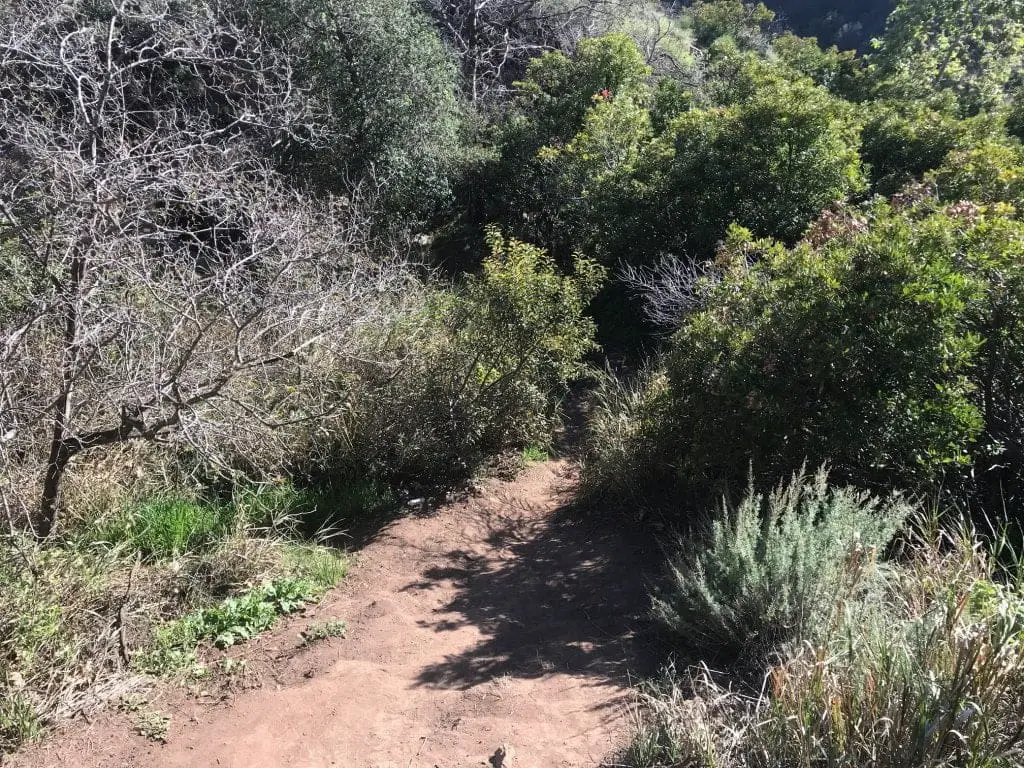
We decided to fork right this time and head a different way, which involved rock climbing through a large creek.
Eventually, we come across another (mini) waterfall.
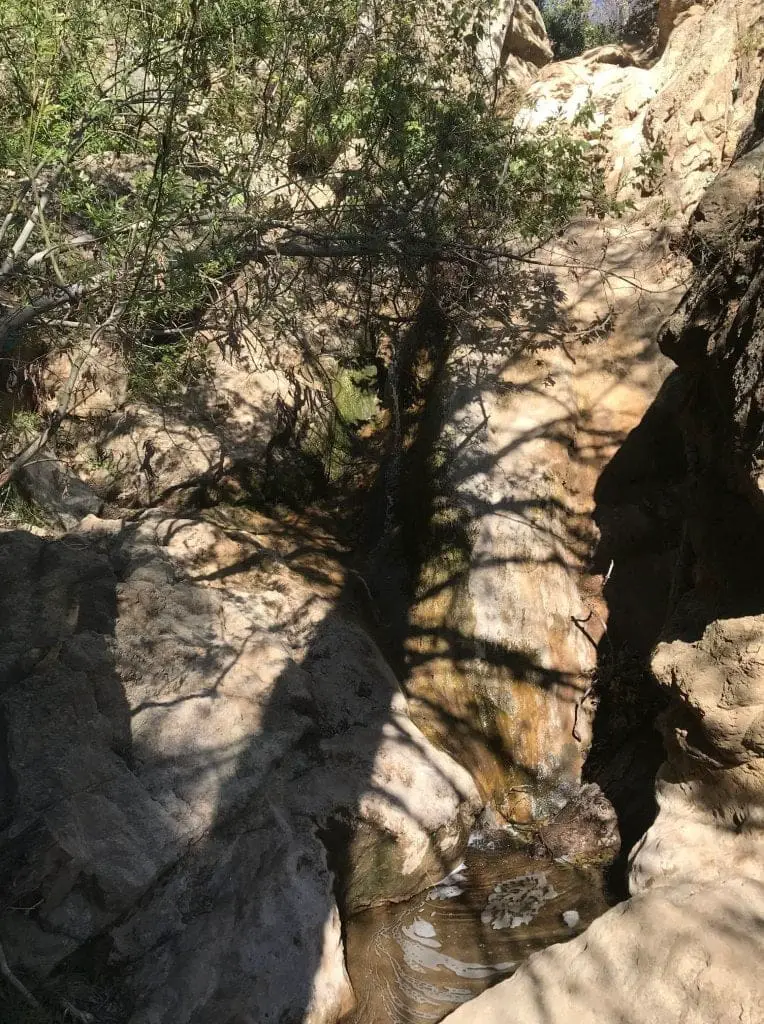
Past the waterfall lay a trail that led straight to the rock climbing route we had initially set out on.
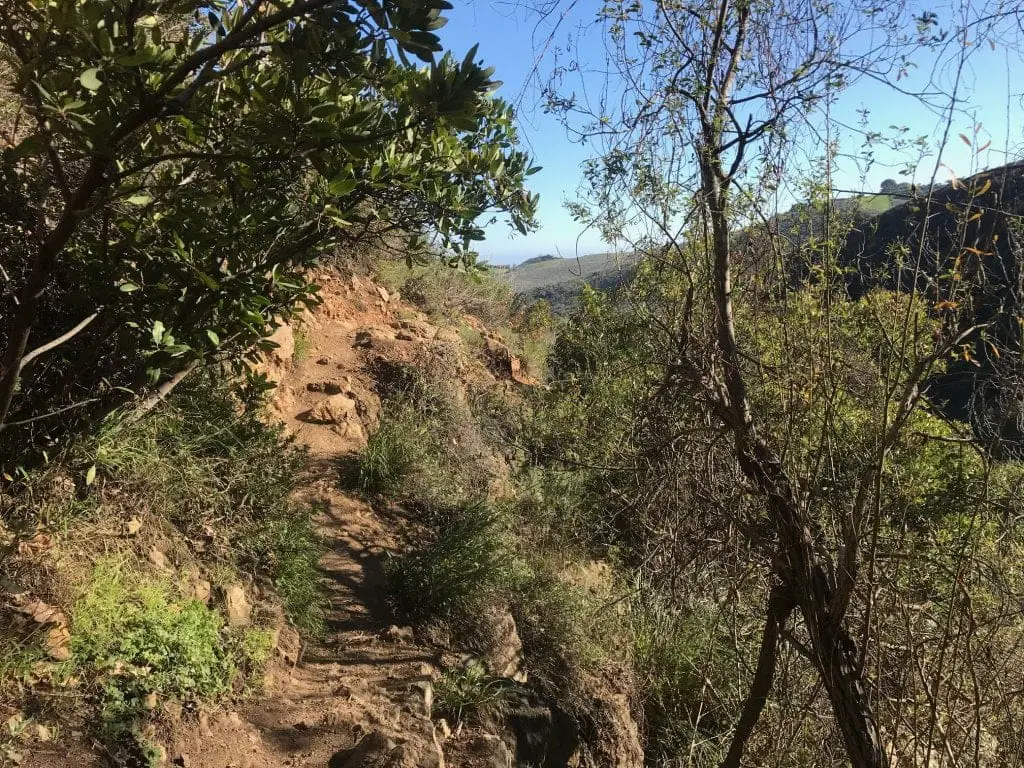
We backtrack all the way down toward the base of the Lower Escondido Falls, where some rope usage may be required to descend past some large rocks.
Here, Nino (sort of) demonstrates using rope to climb down toward the base of the waterfall.
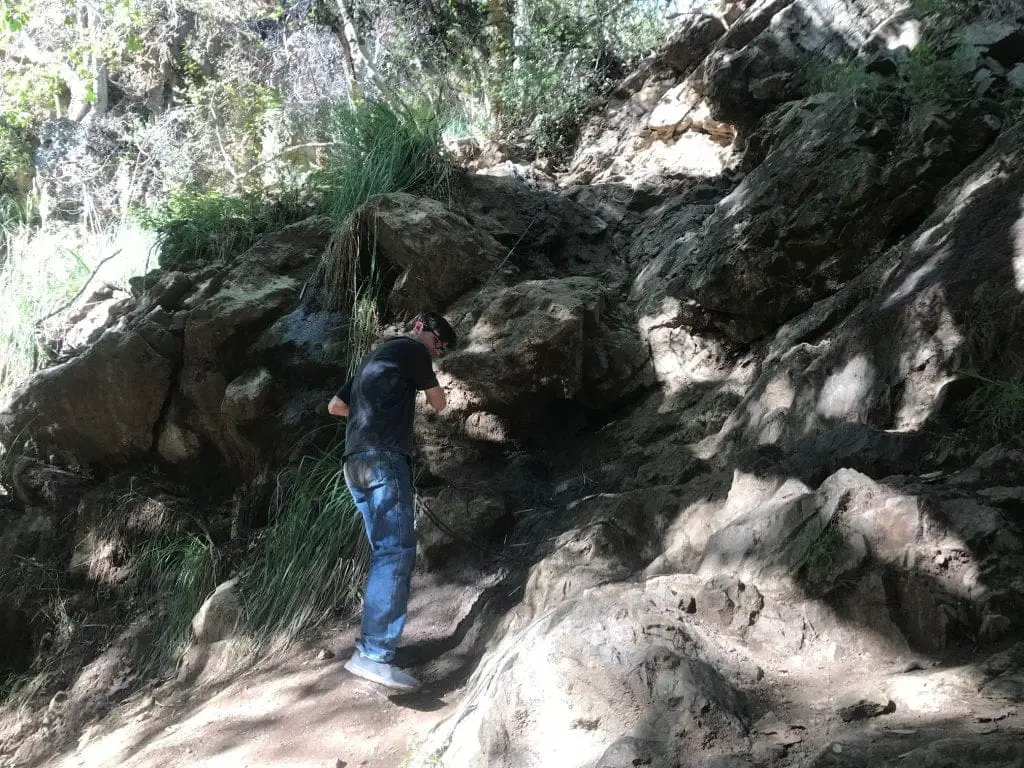
We head back on the trail as the sun begins to set beyond the mountains.
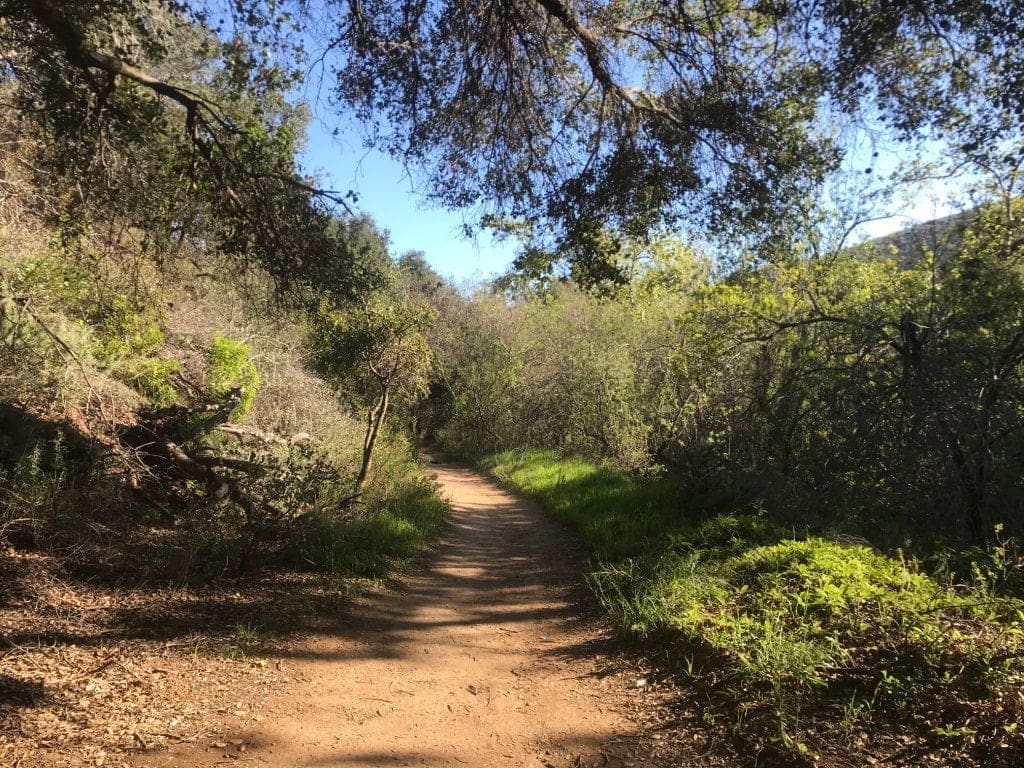
More creek crossing is required.
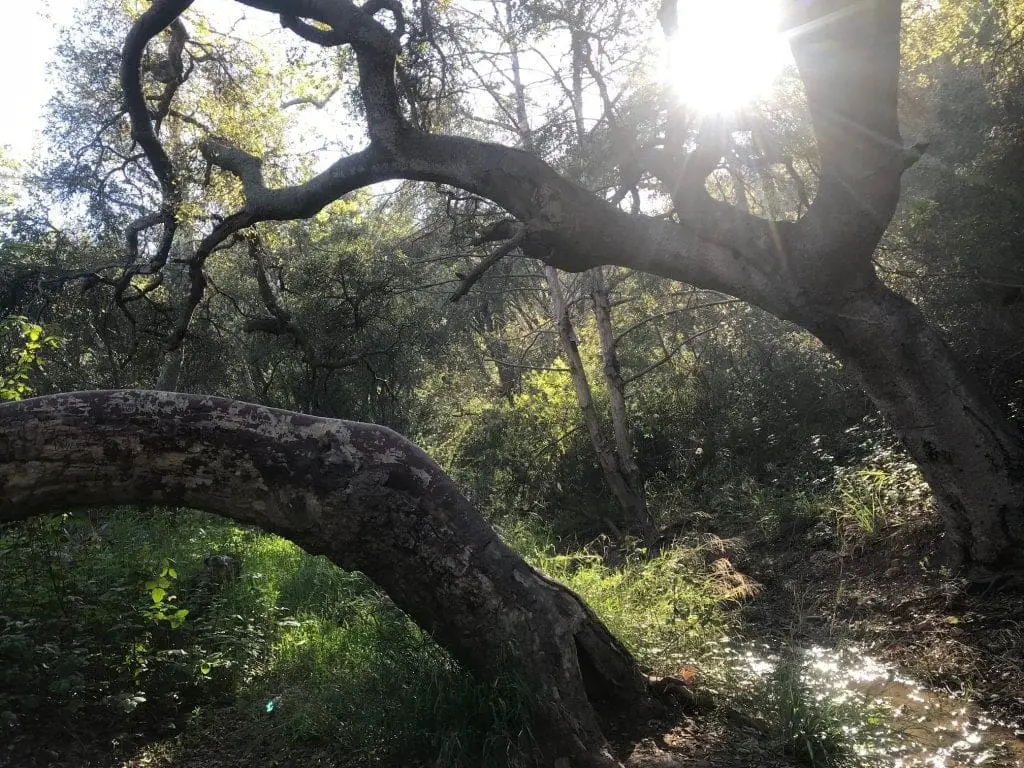
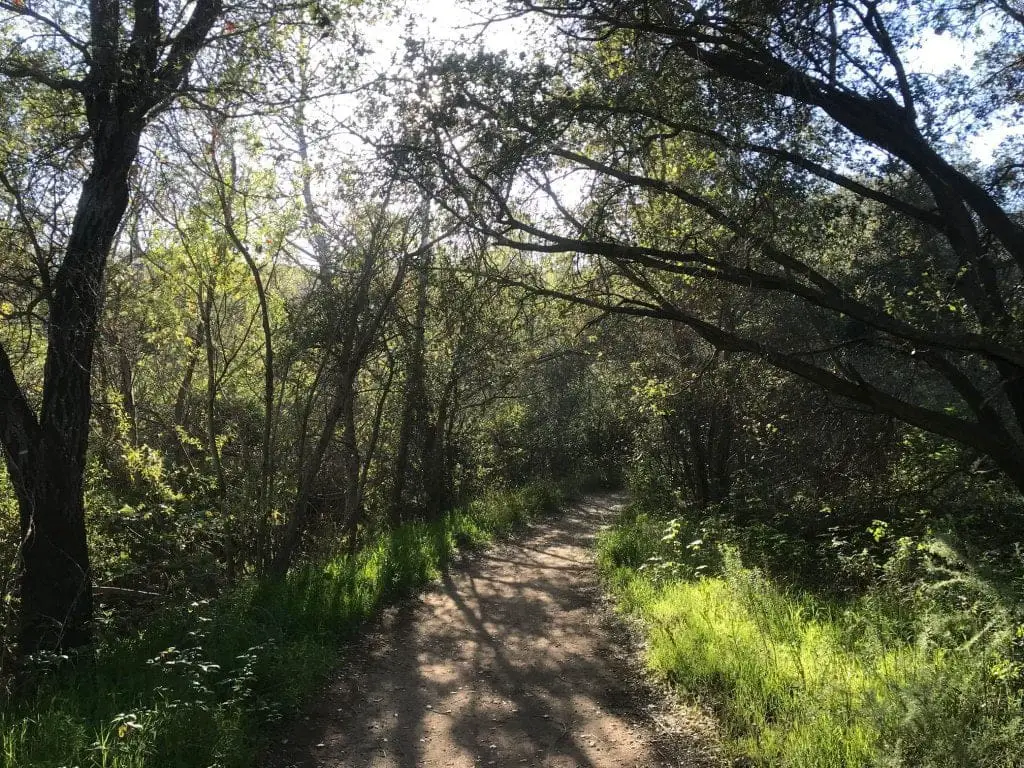
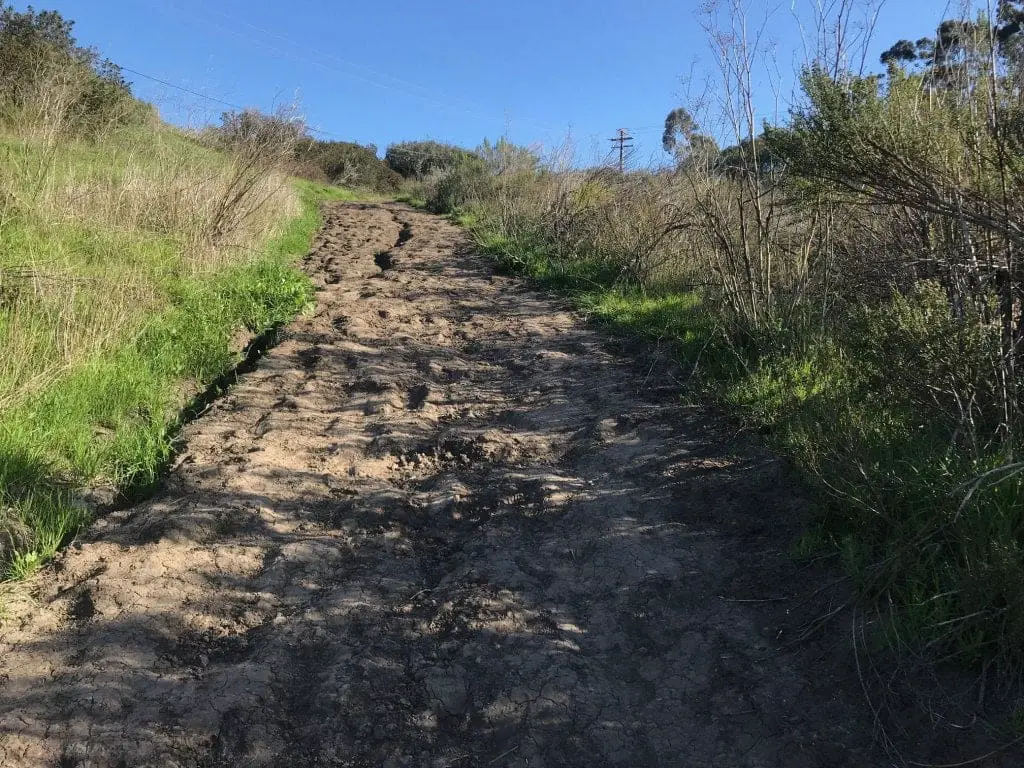
Head back up the final hill to reach the pavement that leads back to the parking lot.
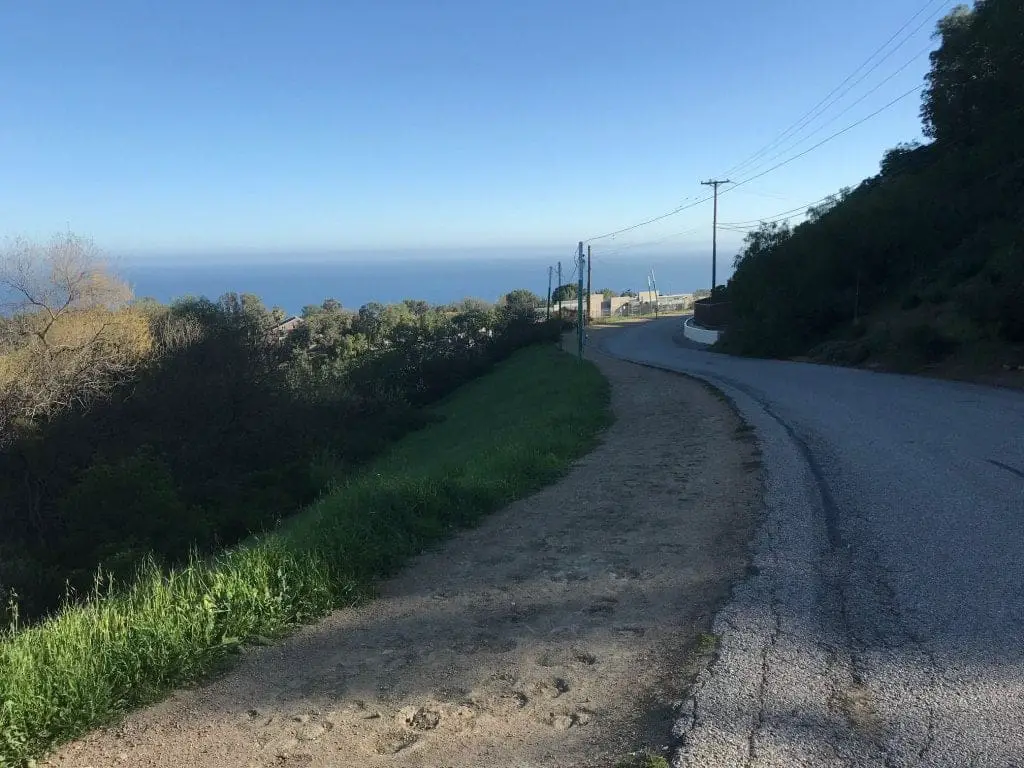
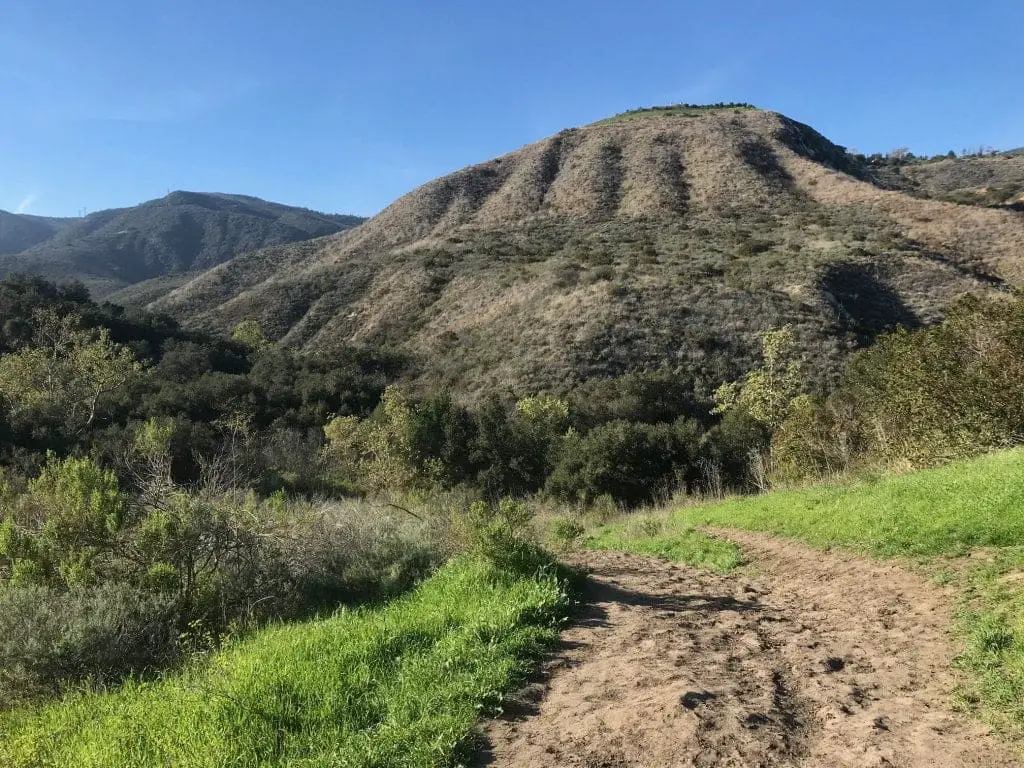
A look back one more time at the Santa Monica Mountains.
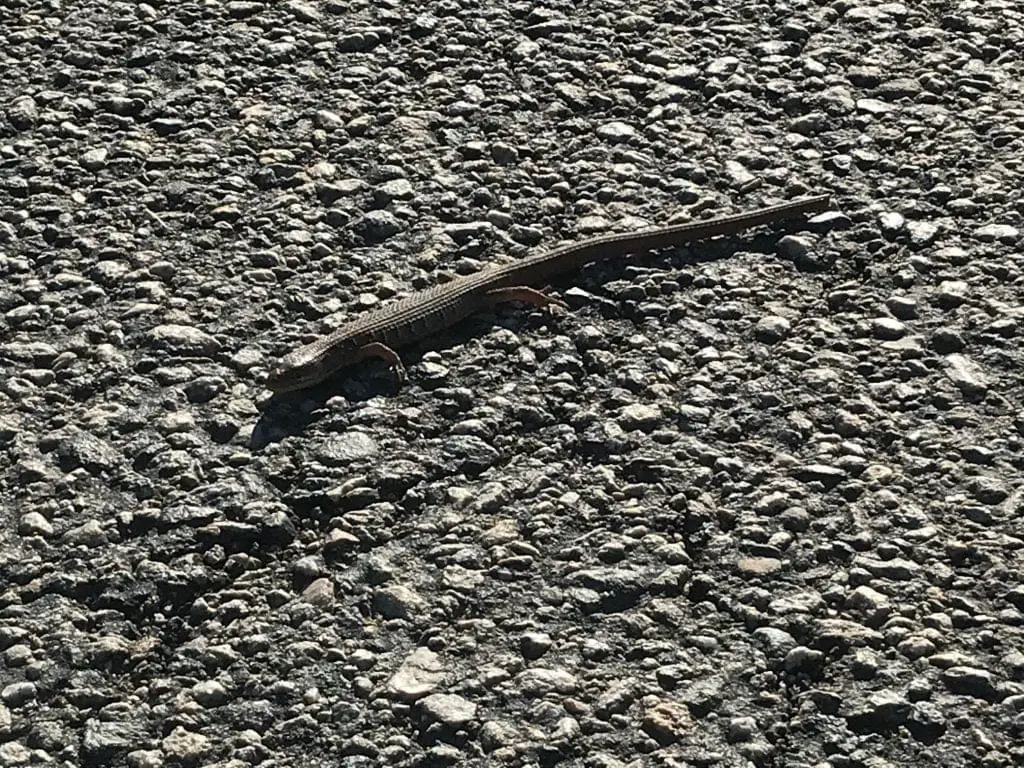
A baby lizard who decided to block my path on the way back to my car.
Overall Thoughts
Total time hiking: about 3 hours
Total distance covered: about 3.5 miles (roundtrip)
The first part of the hike is perfect for kids, beginner hikers or anyone who just wants a nice stroll through the Amazon-like forest of Malibu.
The second part, however, should be reserved for experienced hikers (seriously, I saw a guy once who was rock climbing while carrying a child).
Here are some tips that may help you rock climb either this specific hike or any future summits:
- This is a given but I can’t stress the importance of proper footwear; it makes all the difference in the world (otherwise you’re more prone to slipping).
- Descending is more difficult than ascension, in terms of the “danger factor.” I recommend sitting down and using the rocks to carefully “slide down” (face forward instead of backward).
- Be prepared to get cuts, abrasions, scrapes, and dirt on your clothes.
- Take your time. Map out your path and preplan where you will be grabbing rocks.
Overall, Escondido Falls Trail is a quiet retreat away from the hustle and bustle of Los Angeles. Malibu offers a ton of scenic trails, and this waterfall hike should surely be at the top of any LA-lover’s list.
Just try not to be disappointed when you encounter a dinky little waterfall over a Niagra Falls lookalike.

